Hello everyone!
It’s Judy here today to show you how to make foiled leaves for a fall table setting. These are quite easy and look so elegant!
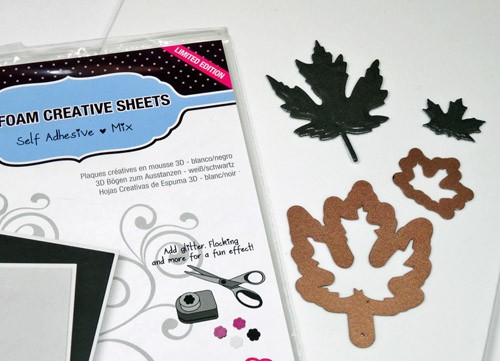
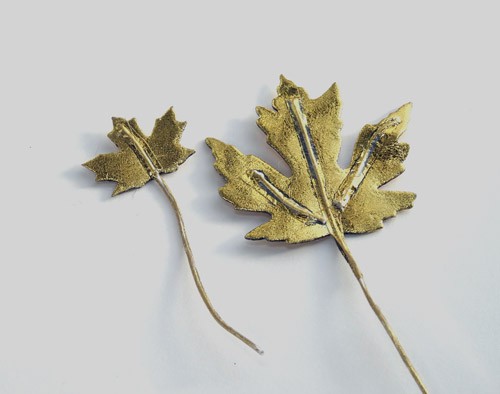
Die cut small and large leaf from the black sheet of 3D Foam Creative Sheets.
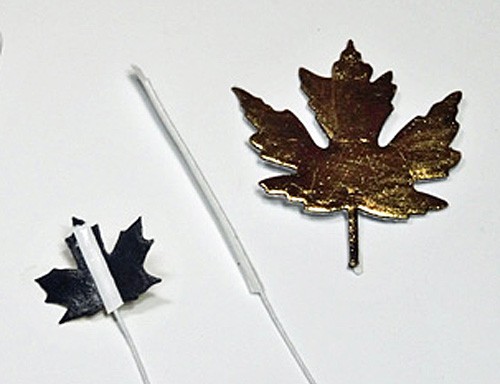
Remove backing from each leaf front. Place Metallic Transfer Foil sheet, gold side up, on each leaf. Rub well to fully stick the foil to leaf. Peel off foil sheet.
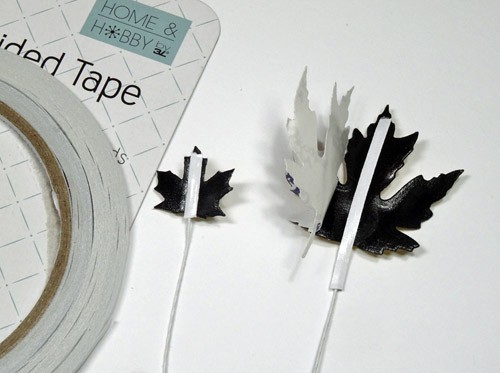
Cut piece of thin florist wire for each leaf. Place wire on non-stick craft mat. Cut piece of ⅛ʺ Premium Double-Sided Tape slightly shorter than each leaf from tip to stem end. Place tape along one end of florist wire.
Place large leaf upside down on work surface. Hold along one edge and peel backing past center of leaf. Place florist wire with tape on leaf back. Cut 2 short pieces of florist wire to fit from stem towards outer leaf points. Apply tape along each piece. Place on leaf back. Replace backing over wires and rub along wires to secure.
Remove backing from leaf and backing from tape. Place gold Metallic Transfer Foil on leaf back. Rub well. Peel off foil backing. The leaf is covered with gold on both sides.
Repeat for small leaf using stem wire only, no short wire pieces.
To make the wire stem gold, place leaf right side up on non-stick craft mat. Place piece of Premium Double-Sided Tape 1/8-inch on front side of wire stem. Roll tape around wire. Remove tape backing. Wrap gold foil around wire and rub to secure. Repeat as needed to completely cover wire.
The leaf can be shaped by bending wire to give it dimension.
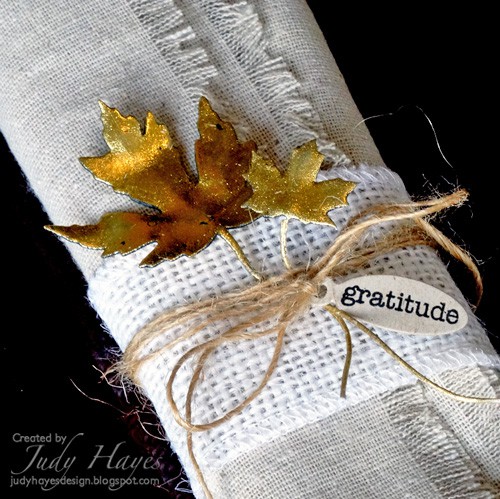
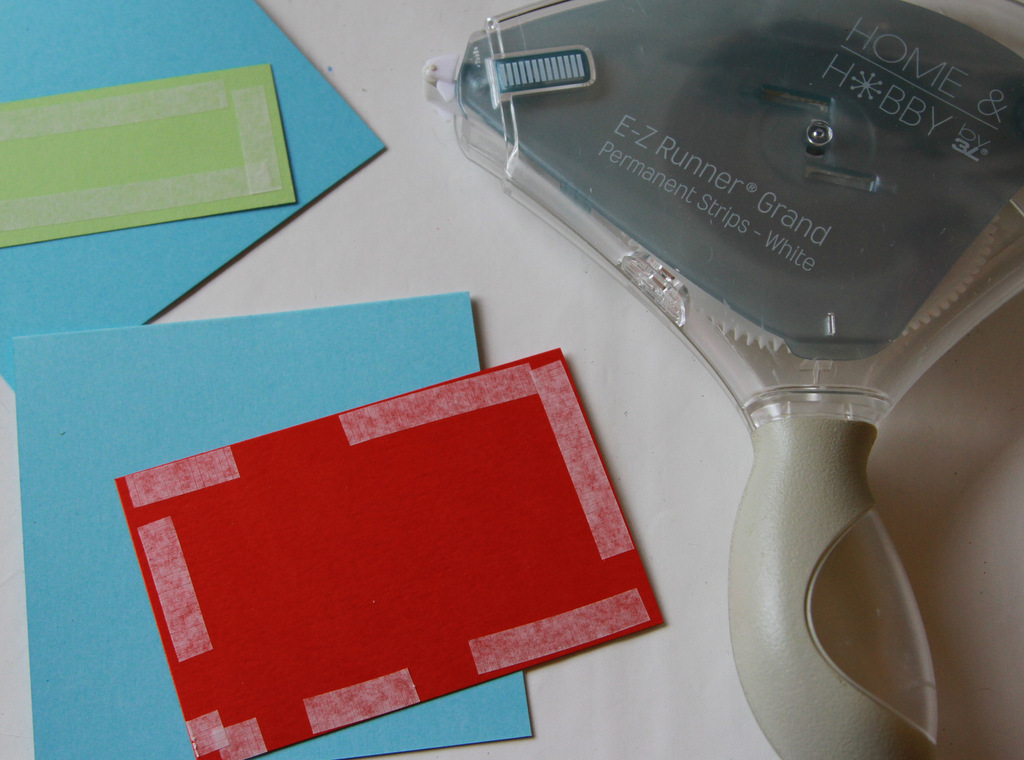
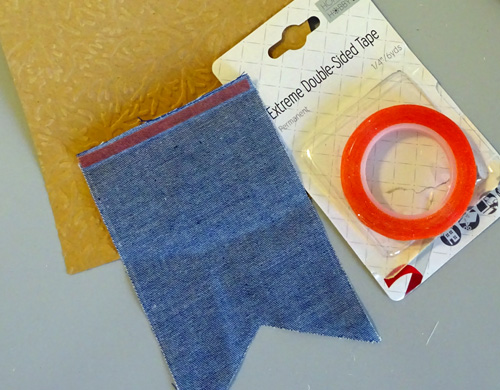
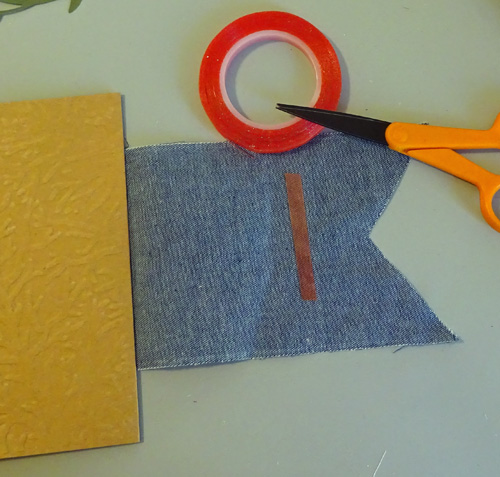
To make the napkin ring, wrap coarse weave canvas ribbon around napkin (about 7ʺ). Secure ends with Extreme Double Sided-Tape 1/2-inch. (Option: simply wrap Texture Ribbon around napkin without securing ends. Twine will hold it in place.) Wrap twine around Texture Ribbon. Add a tiny stamped tag. Tie bow. Shape leaves and tuck them under twine.
How pretty at each place setting for Thanksgiving dinner!
Thank you for visiting! I’m so pleased to be here as a guest designer!
Happy creating!
Judy
Supplies from Scrapbook Adhesives by 3L®: 3D Foam Creative Sheets,
Home & Hobby Premium Double Sided Tape 1/8-inch, Extreme Double Sided-Tape 1/2-inch
Other Supplies:
Spellbinders® Fall Foliage Die Set
A Jillian Vance Design Tiny Tags (stamp & die set)
Black Ink
May Arts Twine
White Florists Wire
Visit our Website and Blog!
Sign up for our Newsletter so you never miss a contest or giveaway!