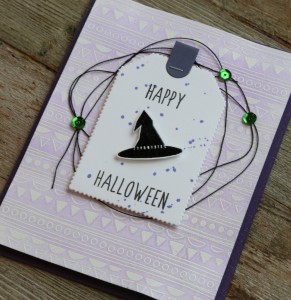
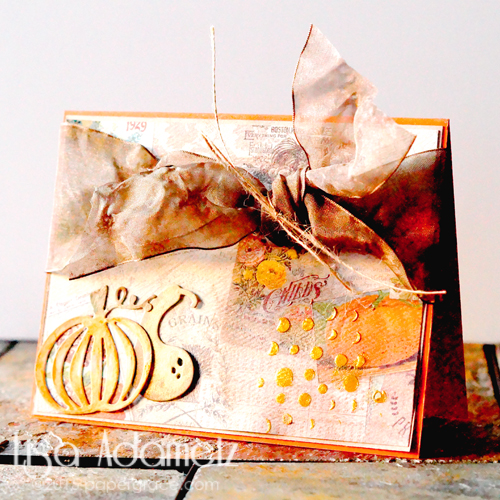
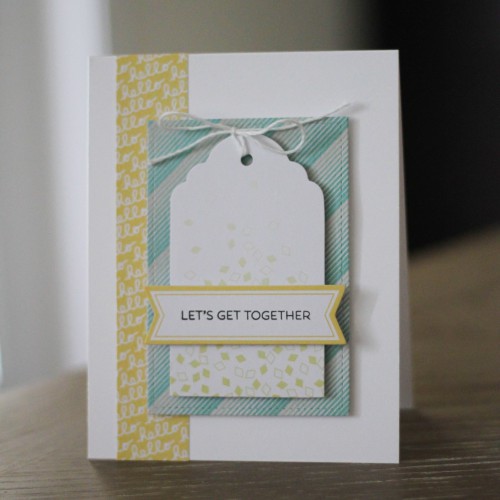
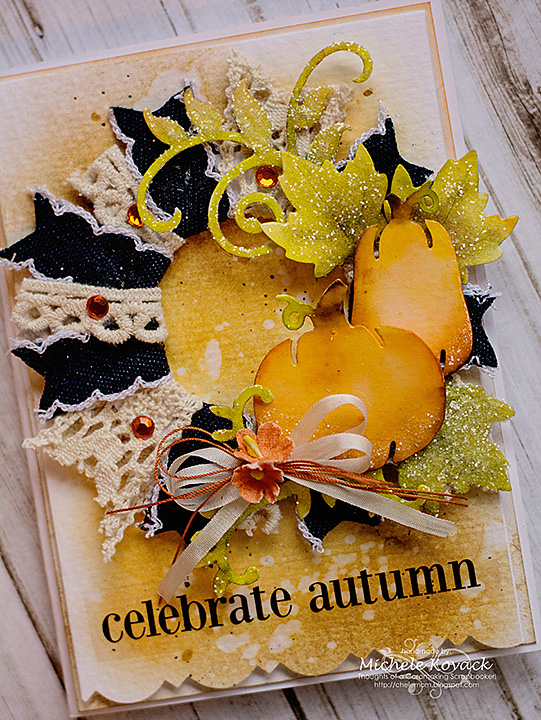
Hello! AJ here with a Not So Spooky card, my last Halloween card for the year. sigh. 😉
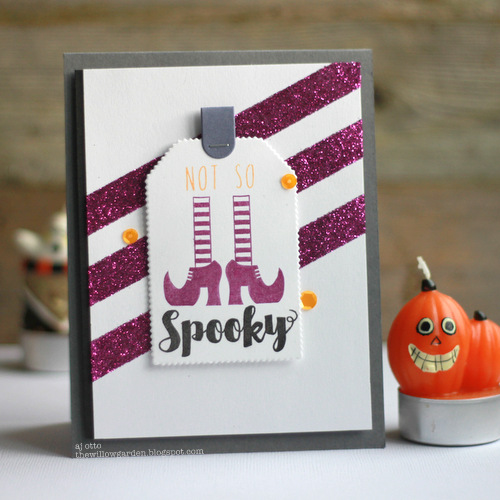
Isn’t this fun little witches boots image so cute? I sat down one day and stamped out a bunch of cute Halloween images to add to cards and bags, and treat sacks, and I am down to this last one finally! Lets add it to a card!
A Not So Spooky Tutorial
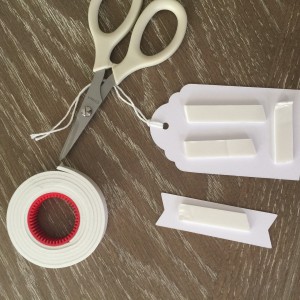
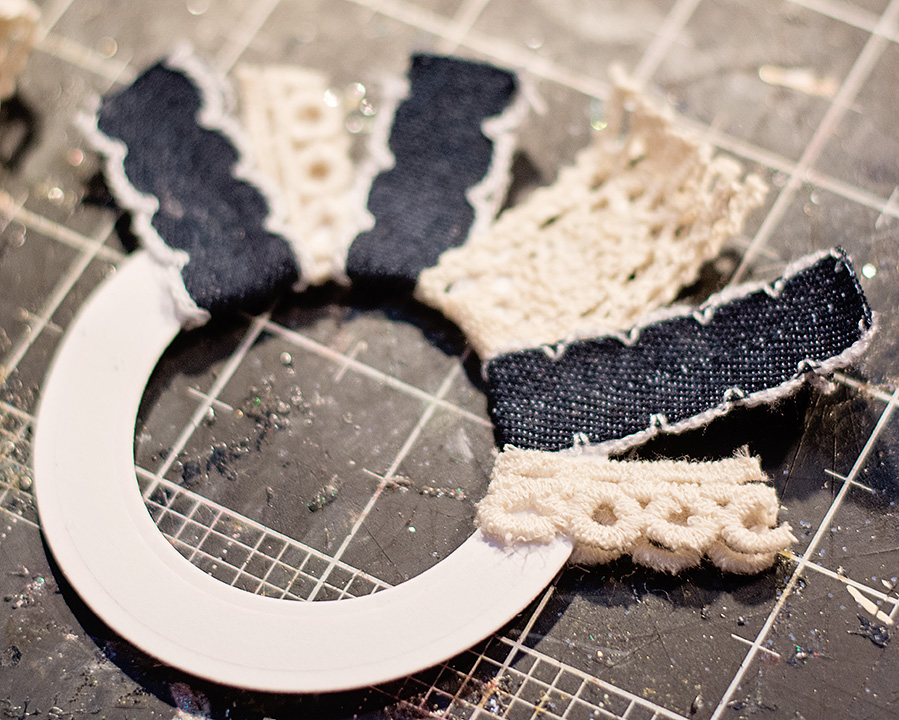
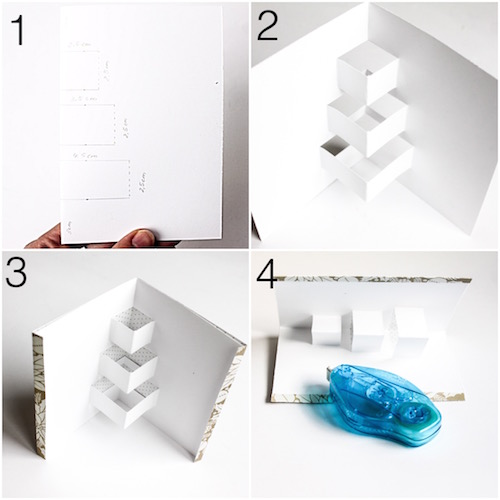
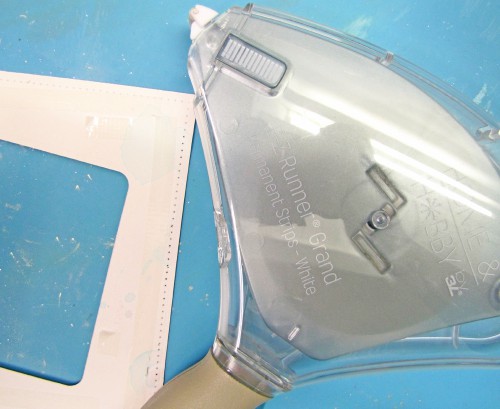
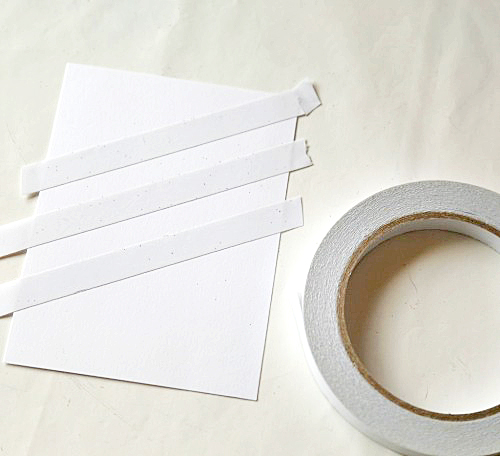
To make the main panel, I used my Premium Double-Sided Tape in 1/4″ size, and placed three strips across the panel as shown.
TIP: it’s best to snip the overhang ends off, and not tuck them behind the panel.
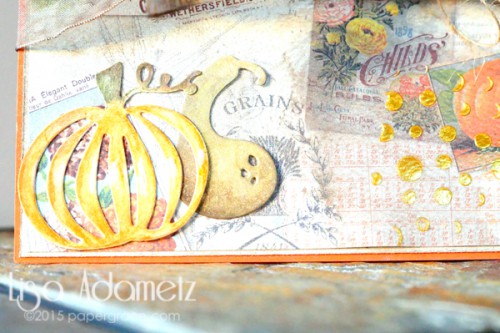
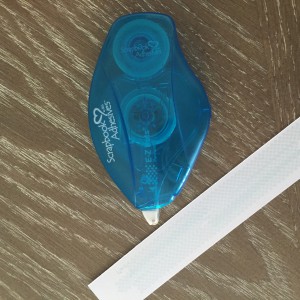
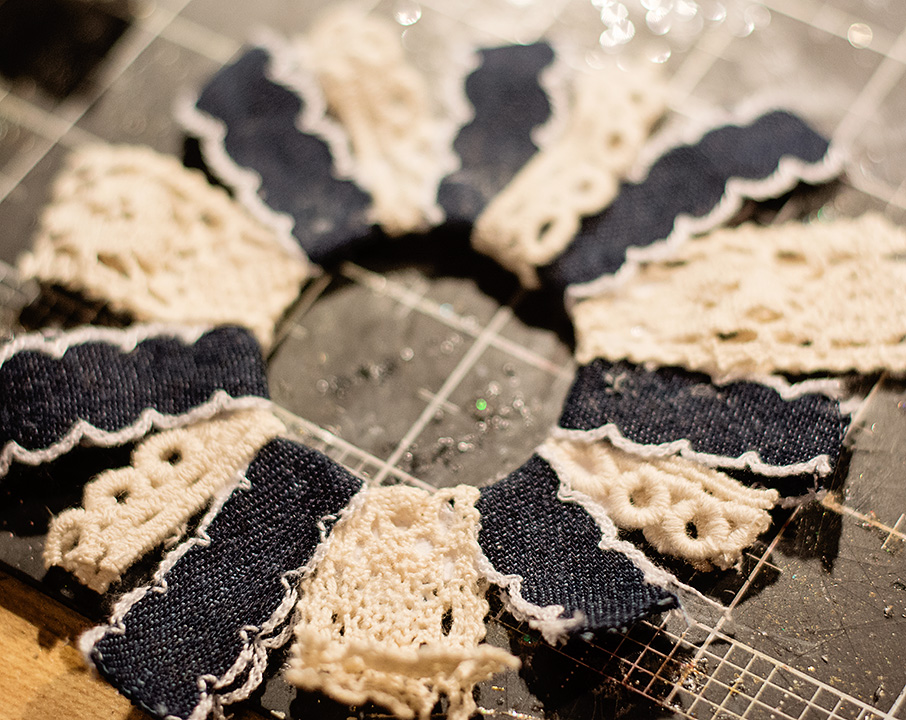
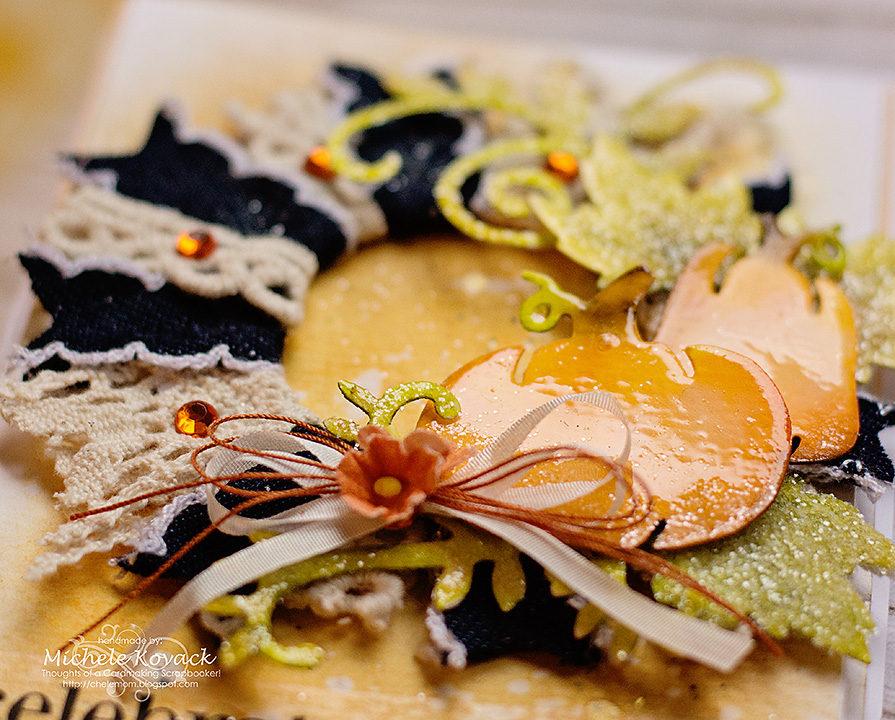
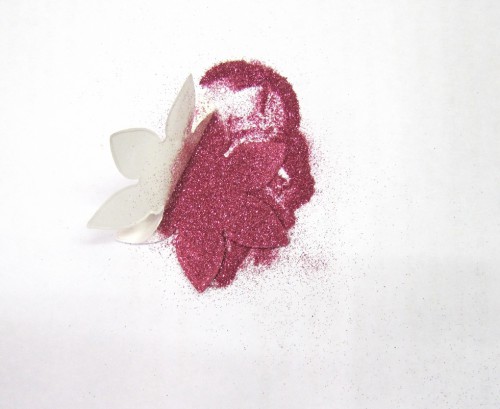
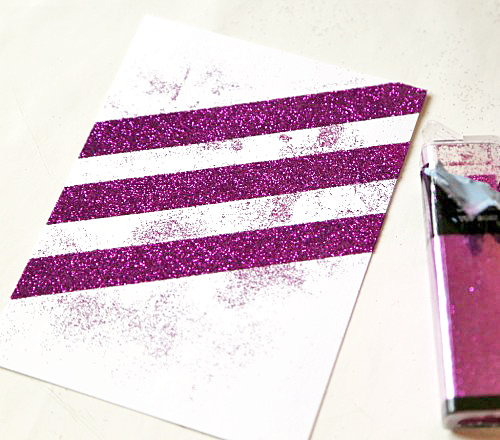
Remove all the liners, and generously apply glitter onto the exposed adhesive strips. Tap off the excess glitter.
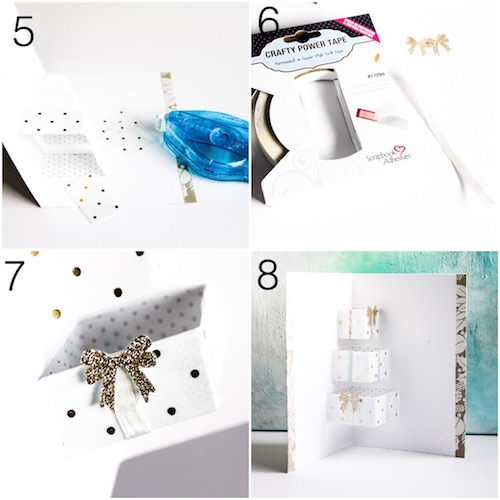
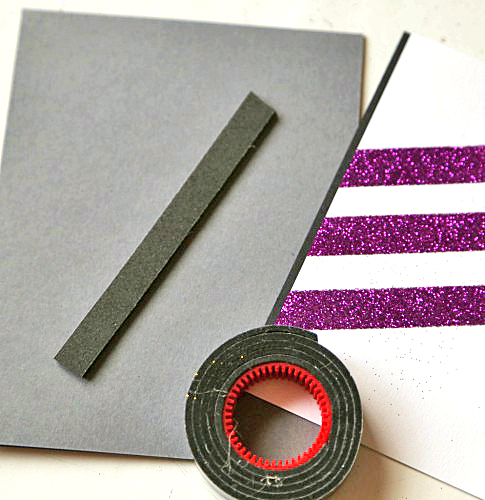
Adhere the glittered panel to your card with Black Crafty Foam Tape. The black tape ‘disappears’ on dark backgrounds like this.

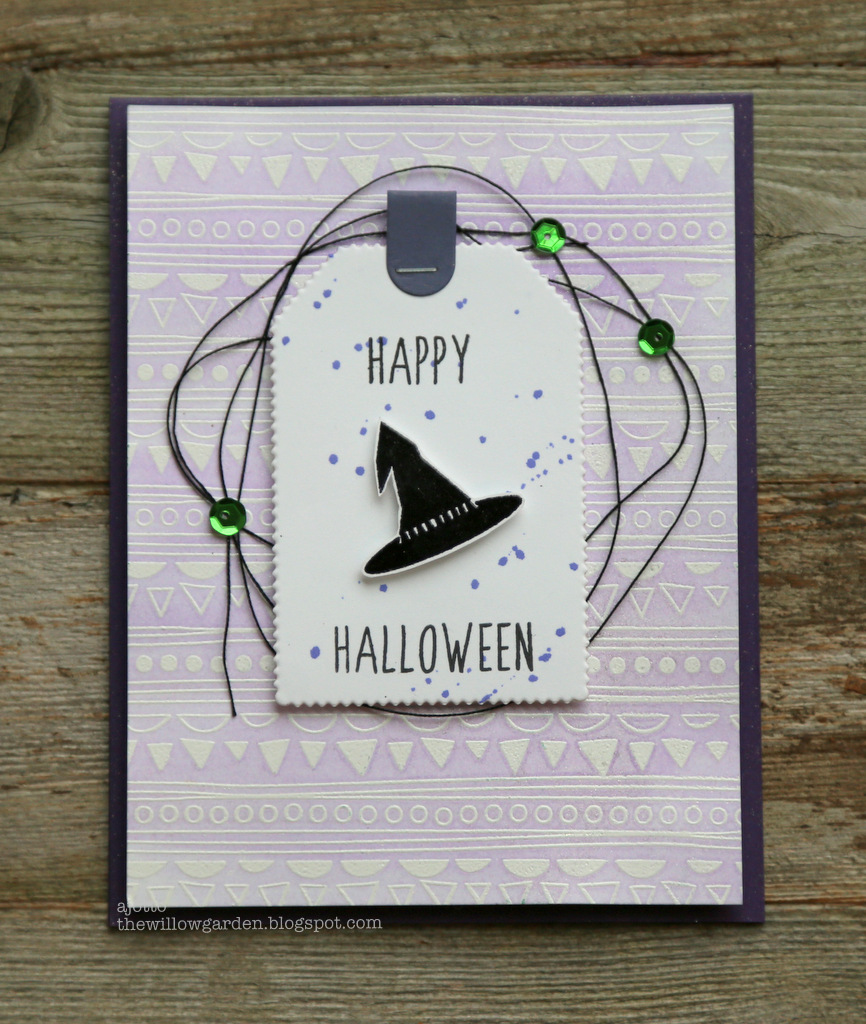
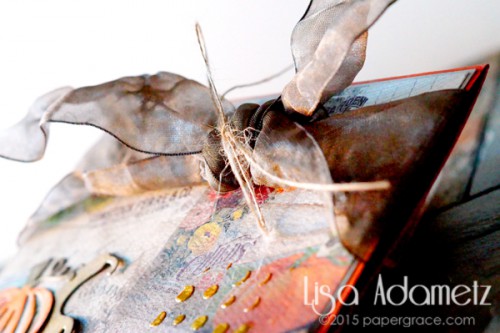
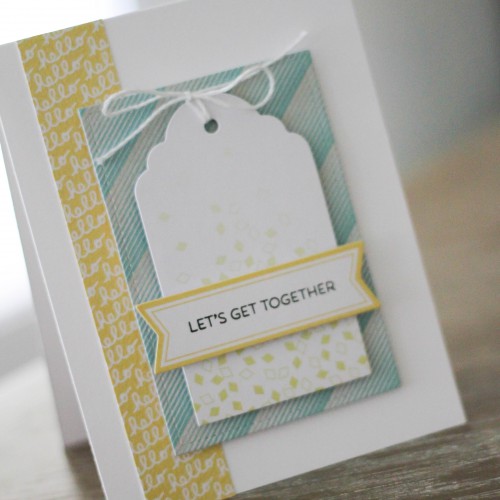
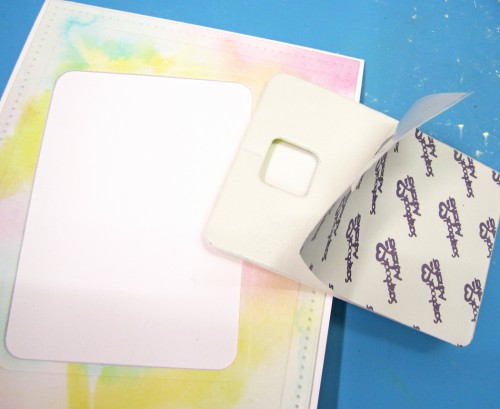
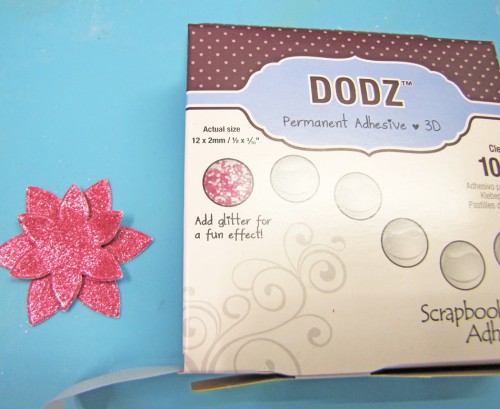
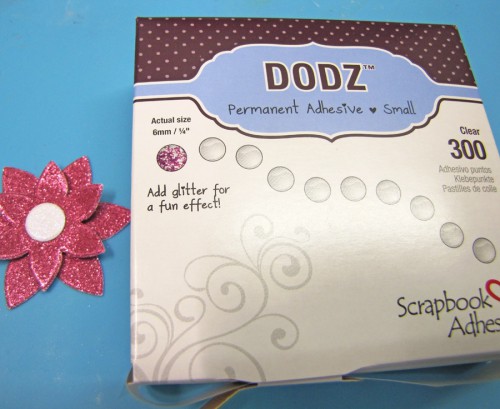
Add your tag, I hold the tag over where I want it to go on the card, and place the 3D Foam Squares there in the non glittered areas, then stick it down.
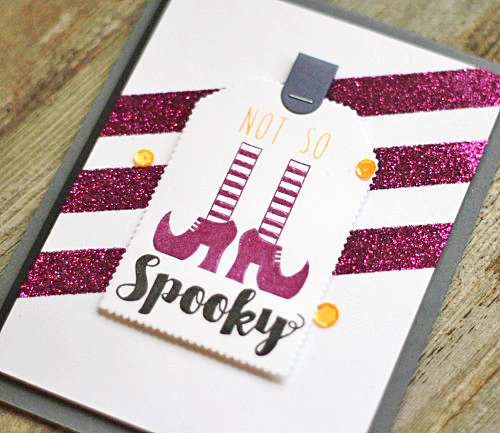
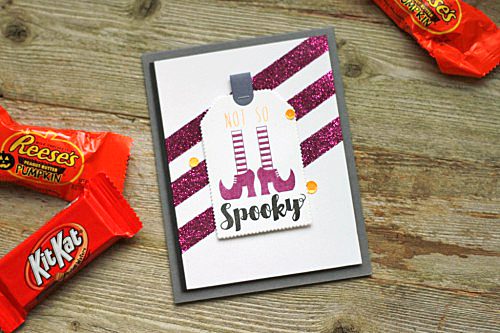
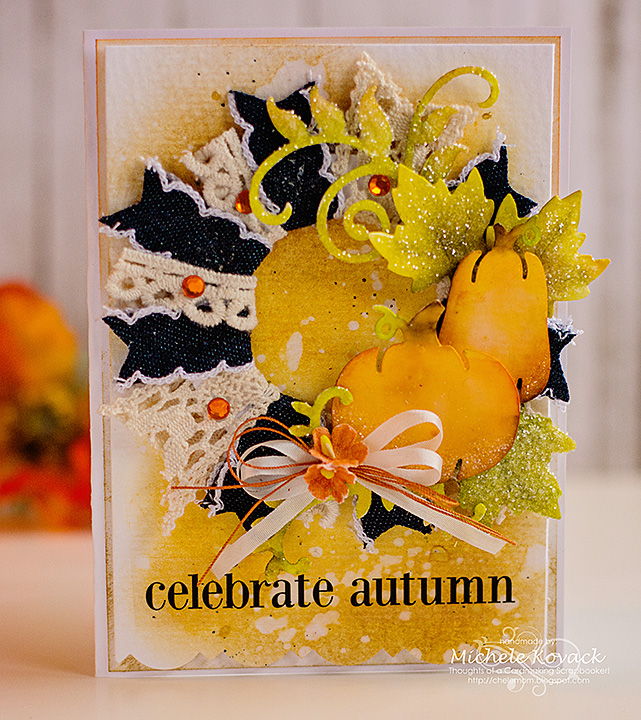
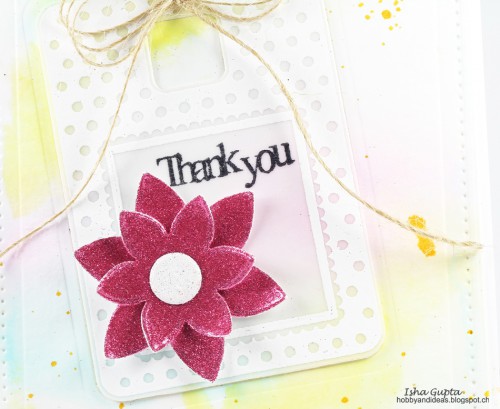
To finish, add a few fun sequins to brighten it up! 🙂 Paired with what’s left of my stash of candy, it’s ready for delivery! Happy Halloween!
🙂 AJ
Creative Time: 20 minutes
Skill Level: Intermediate
Materials Needed:
Scrapbook Adhesives by 3L®
3D Foam Squares White in Regular Size
Crafty Foam Tape in Black
Home Hobby by 3L®
Premium Double-Sided Tape in 1/4″
Other
Stamps: Simon Says Stamp; Glitter: ClearSnap; Inks: Avery Elle; Staple; Sequins; Cardstock
Visit our Website and Blog!
Sign up for our Newsletter so you never miss a contest or giveaway!


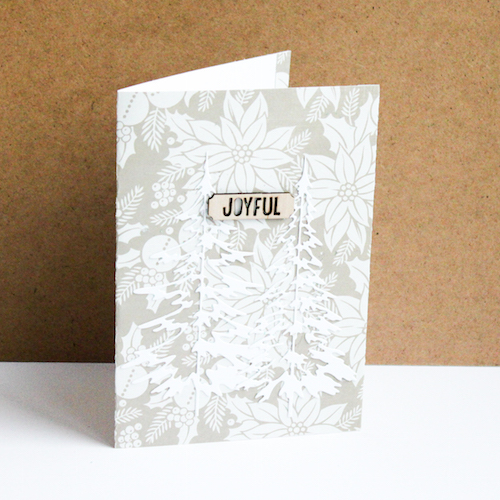
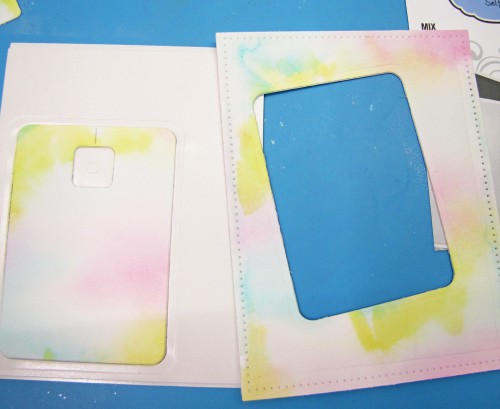
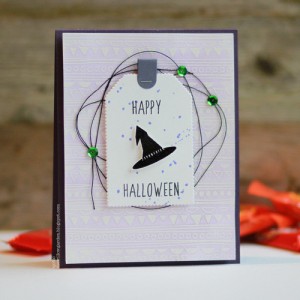 For my project, I started with the background image stamped and then heat embossed. I wanted the focus to be on the sentiment/tag so I lightly washed over it with a shade of lighter purple watercolor.