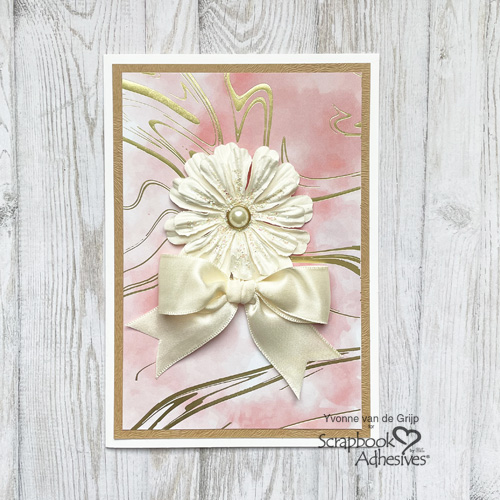
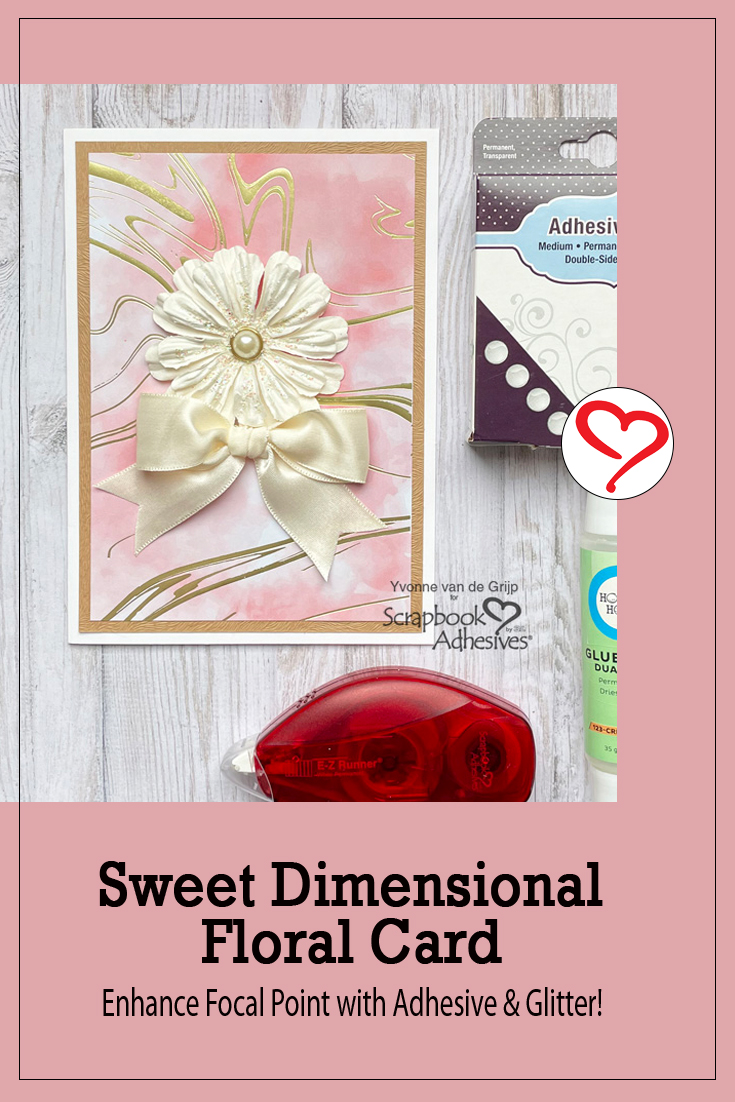
Hi everyone, Yvonne here with a super easy-to-create Elegant Flower Card. The best part? It is also suitable for beginner cardmakers!
I used the Wear Your Adhesive on the Outside concept for this card. It is a simple way to add a sparkle to your card without much effort. Let’s get started!
Card Base
Start by trimming a piece of patterned paper to a rectangular size. This will be the top card panel for your Elegant Flower Card.
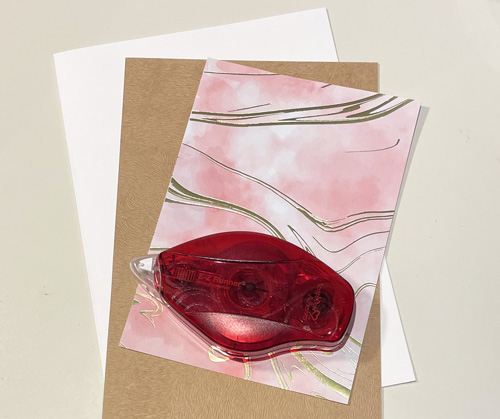
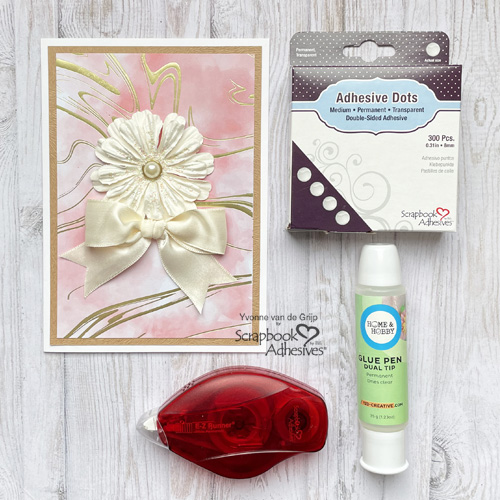
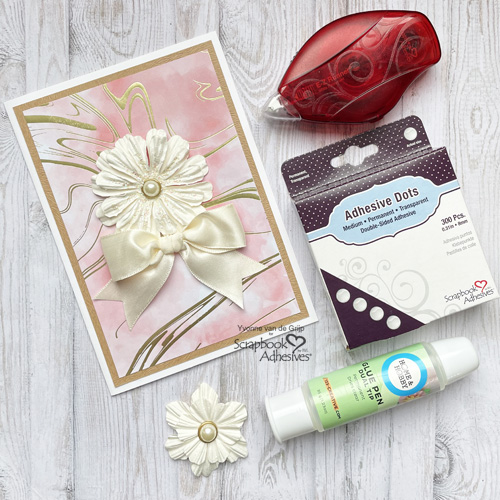
Then adhere to a kraft card panel using the E-Z Runner® Permanent Strips Refillable Dispenser. Next, adhere to a white card base again with the E-Z Runner® Permanent Strips Refillable Dispenser.
Embellishing the card
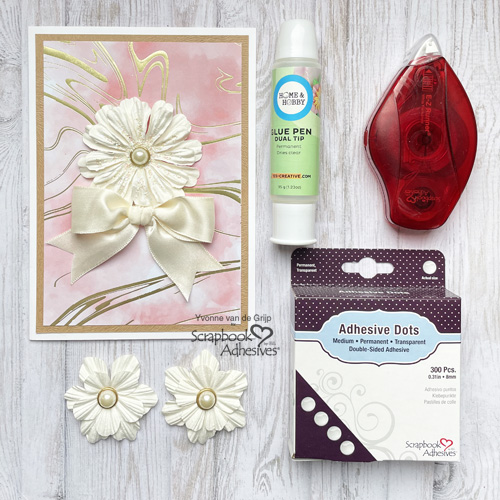
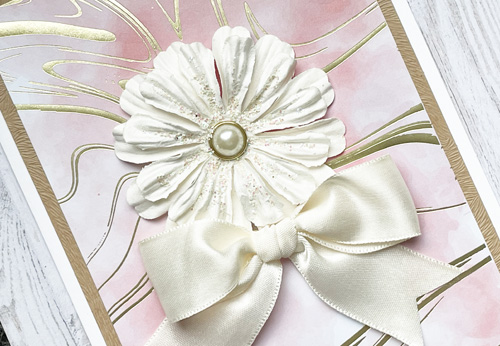
First stack two off-white mulberry flowers and fasten them with a a pearl brad. Now what is an Elegant Flower Card without a chique bow. I used off white satin ribbon to make the large bow. Adhere the flower and the bow onto the Card using Adhesive Dots Medium.
Wear Your Adhesive on the Outside
Using the Dual Tip Glue Pen and glitter, I applied the Wear Your Adhesive on the Outside concept for a simple way to enhance the flower. Draw lines on the flower petals with the Dual Tip Glue Pen, and around the pearl brad. Then sprinkle white holographic glitter over the wet glue. Let dry thoroughly and tap off any excess.
Voilá your Elegant Flower Card is ready. I hope you enjoyed this simple tutorial and wish you happy crafting.
Creative Time: 30 minutes
Skill Level: Beginner
Materials needed:
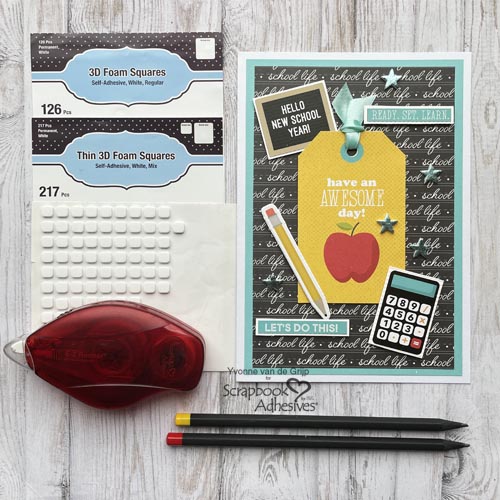
Scrapbook Adhesives by 3L®:
E-Z Runner® Permanent Strips Refillable Dispenser
HomeHobby™ by 3L:
Other: Patterned Paper: Craft Universe (Paper Pad with Foil); Mulberry Flowers: Prima Marketing Inc. (Wildflowers Pillar Pack White); White and Kraft Cardstock; Glitter; Pearl Brad; Satin Bow; Scissors; Paper Trimmer
Save to Pinterest!
Visit our Website and Blog!
Sign up for our Newsletter so you never miss a contest or giveaway!