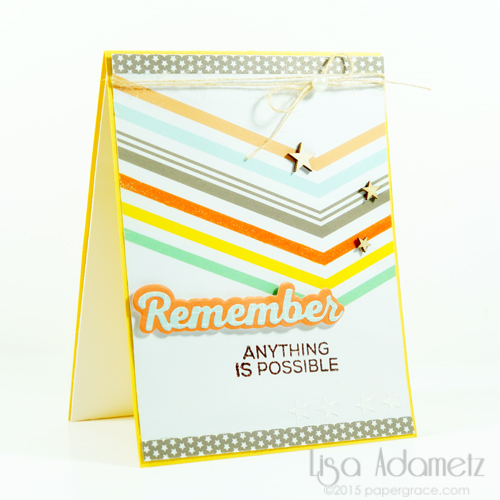
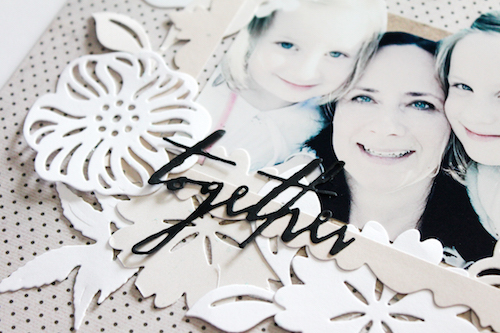
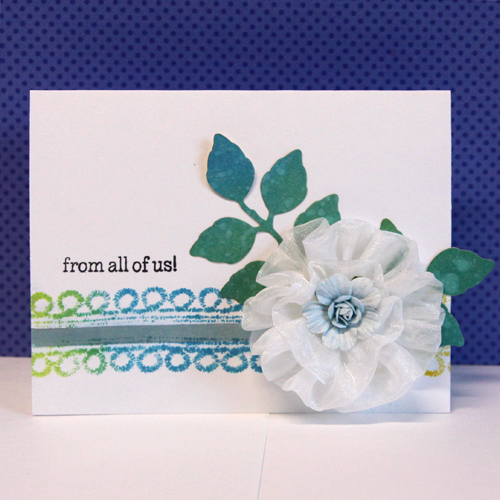
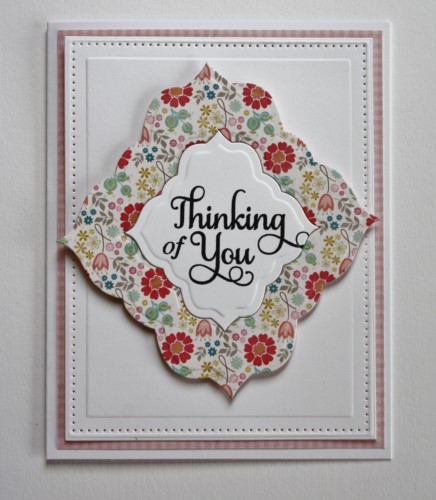
Hello! I am thrilled to share a summer thank you card using our 3D Foam Creative Sheets to make my sentiment POP! So think of this type of card to THANK your host after the next summer gathering! It’s real easy to create, let me show you how.
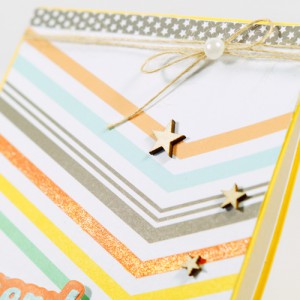
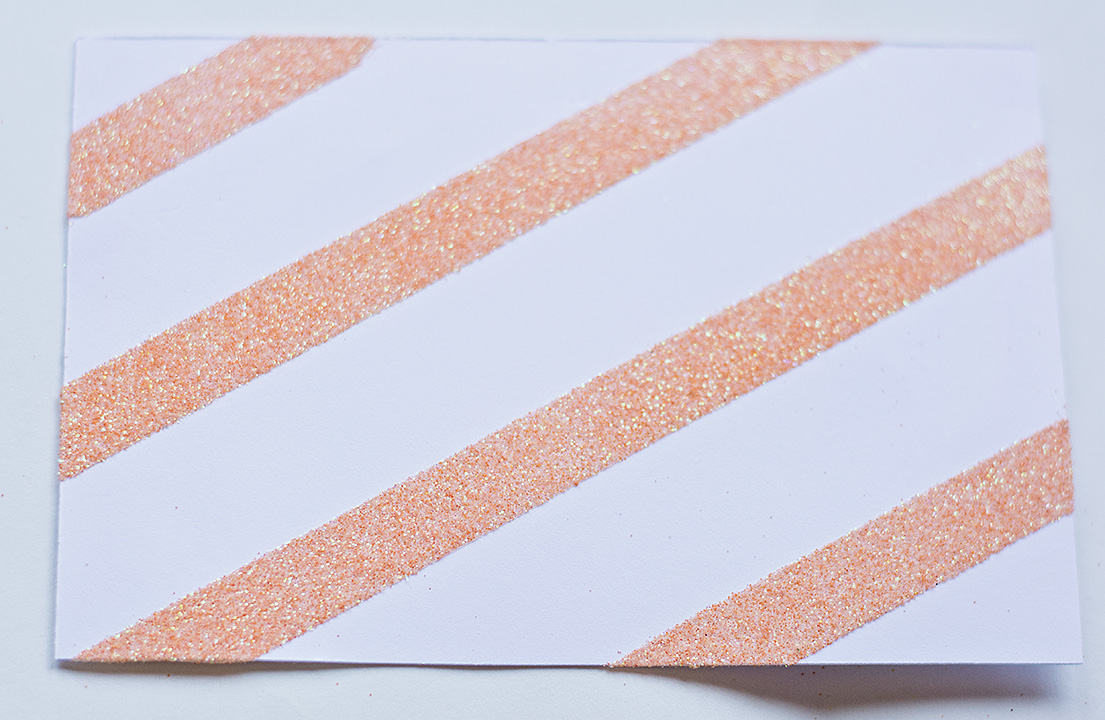
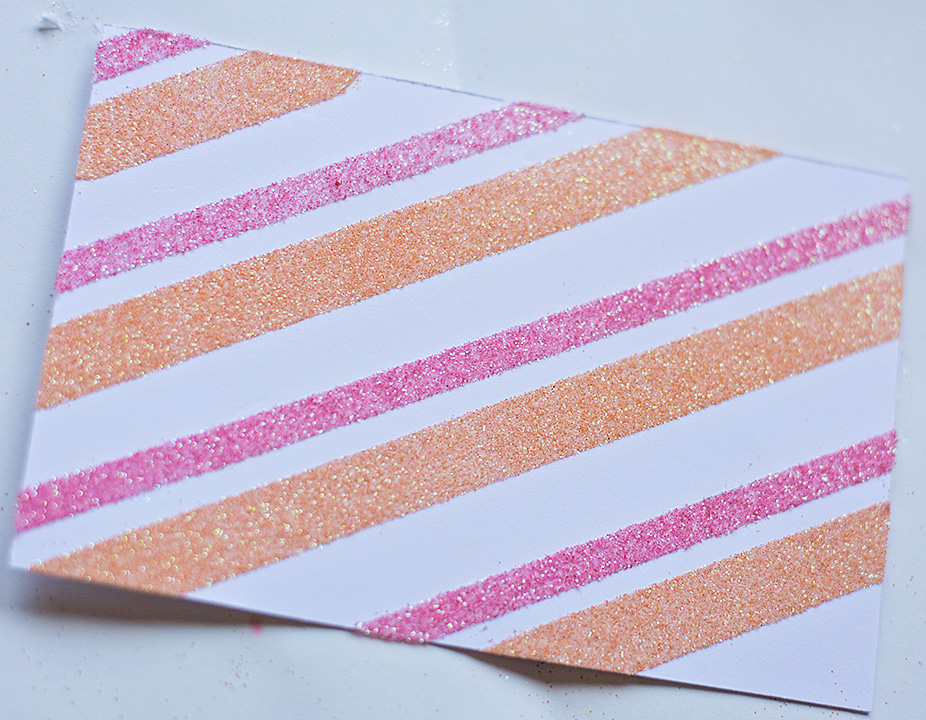
First I cut and embossed the card front three times – nest the Inset and Border dies of the Diagonal Chevron set with white cardstock (Die Cut #1); cut the Border die with blue patterned paper (Die Cut #2); and cut the chevron design from the Border set (the bottom half) with darker blue patterned paper (Die Cut #3).
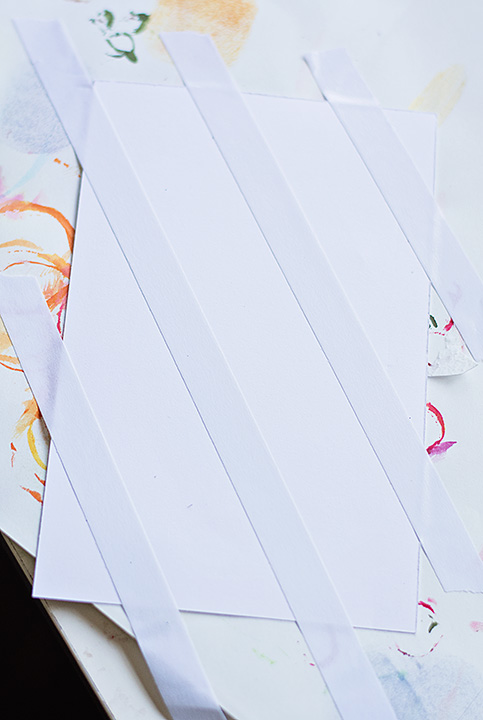
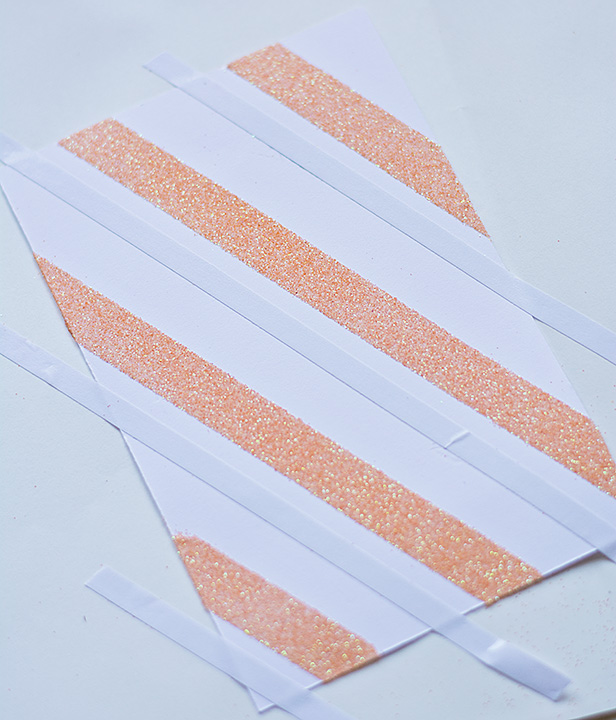
Next using the Adhesive Sheets – 4×6″, I placed top half of Die Cut #1 and rubbed to transfer the adhesive on its back. Then I repeated the same process for Die Cut #1 for the bottom half. Then adhered it on top of Die Cut #2. Using the same adhesive sheet, I placed pieces from Die Cut #3 in areas where there were adhesive on the sheet…a great way to use up the sheet 🙂
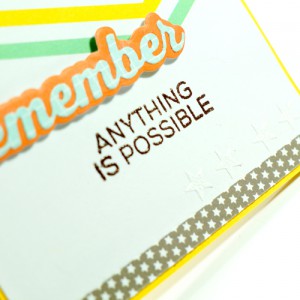
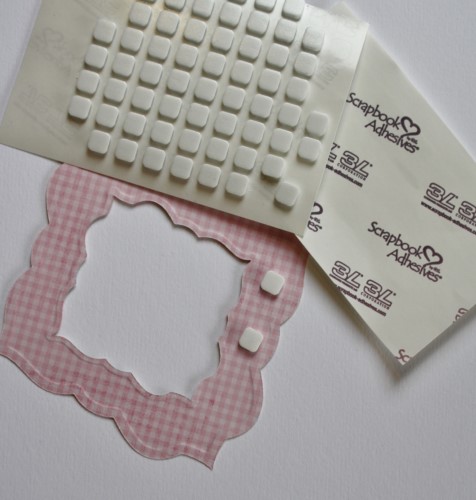
For the sentiment, I wanted it to pop so I pulled the paper liner back from the 3D Foam Creative Sheets and placed the patterned paper on top. After I trimmed the part I needed, the “Thank You” die was placed on top and cut through my manual die cutting machine.
Tip: When cutting through a thick material, make sure to shim and cut a couple of times through your die cutting machine.
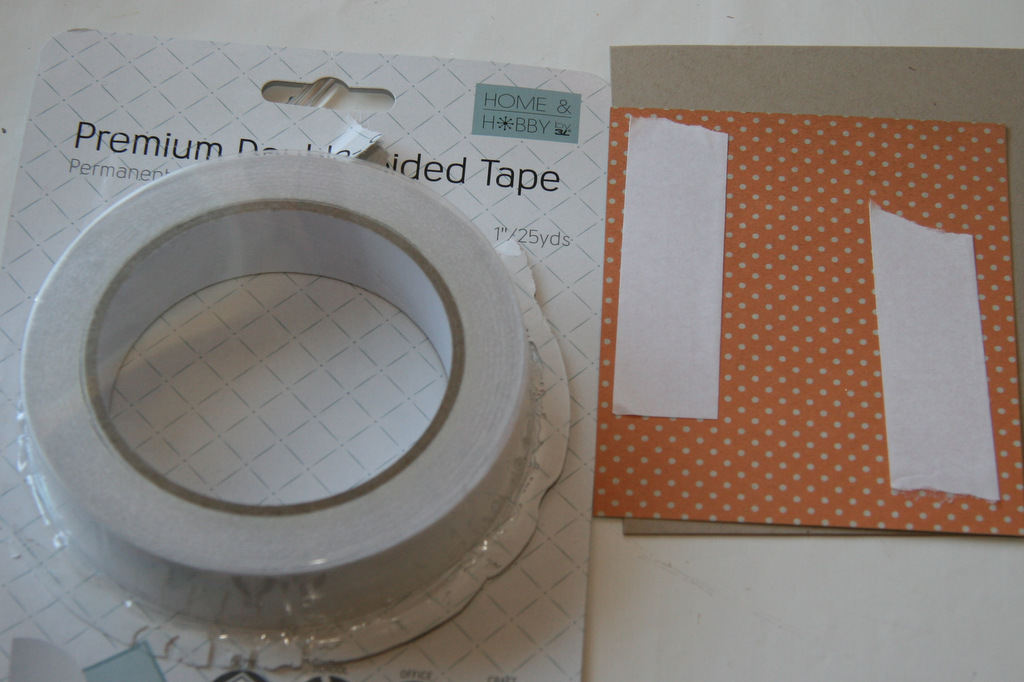
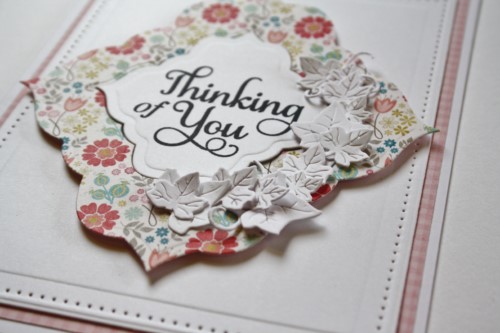
Adhere all the pieces on the card panel such as sequins with the Adhesive Dots Small and the sun die cut with Adhesive Sheets – 4×6″. Use the E-Z Runner® Grand Permanent Strips from Home and Hobby by 3L® Line to adhere the embellished card panel to a A2 size white card base. It’s ready to go! Here’s a second look…
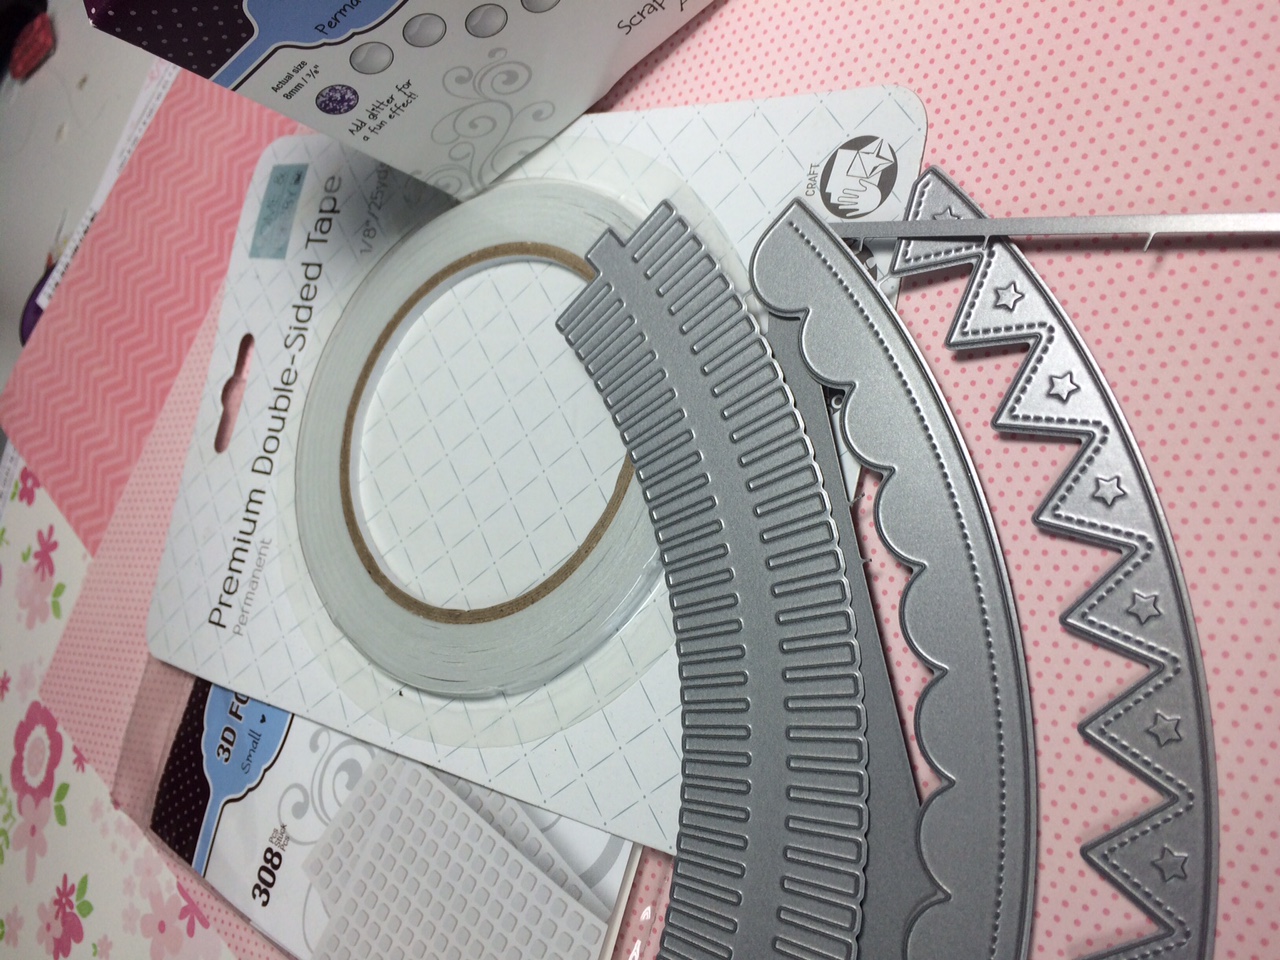
Supplies:
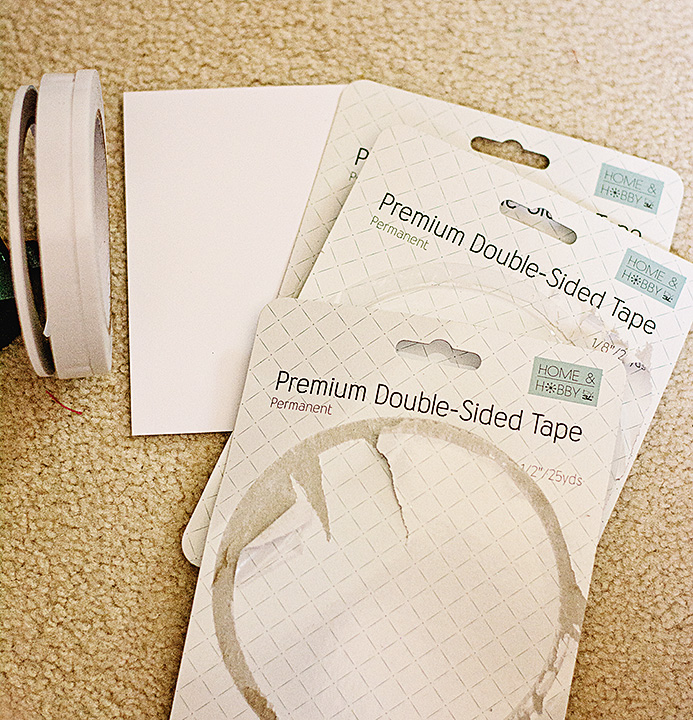
Scrapbook Adhesives by 3L®: 3D Foam Creative Sheets, Adhesive Sheets 4×6″, Adhesive Dots Small and E-Z Runner® Grand Permanent Strips from Home and Hobby by 3L®
Die: Spellbinders® Creative Arts (S4-453 Diagonal Chevron, SCD-026 All You and SCSD-009 Sunny Days)
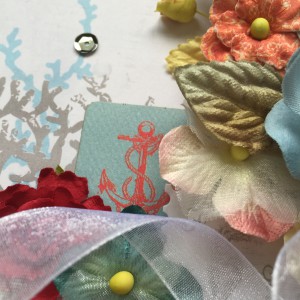
Patterned Paper and Sequins: Lawn Fawn (Pint-Sized BeachSide Collection and Into The Woods Mixed Sequins)
Cardstock: WorldWin Papers (ColorMates Textures White Twill Cardstock)
If you are interested in other ways to use the 3D Foam Creative Sheets, click Projects Created with 3D Foam Creative Sheets!
Thanks for stopping by!
Margie Higuchi