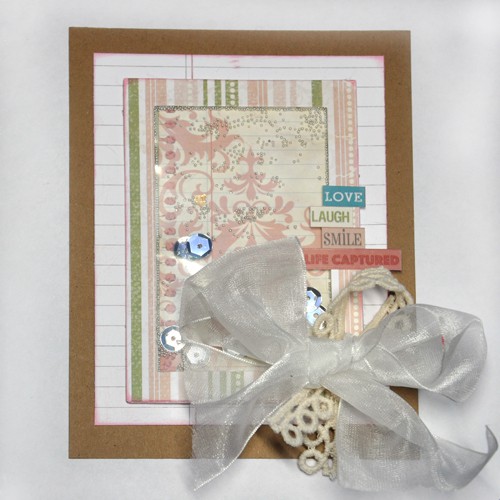
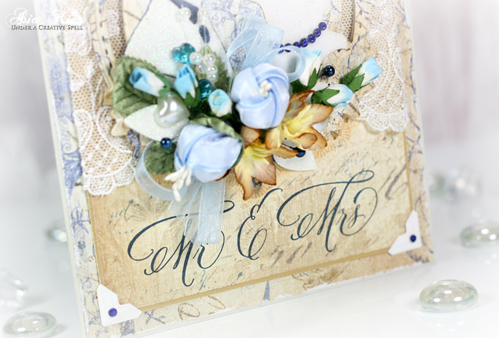
Hello everybody! Asia King here and today I would like to officially open my 2015 wedding projects season! 🙂 First up is this sparkly wedding card.
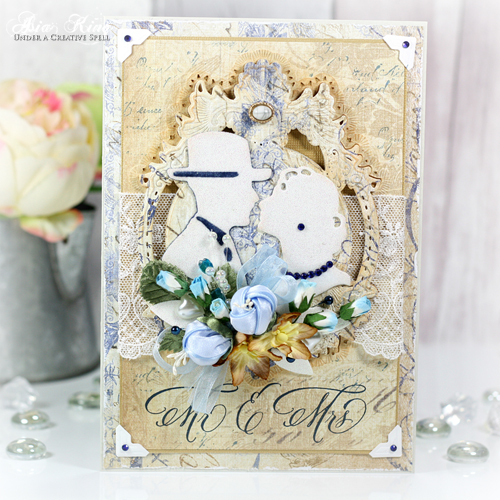
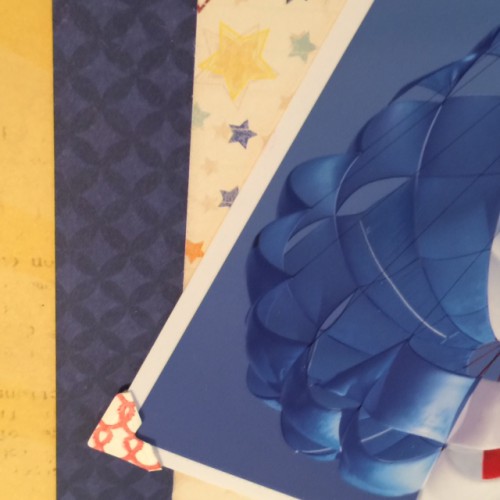
I have quite a few layers in this card – first tier is the background papers which I layered with MyStik® Permanent Strips and embellished with Creative Photo Corners White. The center of the background was die cut with an intricate design die so to ensure all my frilly parts were securely adhered I used E-Z Dots® Permanent.
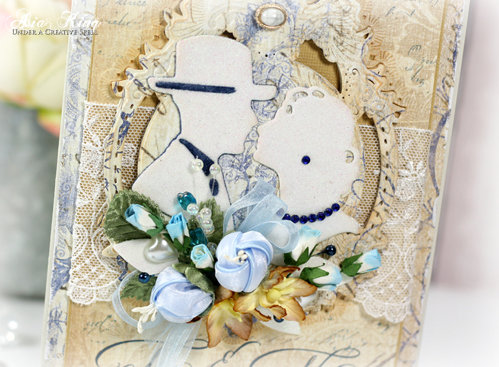
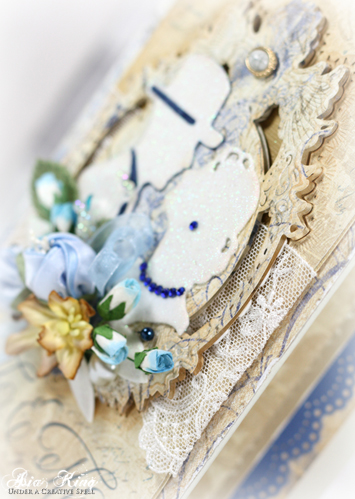
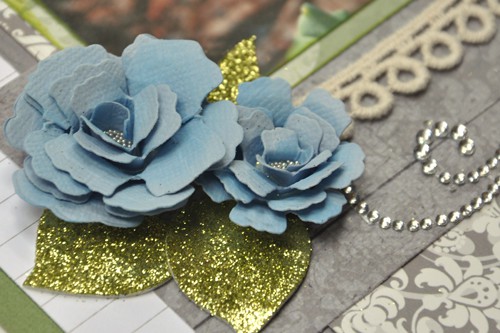
The focal point of my card is a lovely wedding couple which I die cut from 3D Foam Creative Sheets. The couple is set behind a flower spray which I embellished with glittered 3D Foam Leaves. I secured my florals in place with Dodz Adhesive Dots 3D.
The bride and the groom were covered with glitter and flocks and then ‘framed’ with layers of die-cut ornate ovals popped over Thin 3D Foam Squares Mix White and 3D Foam Squares White Mix. I used Thin and regular 3D Foam Squares to vary the heights and to allow for even distribution over the piece of lace I tucked in underneath.
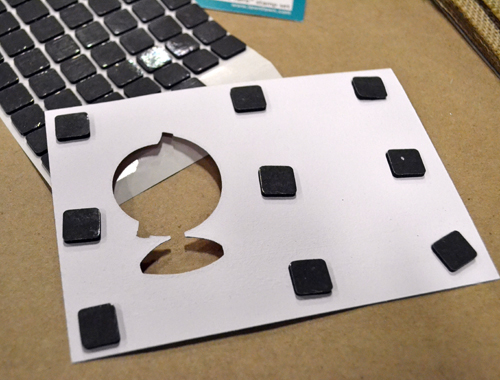
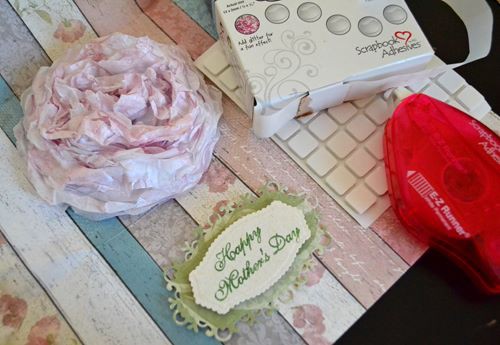
Before I go, I also wanted to share a little crafty tip. When I work on a design and a layout of my project, I tend to move the items around multiple times until I’m happy with the final arrangement. However I can never ‘visualize’ things properly unless the layers are even and secure. So I always use my trusty E-Z Dots® Repositionable during the design stage – it helps me keep all the pieces in order but still allows me to easily remove them, before I’m ready to adhere them permanently :).
Find more wedding inspiration on Top Wedding Ideas!
Supplies I used:
3D Foam Creative Sheets, 3D Foam Leaves, Thin 3D Foam Squares – Mix White, 3D Foam Squares – White Mix, Creative Photo Corners White, MyStik® Permanent Strips, E-Z Dots® Repositionable, E-Z Dots® Permanent, Dodz Adhesive Dots 3D
Other supplies used:
Stampendous: Stack Art Angel Wings stamp set (script), Cling Married Monograms, Crystal Micro Glitter, Indigo Blue Flock, Cotton Ball Flock
Dies: Spellbinders Gold Majesty Circles, Marianne Designs Lord and Lady
Inks: Midnight Blue StazOn Mini, Faded Jeans and Tea Dye Distress Inks
Paper: K&Company Blue Awning collection
Big crafty hugs

Save
Save
 Be sure to visit all of today’s Designers: