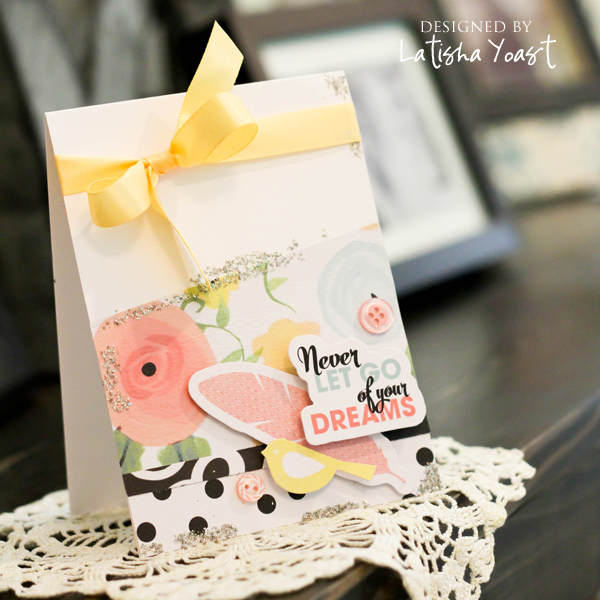
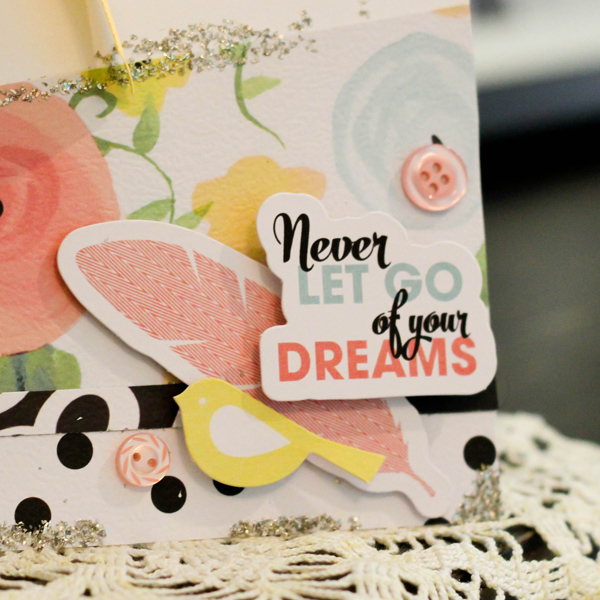
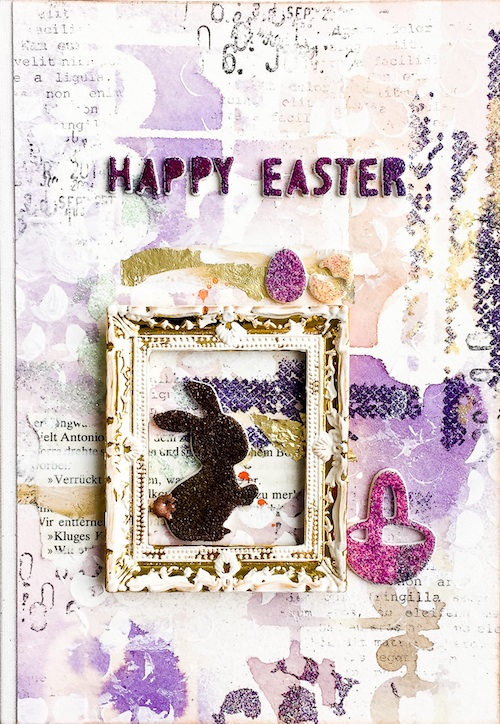
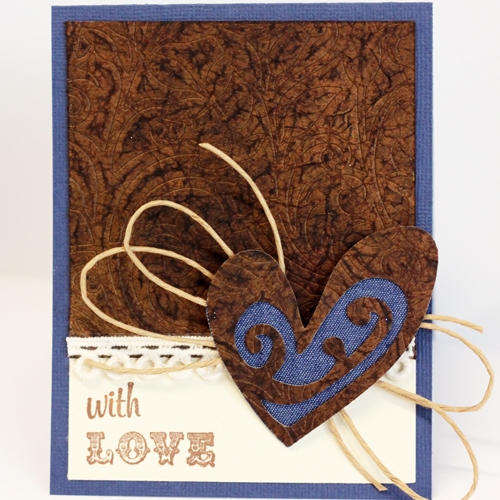
Hello blog readers! It’s Angela today, sharing a technique to create a fabulous faux leather look to use in any of your crafty projects….here’s a card I created from with the look of leather with Scrapbook Adhesives by 3L®:
This is a TECHNIQUE ONLY tutorial….it does not cover the steps to make the card….just the steps to create the fabulous embossed leather look.
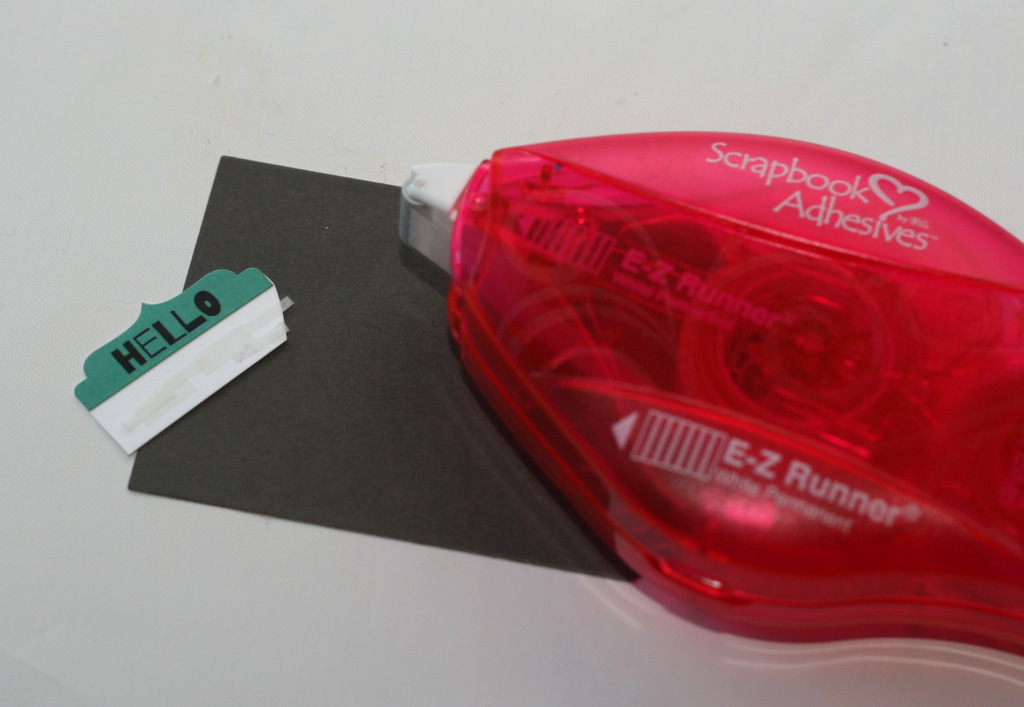
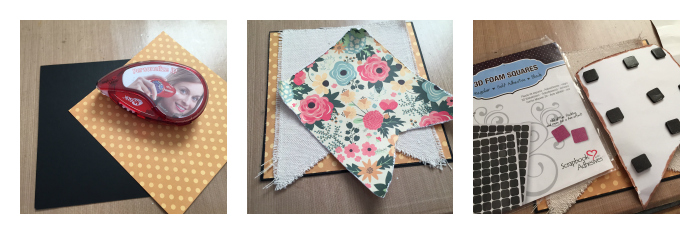
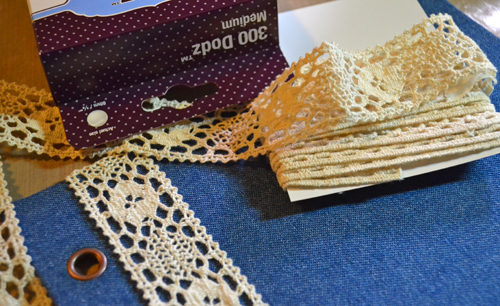
Here’s what you need to get started:
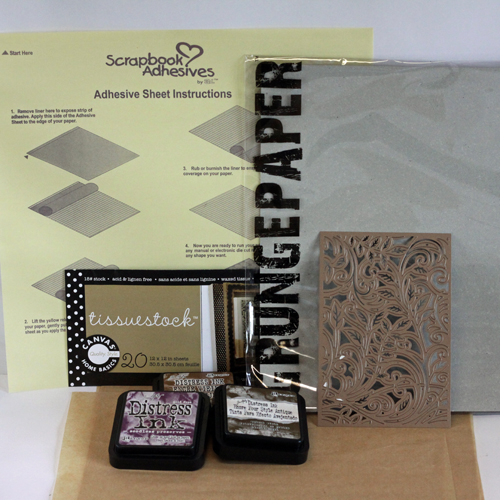
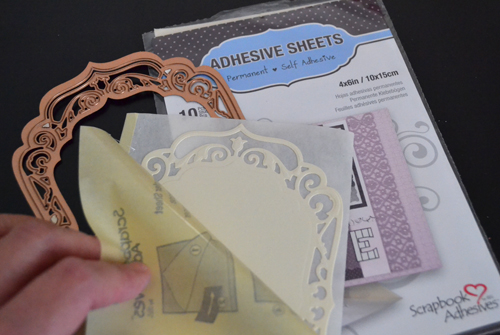
Gather your Scrapbook Adhesives by 3L® Adhesive Sheets – 12×12″, your favorite thin steel background die, some tissue paper (kraft colored), some ink (medium brown, dark brown and a purple) and a base material that WON’T be cut by the thin steel die (I used grunge paper, but think a heavy chipboard would also work).
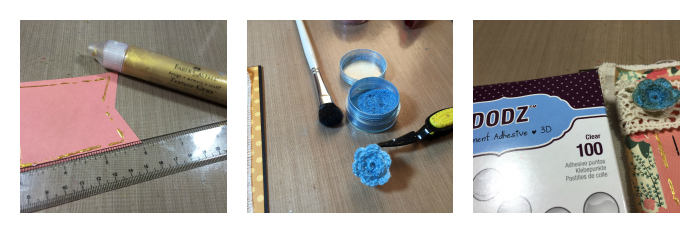
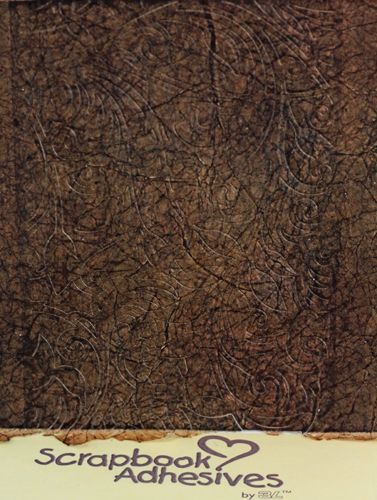
1. Cut a 6 x 6″ piece of the grunge paper. Ink all over with the medium brown ink, using a blending tool if necessary to fully cover the base. Apply random patches of purple ink and dark brown ink and blend until you are happy! Let dry or heat set (whatever your ink requires to dry and become permanent).
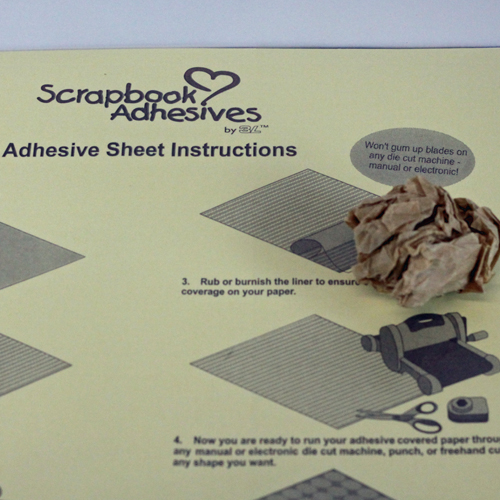
2. Crumple the tissue paper into a tight ball. Smooth and repeat 2 to 3 additional times to create even texture in the tissue paper.
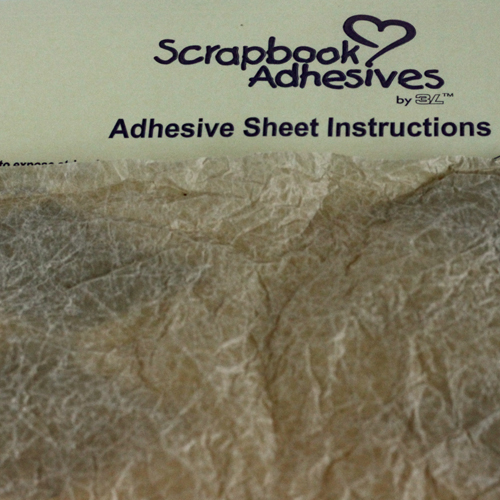
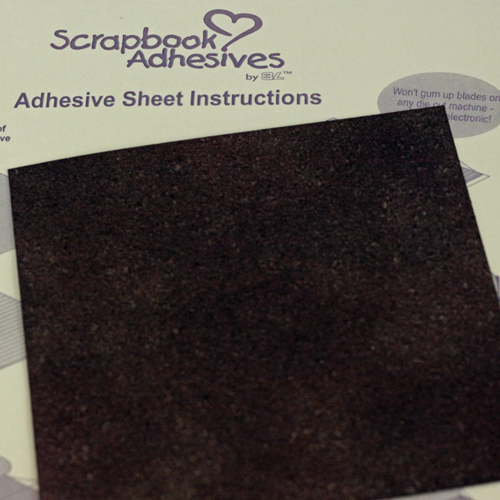
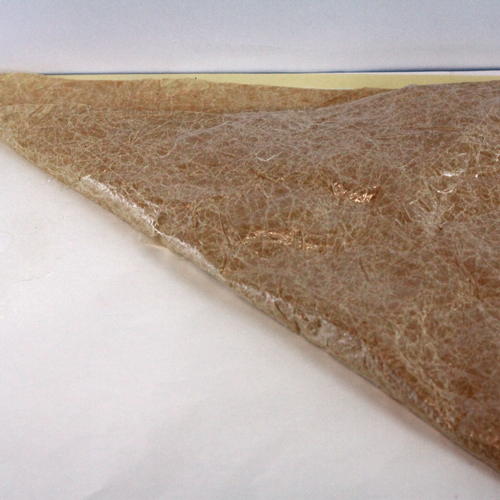
3. Peel back the yellow protective covering on the Adhesive Sheet – 12 x 12″. Apply the tissue paper to the adhesive. Recover with the yellow protective layer, flip over and burnish the tissue paper to transfer the adhesive.

4. Peel back the tissue paper, ensuring the adhesive has transferred (if there are any areas with poor transfer, simply return the tissue paper to the adhesive sheet and burnish some more!). Place the inked base colored side up on the white backing and replace the tissue paper, adhesive side down on the colored base.
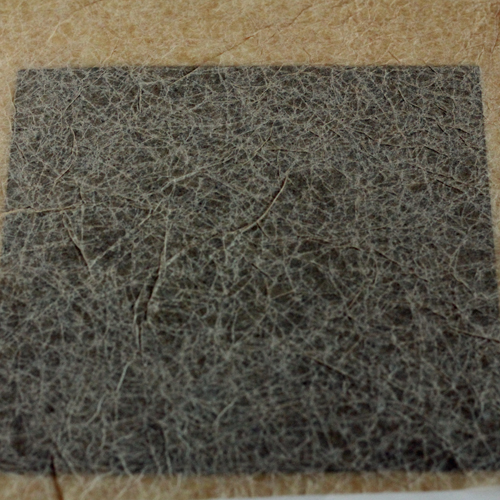
5. Burnish from the tissue paper side and tear the excess tissue paper away from the edges of the base. Repeat the inking procedure in step #1 (including the dry/heat set part) on the tissue paper.
6. Place the faux leather onto your base plate and place your thin steel background die face down on the faux leather.
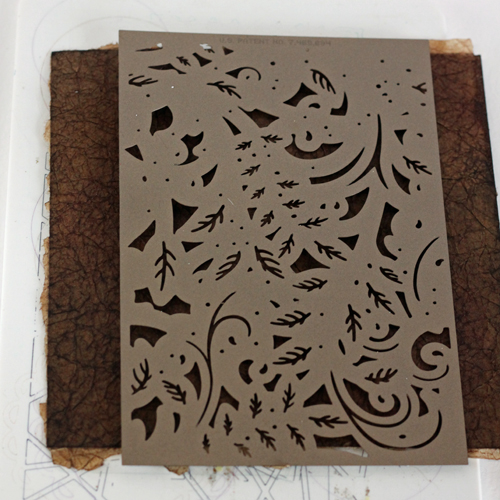
7. Complete the die cutting sandwich as required by your machine and run through the machine (if you skip the embossing step, run the base through your machine replacing the die with a piece of chipboard to help seal the tissue paper securely to the base).
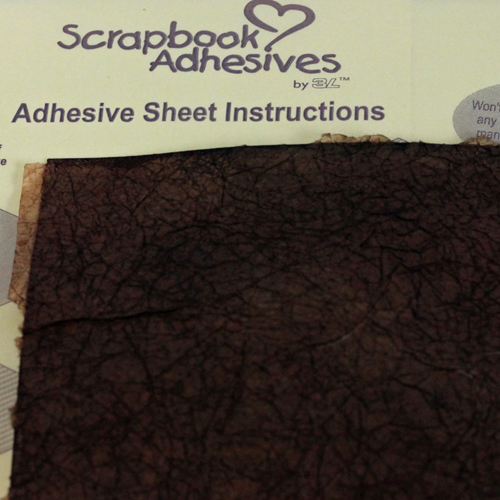
8. Ink the raised edge with some additional dark brown ink and let dry or heat set, as required.
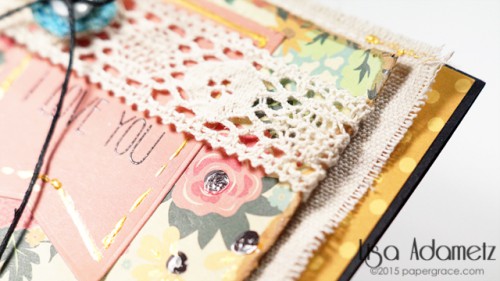
Here’s a close up of the final project using the embossed faux leather:
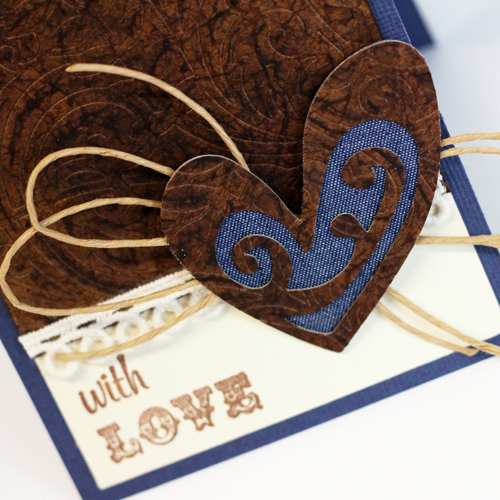
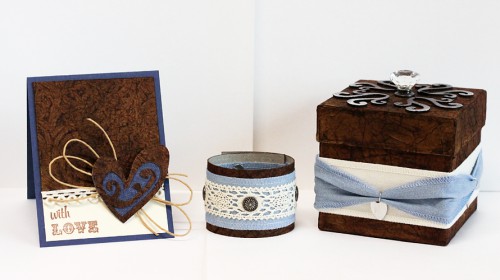
And YOU’RE DONE! Easy and elegant technique, I think! I used a version of the same technique (minus the embossing) on all of my CHA projects this year – a card, a cuff and a gift box….
Thanks for stopping by today!
Angela
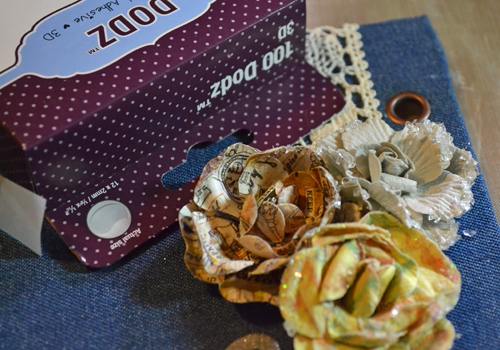
Scrapbook Adhesives by 3L® used: Adhesive Sheets – 12 x 12″, DODZ 3D, E-Z Runner® Permanent Strips Refillable, Crafty Power Tape 20′ Roll,
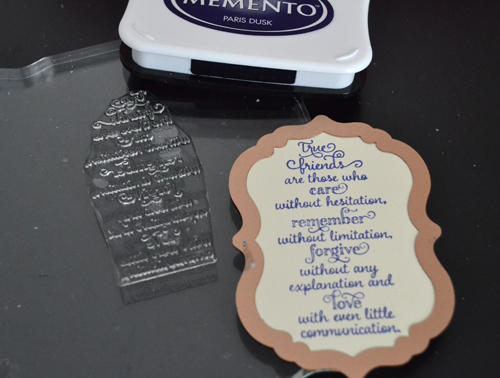
Other supplies used: Bazzil Basics card stock, Spellbinders and Tim Holtz for Sizzix dies, Ranger Archival and Distress Inks, Canvas Corp. Tissue stock, Stampabilities stamp, misc. wired raffia
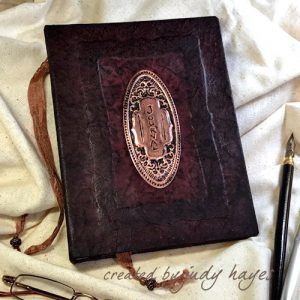
Also see Judy Hayes’ Handmade Holidays Faux Leather Journal tutorial
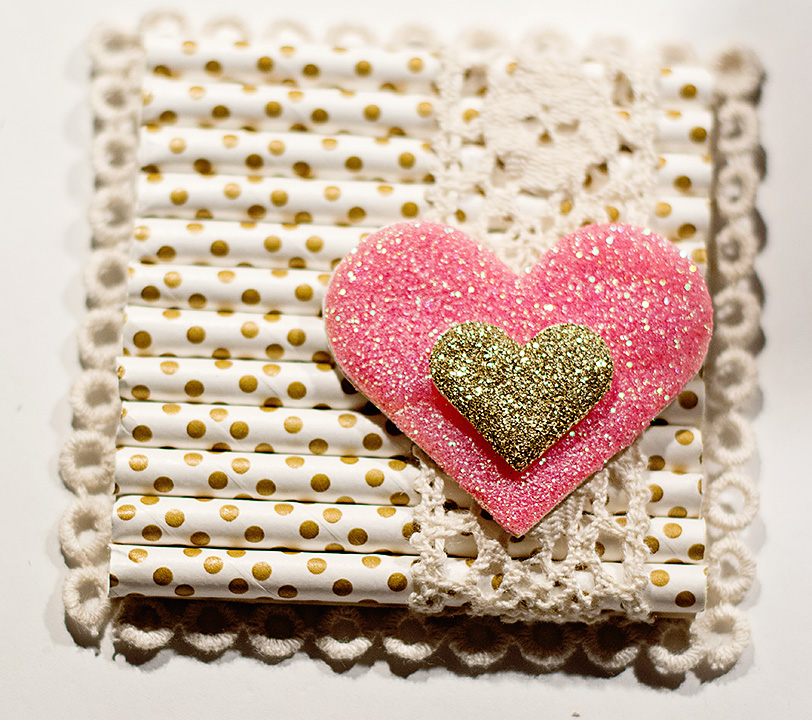
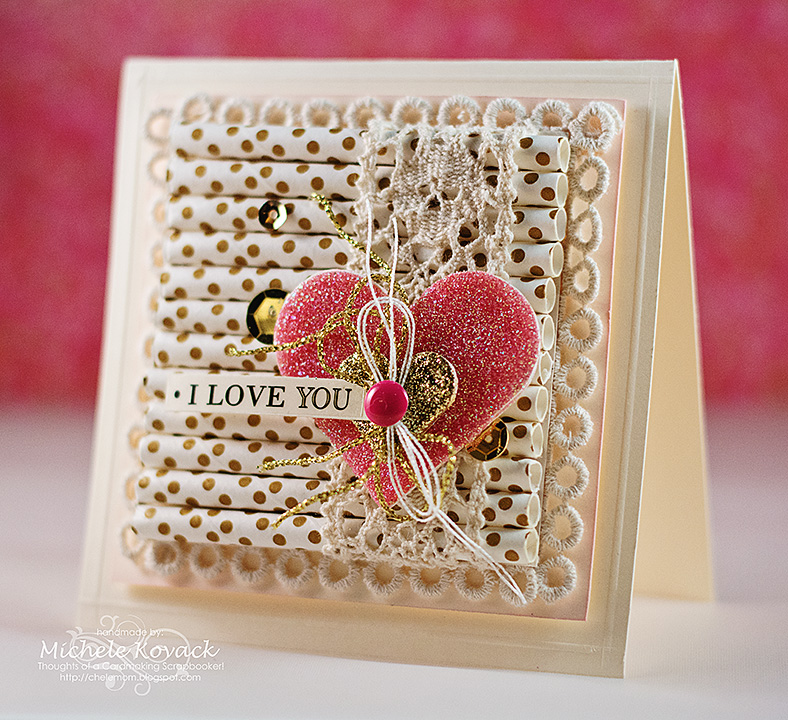
 I adhered the Good Times paper onto my card base with Crafty Foam Tape.