Please give a warm welcome to Linda Lucas, one of our fabulous Ambassador Team members! Linda, also known online as Lovely Linda, has a wonderful tutorial for us today!
 Isn’t this gorgeous! Take it away, Linda!
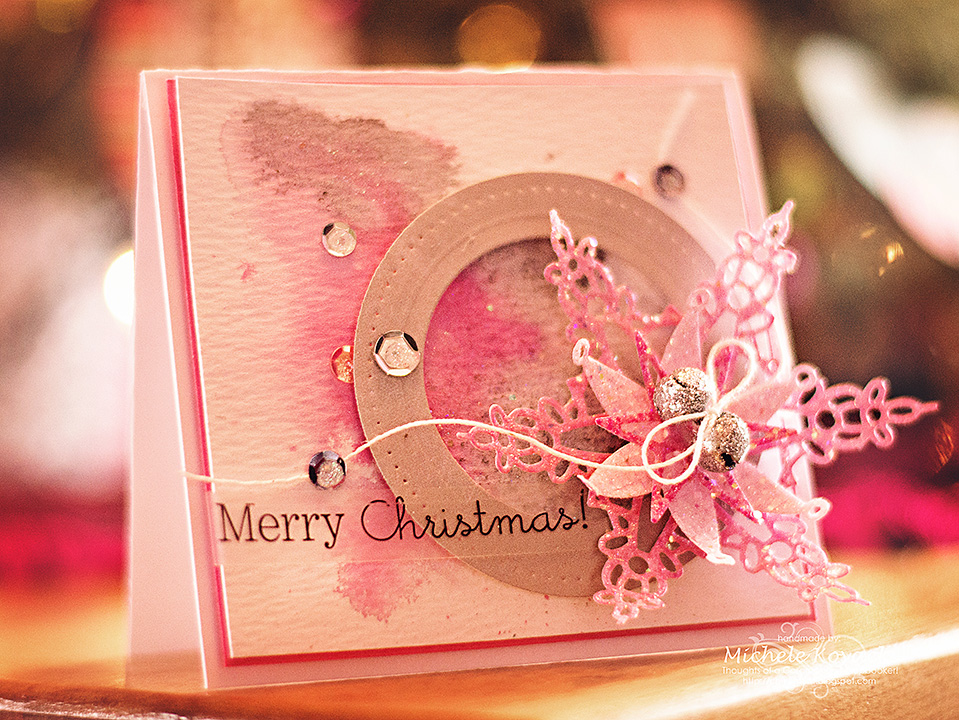
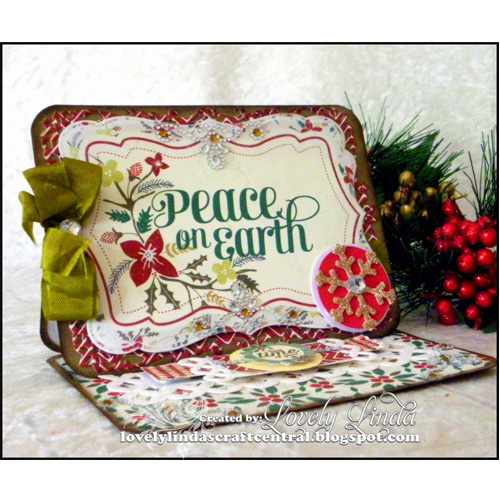
Peace on Earth Card
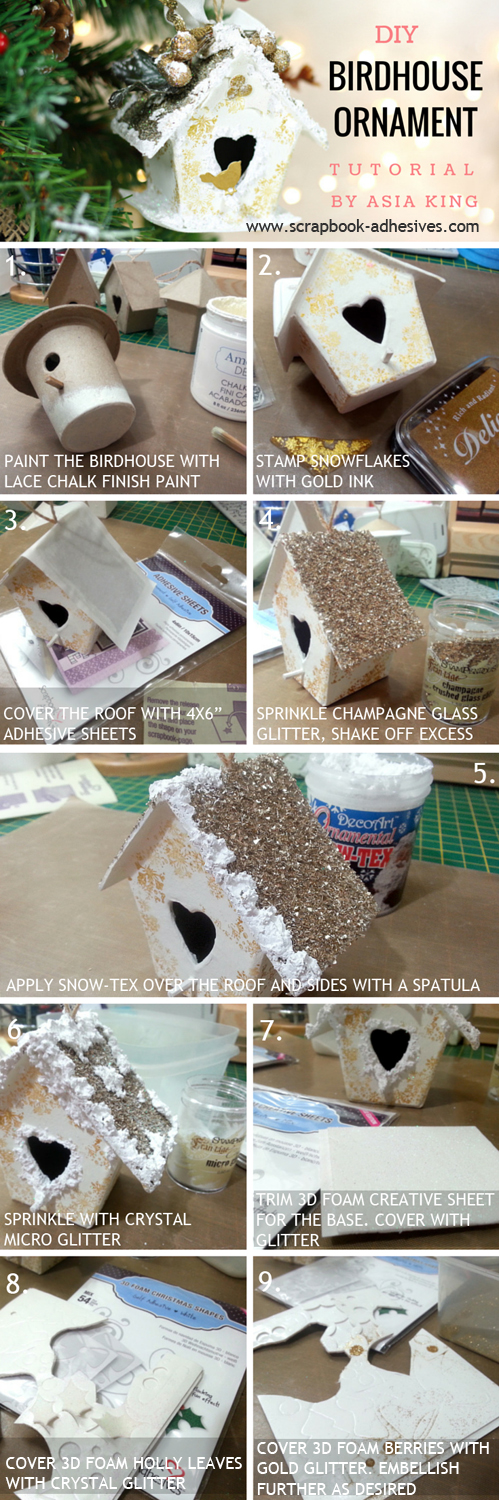
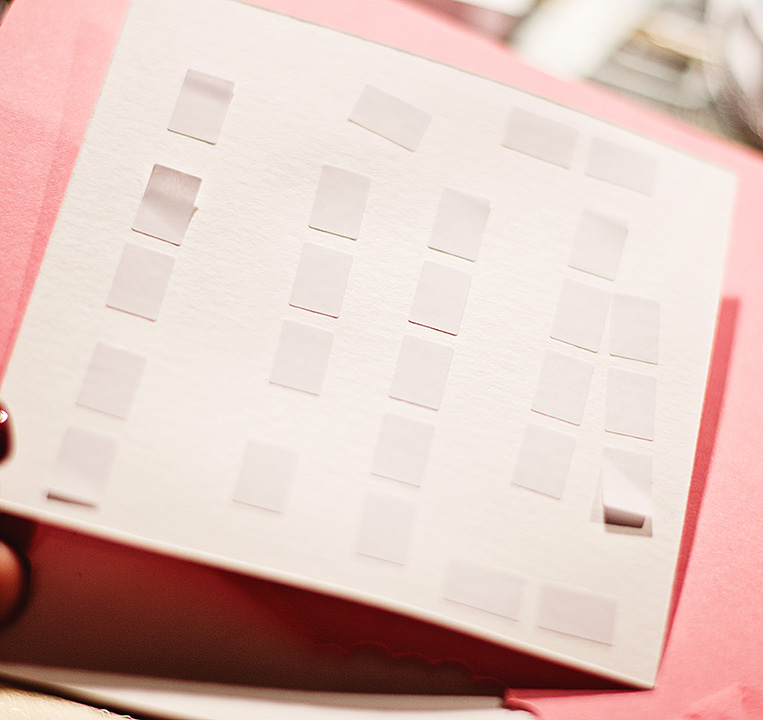
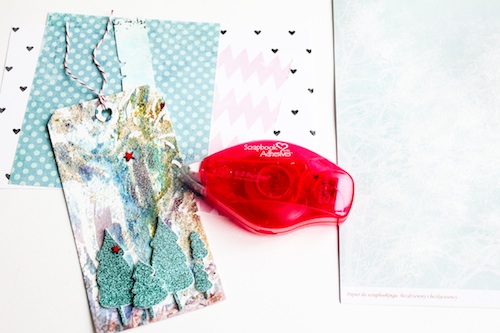
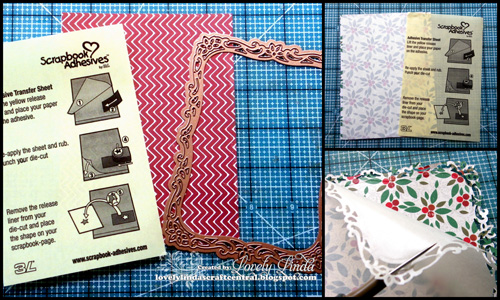
1. Remove the yellow layer from the Adhesive Sheet and place the adhesive on the back side of patterned paper.
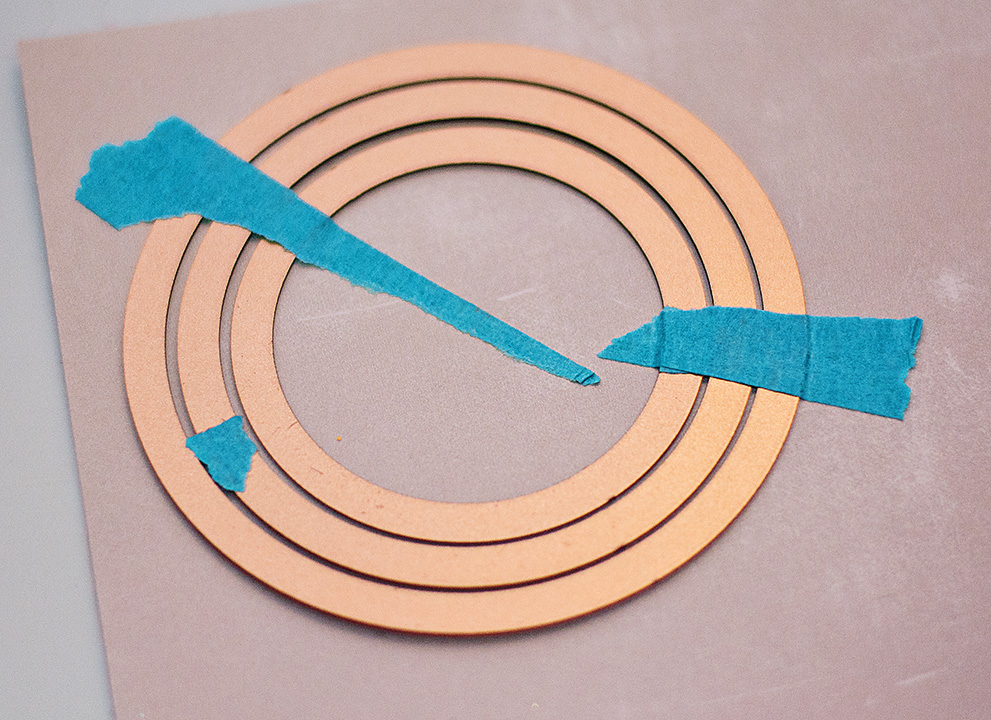
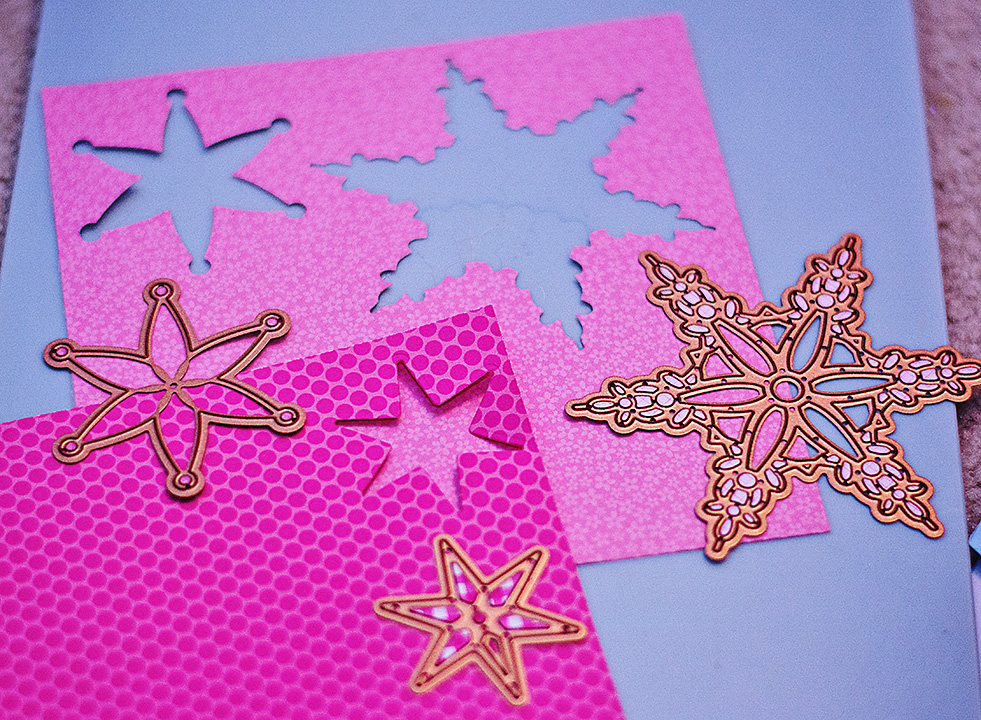
2. Cut/emboss using a die cutting machine and a decorative die cut.
3. Peel off white liner from the die cut to expose the adhesive.
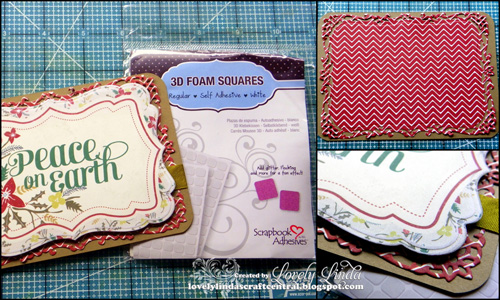
4. Adhere the patterned paper to an Easel Card Base – with pre-rounded corners.
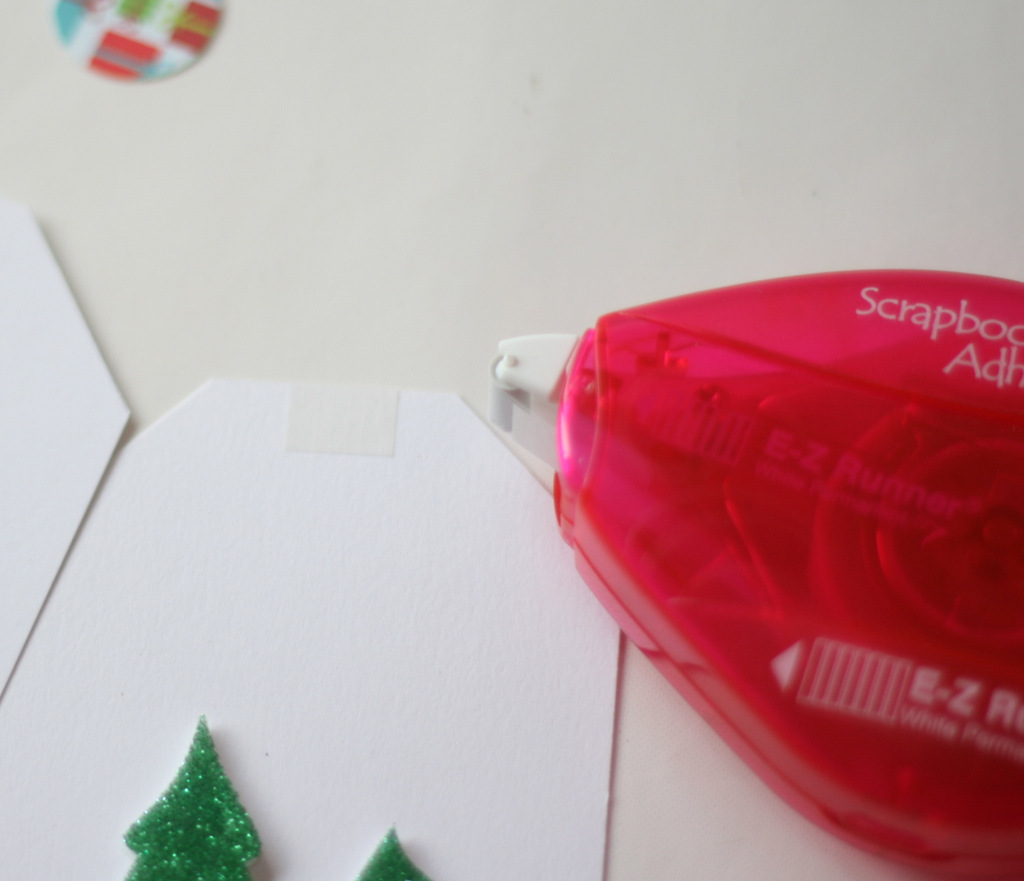
5. Adhere seam binding around the middle of the decorative layer with E-Z Runner® Permanent Strips.
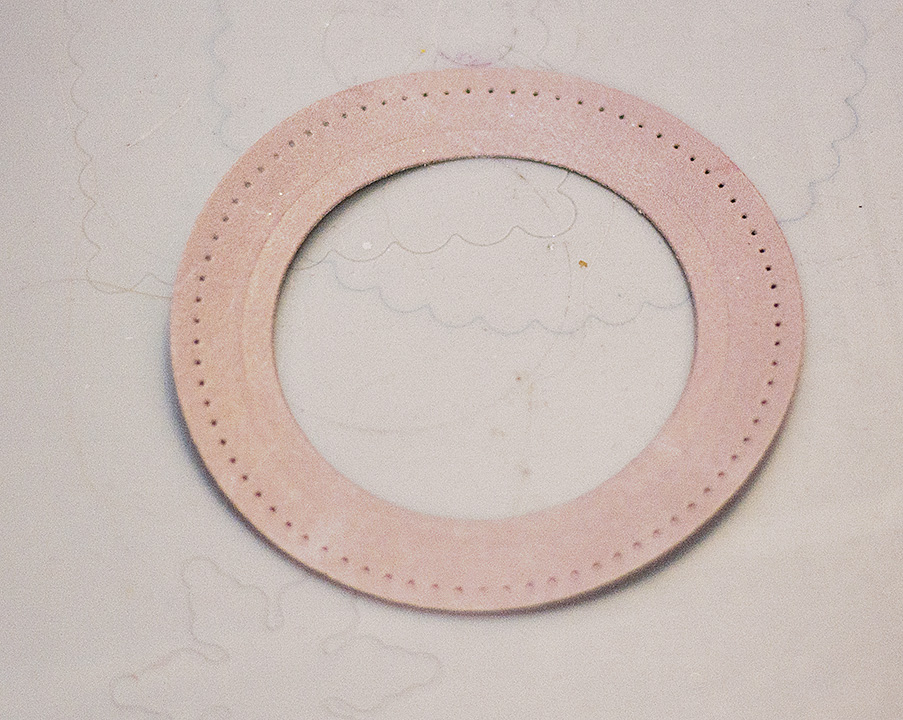
6. Cut/emboss Sentiment paper using another decorative die cut and lightly sand around embossed edges using a sanding block.
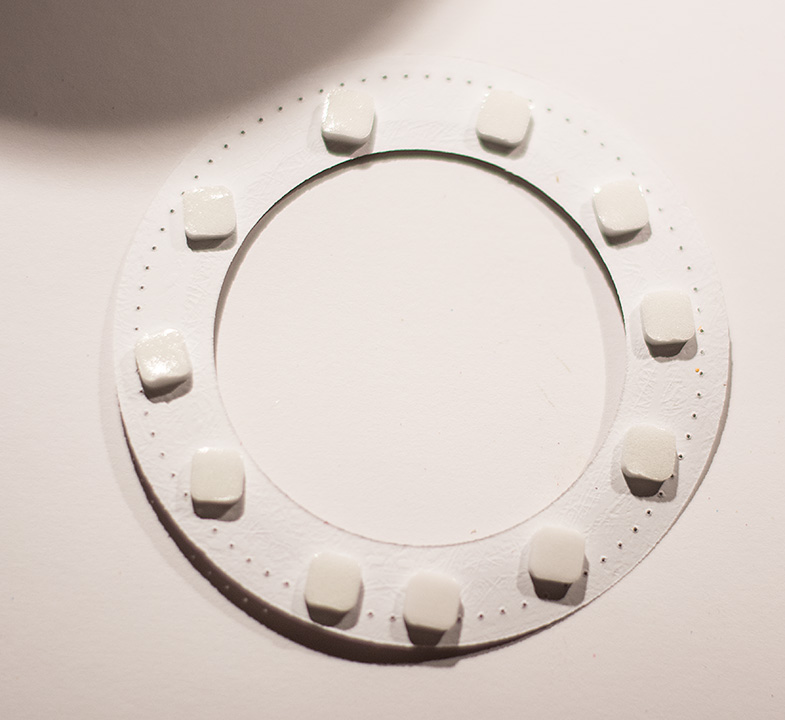
7. Adhere to layered card base using 3D Foam Squares for dimension. Add a double seam binding bow to the left of the patterned layer.
Note: The Peace On Earth sentiment is pre-printed, but you could stamp an image if preferred.
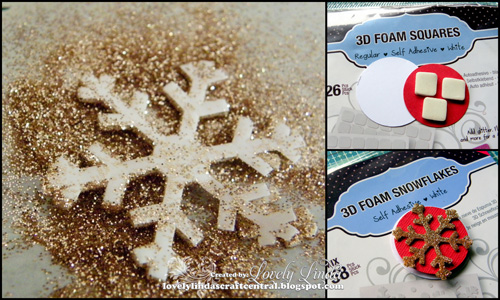
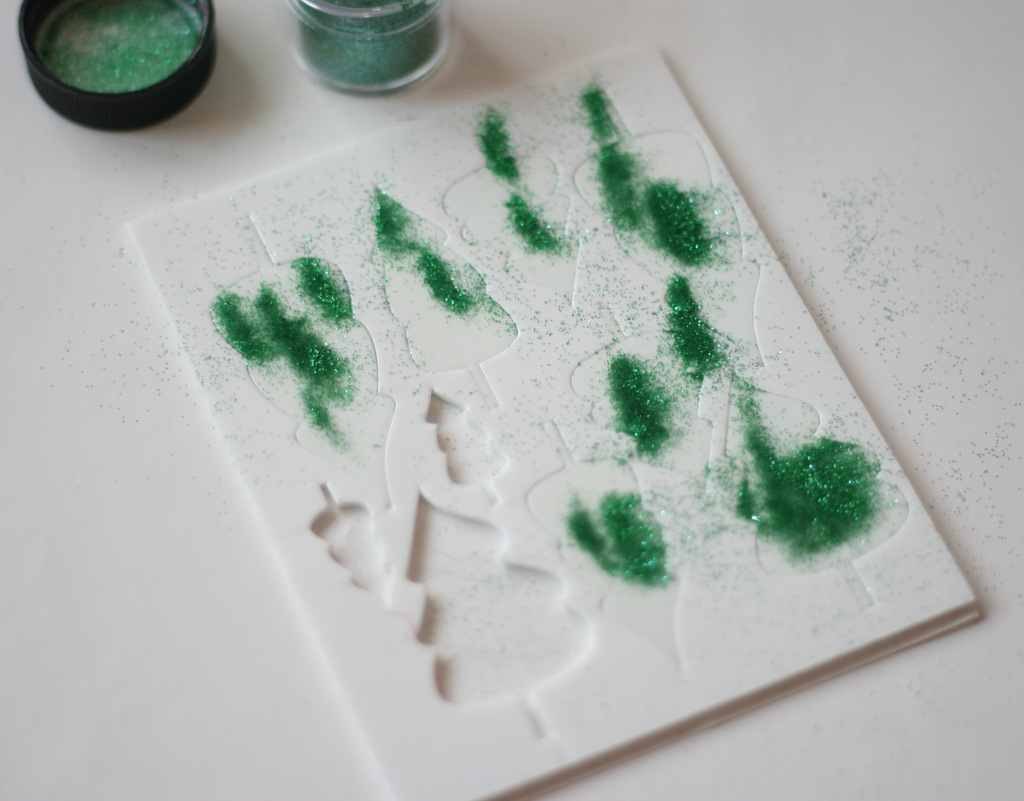
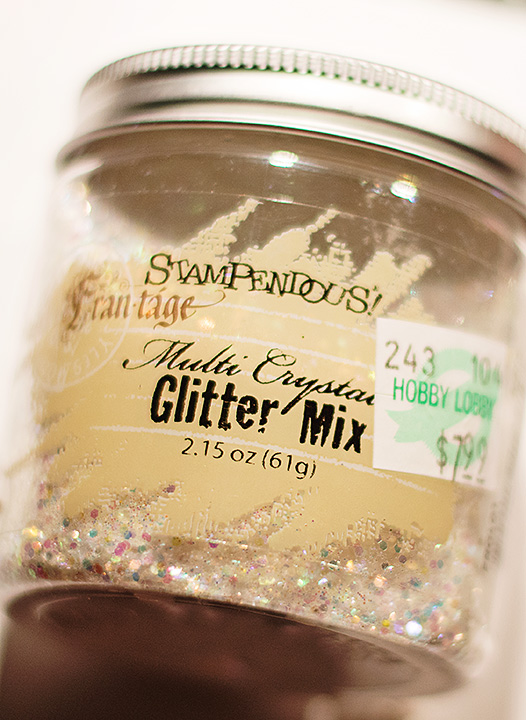
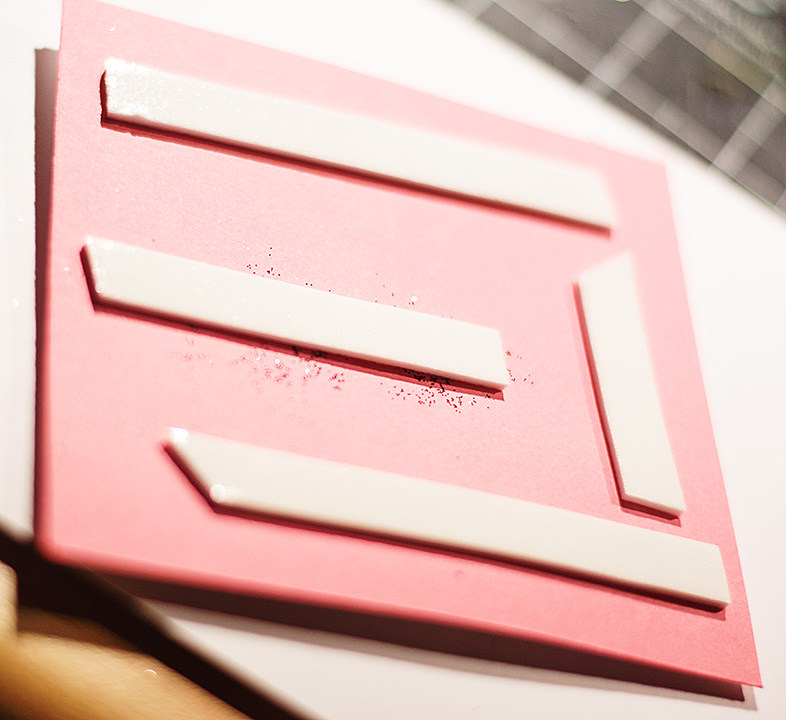
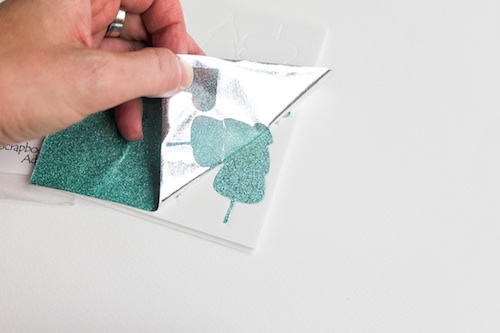
8. Remove the top liner paper from a 3D Foam Snowflake, sprinkle on gold glitter and wipe off excess.
9. Adhere the glittered 3D Foam Snowflake to small die cut red circle. Adhere 3D Foam Squares and adhere to a slighter larger white circle.
10. Adhere layered circles to the bottom corner of the layered die cut using E-Z Dots® Permanent.
11. Attach to Easel Card base, which has had patterned paper added, using E-Z Dots® Permanent. Attach patterned border strip using the E-Z Runner® Permanent Strips.
12. Using 3D Foam Squares, adhere to a thin strip of cardstock across the centre of the card base, adding sentiment and embellishments as desired. This will hold the easel card upright
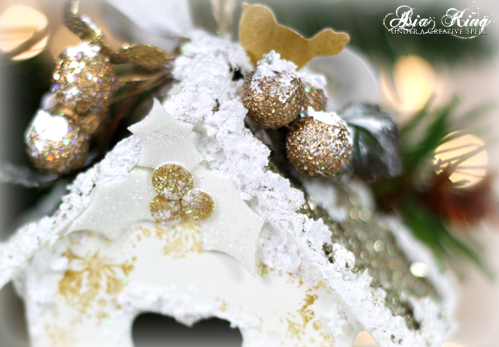
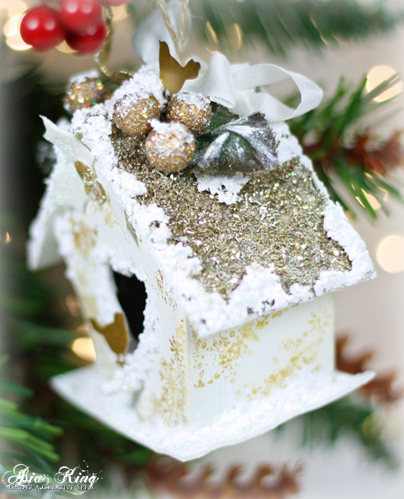
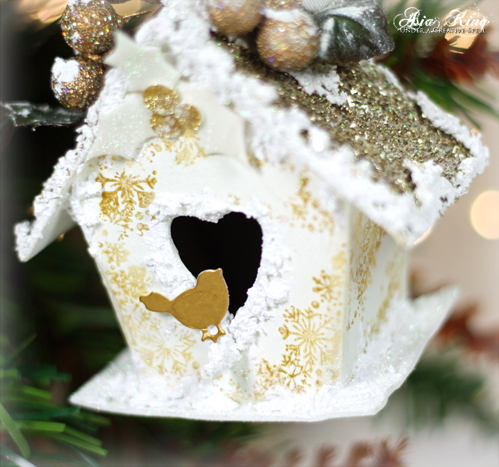
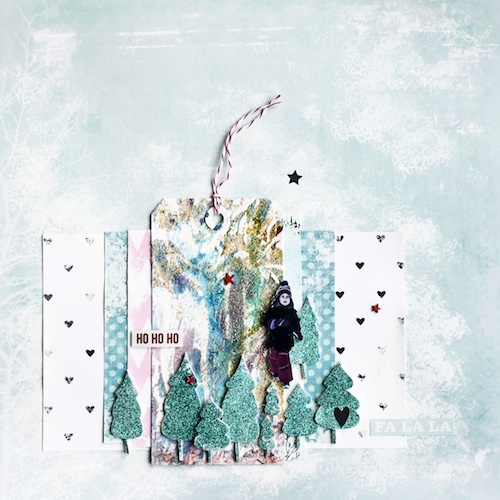
13. Finish by adding bling as shown in the main photo above.
Thank you Linda! If you want to see more of her work, you can find her at Lovely Linda’s Craft Central.
- Creative Time: 60 minutes
- Skill Level: Intermediate
Linda uses these supplies:
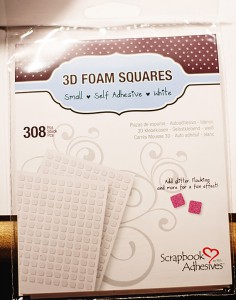
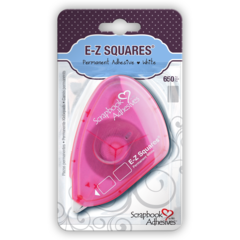
- Scrapbook Adhesives by 3L®: Adhesive Sheets 4×6”, 3D Foam Squares Regular White, 3D Foam Squares White Small, E-Z Dots® Permanent Refillable, E-Z Runner® Permanent Strips Refillable
- Spellbinders: Labels Seventeen, Decorative Labels Eight, Grand Calibur Die Cutting Machine
- Authentique Paper: Joyous Collection 12×12; Seam Binding
- Want2Scrap: 72 Count Silver Rhinestone Self Adhesive, Beautiful Bling Borders by Nina Brackett – Fancy That, Baby Bling – Brown Rhinestones – Self Adhesive
- Sanding Block; Gold Glitter