Hello Blogosphere! It’s Tiffany here today and welcome to Day 2 of our Blog Hop with Avery Elle!
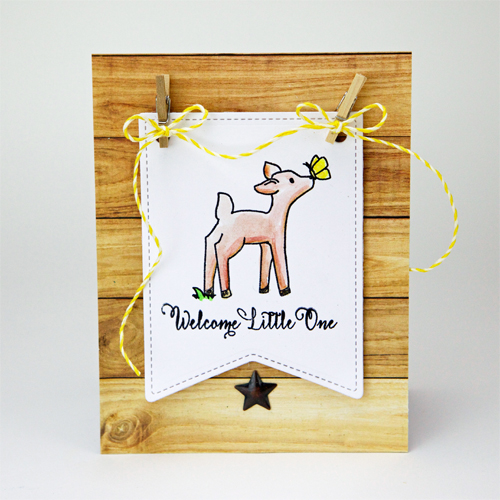
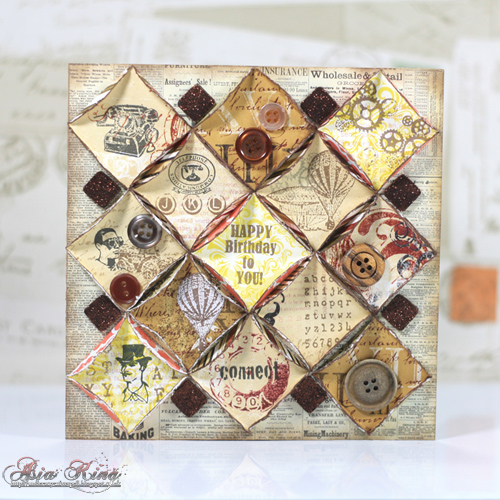
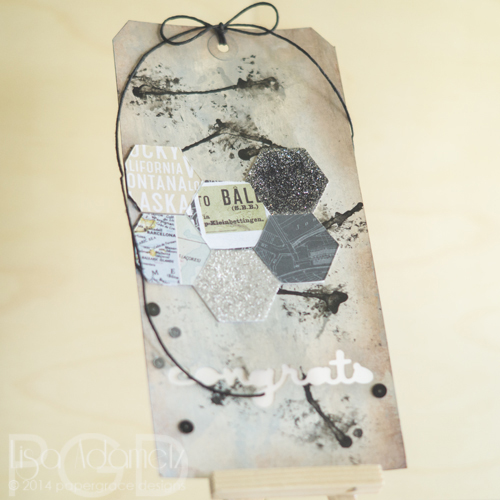
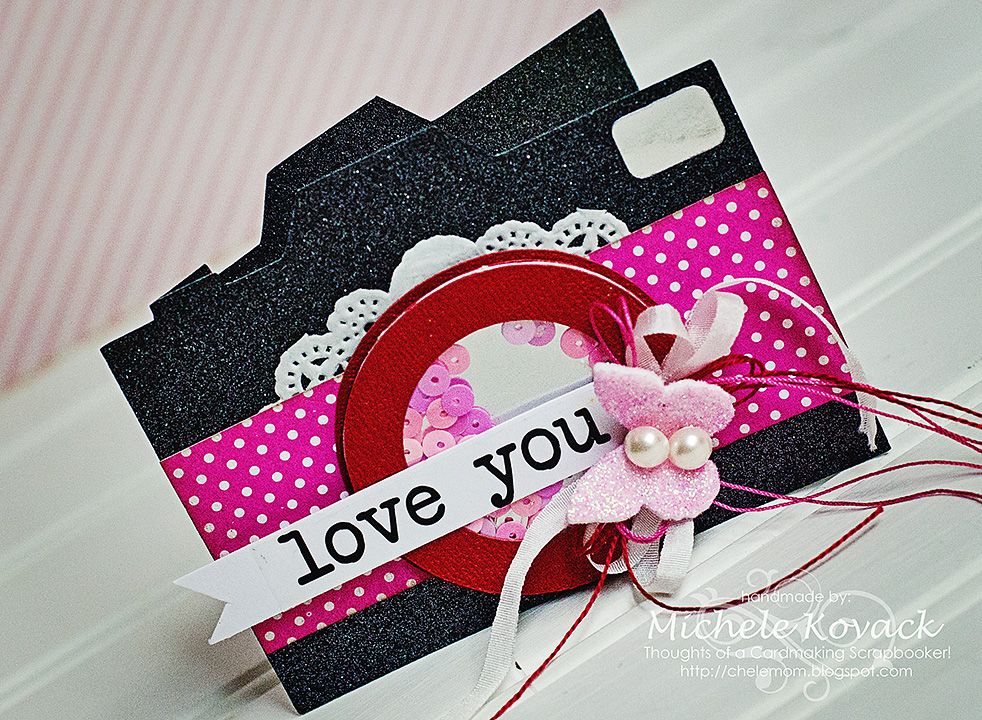
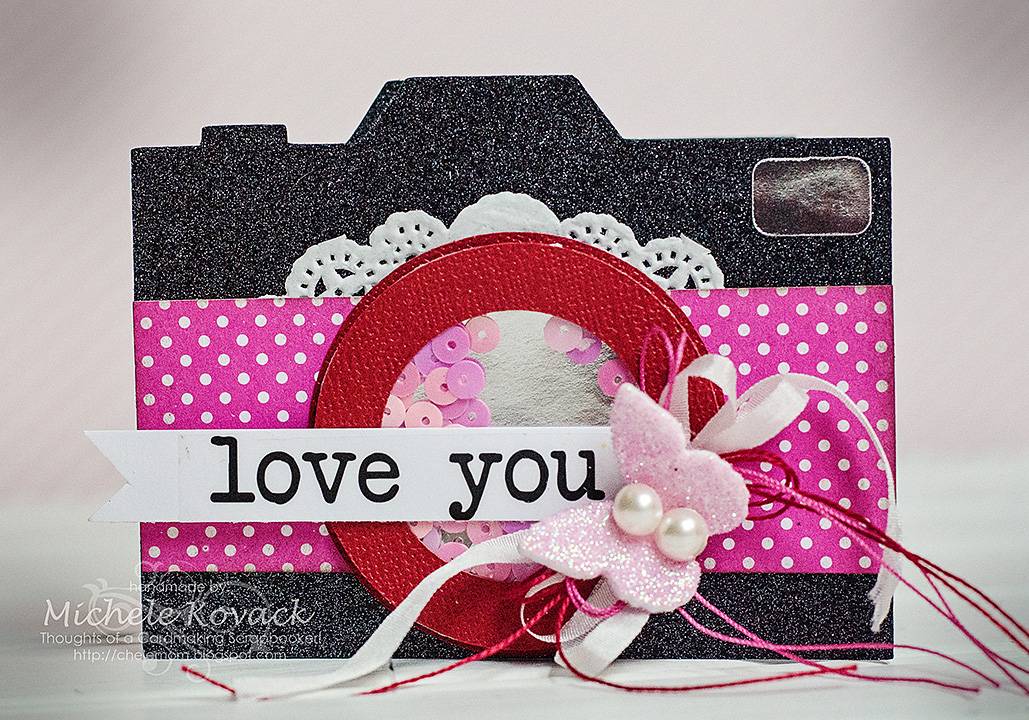
For my card, I chose to work with the Storybook Stamp Set designed by Heather Campbell. I used my Faber-Castell Design Memory Craft Gelatos and Art Grip Aquarelle Watercolor Pencils to color my stamped images.
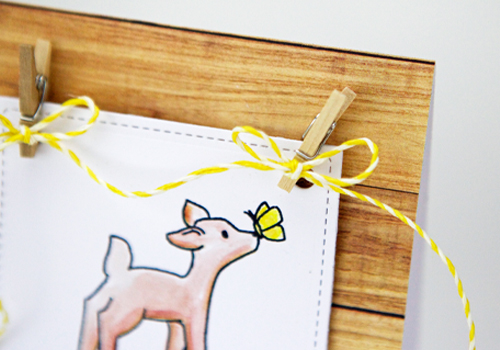
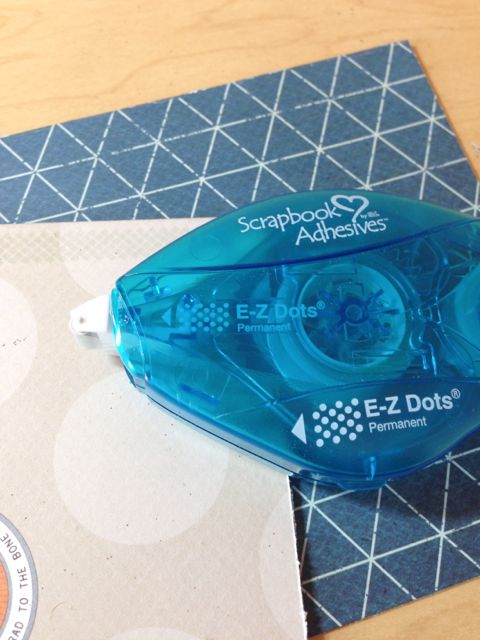
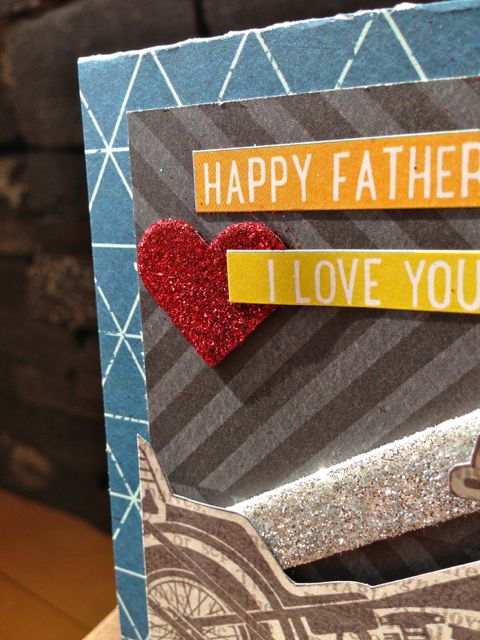
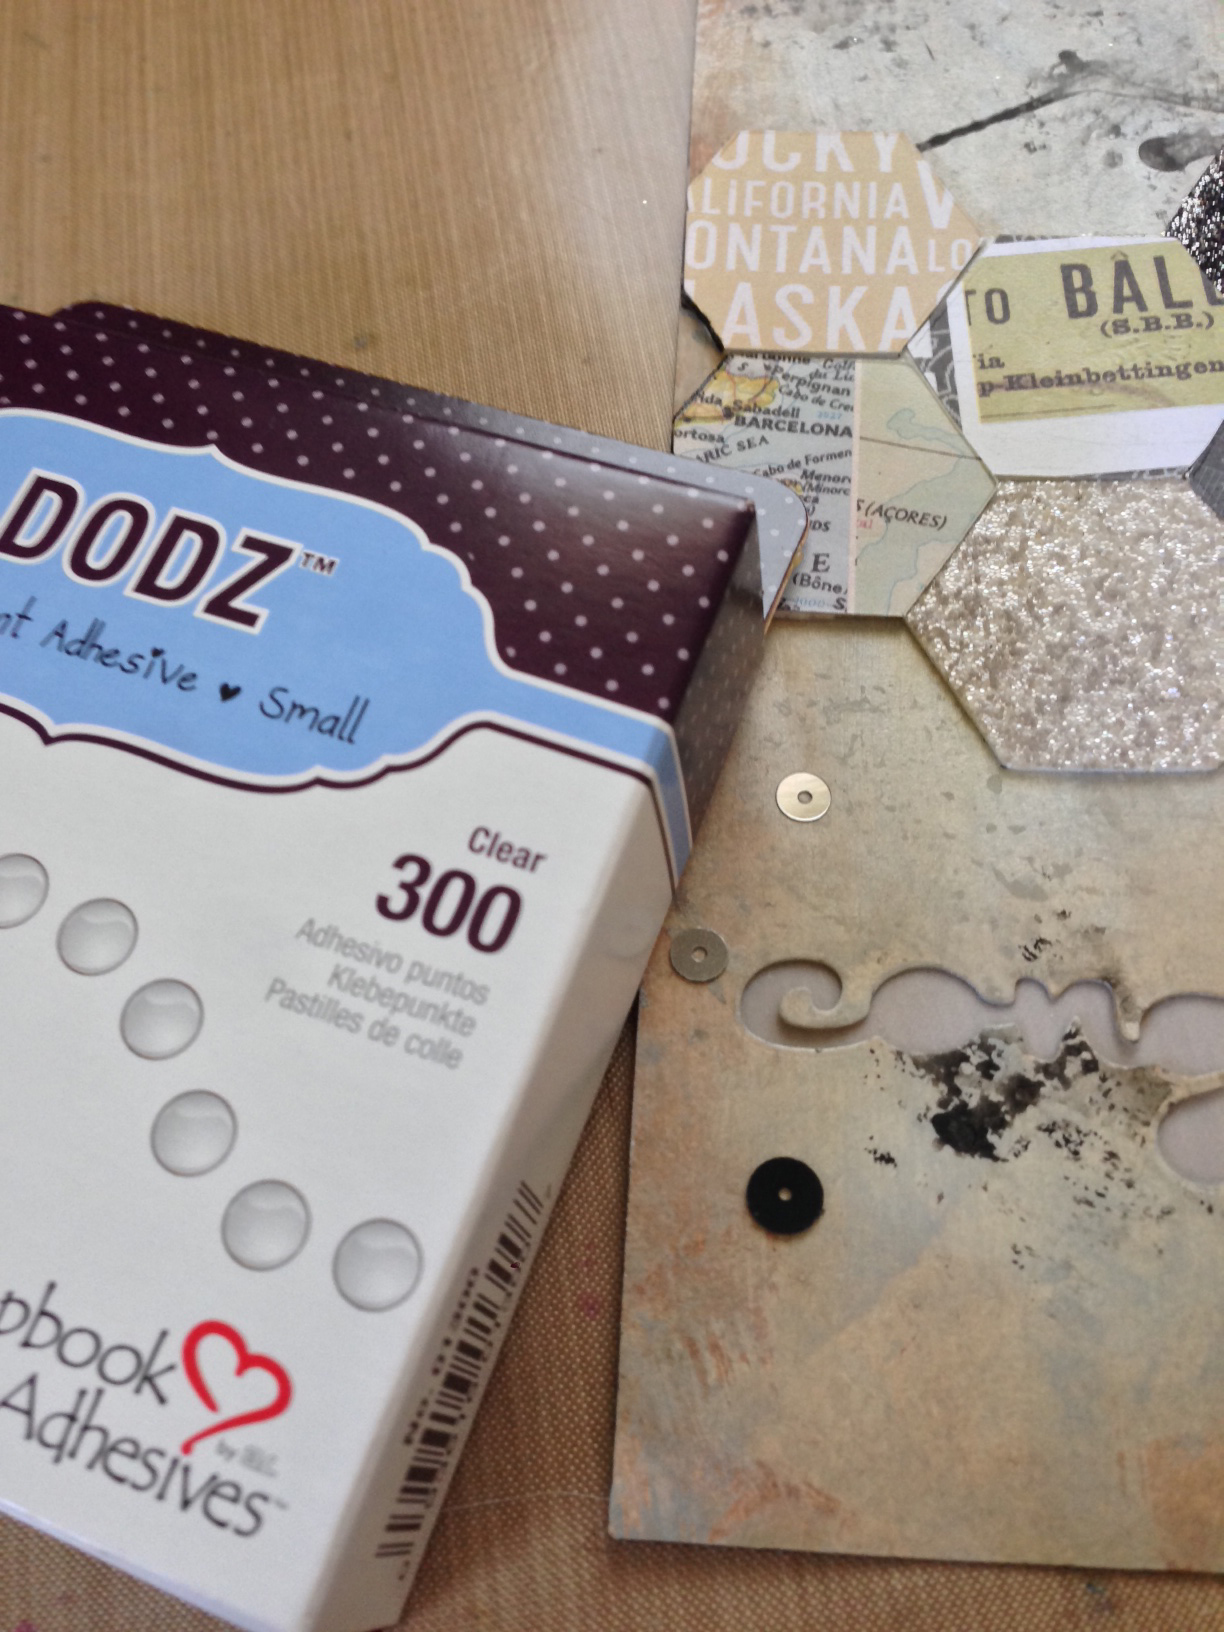
To attach my little twine banner, I used Adhesive Dots Small. You can’t even see the adhesive underneath those mini bows!
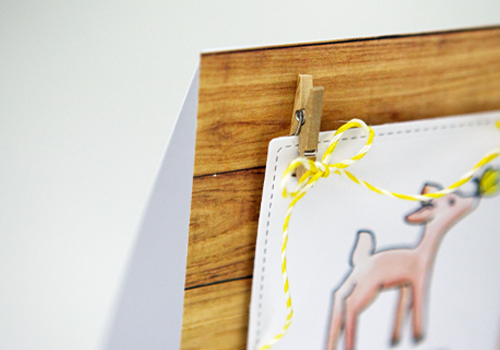
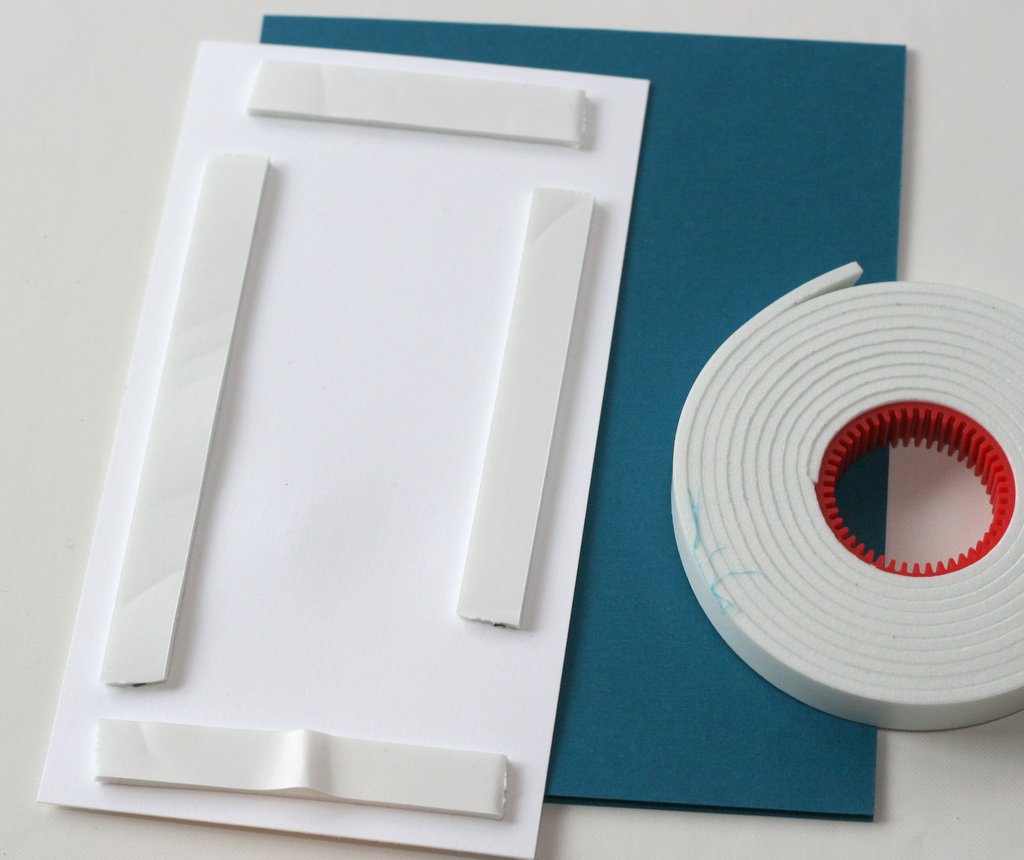
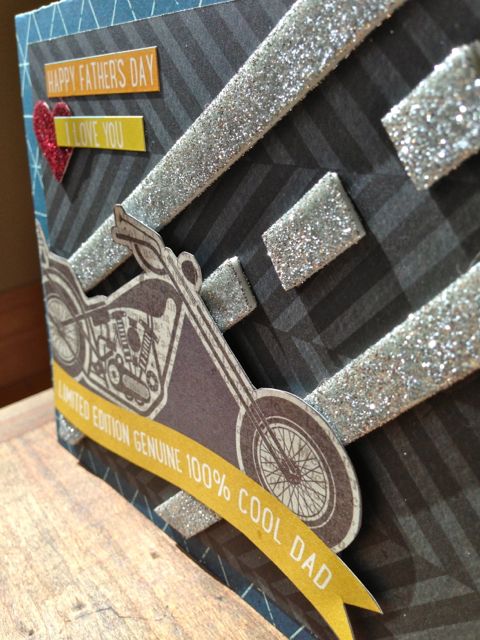
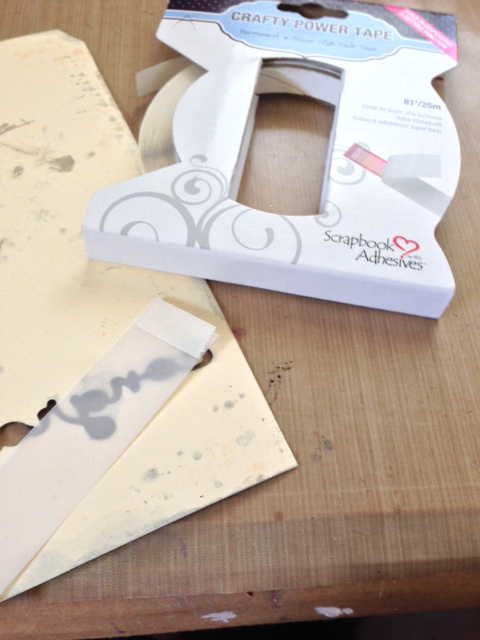
To adhere the banner die-cut, I used 3D Foam Squares because those little clothespins add a ton of dimension and I didn’t want to lose that! To make everything complete, I adhered my card front using my go-to adhesive, MyStik® Permanent Strips! Easy Peasy!
Thanks for hopping by,
Now for the Blog Hop Details
We have 2 prizes! Each is a combination of Scrapbook Adhesives by 3L® adhesives and Avery Elle Stamps valued at over $30! Please enter through the Rafflecopter system with a blog comment. Additional entries are available too! Come back each day to enter, contest runs from June 16-20 at 11:59pm Central Time! Don’t forget to visit the Avery Elle Blog for additional chances to win! Good Luck and thanks for visiting!
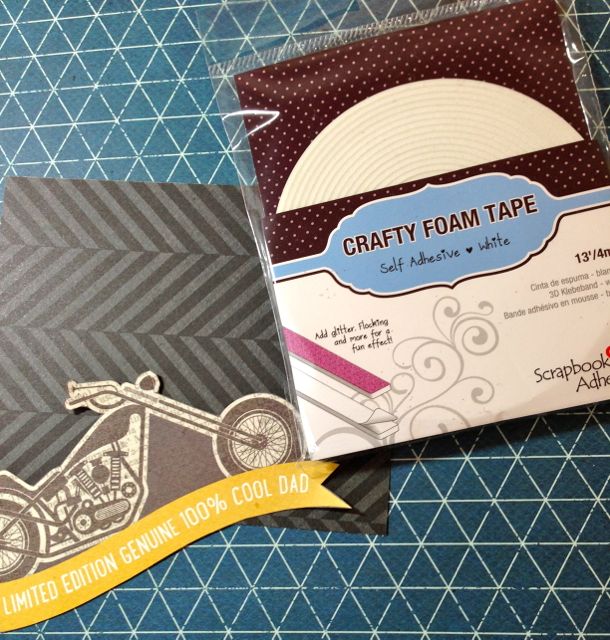
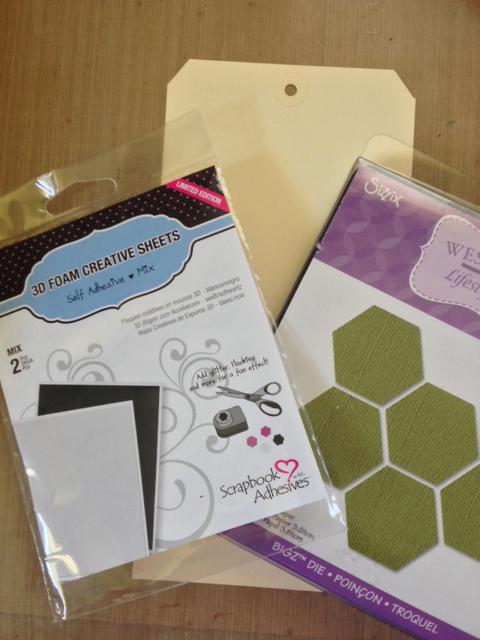
These are the supplies I used:
Scrapbook Adhesives by 3L®: Adhesive Dots Small, 3D Foam Squares White-Regular, MyStik® Permanent Strips Refillables
Avery Elle Stamps: Storybook Stamp Set
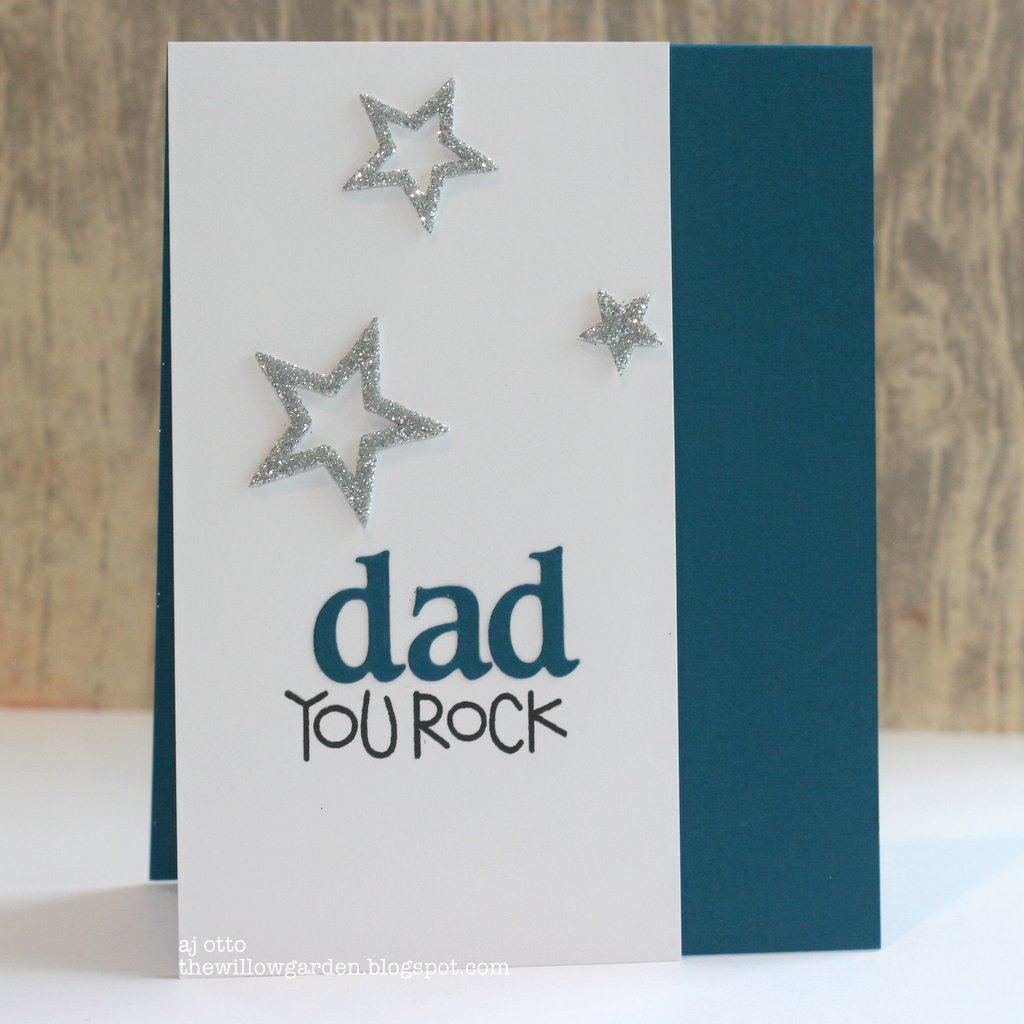
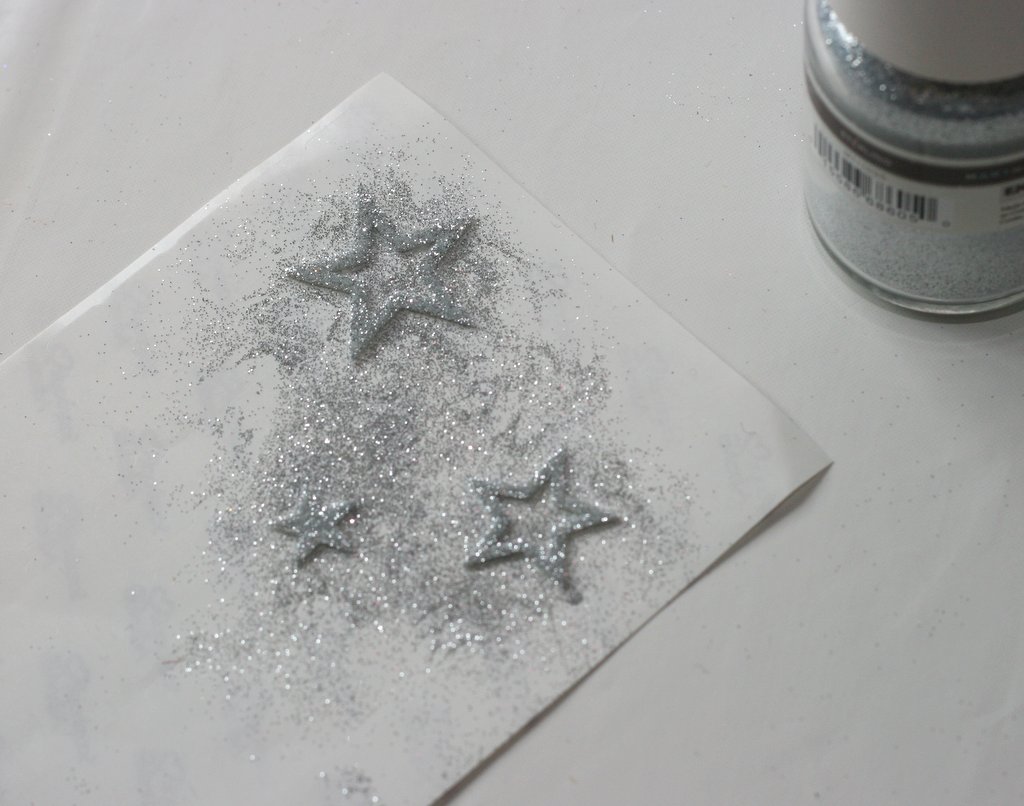


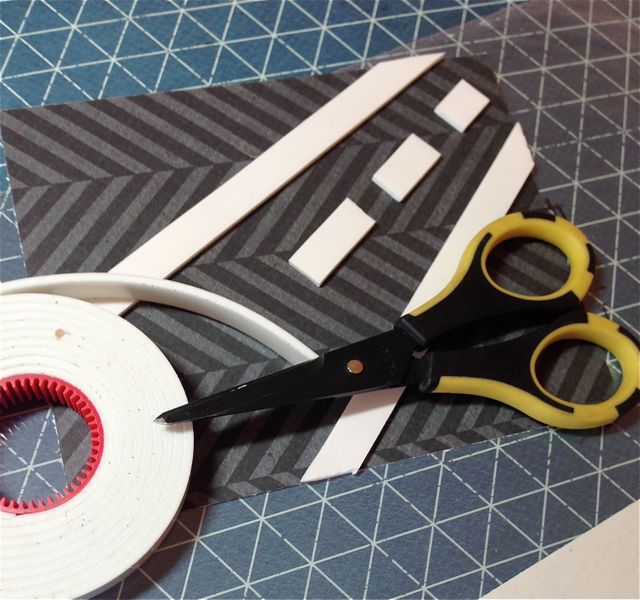
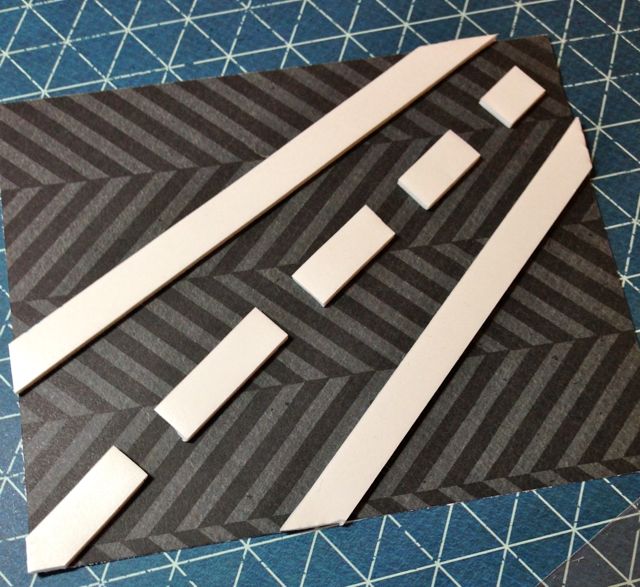
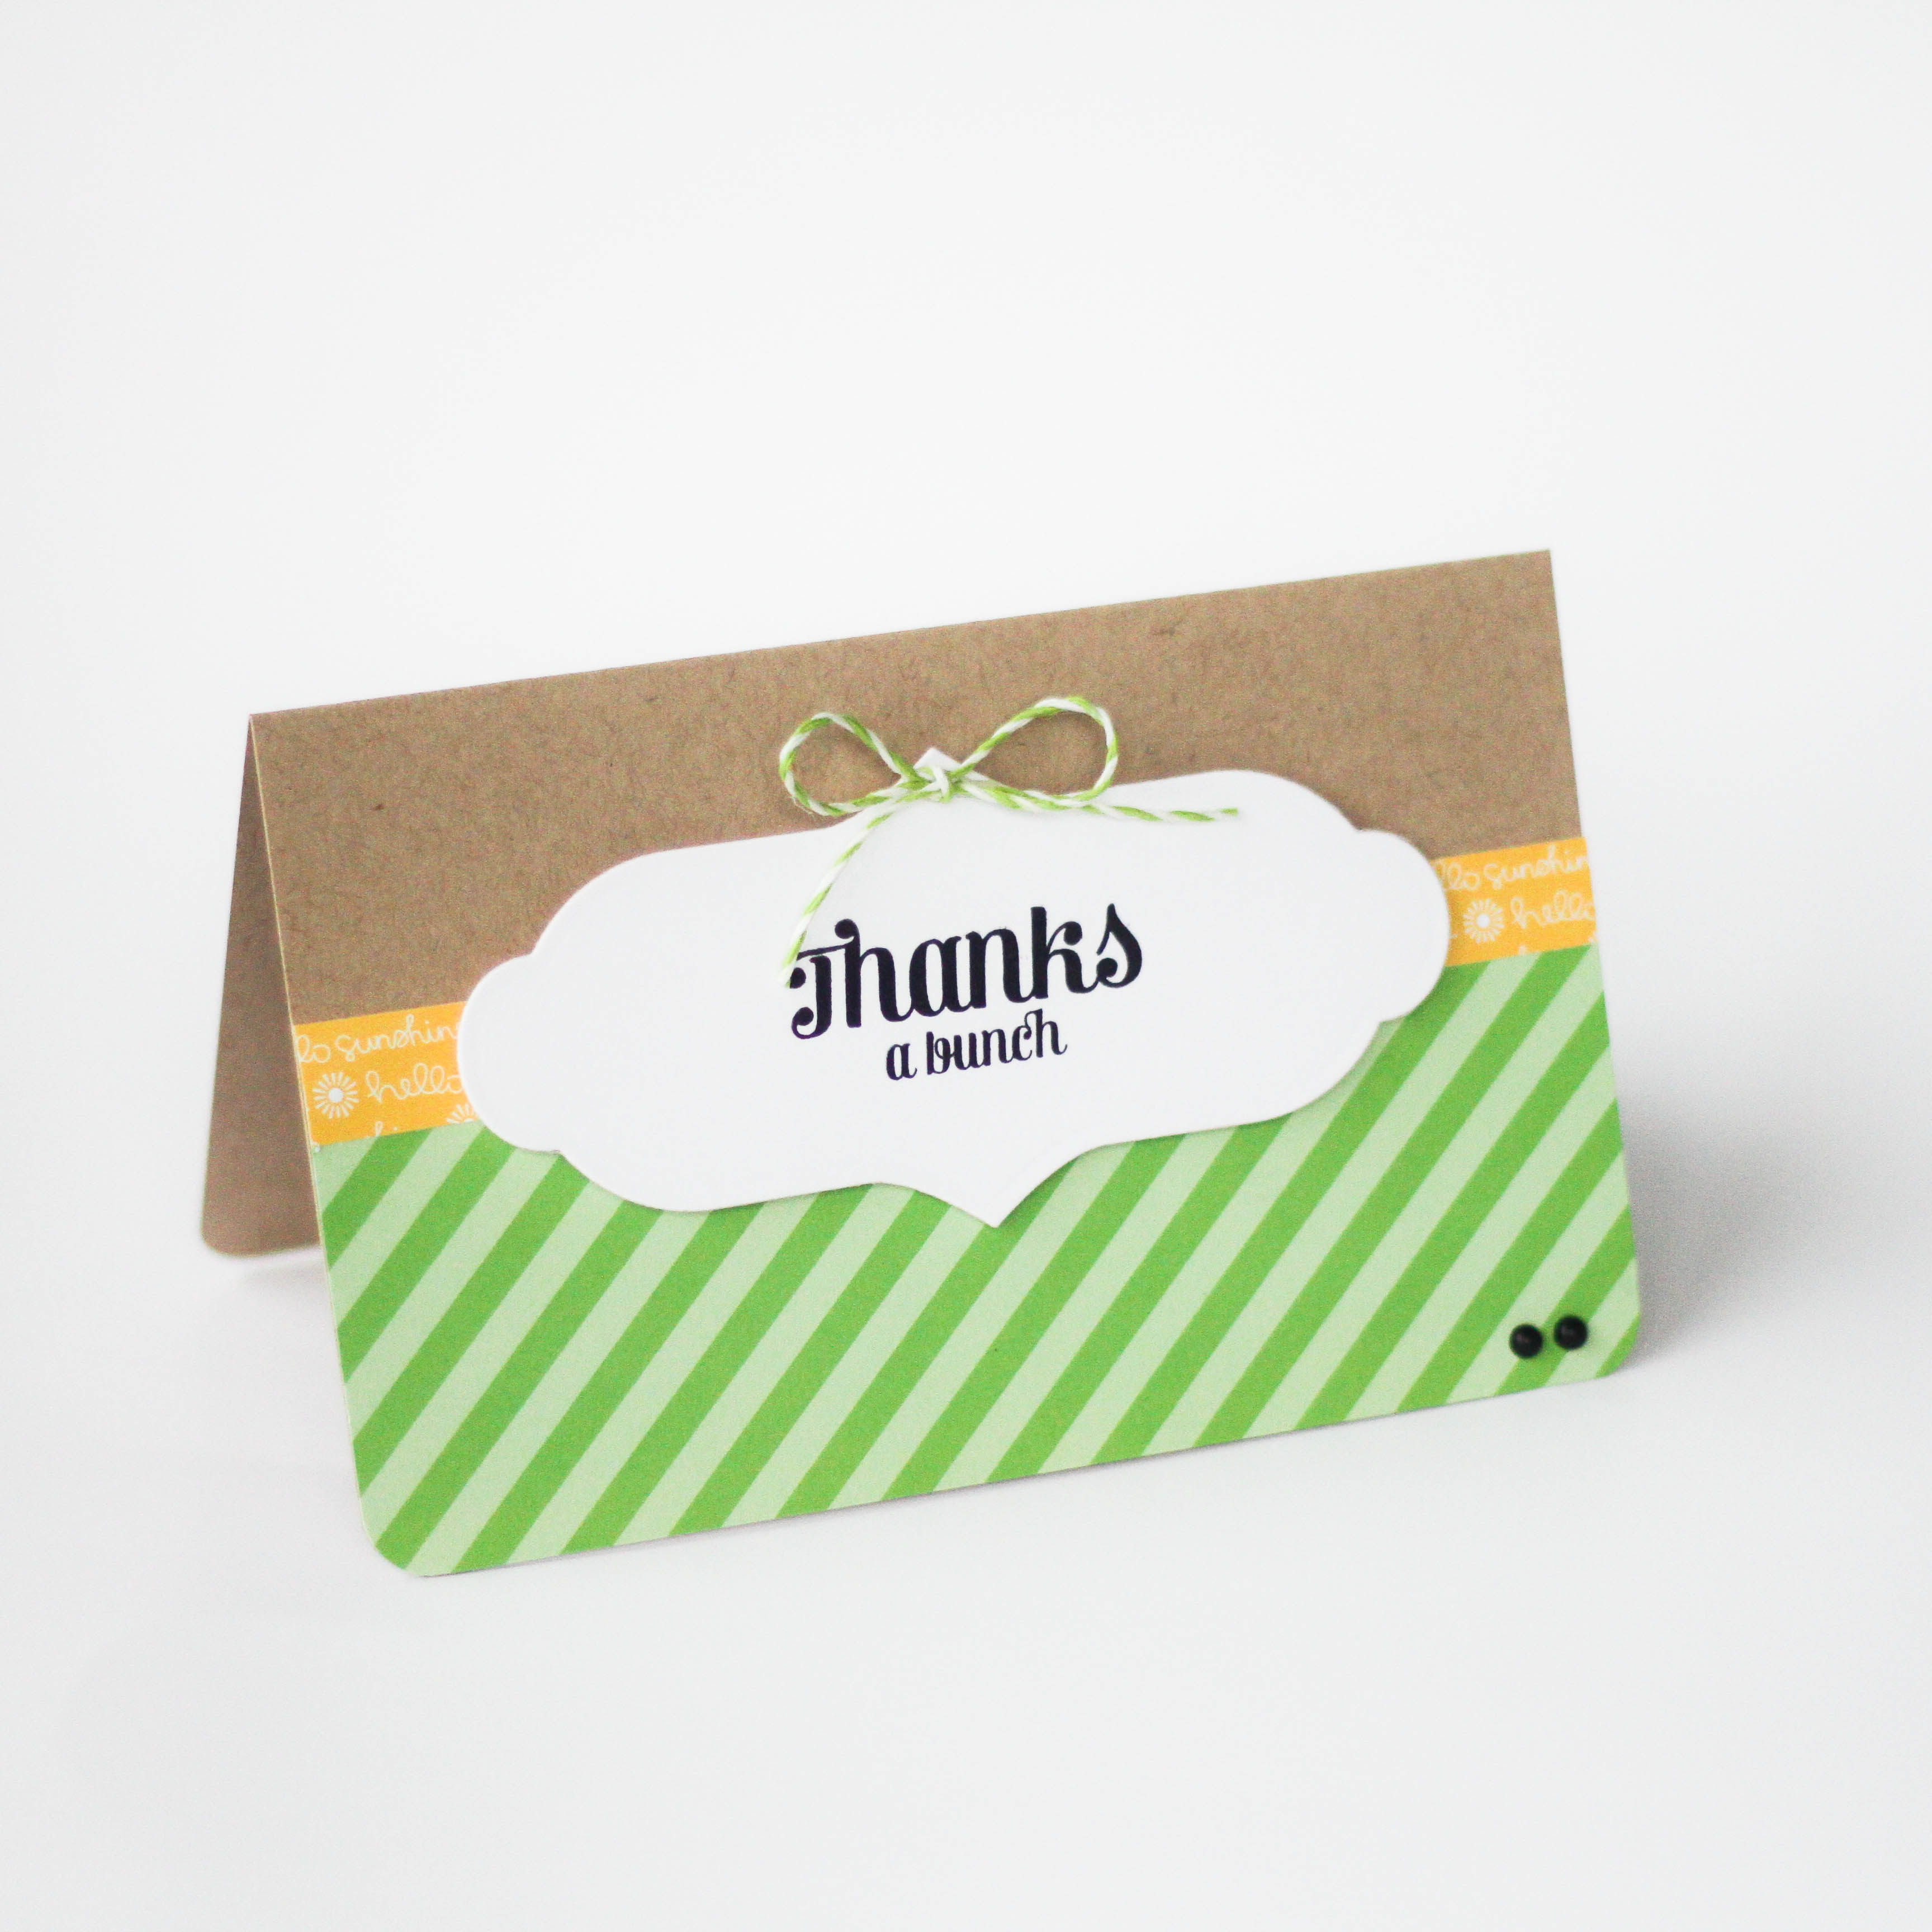
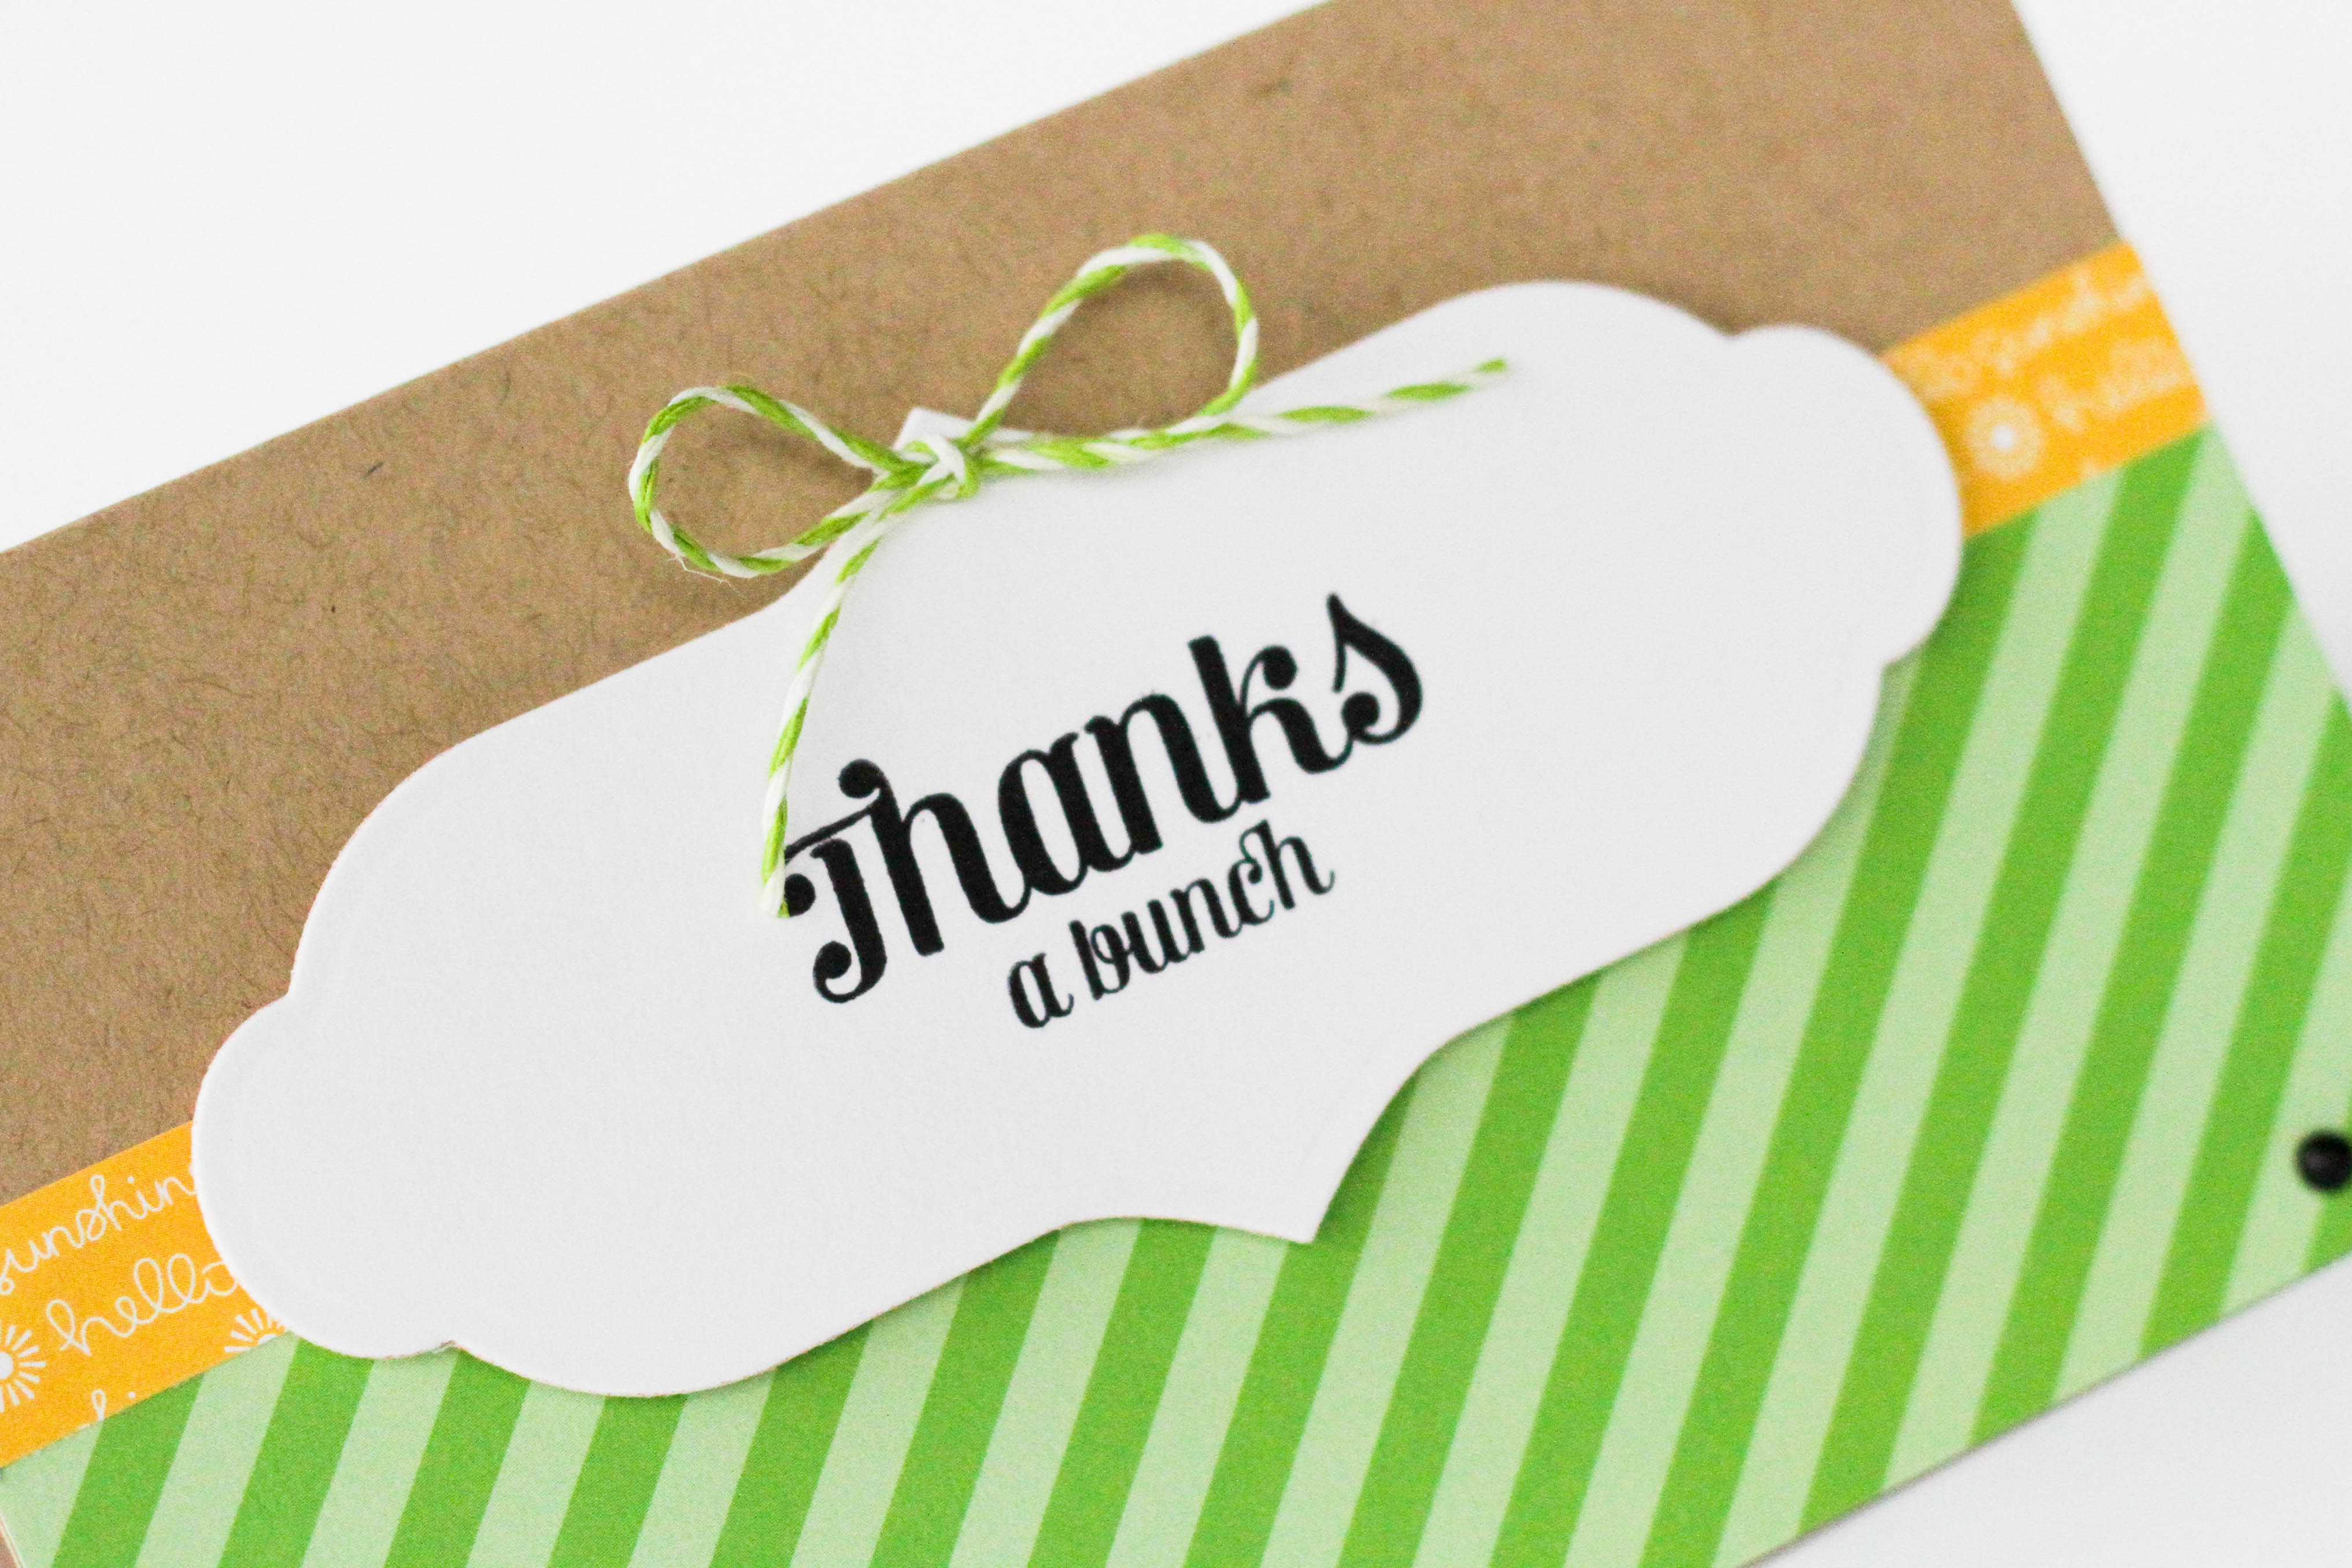
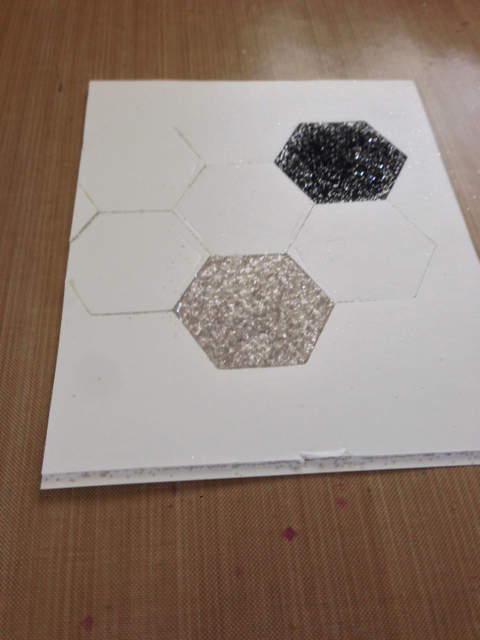
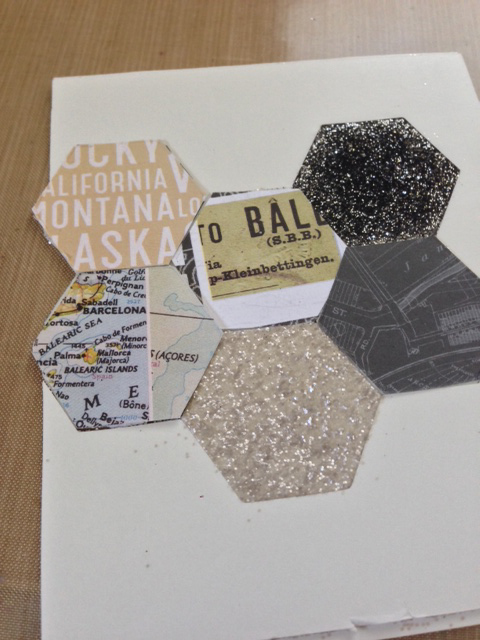


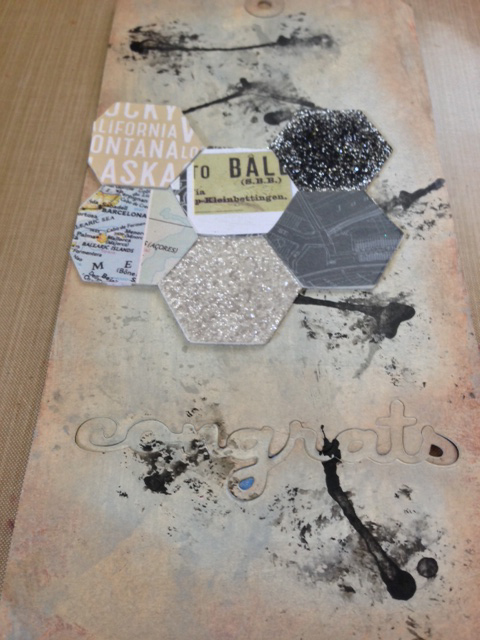


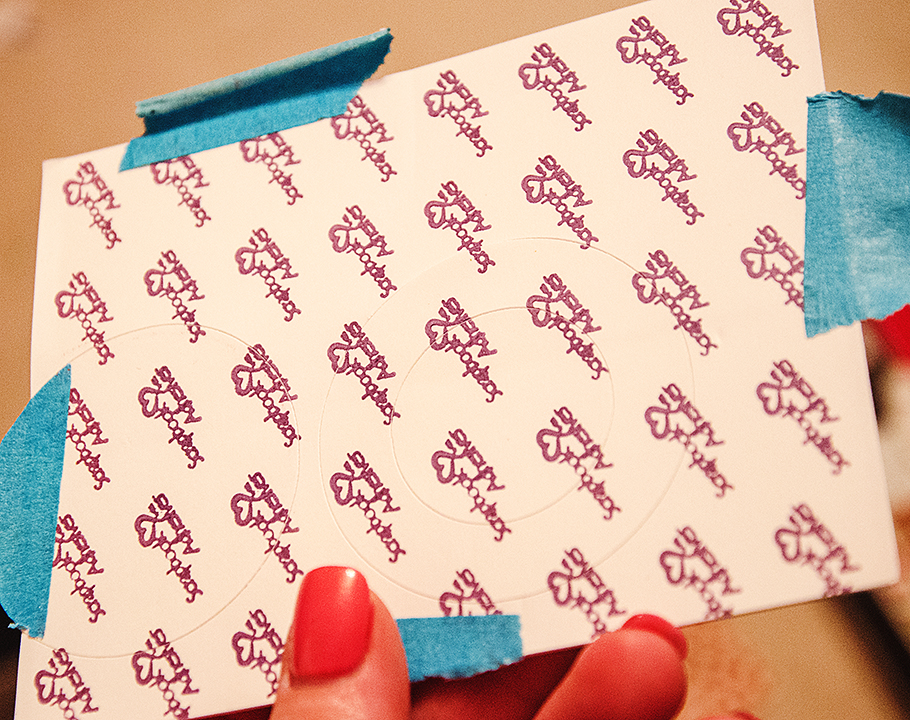
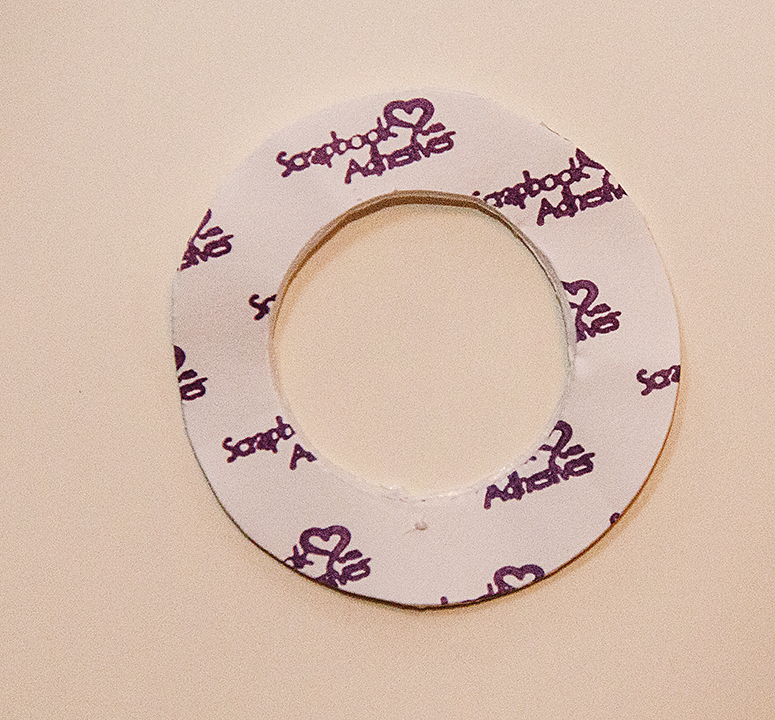


 To create this look, I assemble the small and large
  The die cut sentiment is a single cut applied to a piece of white card stock. The protective top layer of the