You are in our US store • Switch to Europe store

Metal Money Holder

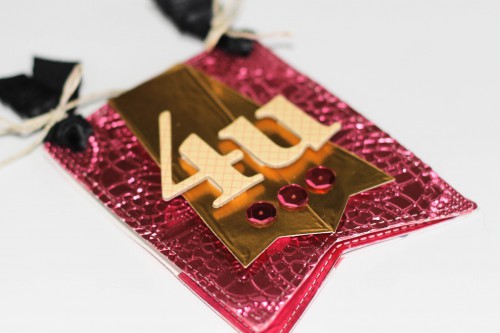
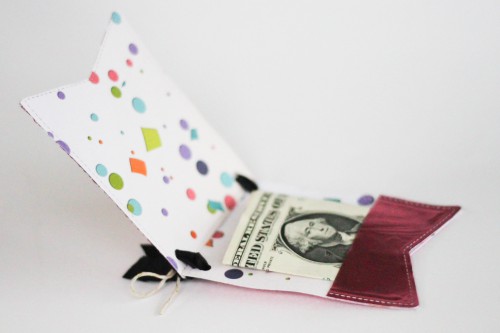
Hello, Latisha here. I have been experimenting with metals (metal/aluminum sheets) the last few days. I’m not going to lie, metal sheets are a little hard for me to work with, so playing with this type of material, helps to stretch my creativity. I made this super cute money or gift card holder.
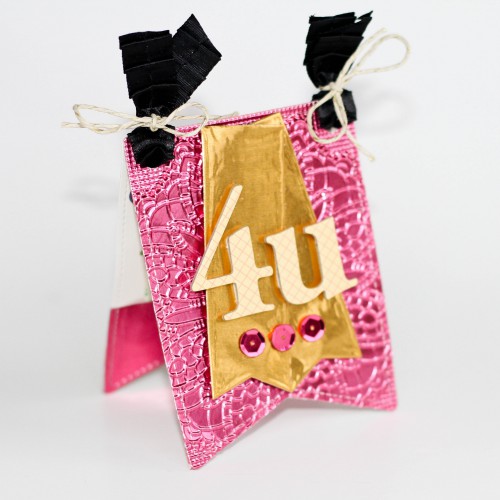
 

Metal Money or Gift Card Holder Tutorial


Using metal sheets, dies, a few embellishments and adhesives that I thought would work well with this kind of material, I made this bright & shiny money holder/gift card.

How to Make the Metal Money or Gift Card Holder
 

LY 0812 metal4ucollage

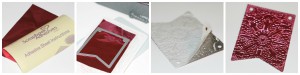
1.  Trim metal sheet to size (so there is no waste) and cut an Adhesive Sheet the same size.

2.  Adhesive Sheets are double sided, so carefully peel off the yellow top, and adhere it to the back of the metal sheet.

3.  Die cut the metal sheet.

4.  Die cut a piece of double sided pattern paper using the same die (you will need 2 of these).

5.  Peel off the adhesive sheet protector on the back of the metal diecut, and adhere is to the pattern paper.
 

LY 0812 metal4ucollage2

6.  Diecut another piece of metal.  Cut the bottom off so its around 1 1/2 inches tall.

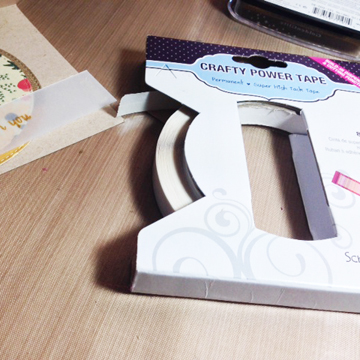
7.  Using Crafty Power Tape, place two strip on the back of the cut metal die cut.

8.  Adhere to the remaining paper die cut.

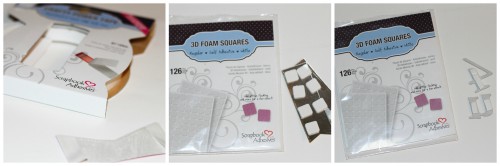
9.  Using a smaller banner die, die cut 2 yellow metal banners.  Place 3D Foam Squares on the back, and adhere to the front embossed die cut.

10.  I used old alphabet chipboard letters that lost its adhesive, so I placed 3D Foam Squares on the back of the letters.  I had to trim the squares a little using scissors.

11.  Apply sequins to the card front using Adhesive Dots Small.

12. Add ribbon and twine to secure the two pieces.
 

Metal Money or Gift Card Holder
Metal Money or Gift Card Holder
Metal Money or Gift Card Holder
 

Materials Used:

Altered Burlap Thank You Tag

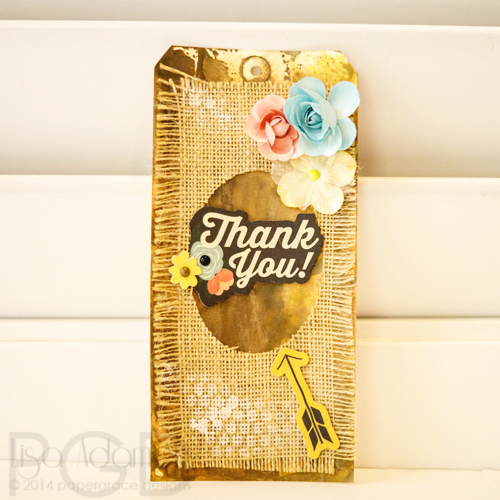
Hi crafty friends! It’s Lisa here with you today and I have a tag to share that was a little bit inspired by my super, amazing fellow Crafty Power Blog Team Member, Angela.  When I saw her last card here on the Crafty Power Blog I knew I had a roll of very similar burlap burning a hole in one of my craft boxes that just needed some creating done to it! 🙂

LisaAdametz-ThankYouTagBurlap-1

I colored the background of the tag with a variety of Distress Paints (which I dried) and then added a generous coating of two of the new Metallic Gelatos® from the new Steampunk Collection.  Once the background was dried I then used Gesso and a piece of punchinella to add interest to the top and bottom of the burlap before die-cutting the center oval.

I adhered the burlap piece to the finished background with plenty of Crafty Power Tape – 81′.  The Thank You, arrow, and  flowers to the left of Thank You are all part of Fancy Pants Designs, Inc. Burlap & Bouquets Ephemera Pack. These were adhered with a variety of levels of 3D Foam Squares in the Black Mix and Thin 3D Foam Squares Mix, White. Enamel dots were added to the ephemera flowers. Then all that was left was to add the BIG corner flowers. Nothing adheres these better than Dodz™ – 3D.

This tag would be great to hang on a bottle of wine or anything as a Thank You gift! I have just the friend I intend to give it to. 🙂

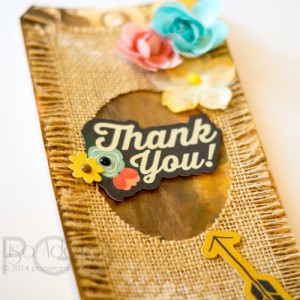
Here are a few other angles:

LisaAdametz-ThankYouTagBurlap-2


LisaAdametz-ThankYouTagBurlap-3

Thank you for joining me on the blog today! I hope you all enjoyed my tag and saw how easy making something unique and fun can be.

Supplies:

From Scrapbook Adhesives by 3L®:

Other Supplies:

  • Ranger: #10 Manila Craft Tag, Tim Holtz Distress Paints (Walnut Stain, Tarnished Brass, Frayed Burlap)
  • Faber-Castell Design Memory Craft® : Gelatos® (Iced Chai, Iced Coffee), Gesso
  • Prima Marketing: Flowers – Bloom Collection (Freshly Picked)
  • Fancy Pants Designs, Inc.: Ephemera Pack (Burlap & Bouquets Collection)
  • My Favorite Things: Oval Stax 2 DieNamics
  • We-R-Memory Keepers: Enamel Shapes
  • Burlap: Unknown.
  • Punchinella: Unknown

LisaAdametz-sig

Save

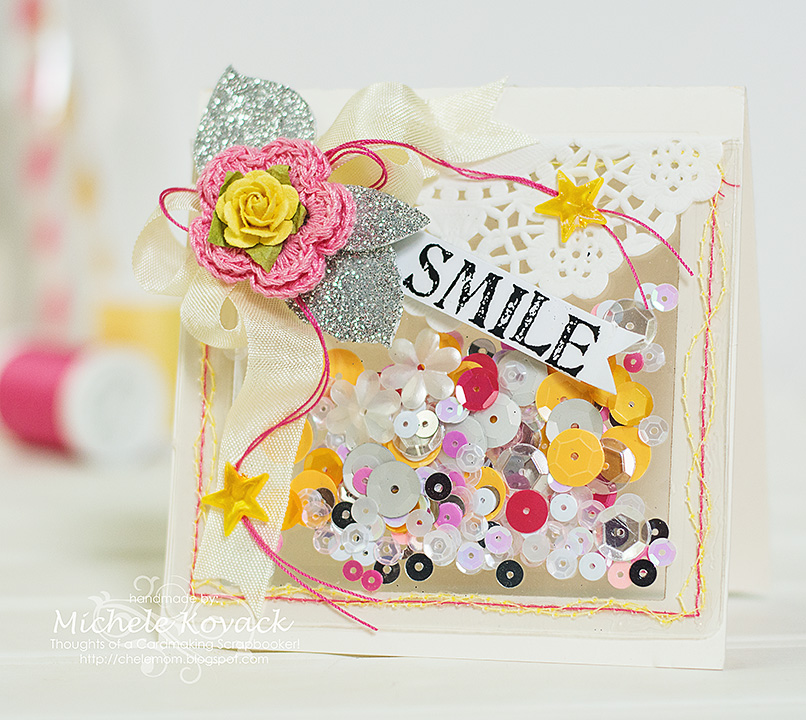
Smile

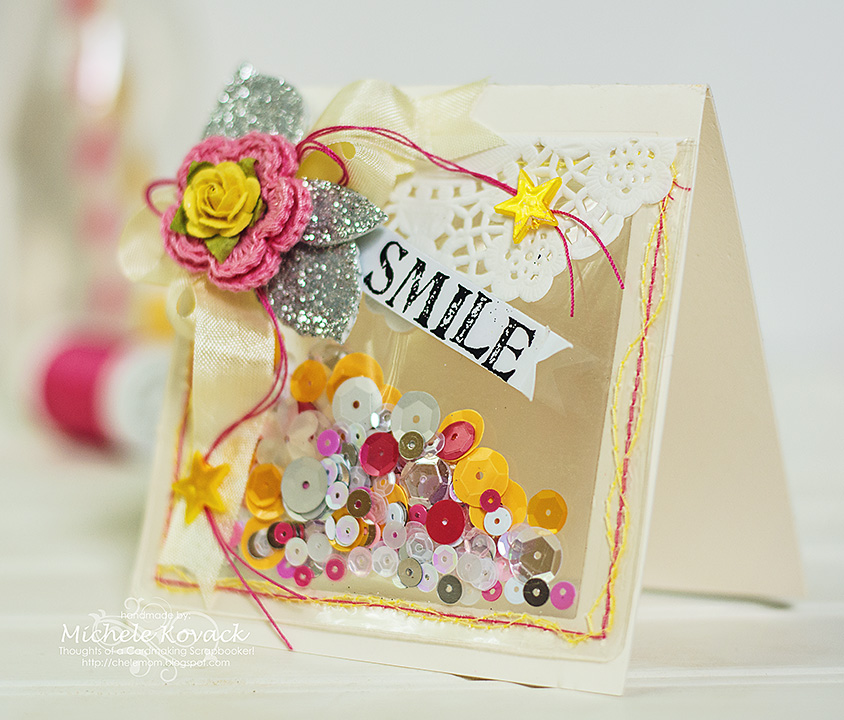
Good morning! Michele here with a fun shaker/window card! There is something so fun about an interactive card that is sure to make the recipient “smile!” (Pun totally intended!) LOL!

smile2

I used several Scrapbook Adhesives by 3L products to create this fun card!

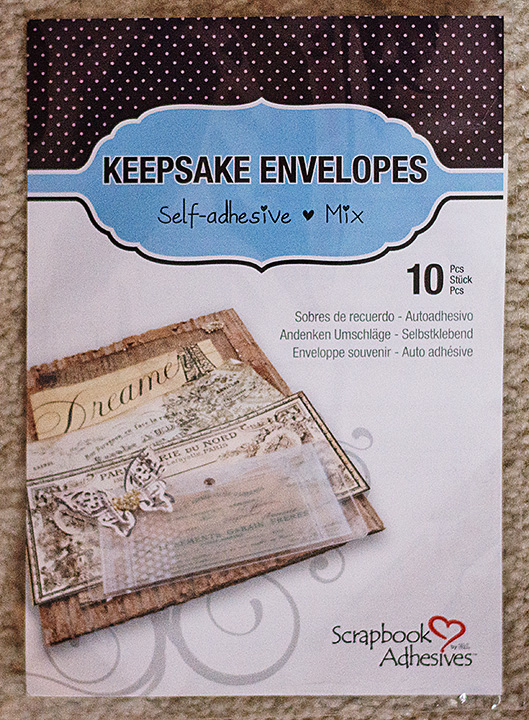
smile3I love these Keepsake Envelopes! They are super easy to transform into a shaker!

smile4

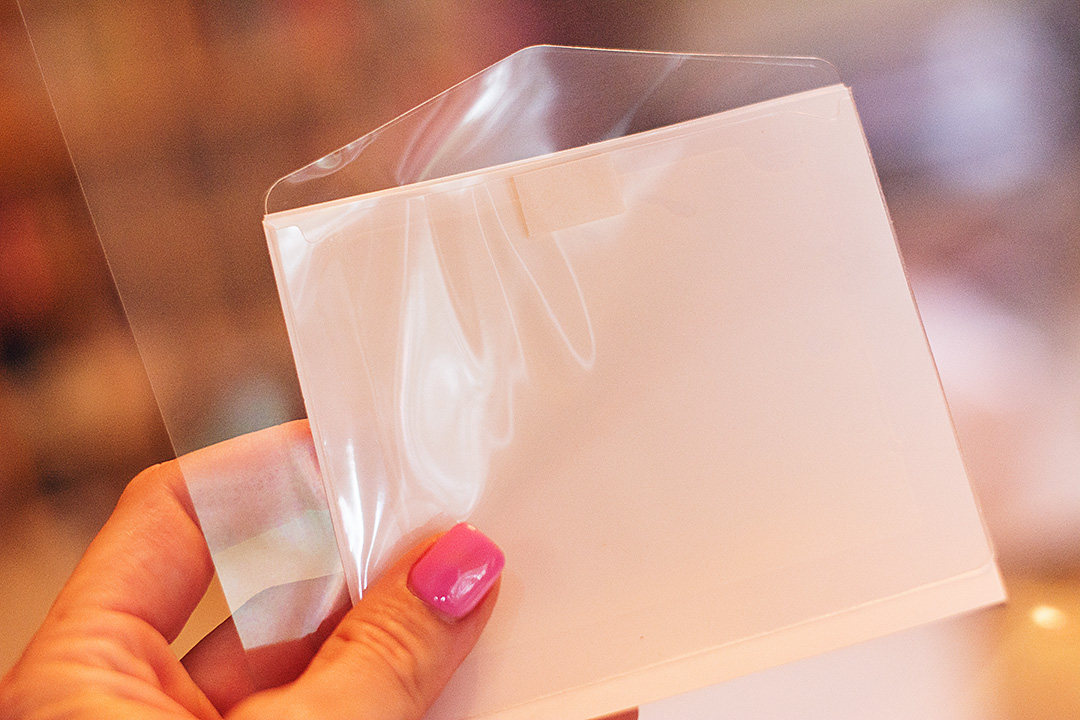
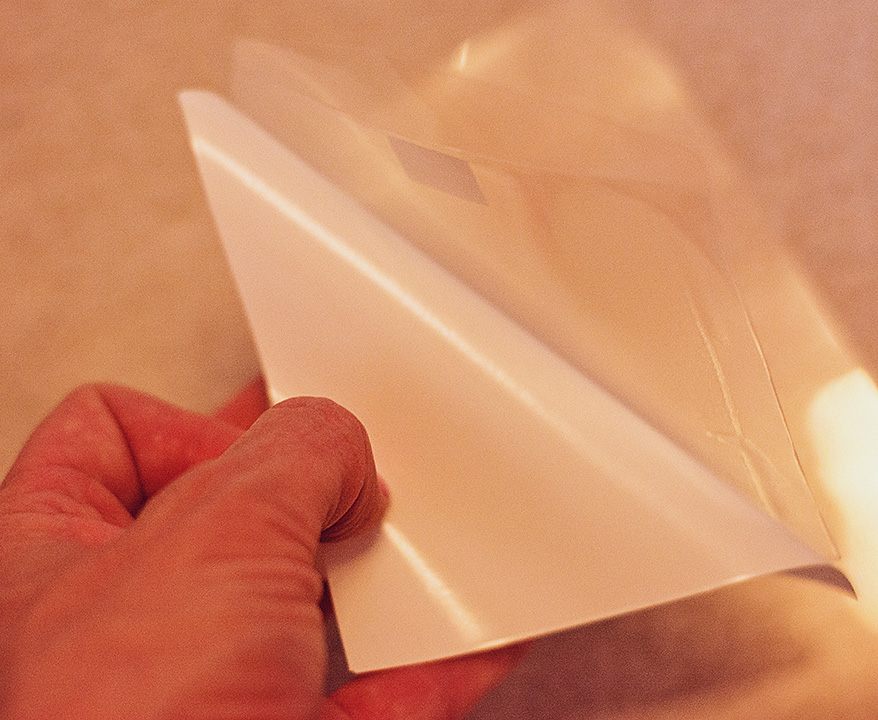
I pulled out one of the smaller envelopes for my card and also grabbed a clear acetate sheet to adhere it to.

smile5

I love that it has a sticky back. I can just adhere it to the acetate with no messy glue!

smile6

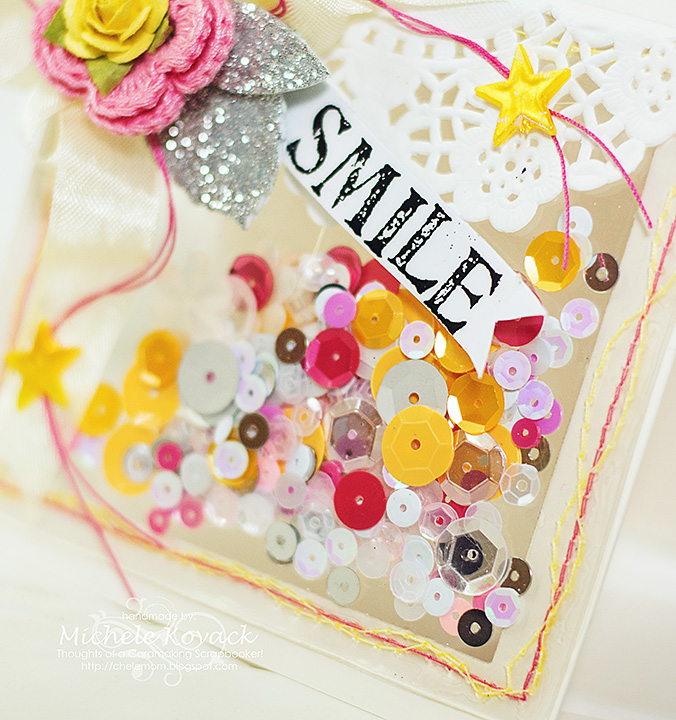
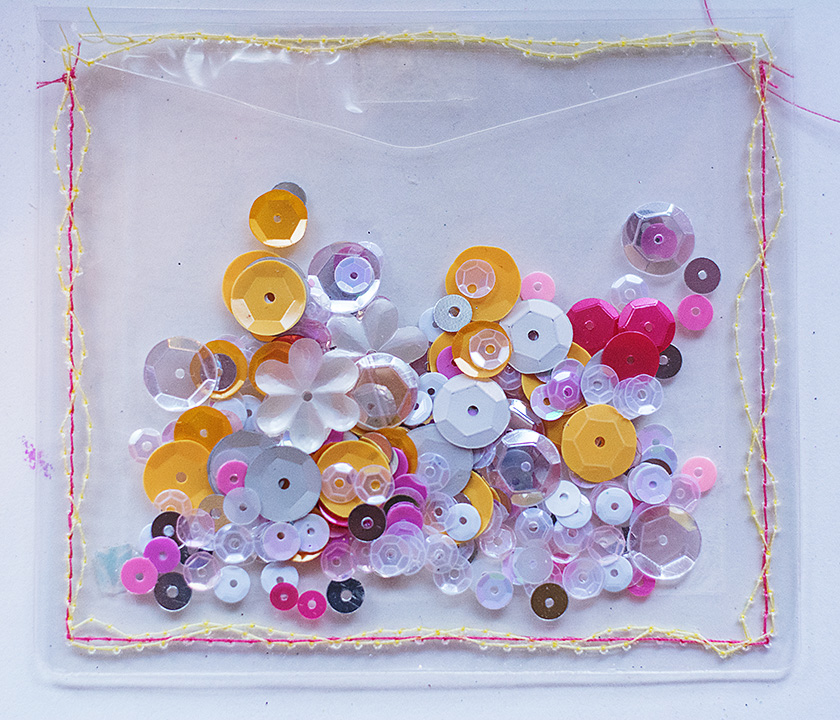
I wanted to define the edges a bit and give it a pop of color, so I did a bit of sewing with yellow and pink thread.  Since I am not generally a very straight sewer, I purposely sewed in a wavy pattern.  (Good cover up right?) 😉 I then filled it with sequins I liked and finished sewing the top shut.

smile7

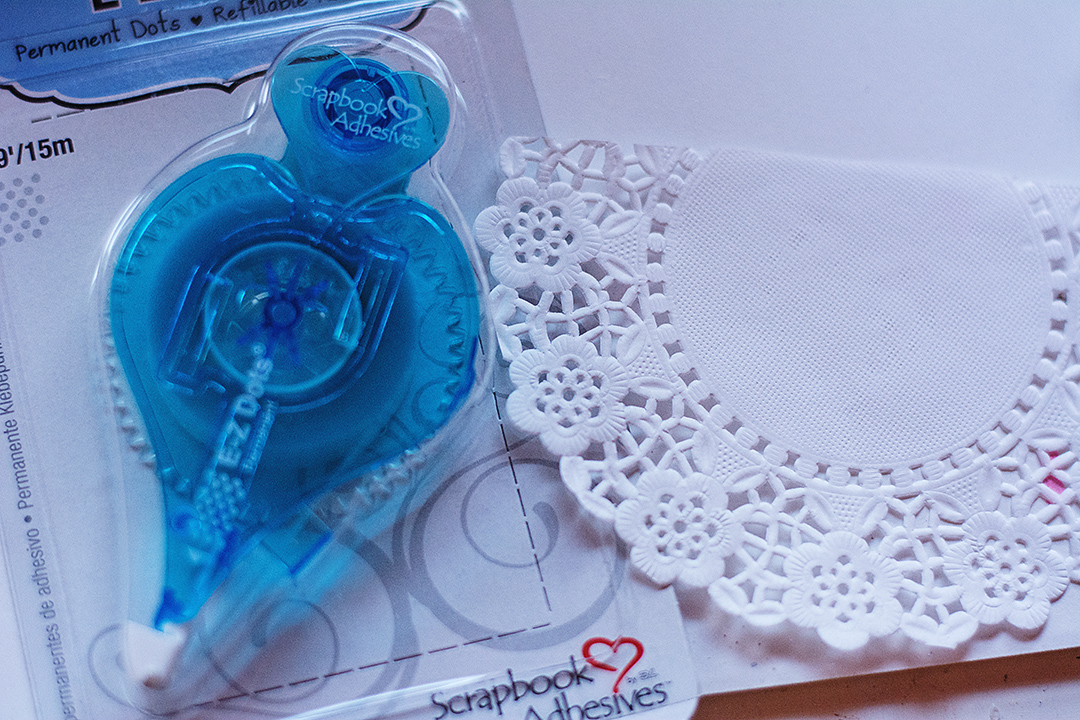
I love doilies and can’t seem to stop using them, so I wanted a touch of one at the top of the envelope.  I used the E-Z Dots® Permanent to adhere the doily to the top.

smile8

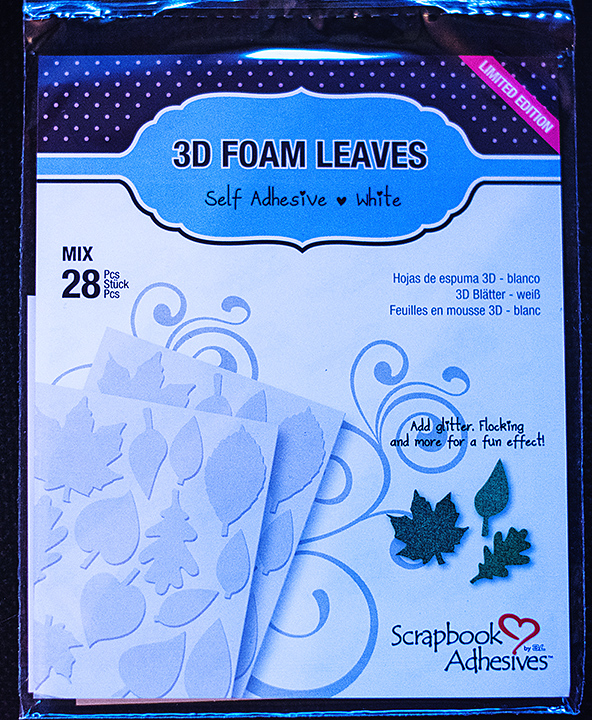
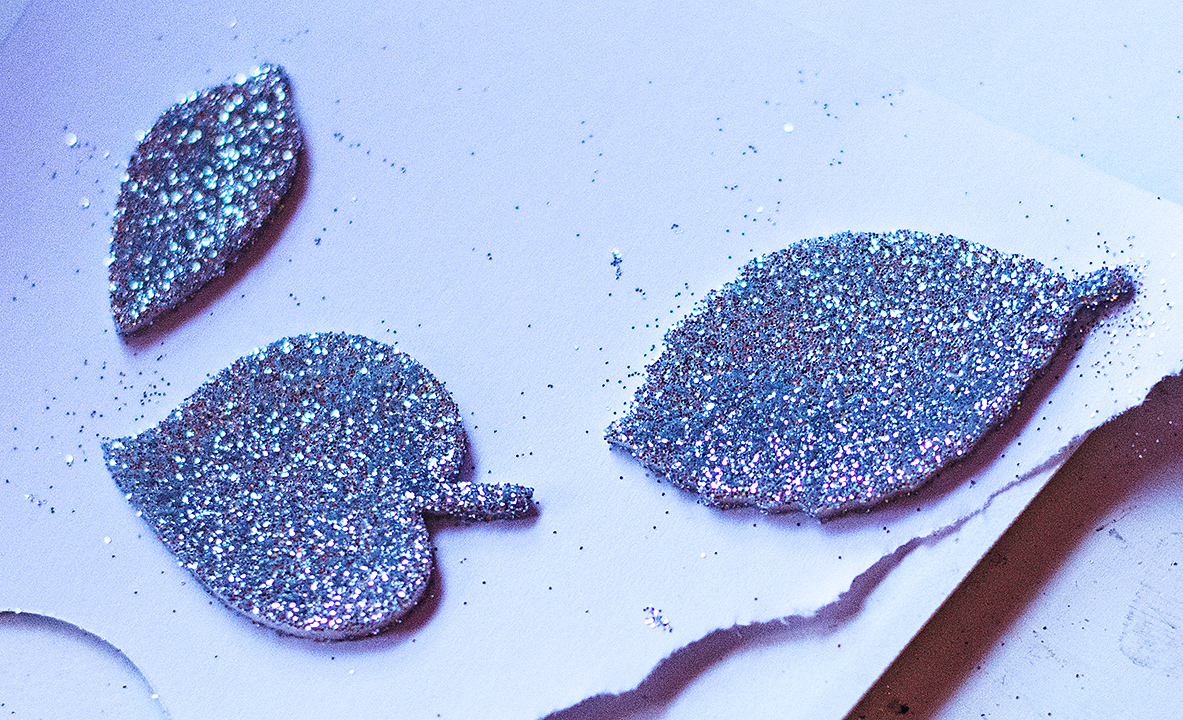
I wanted to add some leaves to my crocheted flower so I opened up the package of 3D Foam Leaves and gave it a good dose of silver glitter.  Because who says leaves have to be green?smile9smile10

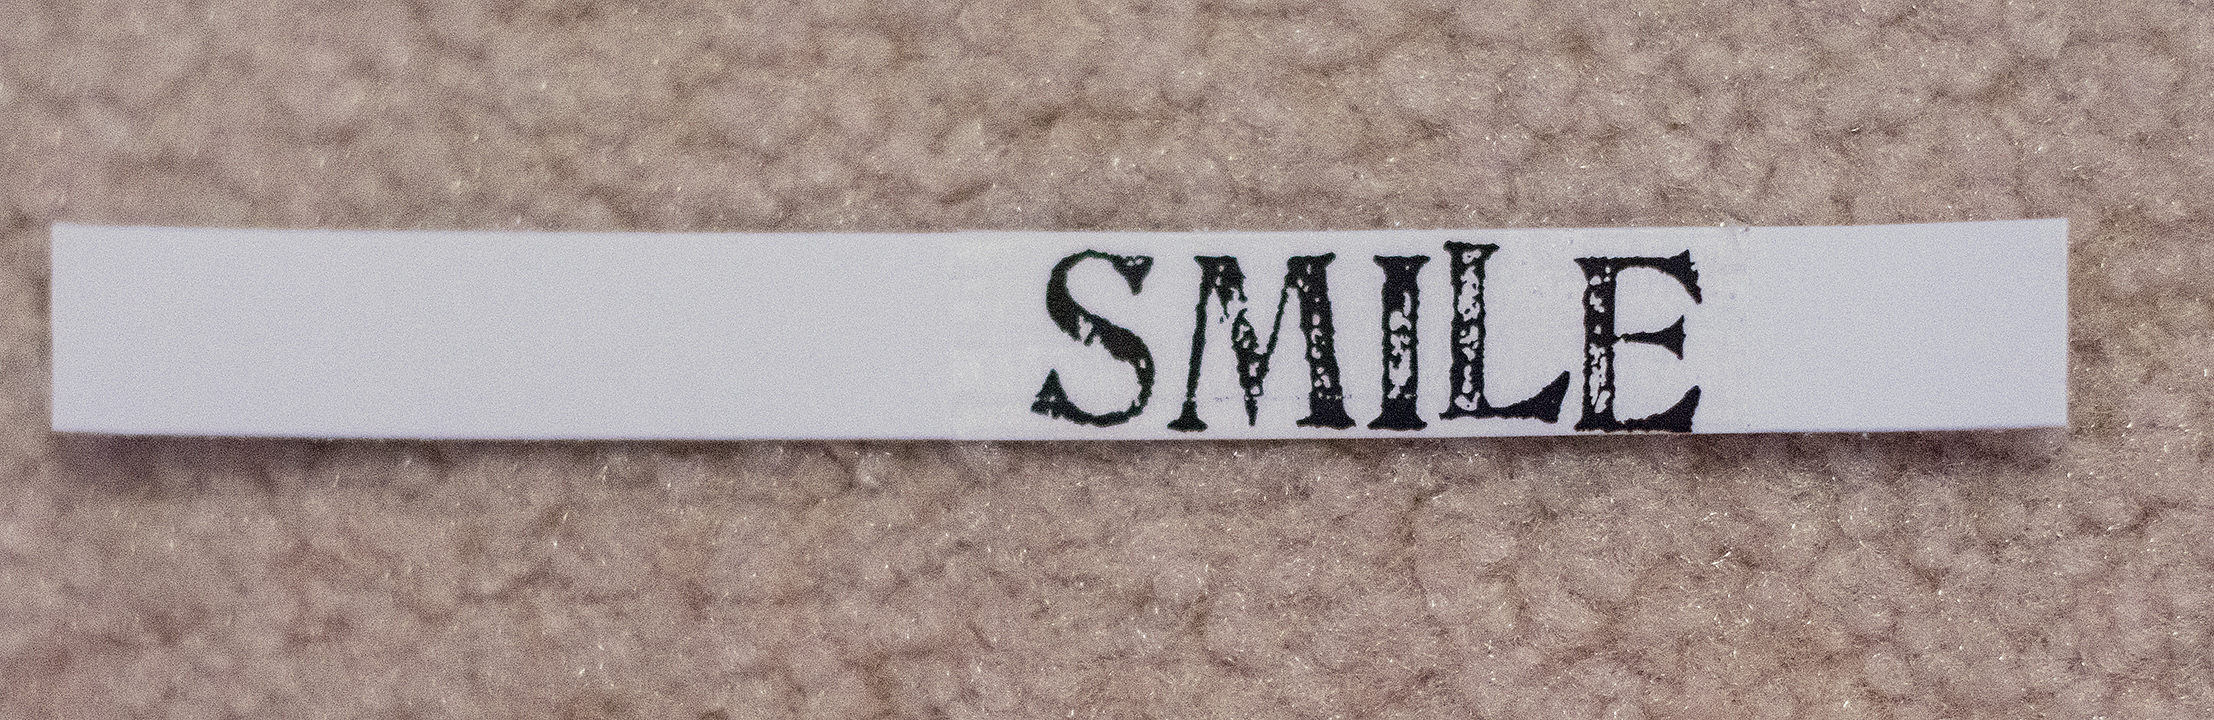
I pulled out a sentiment from SRM stickers and placed it on white card stock.

smile11

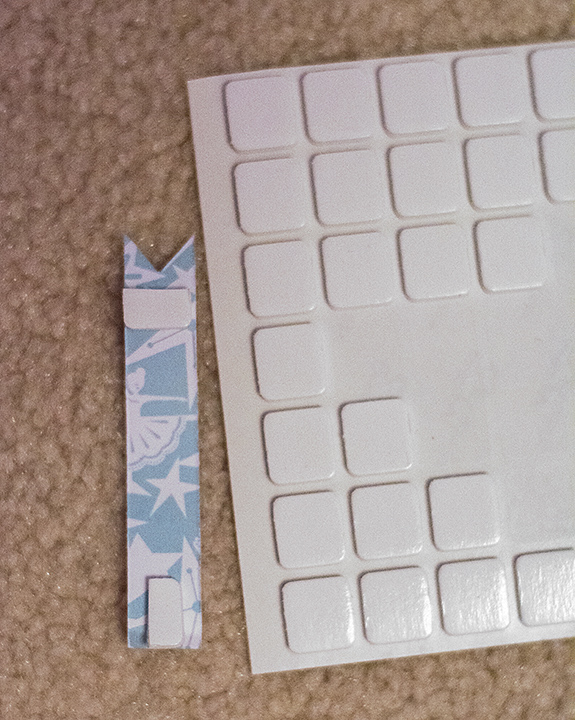
I used the 3D Foam Squares to adhere it to the card.

smile12

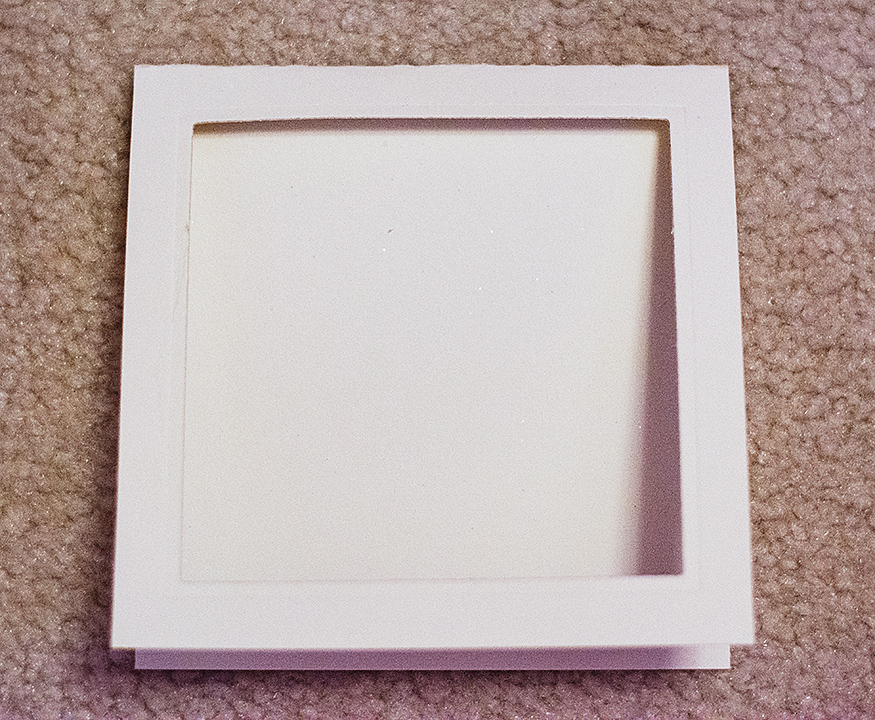
I cut a window out of my card using a square Spellbinder’s die.

smile13


I used the Dodz™ to secure my little embellishments, like the stars and flowers.
smile


Supplies:

Thanks so much for joining me today!

Michele

Card – For You

Hi there,

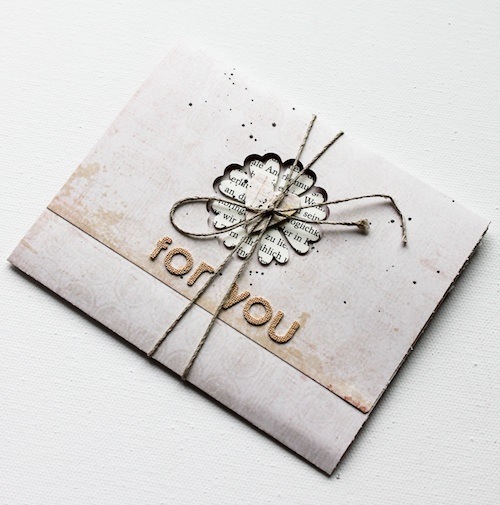
it’s Stephanie here today and I want to show you a card using the Keepsake Envelopes and 3D Foam Creative Sheets.

karte_fertig_kleinHere is a little tutorial how I made it.

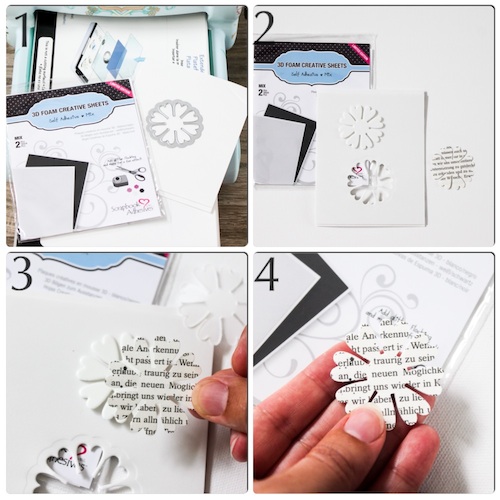
Foto1

1- Use the 3D Foam Creative Sheets with a Big Shot (or other) and a flower die to create a 3D Foam flower. The creative sheets are like paper and the machine cut it very well.

2- Cut the same flower with an old book paper.

3- Peal off the protecting sheet and adhere the paper flower on the 3D Foam Flower.

4- It looks so nice 🙂

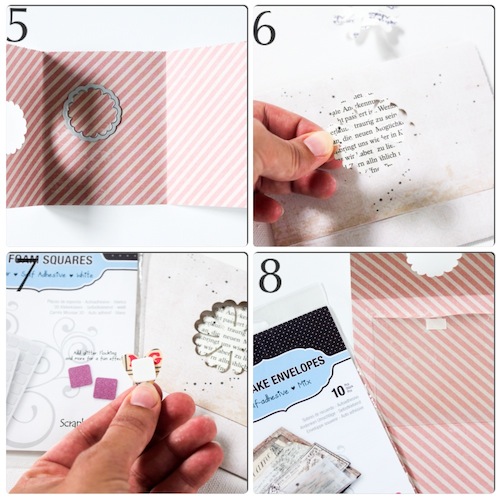
Foto2

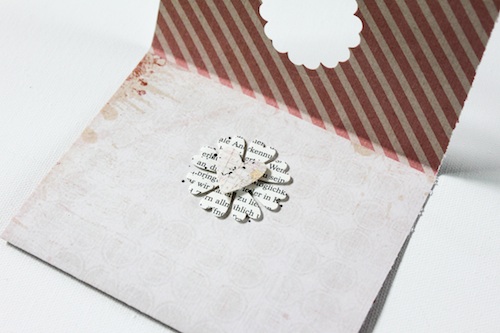
5- Fold your paper like an envelope. Cut a matching flower on the right side of cardstock.

6- Adhere the 3D Foam Flower in the middle.

7- Add a heart with a 3D Foam Squares.

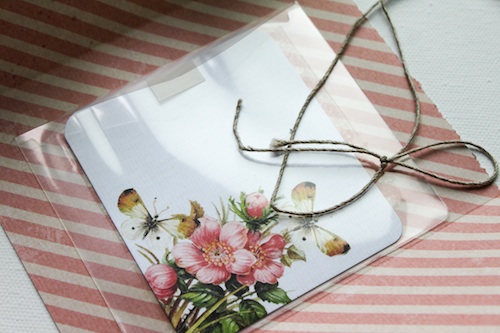
8- Add an keepsake envelope for a voucher and put a journal card in it. Finish the card with some splashes black paint and a twine.


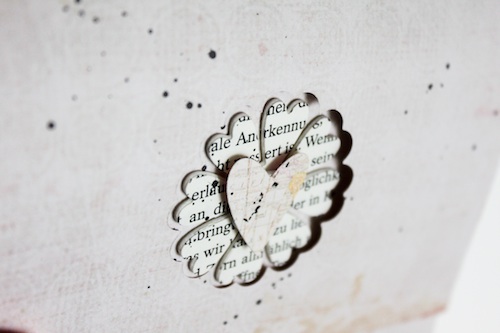
Take a look at the dimension of the flower-hole and the 3D Foam Shapes. I love it.

karte_fertig_detail1_kleinkarte_fertig_detail2_kleinkarte_fertig_detail3_kleinI hope you will give the 3D Foam Creative Sheets a try, it worse it and it’s so much fun!

Supplies from Scrapbook Adhesives by 3L®

3D Foam Squares

Keepsake Envelopes – Mix

3D Foam Creative Sheets


Other Supplies I used:

Book Pages

Dies from Sizzix

Watercolor paint

Paper, Journal Card “Cottage Farms” from Pink Paislee

Twine from Garn & Mehr

Alpha Sticker from Prima Marketing


Thanks for visiting! Have a nice day!

Adhesives, Burlap and Hearts – OH MY!

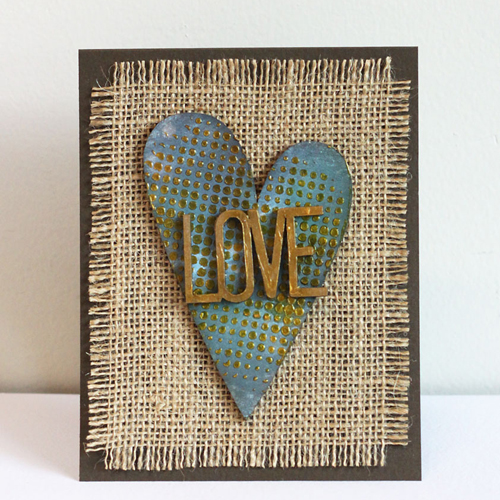
Hello Blog Readers! It’s Angela today, sharing a masculine love themed card that would be PERFECT for an anniversary, Valentines’ Day or ‘just because’:

Adhesives, Burlap and Hearts  - Love Card by Angela Ploegman

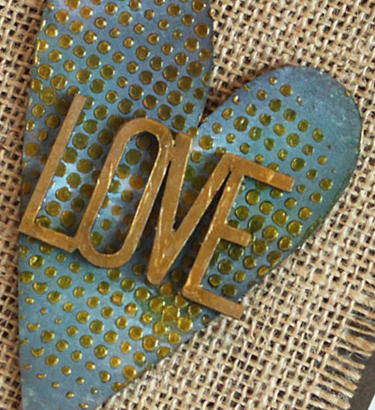
I used the FABULOUS Crafty Power Tape 20′ Roll to adhere the burlap to the card front and the equally AWESOME DODZ Adhesive Dots Medium to stick the altered heart piece to the burlap. All the little gold ‘LOVE’ embellishment took to hold down was a few DODZ Adhesive Dots Small. And that’s it!

Here’s a close up of the focal point:

Adhesives, Burlap and Hearts  - Love Card by Angela Ploegman

Thanks for stopping by today!

Angela

Scrapbook Adhesives by 3L® supplies used: Crafty Power Tape 20′ Roll, DODZ Adhesive Dots Medium, DODZ Adhesive Dots Small

Other supplies used: Wendy Vecchi Art Parts and Gold Embossing Paste, Tim Holtz Distress Inks, Stains and Stencil, Canvas Corp. Burlap

Save

Card with Crafty Foam Tape and Crafty Power Tape

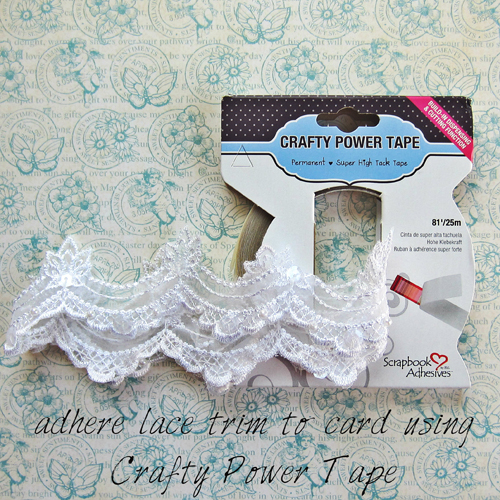
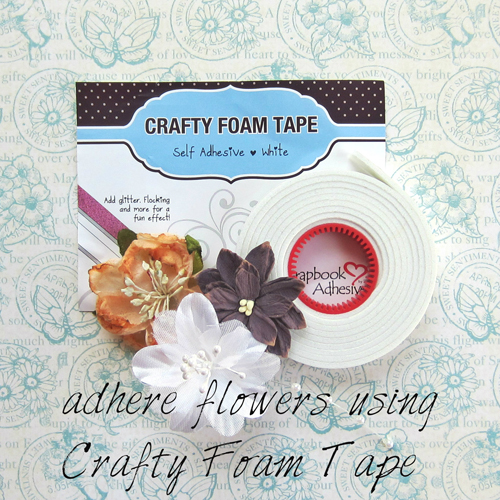
Hi! It’s Erica and today I’m sharing a card I created using Crafty Foam Tape and Crafty Power Tape, as well as a step-by-step tutorial showing you how I created my card!

Card with Crafty Foam Tape and Crafty Power Tape by Erica Houghton for Scrapbook Adhesives by 3L

Adhesives

Paper

  • Graphic 45, Sweet Sentiments

Embellishments

  • Graphic 45, Sweet Sentiments  cardstock tags & pockets
  • Ashland, Magnolia & Petaloo – flowers
  • Mon Ami Gabby  lace trim

Products

  • Ranger Ink – Tim Holtz – distress ink

Thanks for joining me today!

Erica Houghton

Easy Keepsake Envelope Shaker Card

Hello Blogosphere! It’s Tiffany here today with a photo tutorial! Today, I’m showing you an easy & hassle-free way to create shaker cards using the Keepsake Pockets! There are 4 different sizes included and I’ve chosen to show you how to incorporate the smallest, 2″ x 2″ keepsake pocket.
TiffShakerMain

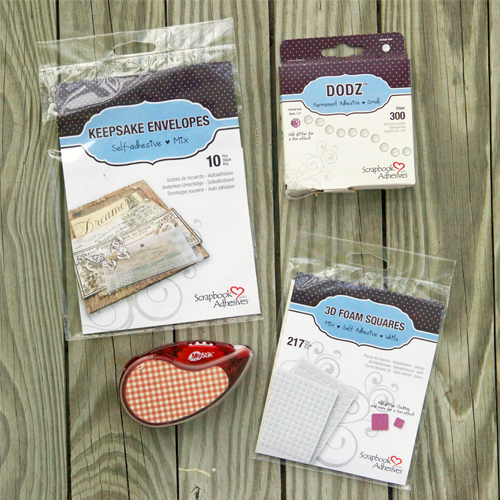
Here are the Scrapbook Adhesives by 3L® products I’ll be using (Keepsake Enveloples, Dodz™ Small, 3D Foam Squares- White Mix, MyStik® Permanent Strips):

TiffShaker1

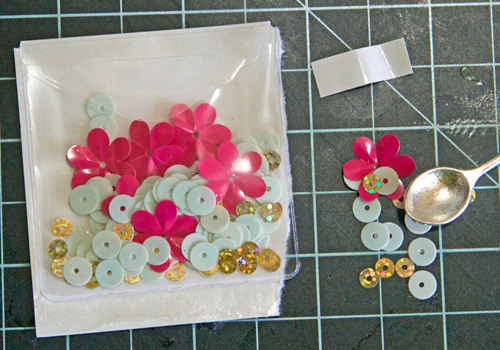
1. Fill the Keepsake Envelope (2″ x 2″) with sequins and then close the small envelope by removing the small bit of non-stick paper at the self-adhesive closure.

TiffShaker2

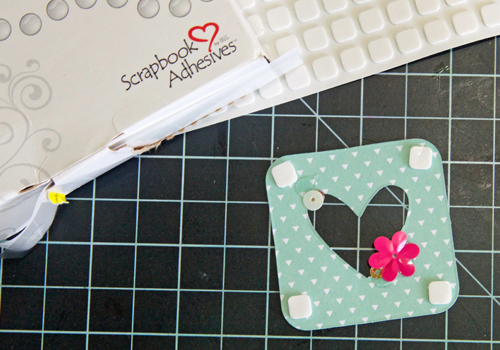
2. Take a 2″ x 2″ die-cut (I used a leftover die-cut insert from my We R Memory Keepers Albumbs Made Easy- Inked Rose) & adhere a few sequins around the back of the window using the Dodz™ Small. Add some thin 3D Foam Squares to the back as well.

TiffShaker3

3. Remove the small non-stick sheets and adhere to the sequin-filled keepsake envelope.

TiffShaker4

4. Adhere patterned paper to your card using the MyStik® Permanent Strips, small sequins & other small elements using the Dodz™ Small, and other album insert using 3D Foam Squares to finish your card!

TiffShaker5

Here’s a close-up of the keepsake envelope shaker:

TiffShakerClose

Thanks so much for stopping by & have a great rest of your week,

TiffJohnsonSignature


Supplies Used:

Scrapbook Adhesives by 3L- Adhesive Dots Small, MyStik Permanent Strips, Keepsake Envelopes, 3D Foam Squares- White, Mix

We R Memory Keepers Albums Made easy (Inked Rose)


Visit our Website and Blog!
Sign up for our Newsletter so you never miss a contest or giveaway!

instagram purple icon facebook icon purple pinterest purple icon twitter purple icon YouTube icon blog subscription purple icon

Flowery Birthday Card

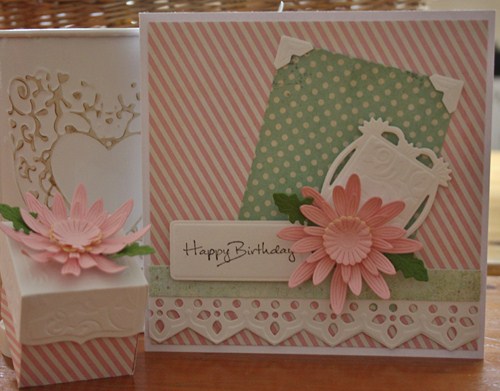
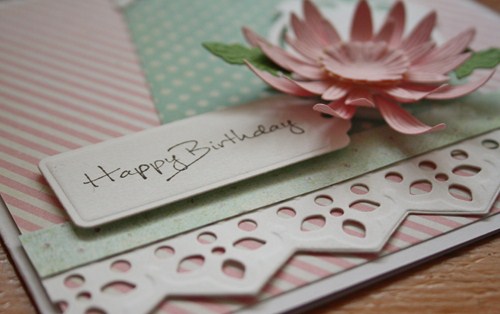
 Hi everyone, it is Christine here today with a flowery birthday card and matching gift box.  I’ve become such a fan of using Creative Photo Corners on my cards, they really give a nice finishing touch.

CEmberson - Flowery Birthday1

The papers used are My Mind’s Eye – Now and Then collection. I attached the striped pink paper to the card using MyStik® Permanent Strips, to decorate the green spotted paper I used Creative Photo Corners – Ivory just needed in the two top visible corners.

CEmberson - Flowery Birthday2

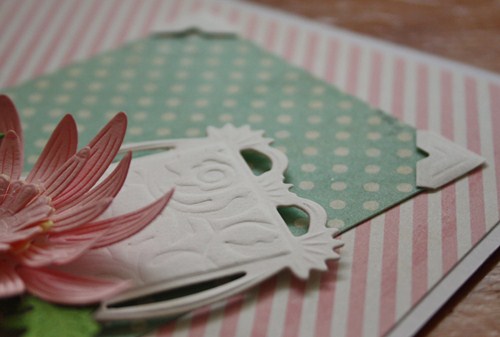
The stamped tag and flowers are easily adhered with Crafty Foam Tape – White and 3D Foam Squares – White Mix, always handy to have both sizes on your craft desk to suit your embellishments.

CEmberson - Flowery Birthday3

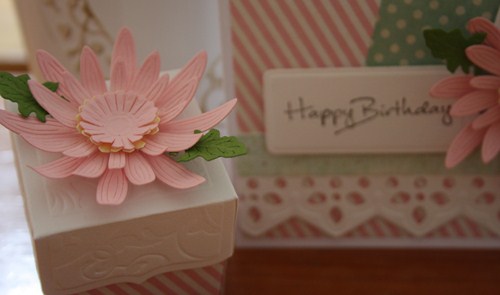
You can really see the dimension!  The flower is Spellbinders® Create A Gerber Daisy and other dies used are Spellbinders® Romantic Rectangles Two and Classic Ric Rac.

CEmberson - Flowery Birthday4

A matching card and gift box comes together with ease with the right adhesives to hand.

Thank you for joining me today and happy crafting!

Christine

Supplies used:

Scrapbook Adhesives by 3L®: Crafty Foam Tape – White, Creative Photo Corners – Ivory, 3D Foam Squares – White Mix, MyStik® Permanent Strips

Spellbinders: Create A Gerber Daisy, Back to Basics Tags, Classic Ric Rac, Romantic Rectangles Two.

My Mind’s Eye: Now and Then Collection.

Window Card with Dimension

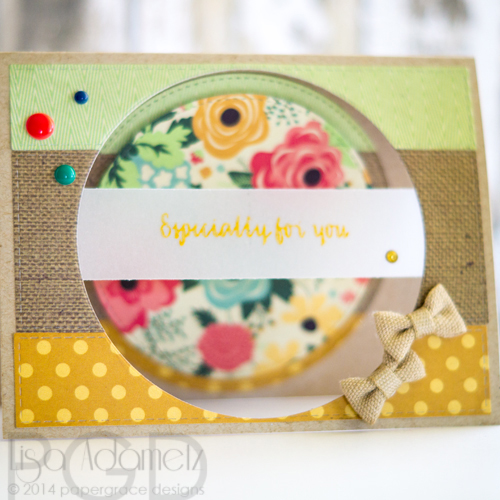
Hi crafty friends! It’s Lisa here with you today to share a fun window card that I made with a just a little dimension and some fun embellishments to make it extra special.

LisaAdametz-BurlapBows-1

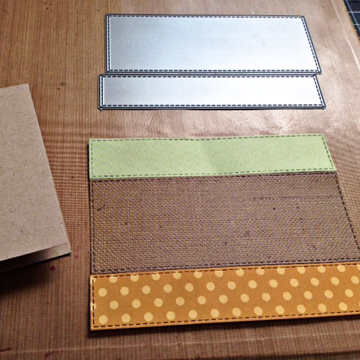
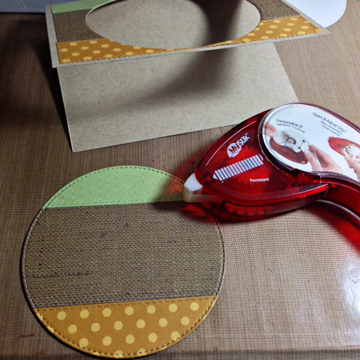
1. Create the card base and die-cut the three patterned pieces of paper to be used for the front of the card.

LisaAdametz-BurlapBows-2


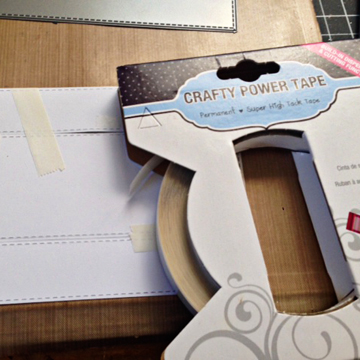
2. Use Crafty Power Tape to keep the pieces aligned and also use to adhere to card base.

LisaAdametz-BurlapBows-3


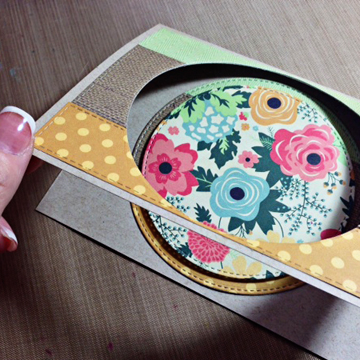
3.  Use a circle die to cut circle from front of card base. Adhere to INSIDE of card with MyStik® Permanent Strips.

LisaAdametz-BurlapBows-4


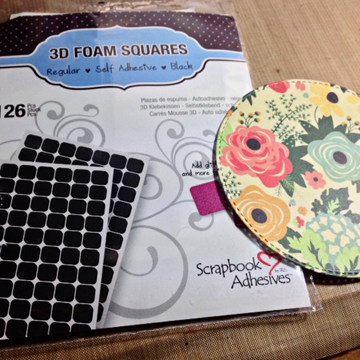
4. Using a slightly smaller die, cut another circle out of patterned paper and adhere to the inside circle with 3D Foam Squares in Black (they show much less).

LisaAdametz-BurlapBows-5


LisaAdametz-BurlapBows-6

5. Stamp a sentiment onto cardstock weight vellum (one of my favorite things to do!) and adhere it to the inside of the front using the Crafty Power Tape, once again. When the card is open it is barely visible.

LisaAdametz-BurlapBows-7


6. Last step? Embellish! With so many options out there it’s hard to choose, but with the paper I used I wanted to use some cheery enamel dots of differing sizes and also the sweet little burlap bows I feel like I’ve been saving for just the right card.

Making a fun dimensional window card isn’t hard if you have the right tools…and the right adhesives! 🙂

Supplies:

Scrapbook Adhesives by 3L®:
Crafty Power Tape
MyStik® Permanent Strips
3D Foam Squares, Black, Regular

Other Supplies:
Simon Says Stamp: Friendship Messages
Tsukineko/IMAGINE CRAFTS: Delicata Golden Glitz Pigment Ink
My Mind’s Eye: Enamel Dots
Doodlebug Design: Gold Sprinkles
Fancy Pants Design: Patterned Paper (Burlap & Bouquets 6 x 6 paper pad)
My Favorite Things: Stitched Circle Stax, Vertical Stitched Strips (dies)
American Crafts: Light Burlap Bows.
Bazzill: Cardstock weight vellum

LisaAdametz-sig

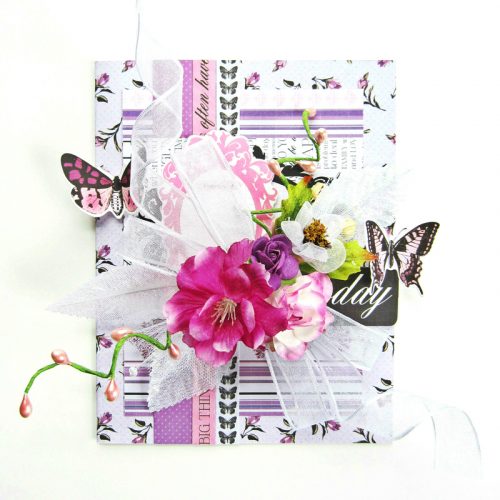
Card with Crafty Foam Tape and 3D Foam Squares

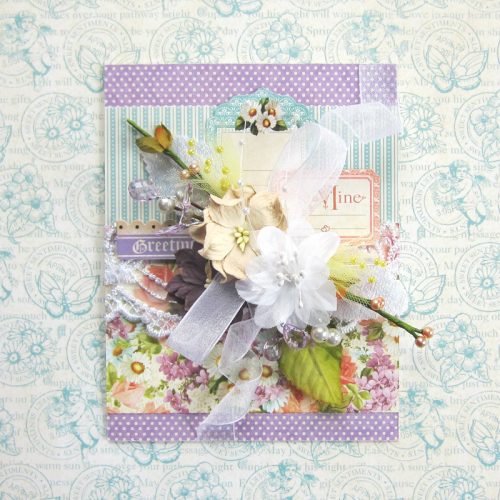
Hi! It’s Erica and today I’m sharing a card I created using Crafty Foam Tape and 3D Foam Squares.

Card with Crafty Foam Tape and 3D Foam Squares by Erica Houghton for Scrapbook Adhesives by 3L

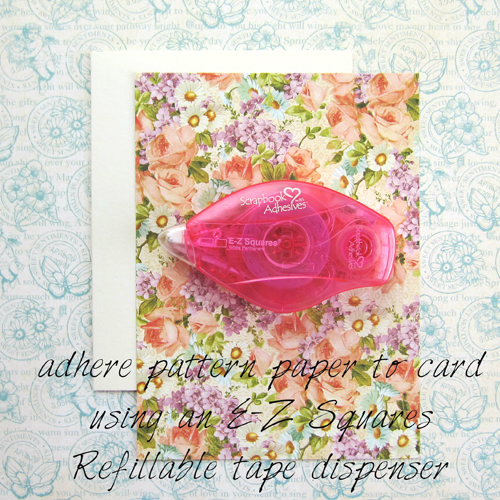
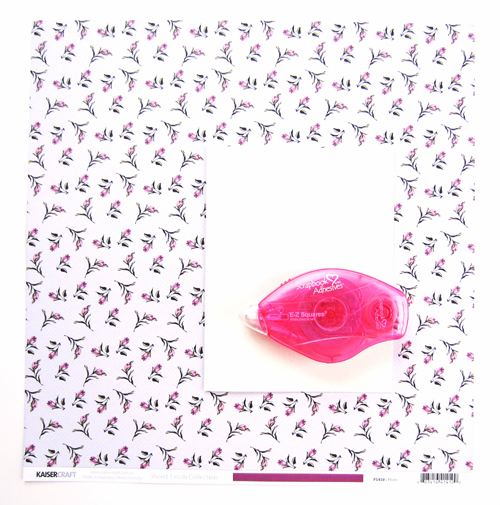
Step 1: Adhere pattern paper to card using an E-Z Squares® Refillable tape dispenser.

Card with Crafty Foam Tape and 3D Foam Squares by Erica Houghton for Scrapbook Adhesives by 3L

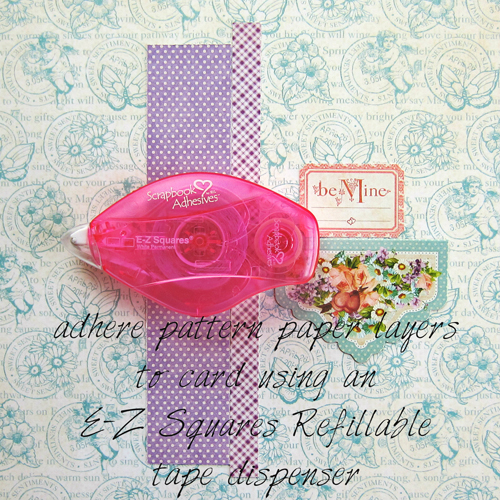
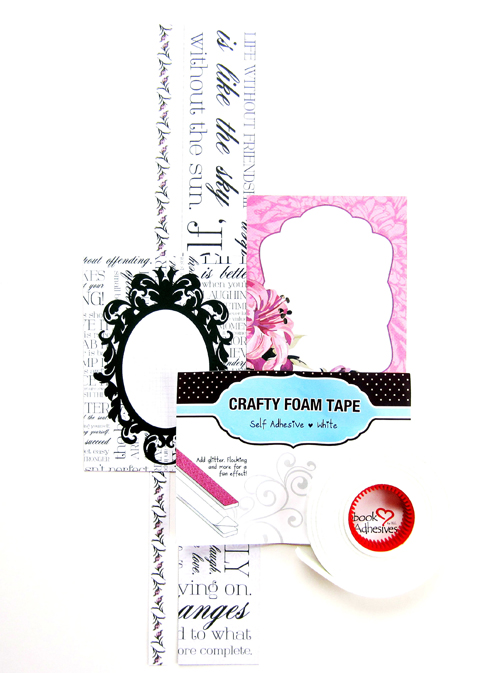
Step 2: Adhere pattern paper layers using Crafty Foam Tape. I use Crafty Foam Tape to not only add dimension, but to keep my layers from ‘sagging’ when I add flowers and/or other heavier embellishments.

Card with Crafty Foam Tape and 3D Foam Squares by Erica Houghton for Scrapbook Adhesives by 3L

Step 3: Adhere embellishments using 3D Foam Squares.

Card with Crafty Foam Tape and 3D Foam Squares by Erica Houghton for Scrapbook Adhesives by 3L

Adhesives

Paper

  • Kaisercraft, Violet Crush

Embellishments

  • Kaisercraft, Violet Crush – collectibles
  • Ashland & Spring Inspiration – flowers

Products

  • Ranger Ink – Tim Holtz – distress ink

Thanks for joining me today!

Erica Houghton

Save