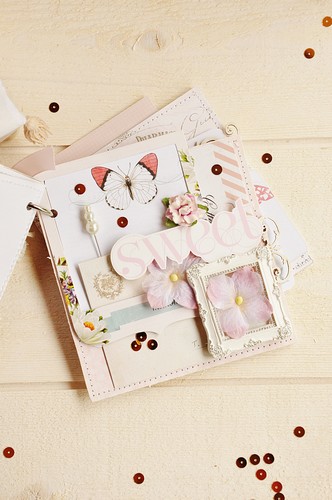
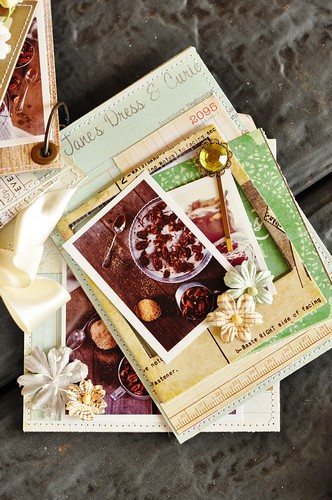
Hi there ! Today i show you a project that fits for the celebrations we do in spring and summer.
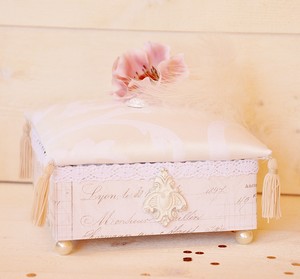
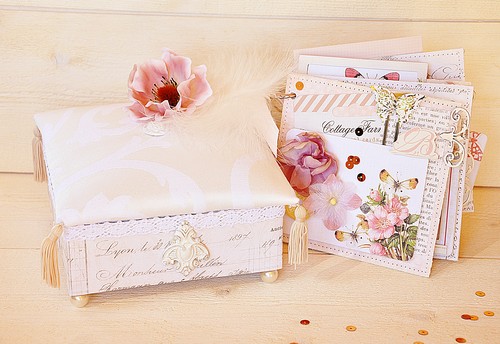
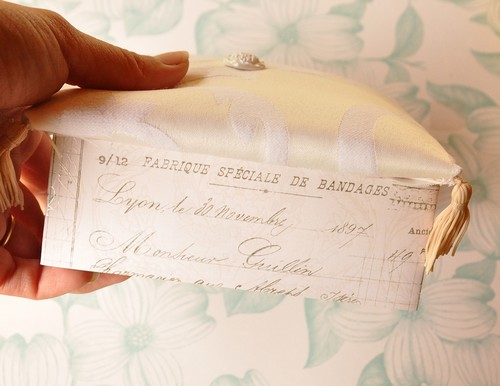
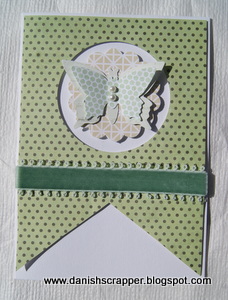
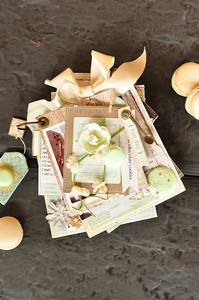
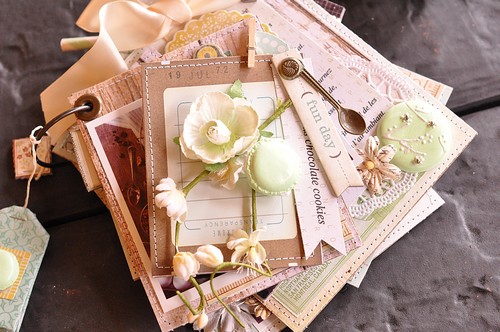
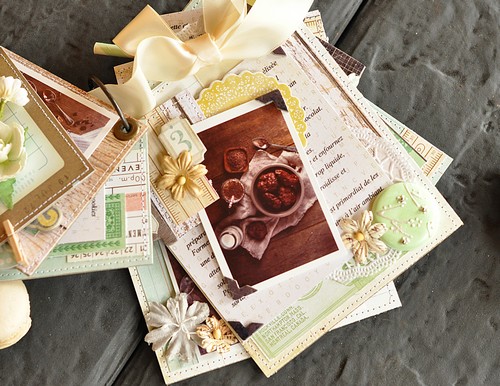
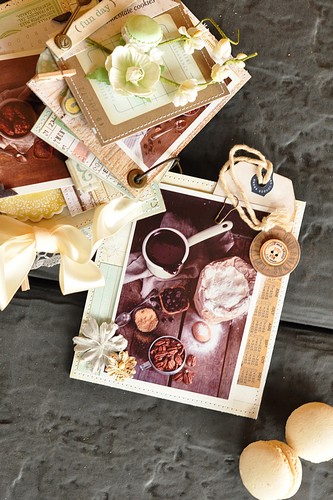
A very sweet project, perfect for weddings or baptisms. A box with a mini album inside.

Here are some explanations.
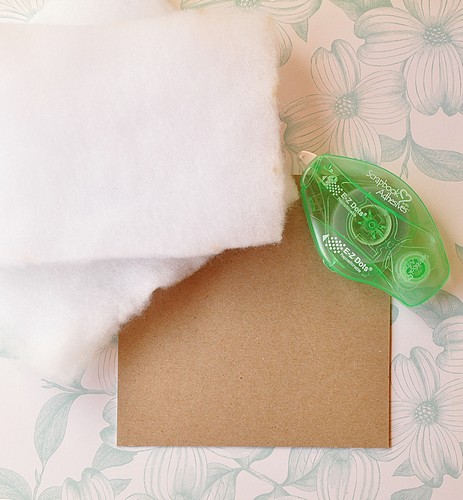
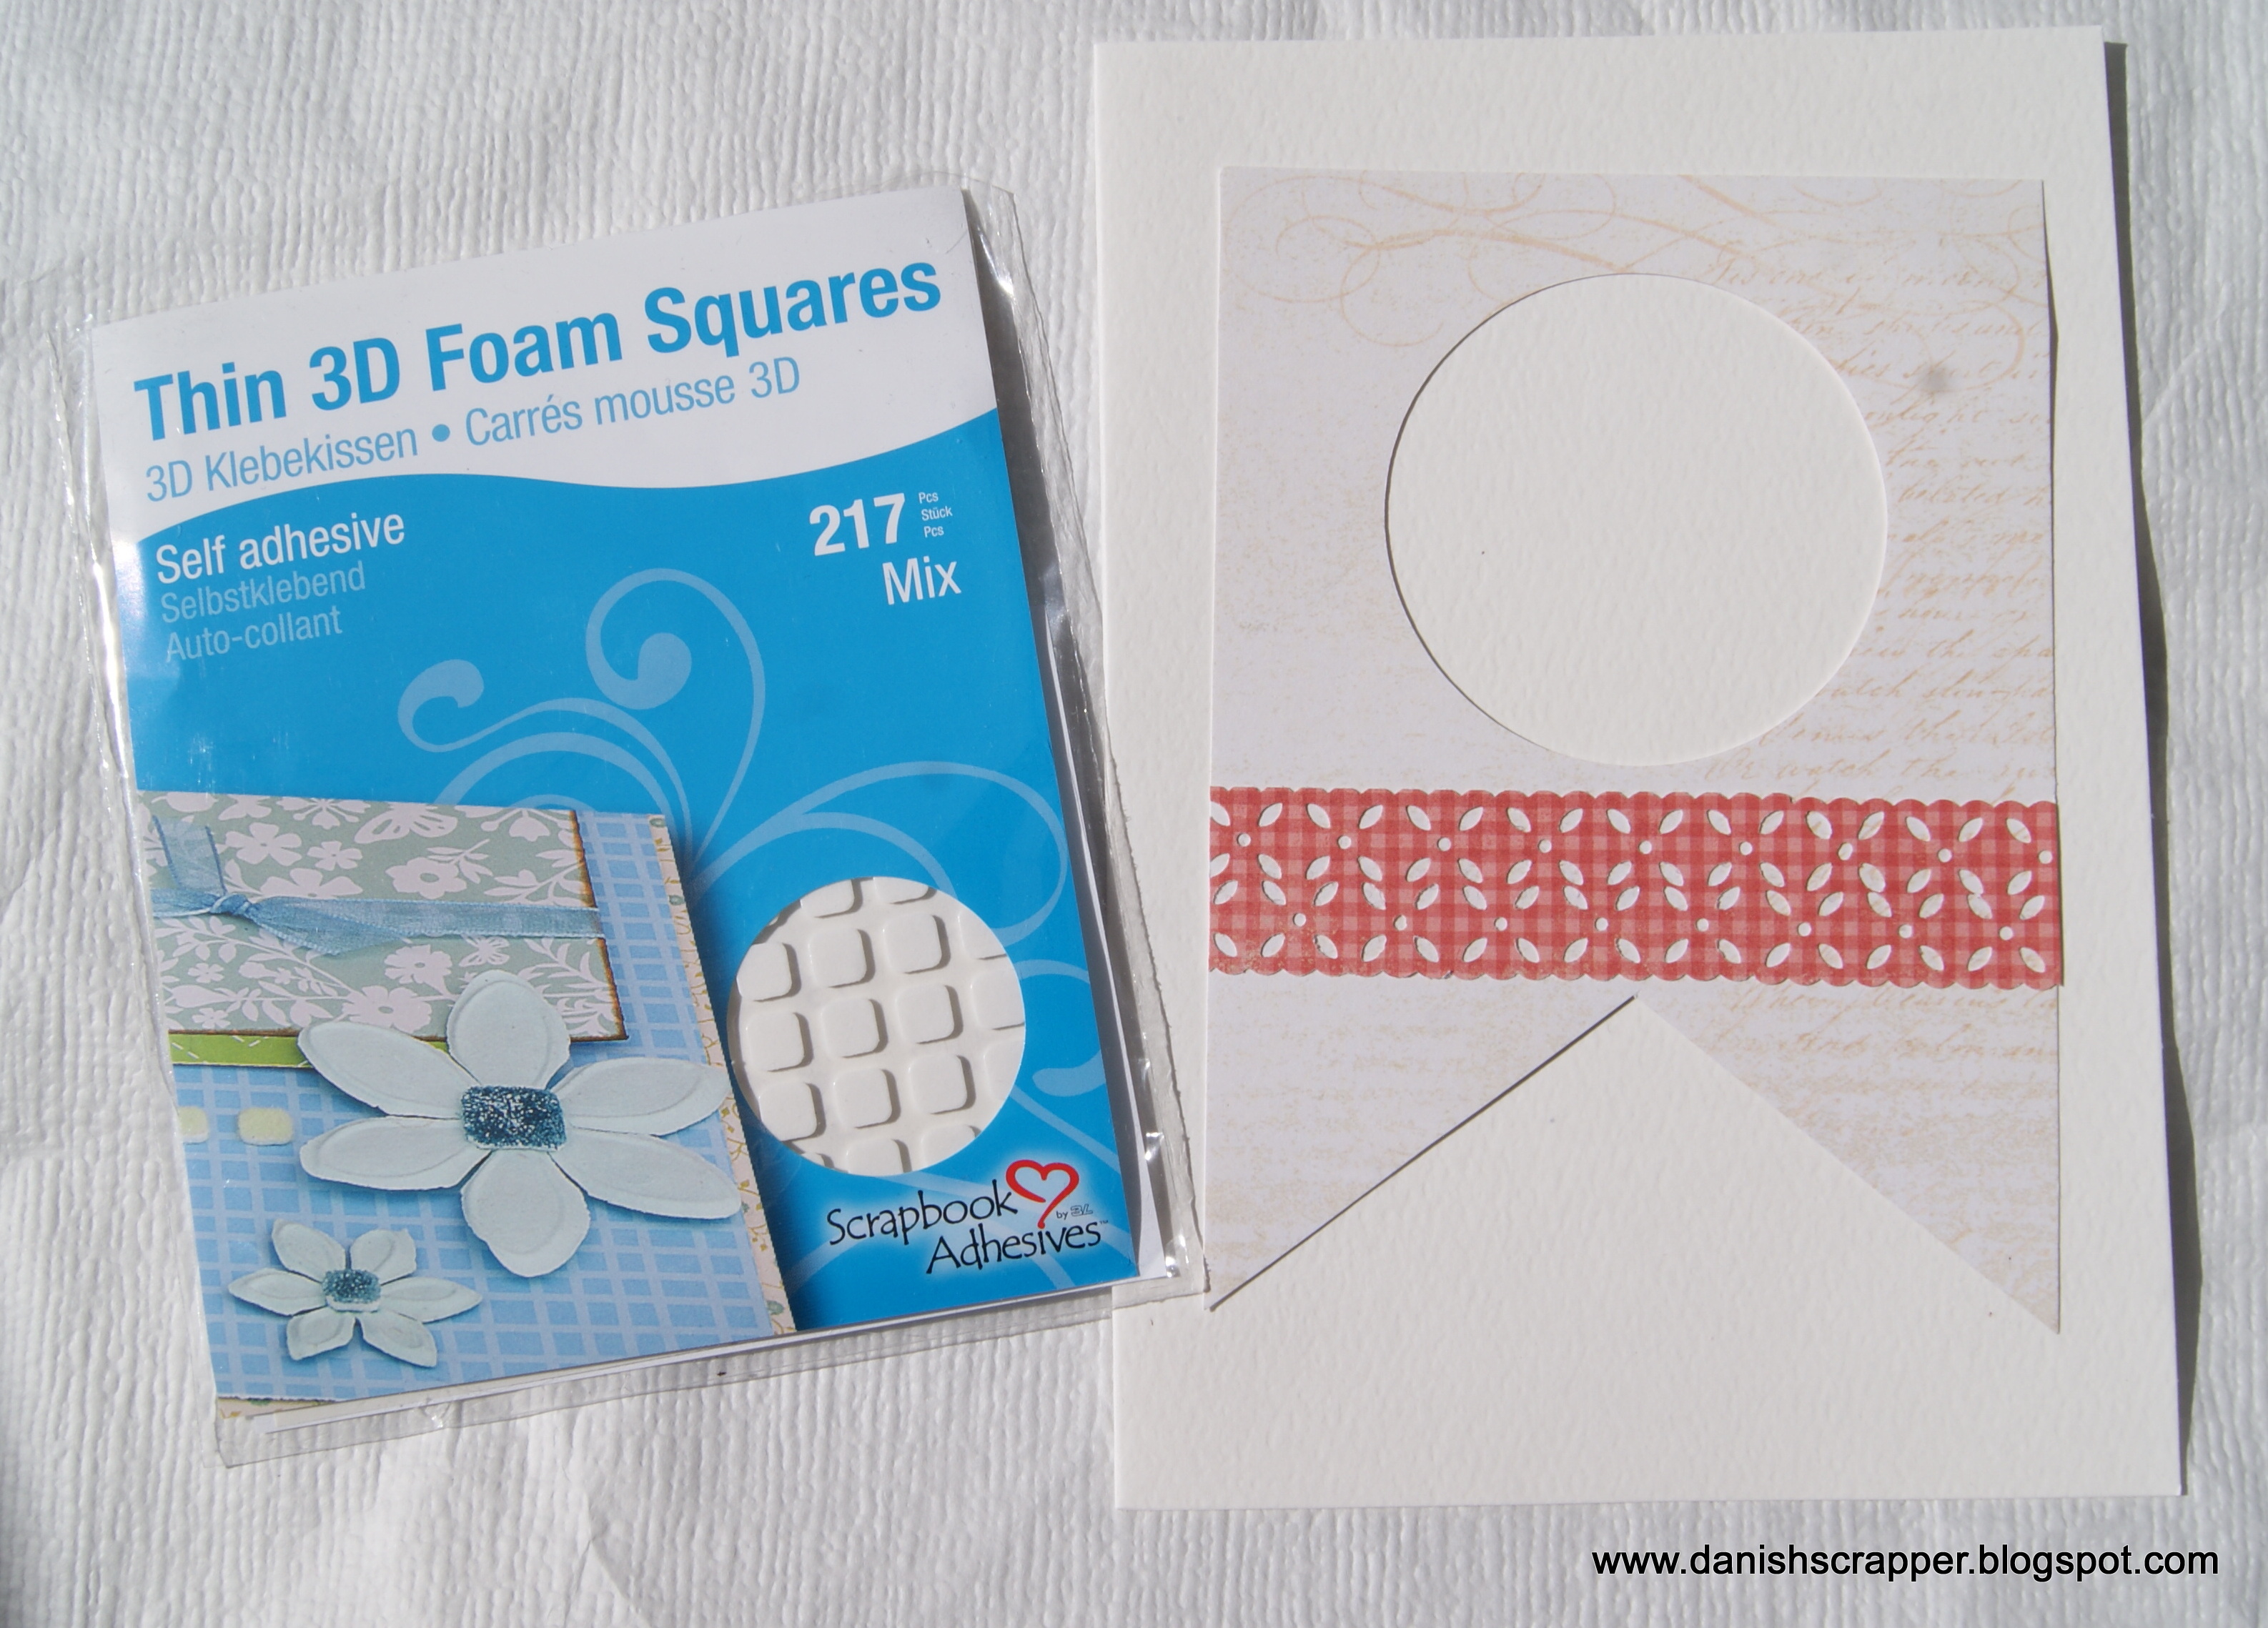
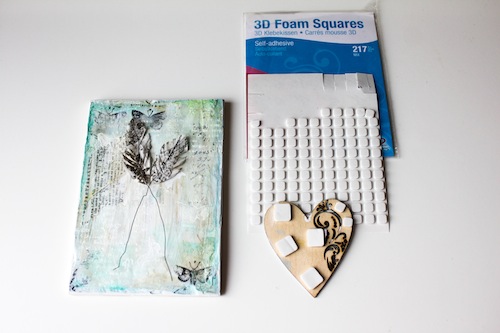
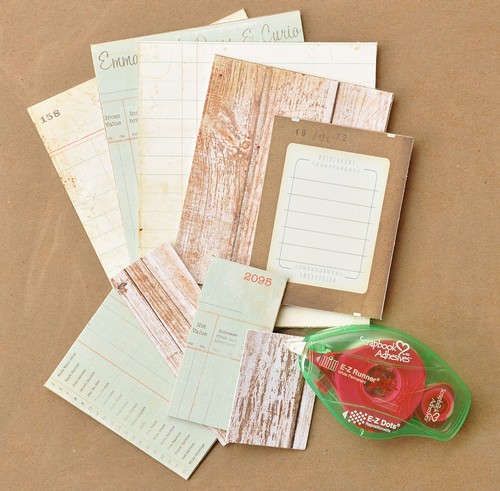
Cut a square of cardboard (6*6 inches). Also prepare three cuts of foam in the same dimensions.
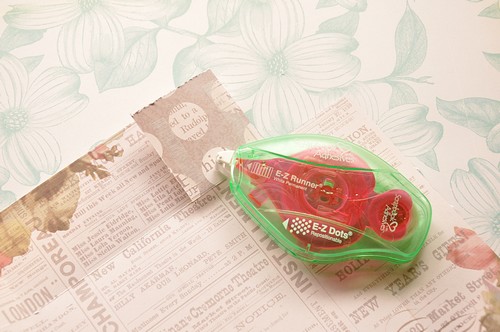
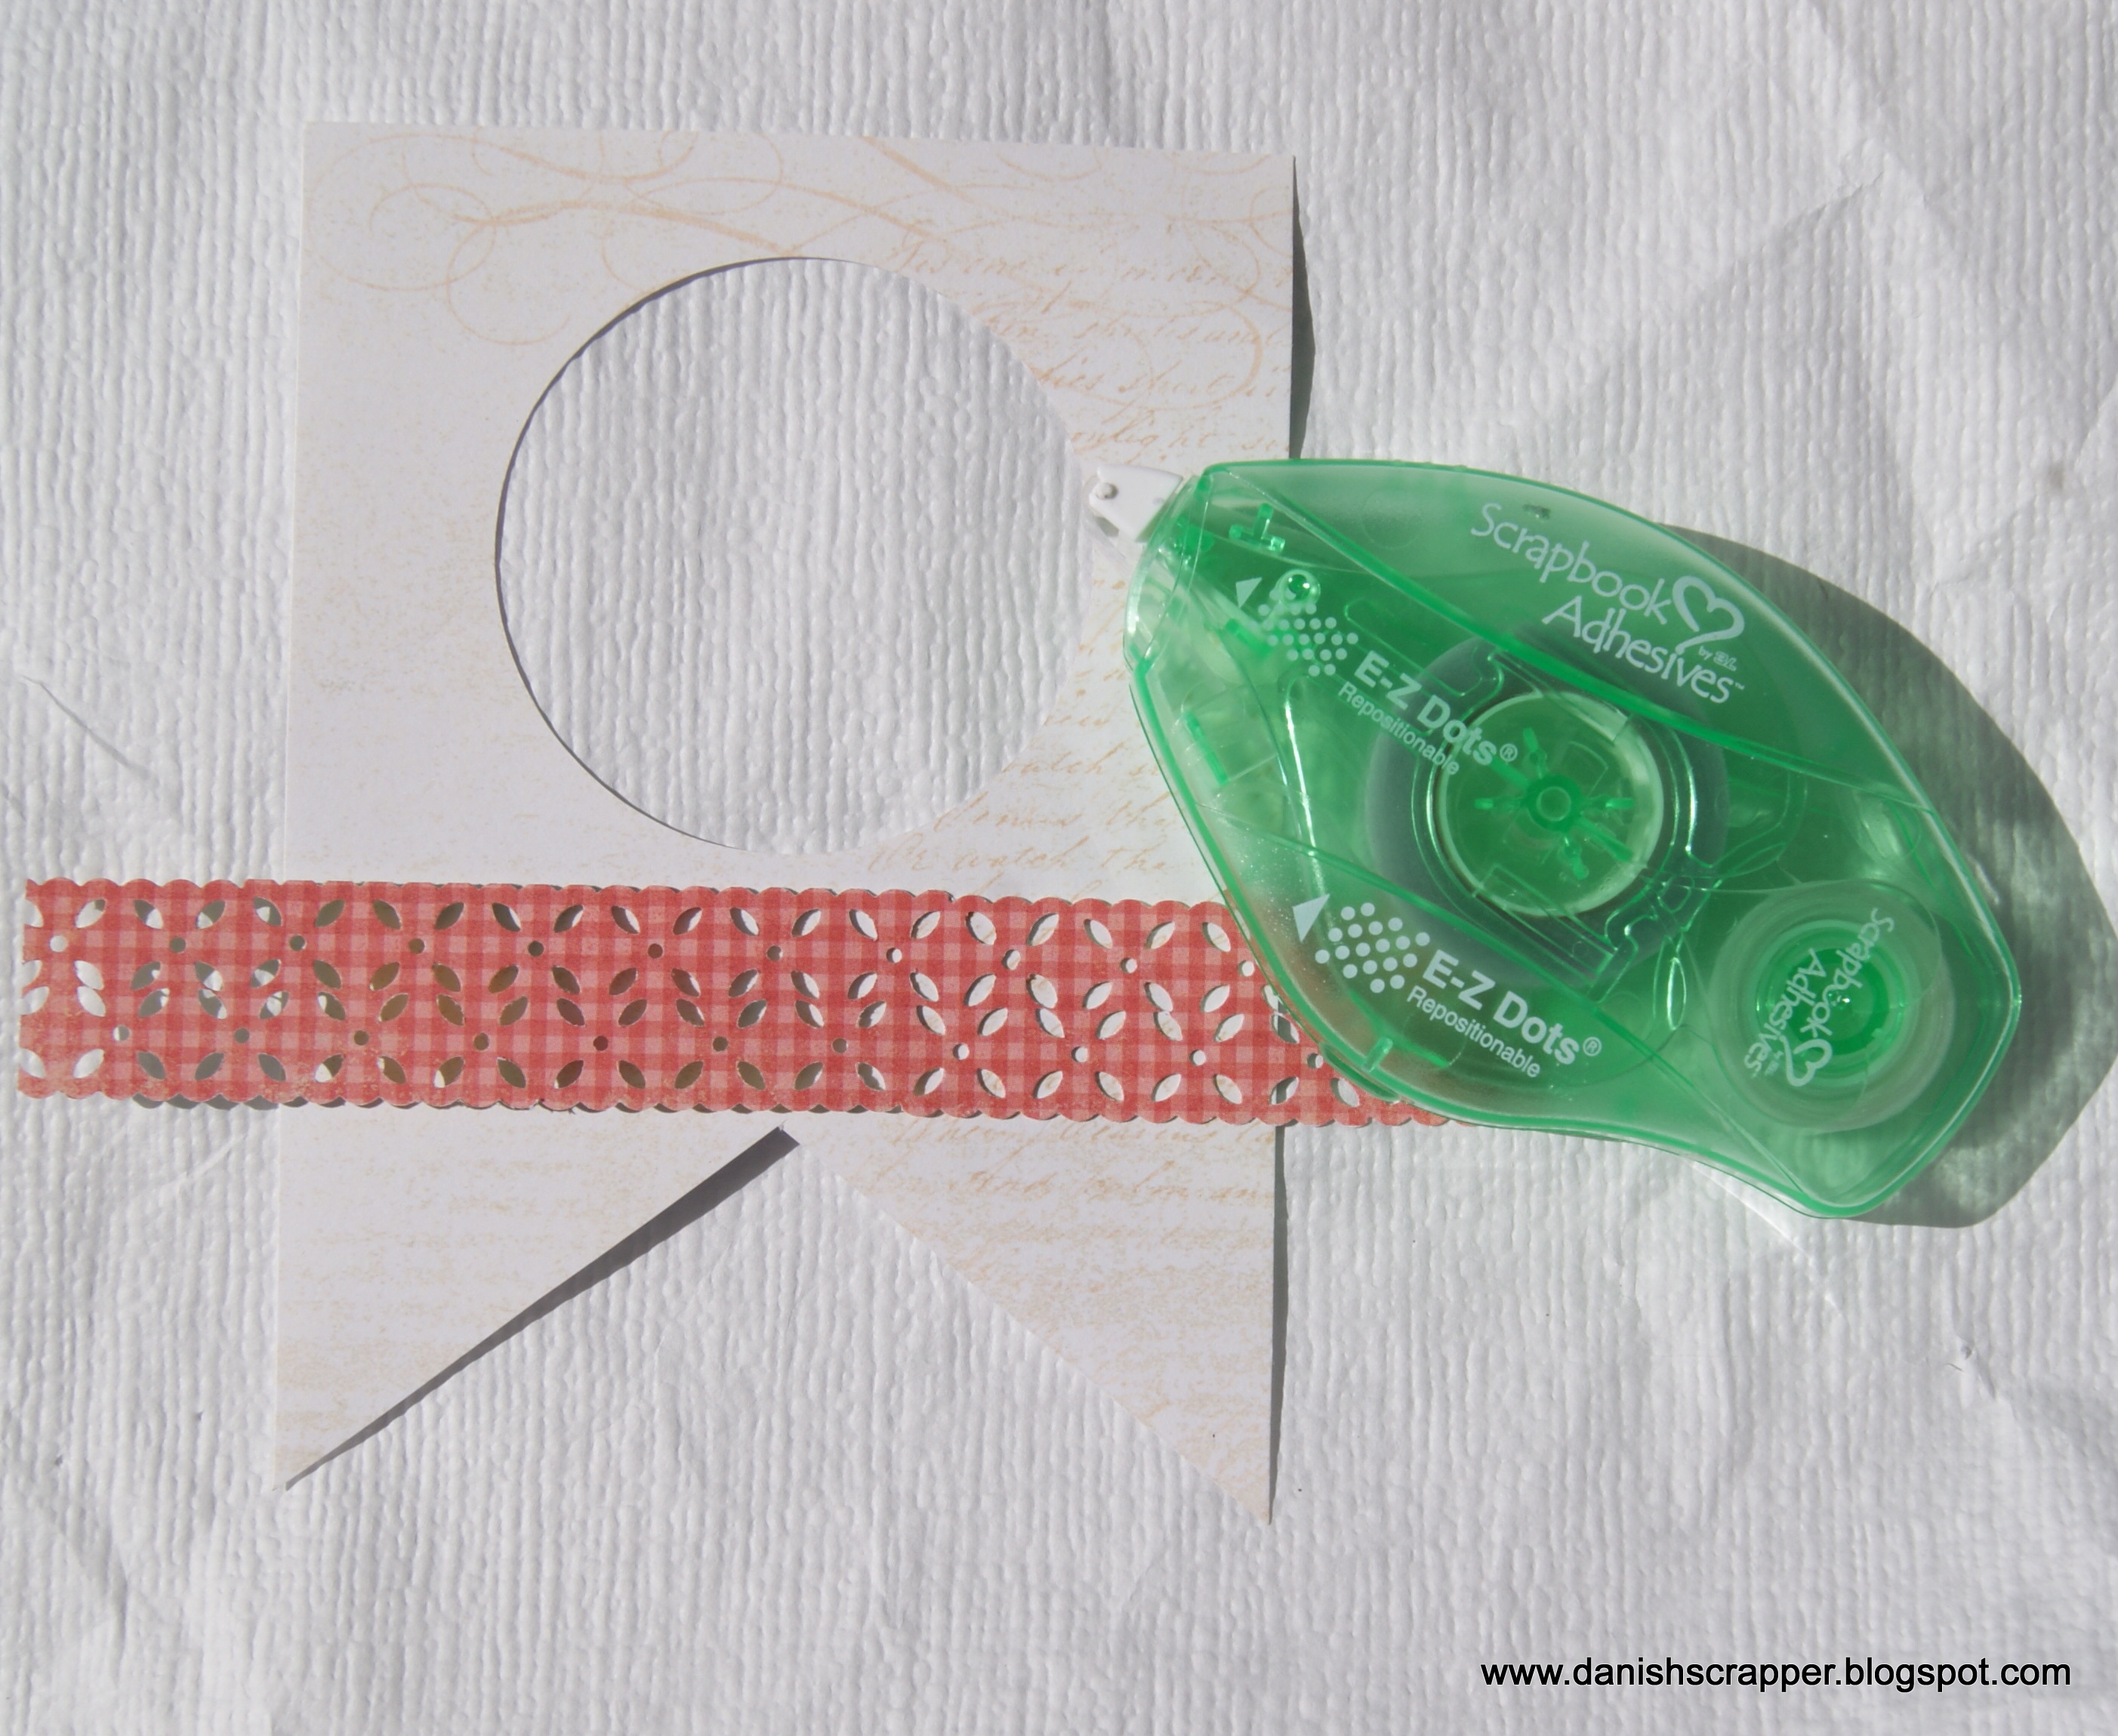
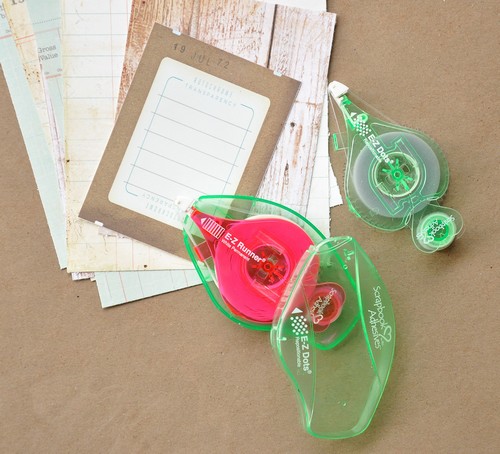
Fix the first foam layer on the cardboard with E-Z Dots® Repositionable – Refillable Dispenser – 49’/15m. Overlap the two above.
Changed the refill of the dispenser. Exchange with E-Z Runner® Permanent Strips – Refill – 49’/15m
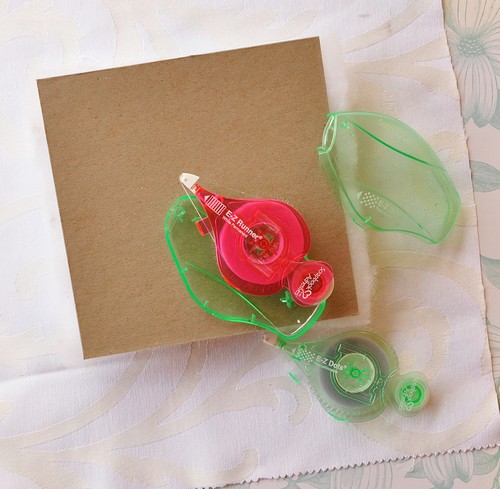
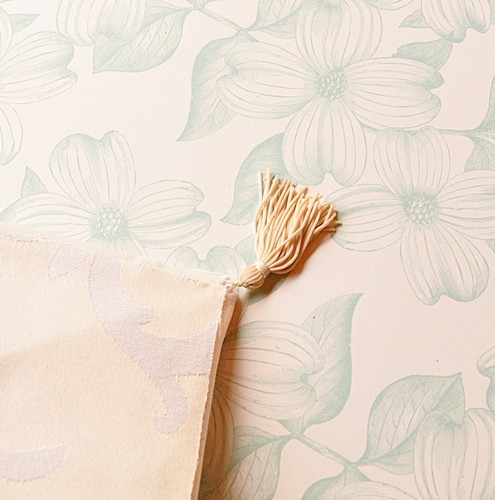
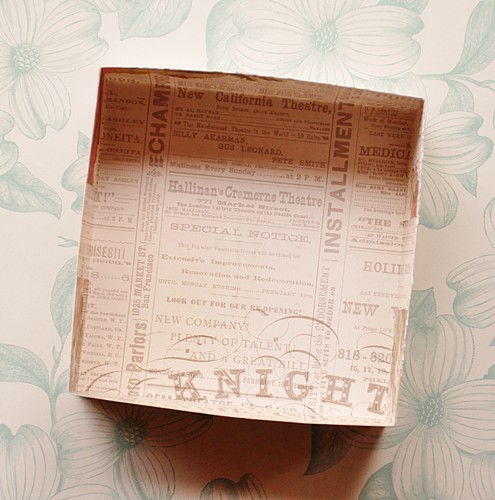
Turn the cardboard square on a little piece of fabric. Wrap the carboard with the fabric and mark the fold with an iron. Attached with E-Z Runner® Permanent Strips – Refill – 49’/15m.

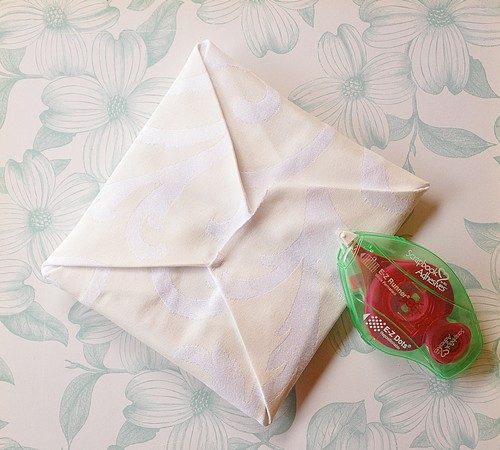
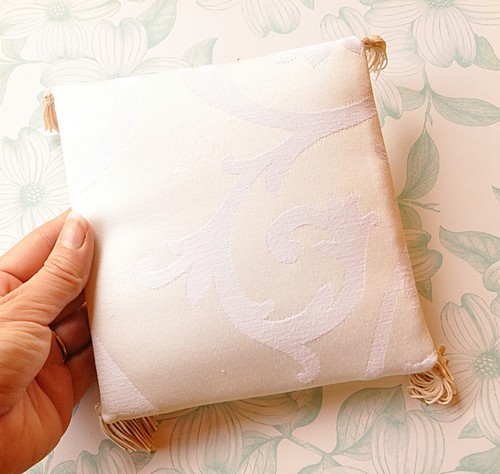
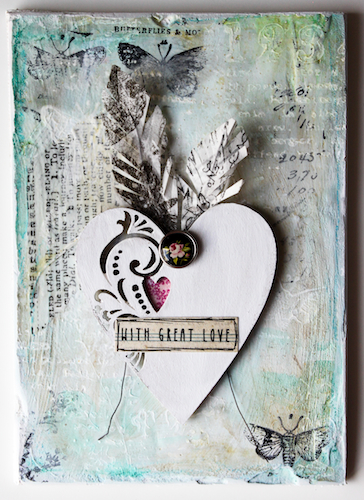
The cover of the box is ready.
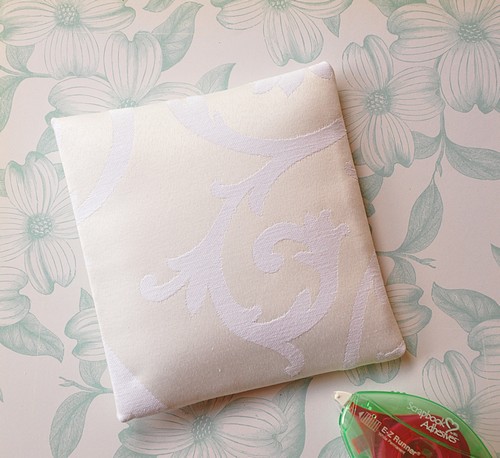
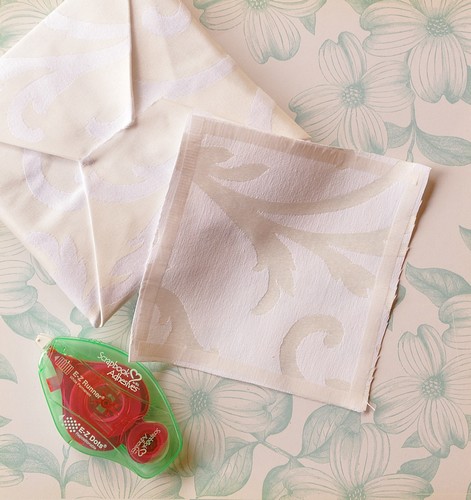
Add on the back side a square of fabric for a beautiful finish. If you’re better seamstress than me , hem the edges. Ha ha !
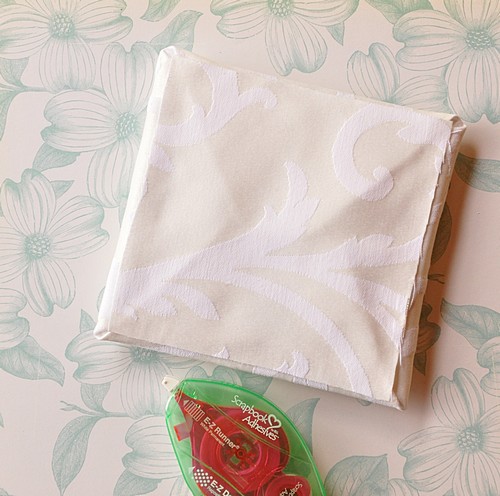
Finally, add tassels at each corner with a needle and thread.
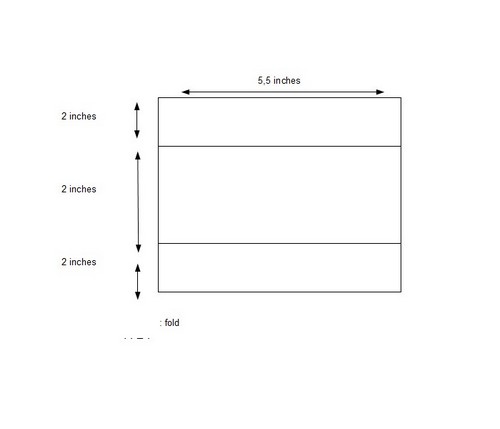
To create the bottom of the box:
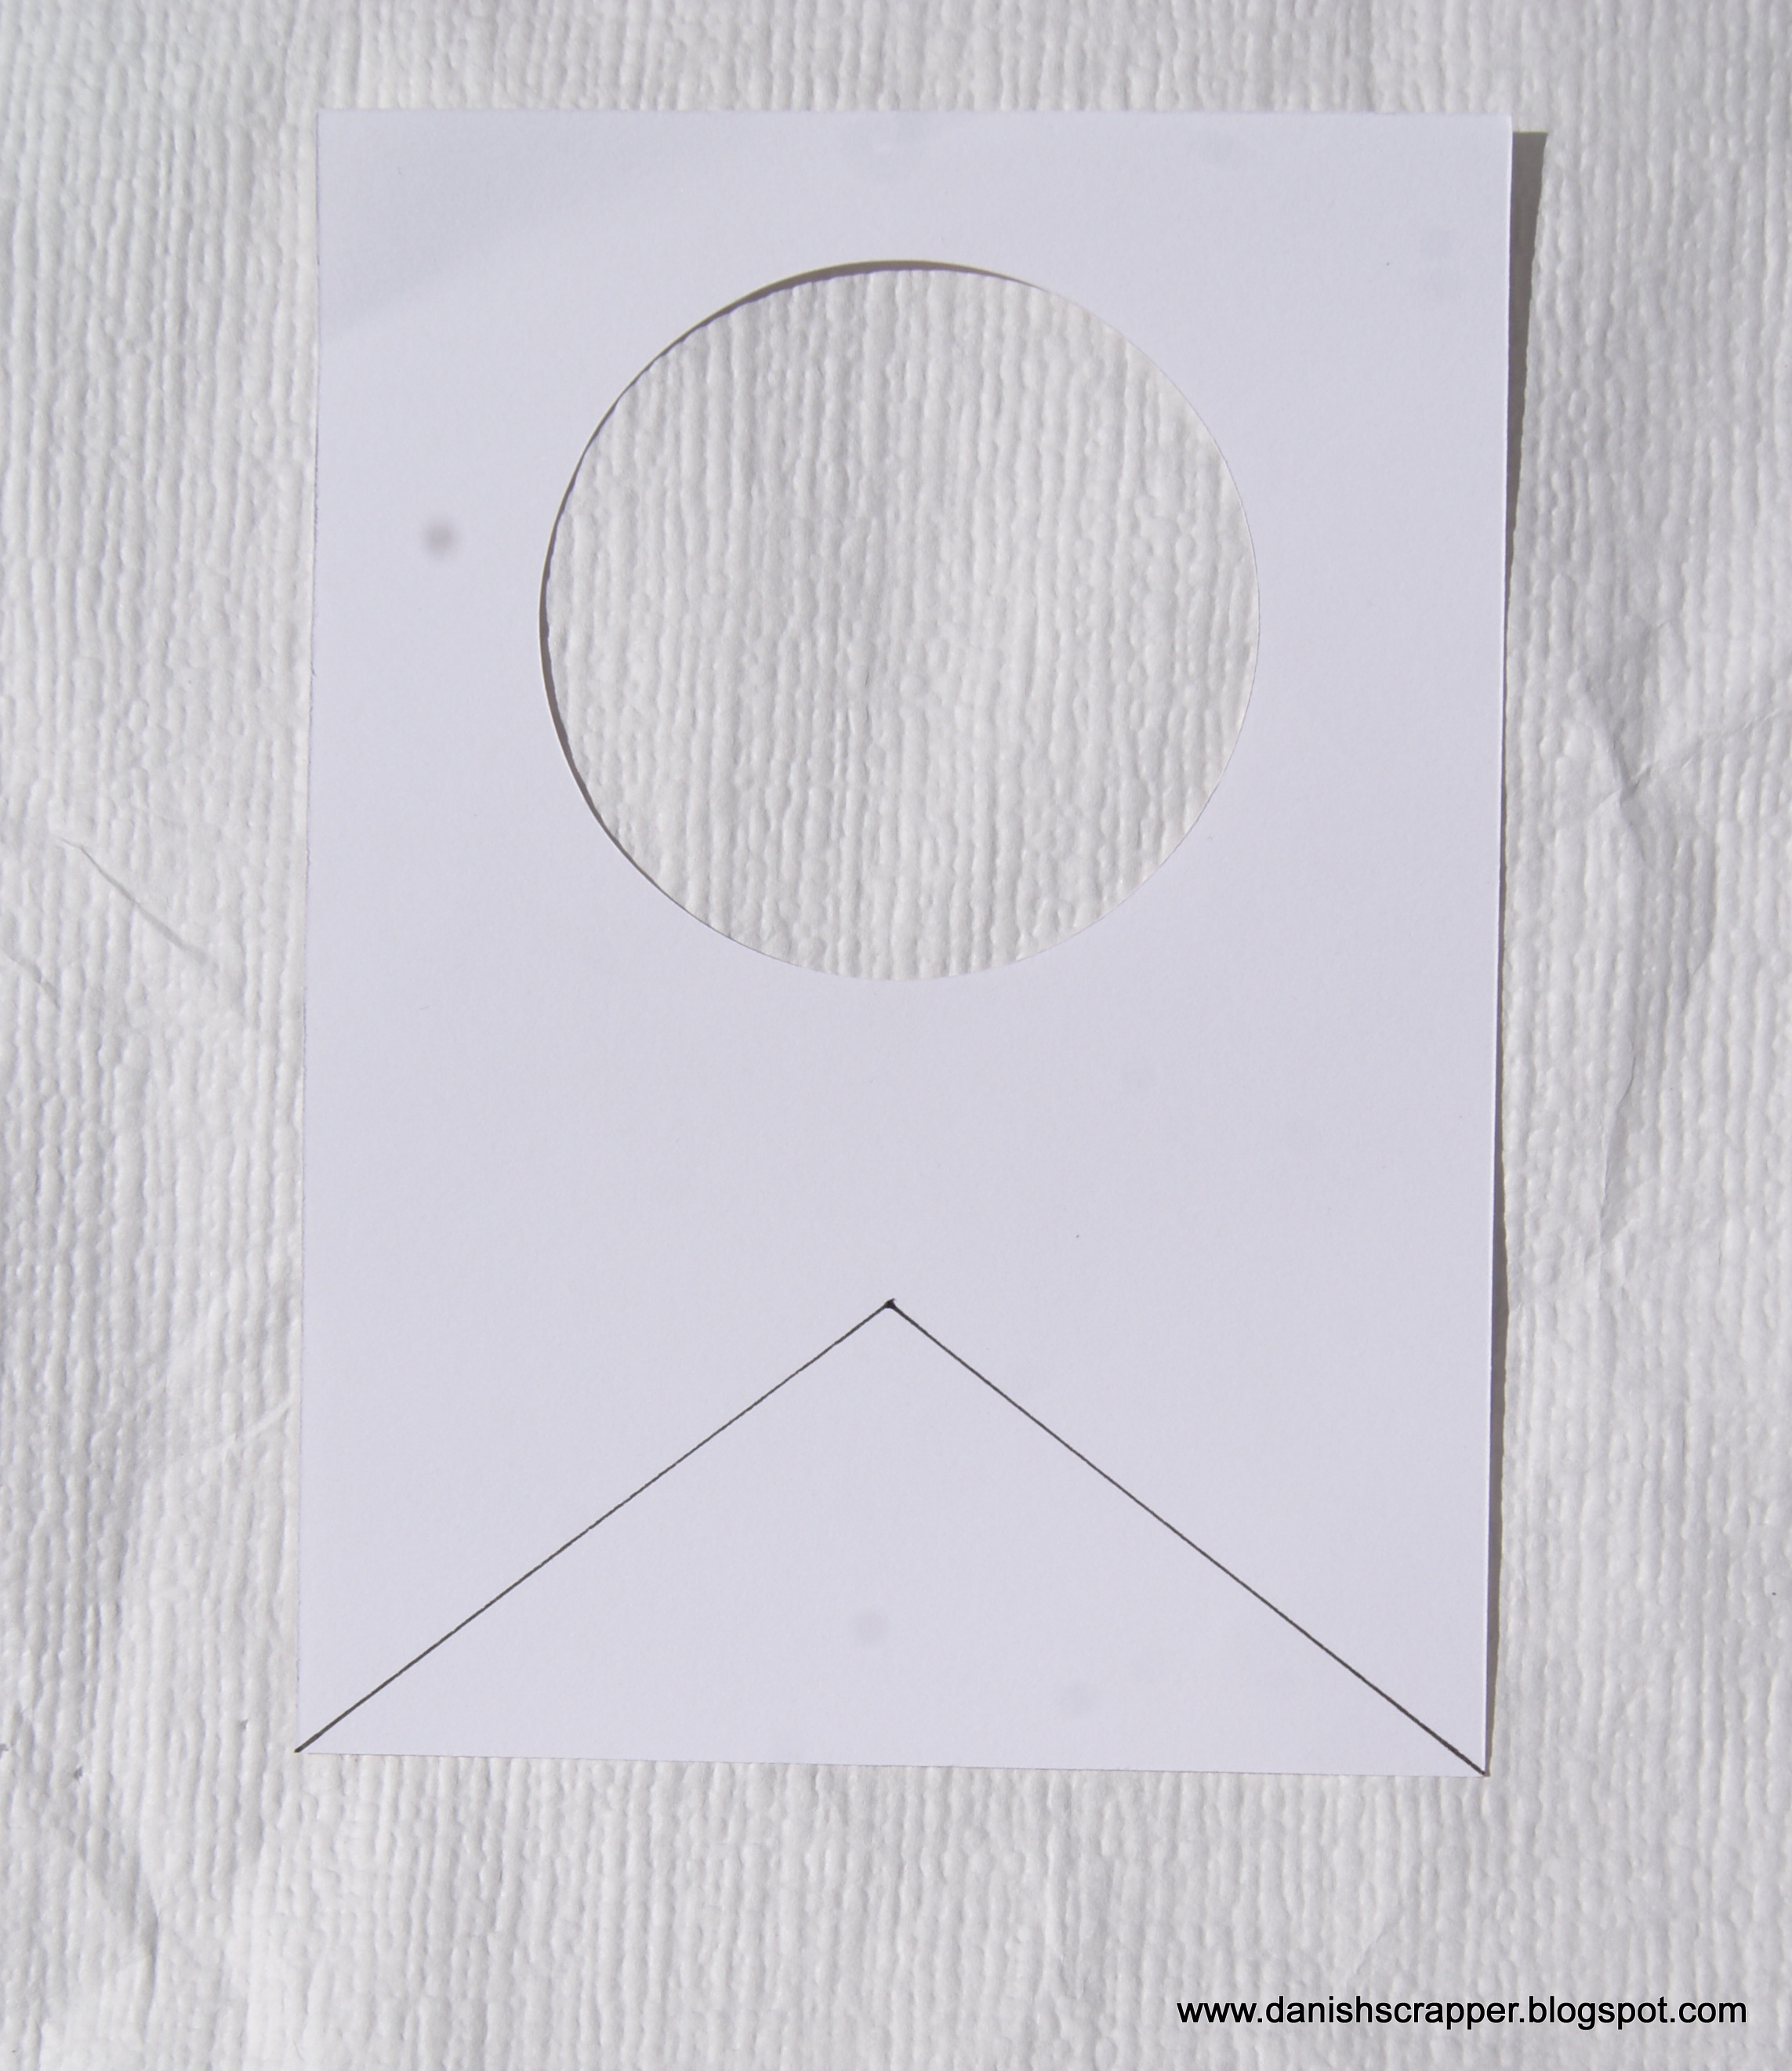
Draw and cut out in paper the following template:
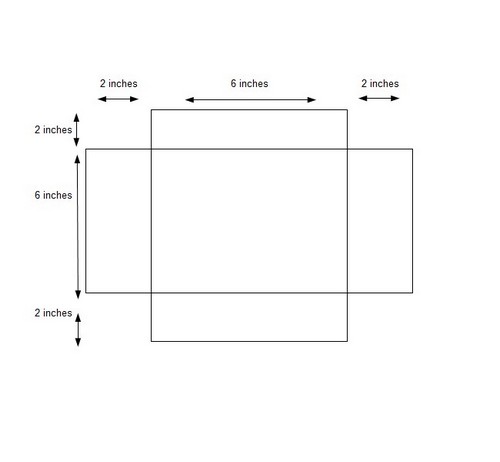
Mount de box.
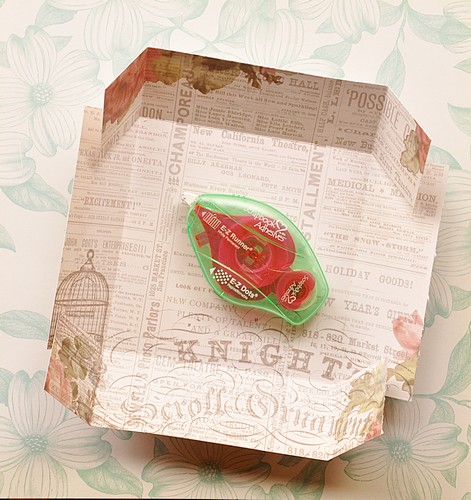
To bind this box with the cover, cut out paper the following template and fix inside.
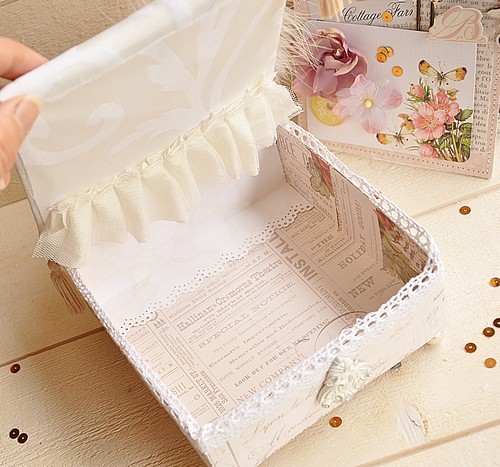
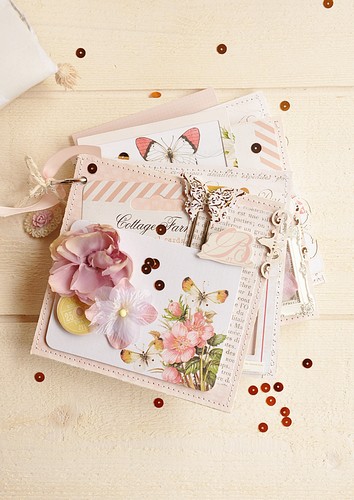
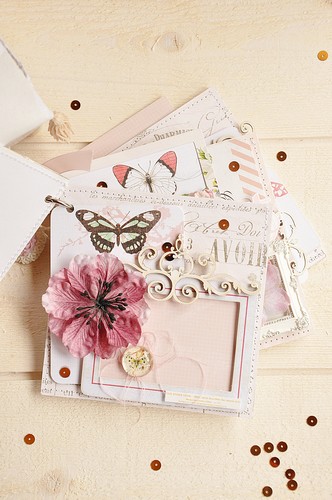
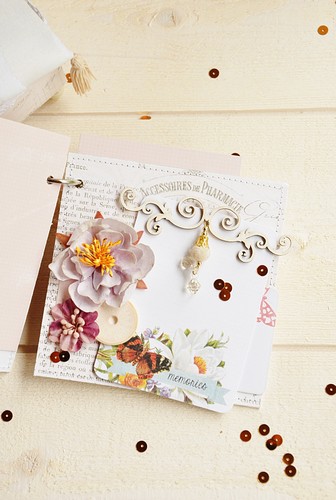
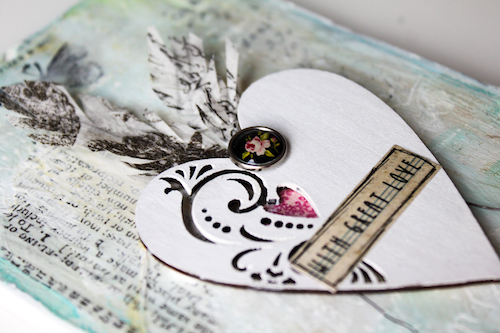
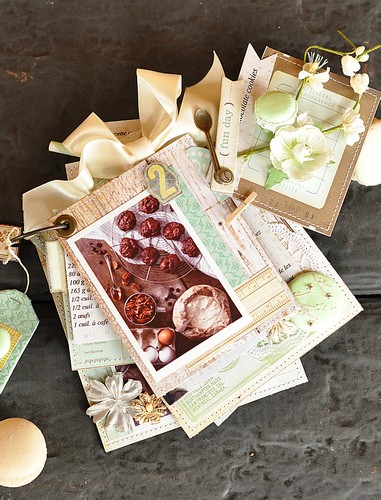
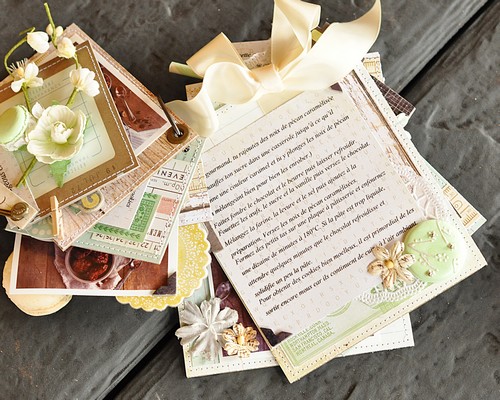
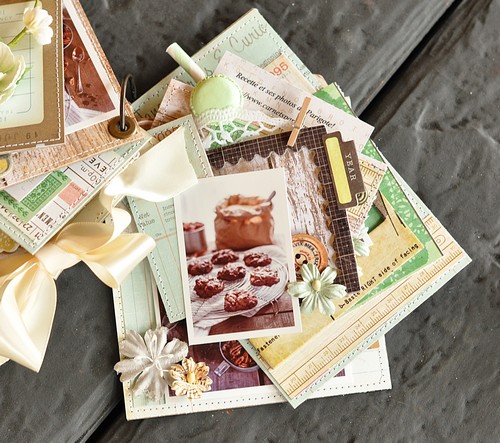
The box is ready. Now decorate to your taste and add a little album inside.
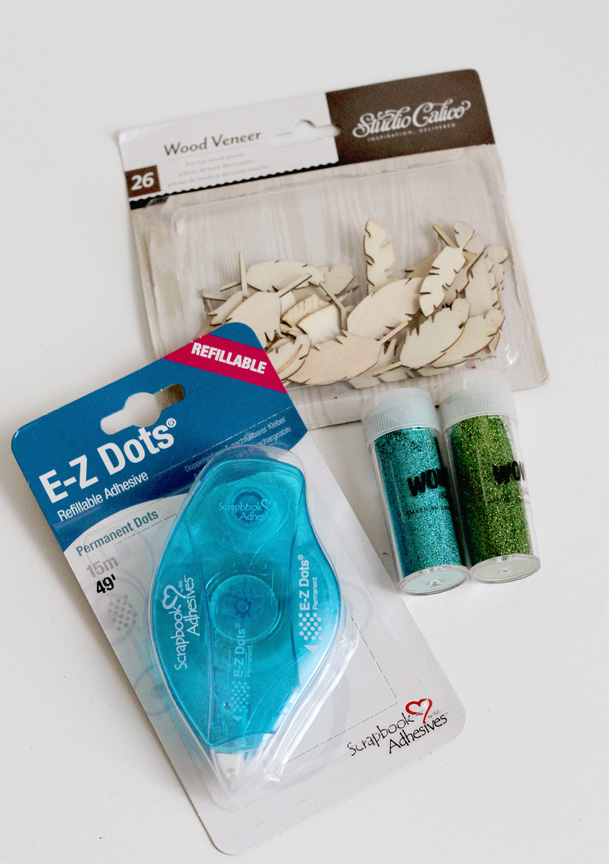
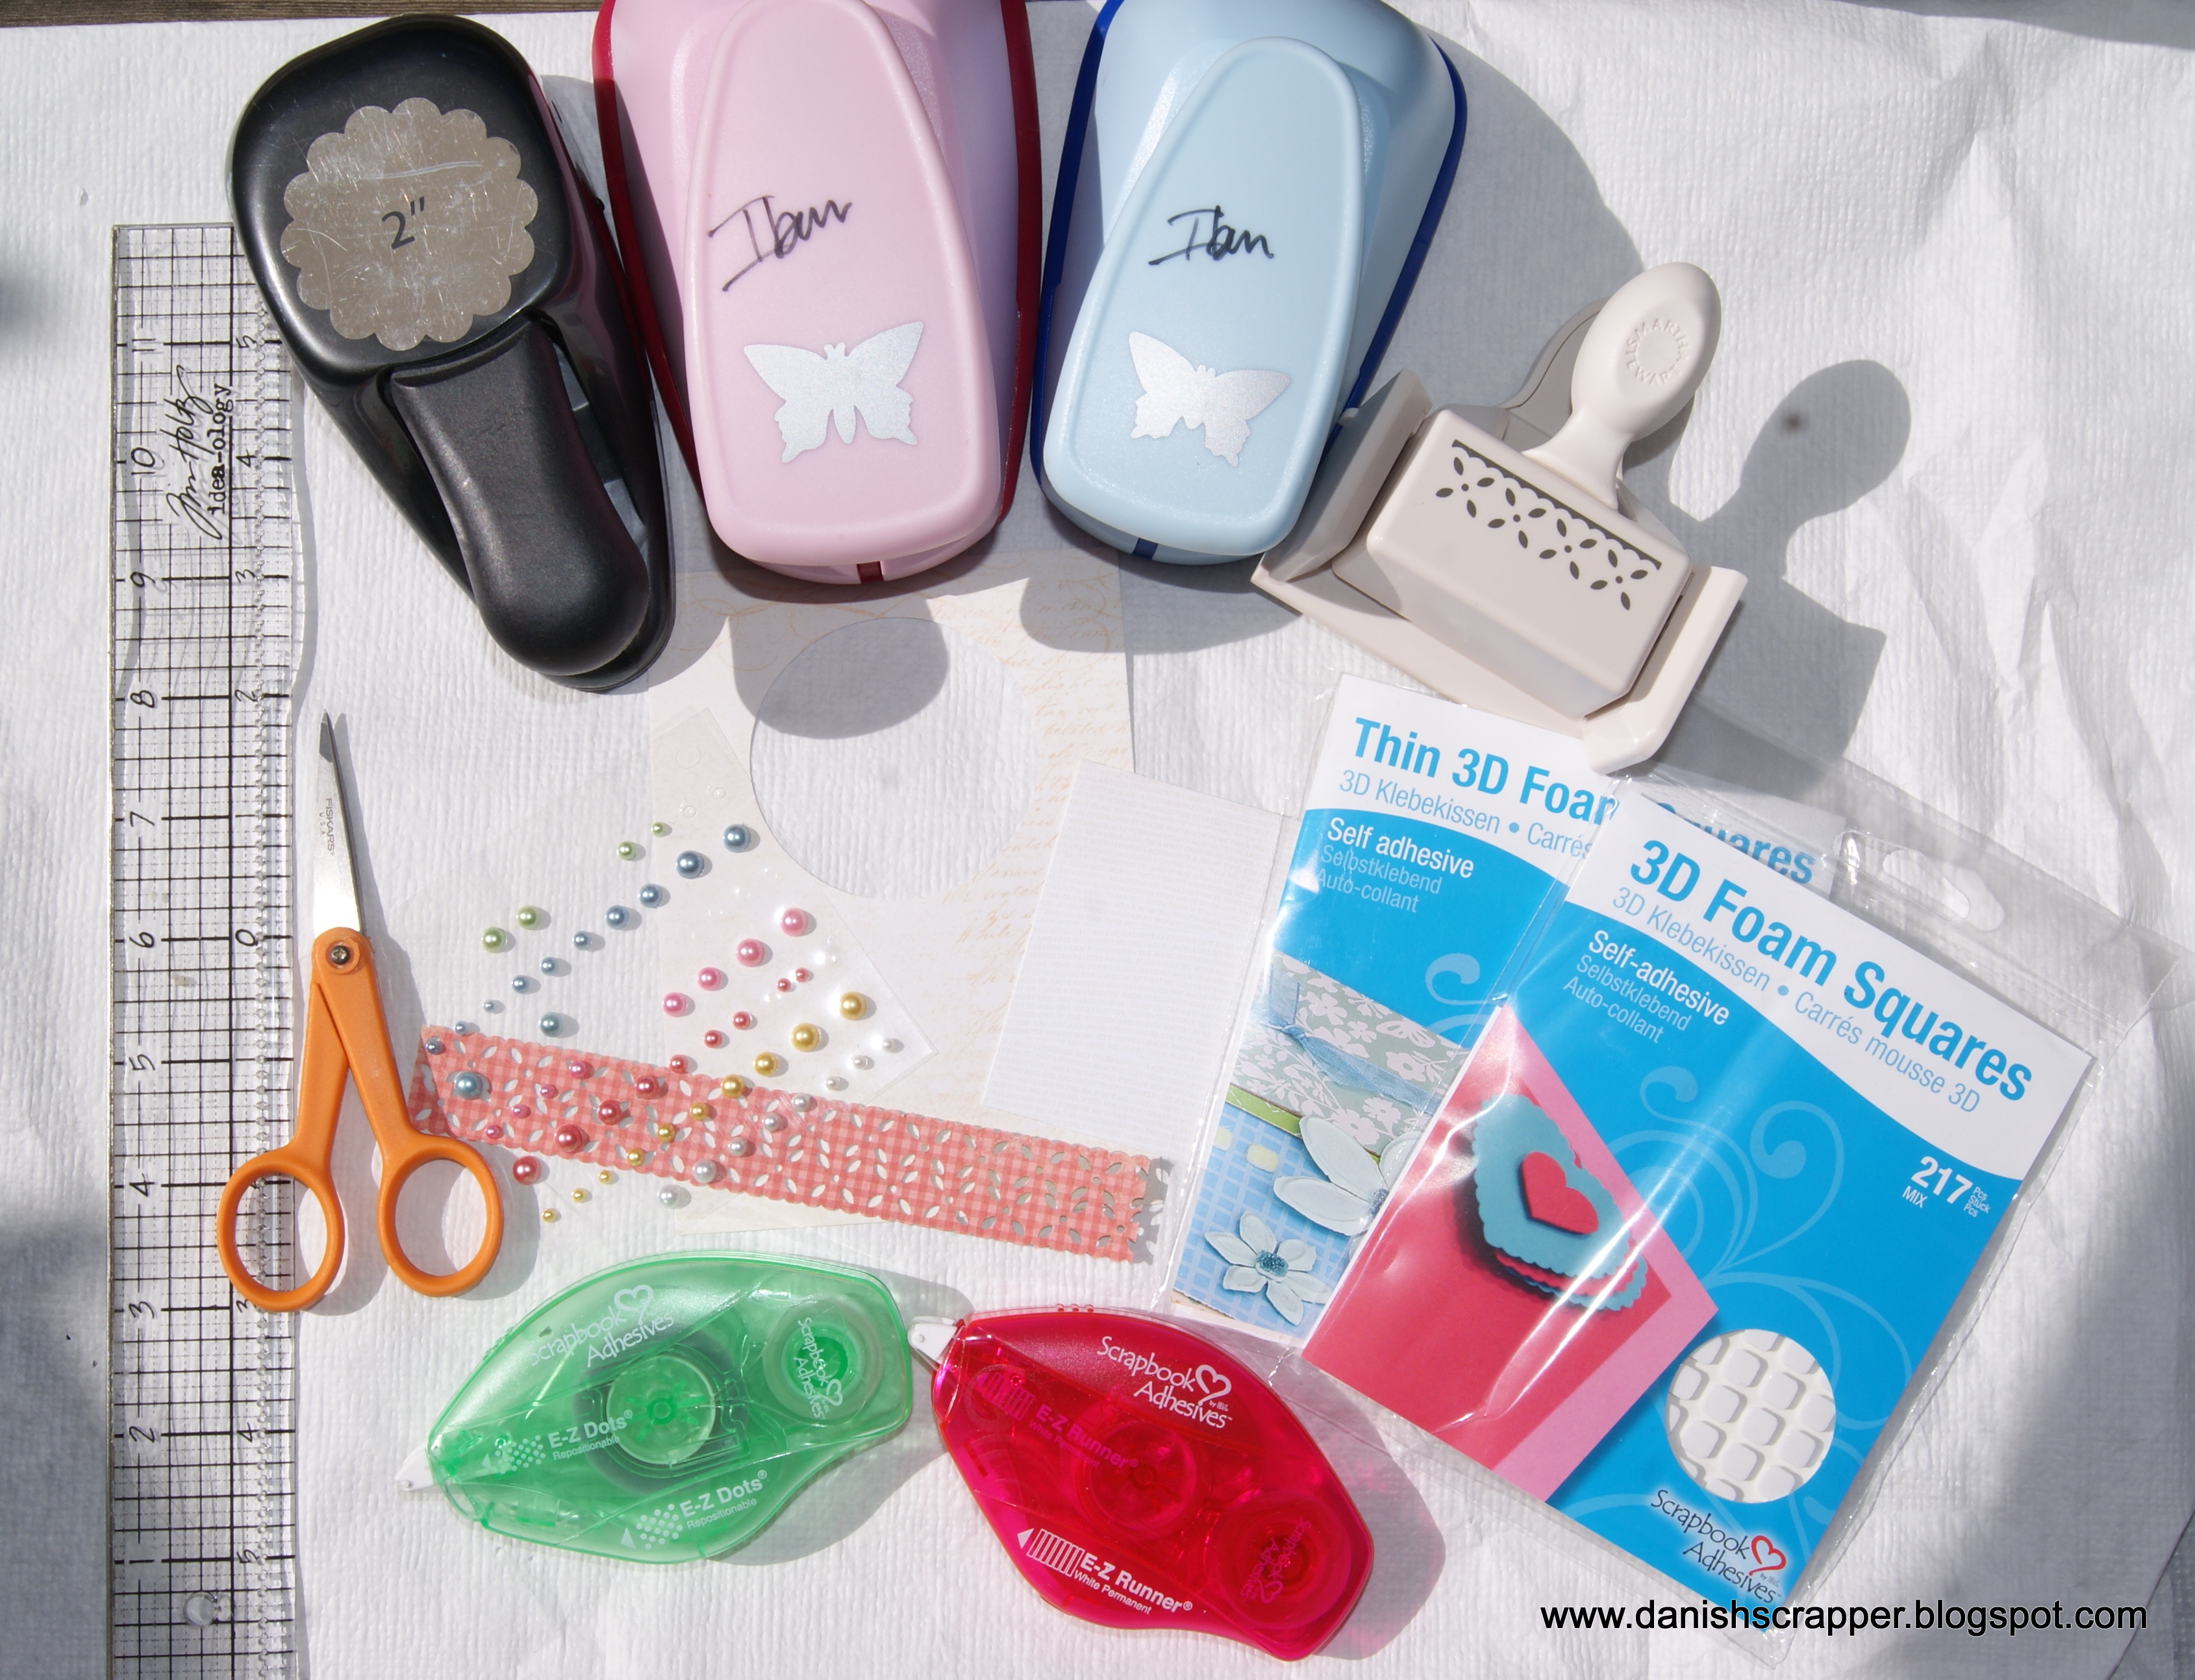
Supplies :
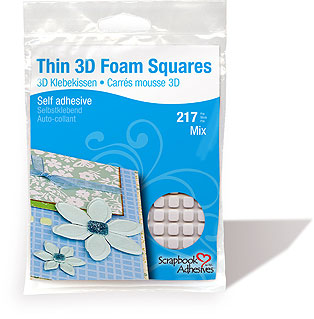
E-Z Dots® Permanent Refill
E-Z Dots® Repositionable – Refillable Dispenser
Pink Paislee papers and die cuts
Prima Marketing flowers
Melissa Frances resin and ribbons
Thank you for stopping by our blog today!
Flo Floliescrap Blog


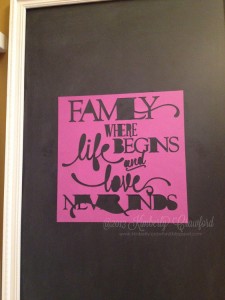
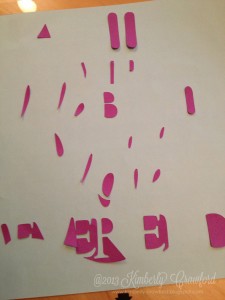
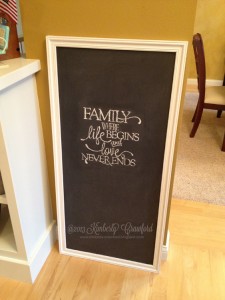
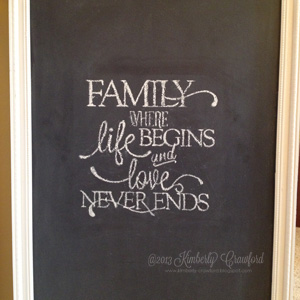 Making a Stencil for Chalkboard Lettering
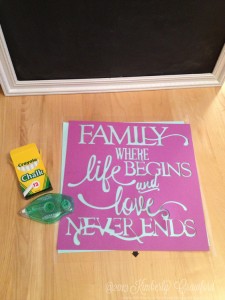


