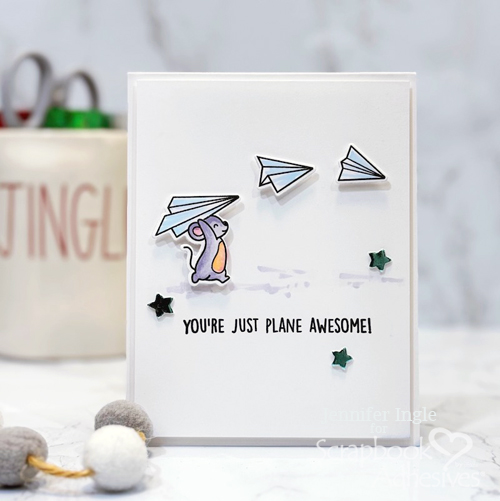
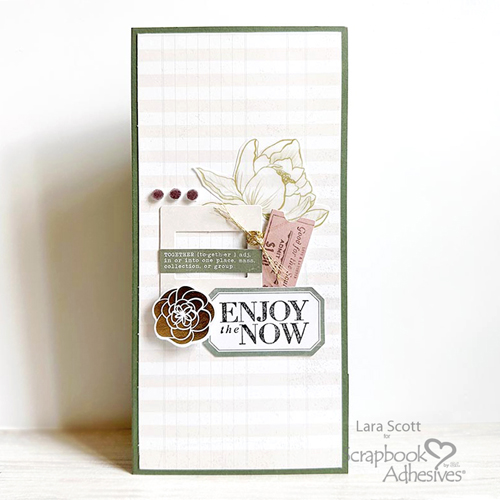
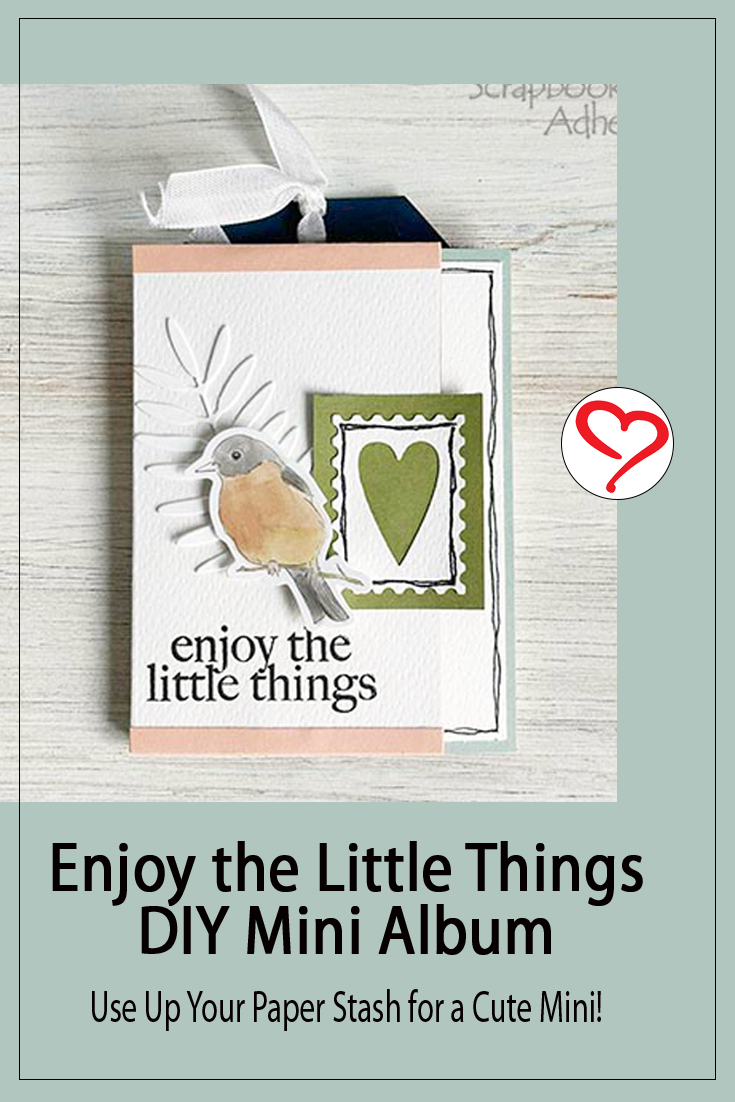
Hi, Lara here again today with this amazing Enjoy the Little Things Mini Album! Are you looking for a fun way to use some of the scraps from your other paper crafting projects? This album was pretty much done with one sheet of 12 x 12″ paper and some other leftover scraps so it is quick and easy to complete. It would also be a great project to create with kids.
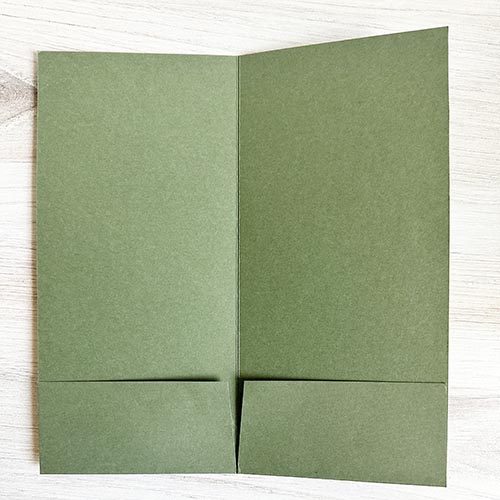
The Enjoy the Little Things Mini Album base is created from a piece of cream color card stock about 4.5″ tall and 12″ wide. I scored it at 2.75″ and 3″ to create a spine so it would lay flat, the other pages are about 3.375″ wide but you can change them to fit the project you are working on.
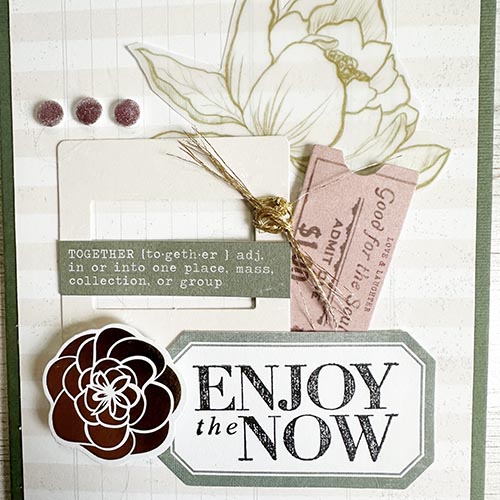
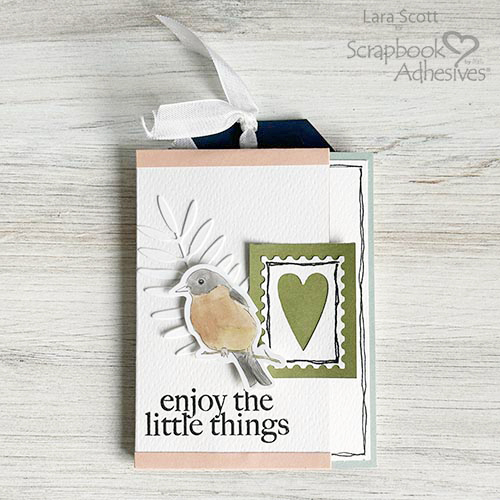
Enjoy the Little Things Mini Album Cover
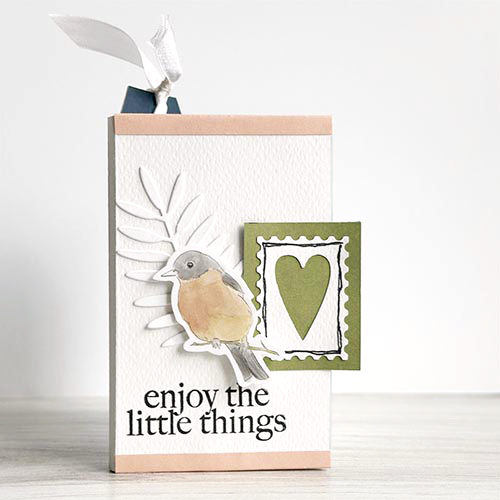
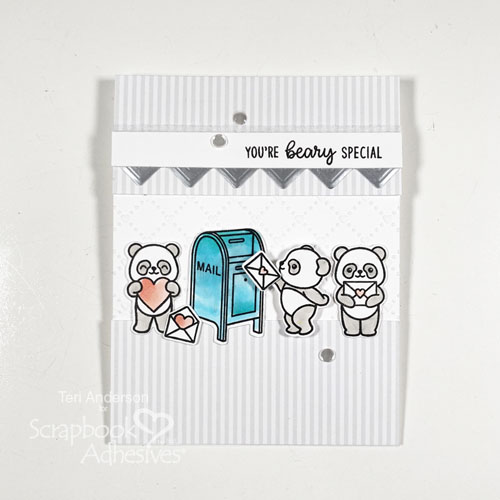
Here is a closer shot of the Enjoy the Little Things mini album cover. A magnetic closure is used but they are under the cardstock so you don’t see them. Stamp the Enjoy the Little Things sentiment, but you could use any stamp of your choice, stickers, etc.
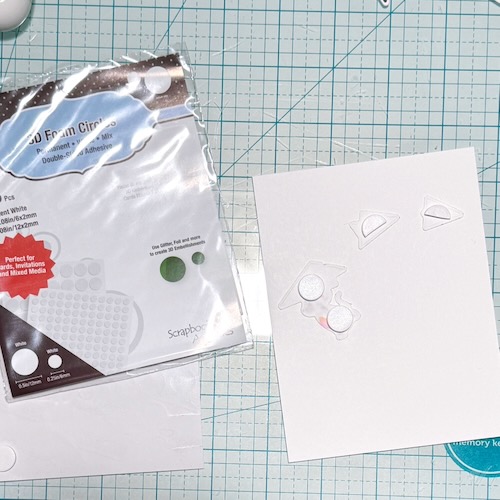
Add a few assorted die cuts and other ephemera pieces. I did all the line work by hand with a black pen. Use the 3D Foam Squares White Regular and 3D Foam Squares Micro White under the bird to give it some dimension.
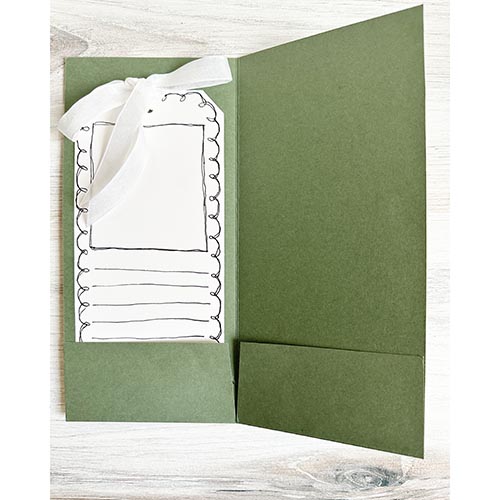
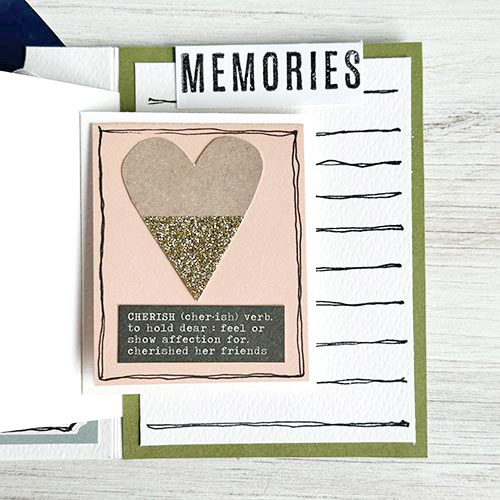
Inside Pages
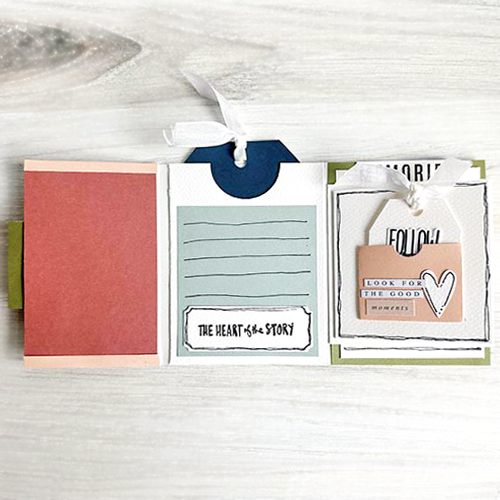
Cut a piece of the cream cardstock to create the pocket and add Extreme Double-Sided Tape 1/8in. along the side and bottom edge. Designer’s Tip: Make it just a touch smaller so it fits inside the fold lines and then use a hole punch to create the half circle. Add a tag with some ribbon. I cut down the tag a little so it would fit in the pocket.
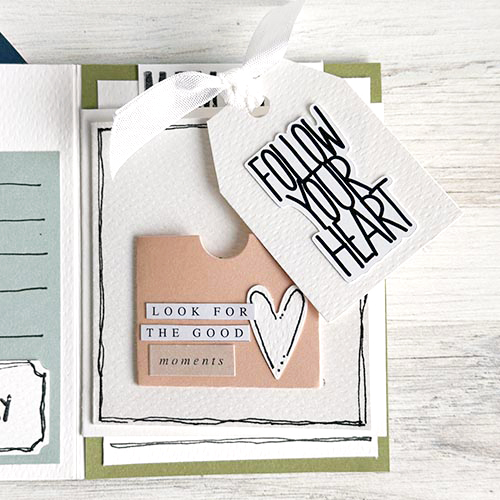
Create your own tags by simply cutting out a rectangle and trimming off two top corners at an angle. This one fits in the little pocket. Add a few assorted stickers, die-cut pieces, etc to embellish it.
This Enjoy the Little Things mini album has lots of flip ups and fold outs even though it is only .25″ thick. I used the E-Z Runner® Grand Ultra Strong Refillable Dispenser to add adhere all the photo matts and the Extreme Double-Sided Tape 1/8in. for all the pockets, etc.
Hope you have a great time creating some memories!
Lara Scott
Creative Time: 35 minutes
Skill Level: Beginner
Materials Needed:
Scrapbook Adhesives by 3L®
E-Z Runner® Grand Ultra Strong Refillable Dispenser
3D Foam Squares White Regular, 3D Foam Squares White Small, and 3D Foam Squares Micro White
HomeHobby™ by 3L
Extreme Double-Sided Tape 1/4in., Extreme Double-Sided Tape 1/8in., Dual Tip Glue Pen,
Other: Stamps: Heidi Swapp and Ali Edwards; Ink: Versafine Tsukineko (Onyx Black); Craft Dies: Heidi Swapp; Off White Textured Cardstock; Peach, Pink, Green, Light Blue, and Navy Blue Cardstock; Black Pen; Misc. Patterned Papers and Craft Dies
Click Preferred Retailers List
Save to Pinterest!
Visit our Website and Blog!
Sign up for our Newsletter so you never miss a contest or giveaway!