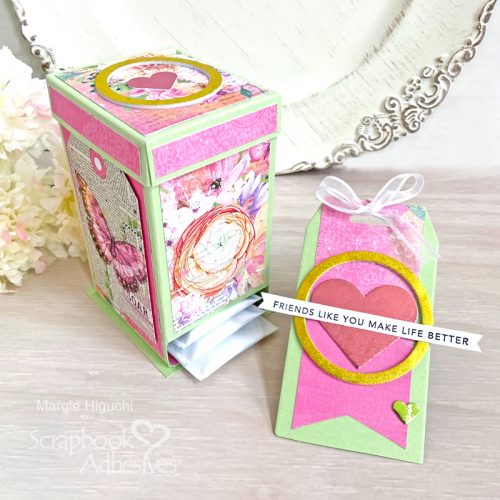
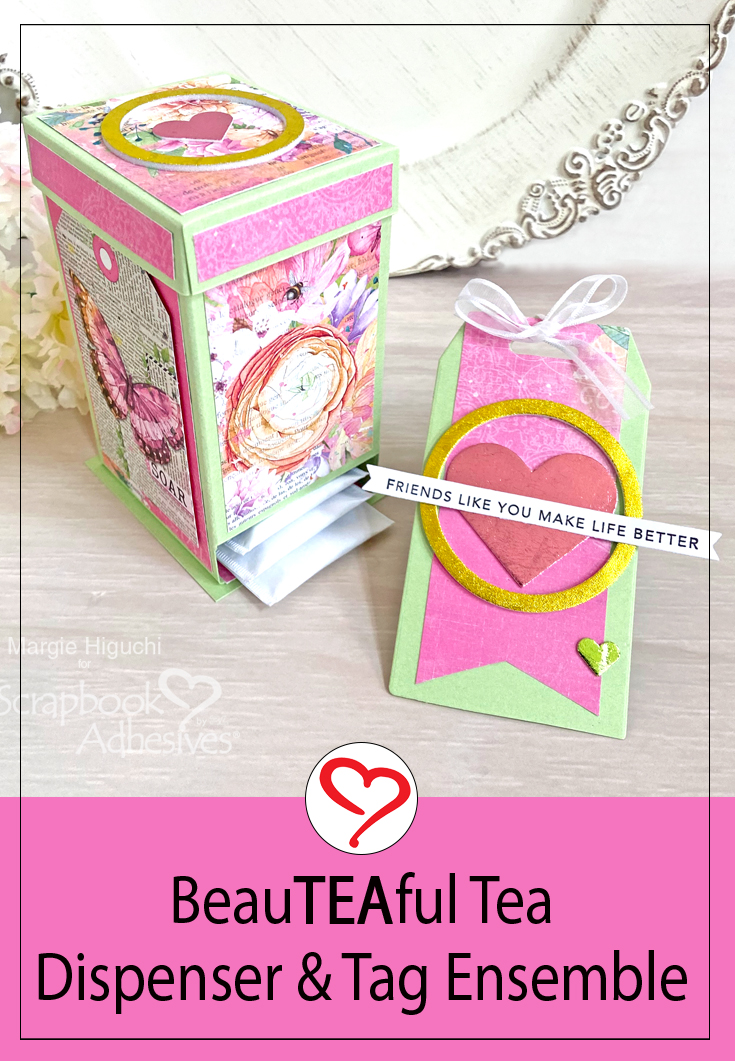
Although I am more of a coffee drinker, I also enjoy a cup of tea. I saw a tea dispenser…well, I had to make one! LOL! Are you a tea drinker? Come join me in this tutorial and make one for yourself!
Tea Dispenser Basic
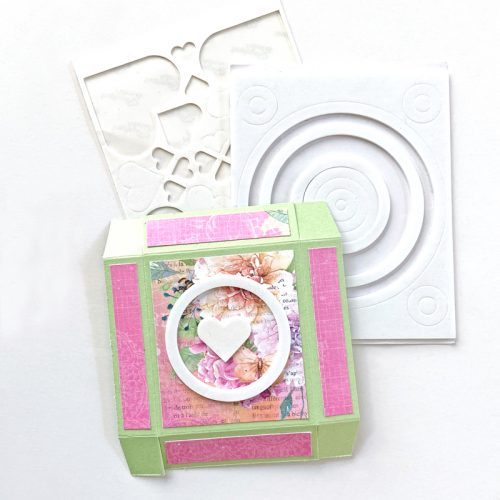
Let’s build the dispenser. I used a heavier cardstock weight for a sturdy project.
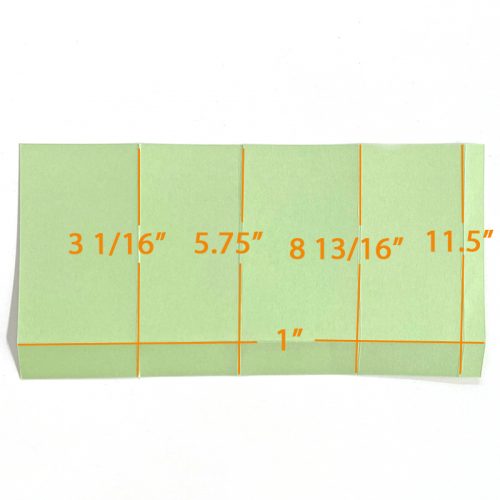
- Dispenser: On a piece of 6 x 12-inch cardstock, score along 12-in. side up at 3 1/16, 5.75, 8 13/16, and 11.5 inches. Flip to the 6-inch side up, and score at 1-inch along the length of the cardstock.
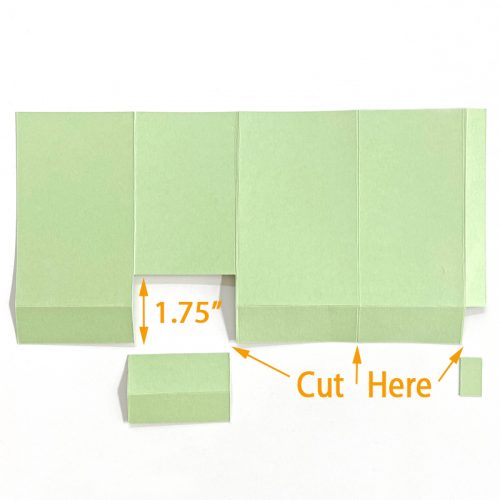
- Opening: On the 6-in. side up and on the second panel, cut at 1.75-inch from one intersecting line to the other.
- Tabs: With the 12 in. side up, cut out the bottom corner square and a slit on the other side to create the tab.
- Bottom: Cut a piece of 3 x 3 3/8-inch cardstock
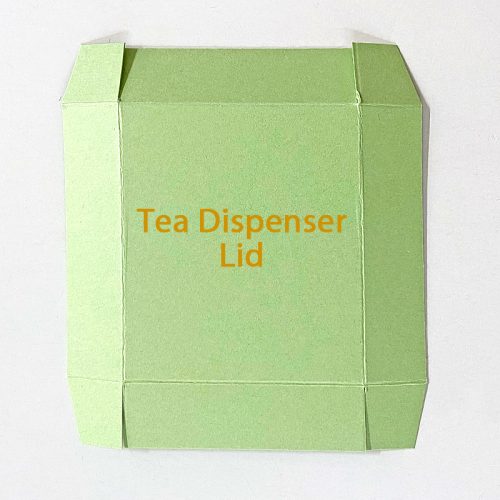
- Lid: On a piece of 4.25 x 4 5/8-inch cardstock, score at 0.75-inch on all sides. Cut and miter each corner to make a tab.
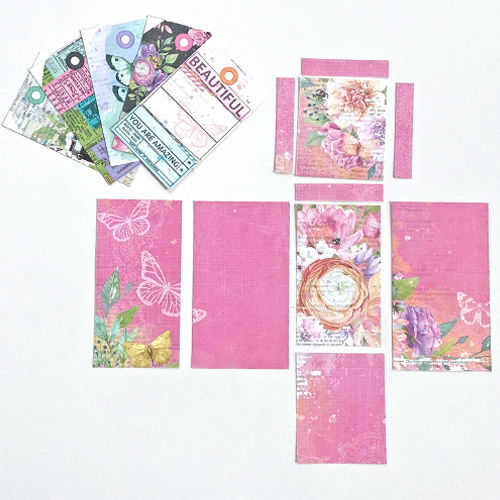
Cut the Patterned Paper Layers
- Dispenser: 2.75 x 4.75-inches (2 sides), 2 3/8 x 4.75-inch (1) and 2 3/8 x 4-inch (1)
- Bottom: 2.5 x 3-inch
- Lid: 2.5 x 2 7/8-inch (1) + Sides: 2.5-inch x 0.50 (2) and 2 7/8 x 0.50-inch (2)
- Cut your choices of tag shapes on the patterned paper (2-3)
Assemble the Tea Dispenser and Lid
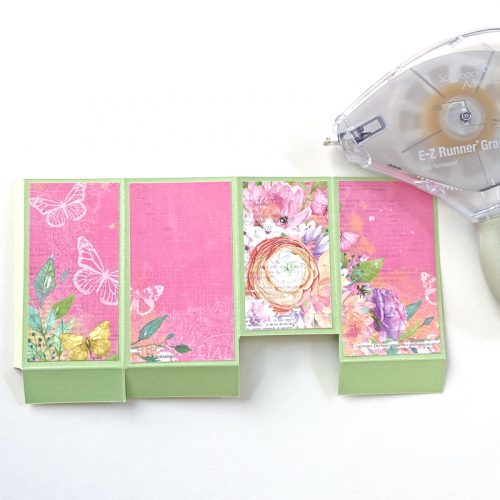
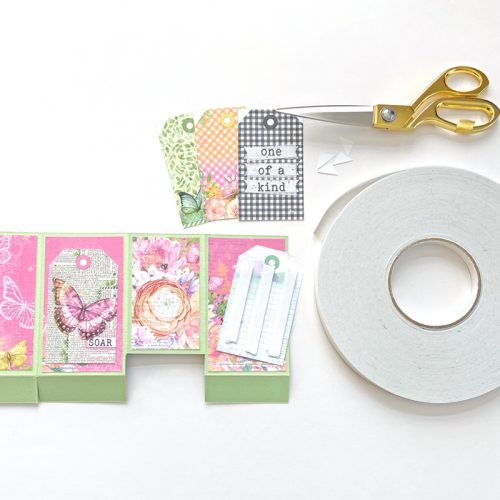
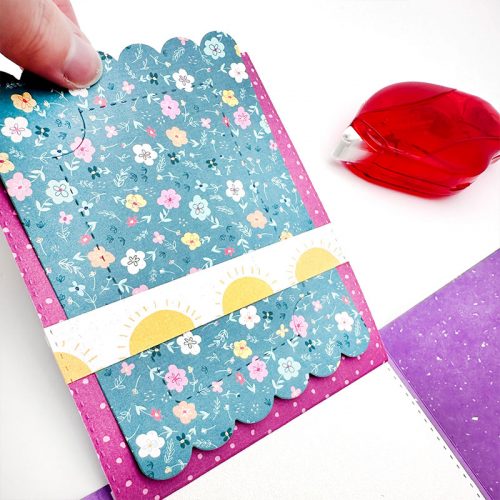
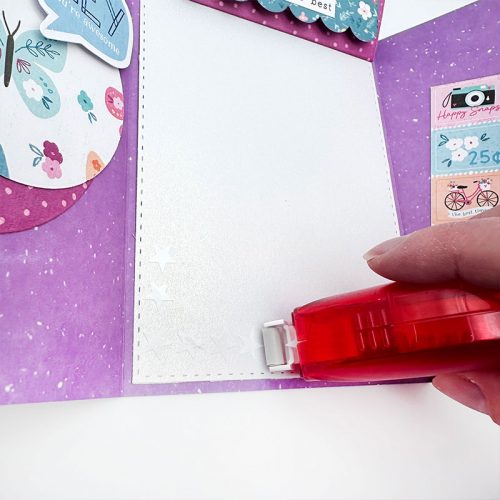
Adhere the ends together with the E-Z Runner® Ultra Strong Refillable Dispenser. Flatten the dispenser and place a patterned panel on each side. Layer a tag design on three sides with the Crafty Foam Tape 108ft., leaving the front as is. Apply E-Z Runner® Ultra Strong Refillable Dispenser to the tabs at the bottom and adhere to the base. Next, place the patterned paper piece inside the dispenser’s bottom.
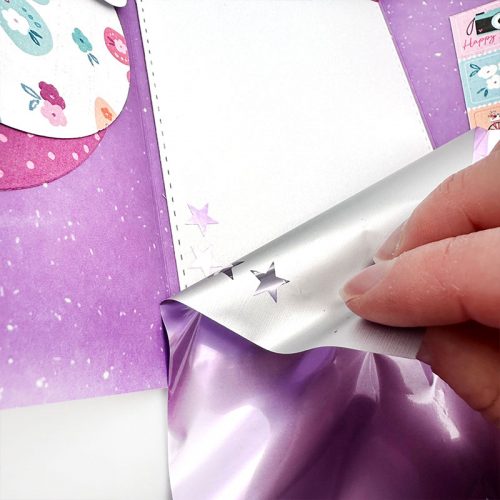
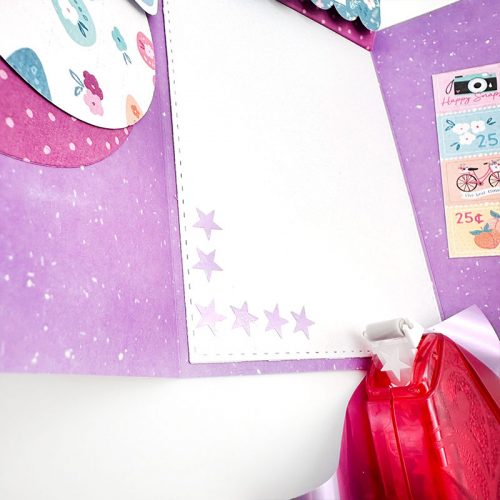
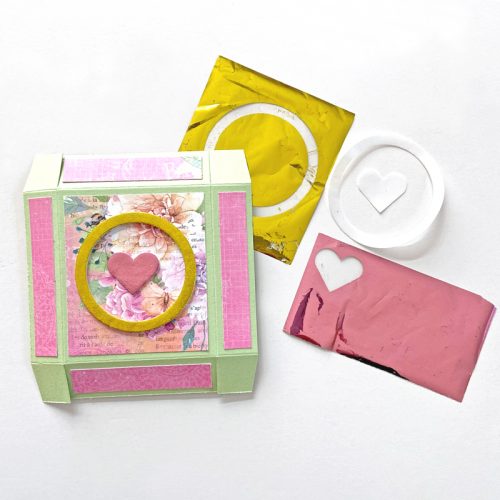
Add patterned paper to the lid. Next, center a 3D Foam Circle Frames White on the top, remove the top liner, and apply foil color side up with your fingertip. Add a large 3D Foam Heart and repeat the foiling step. Lastly, add a little of the E-Z Runner® Ultra Strong Refillable Dispenser to the tabs to assemble.
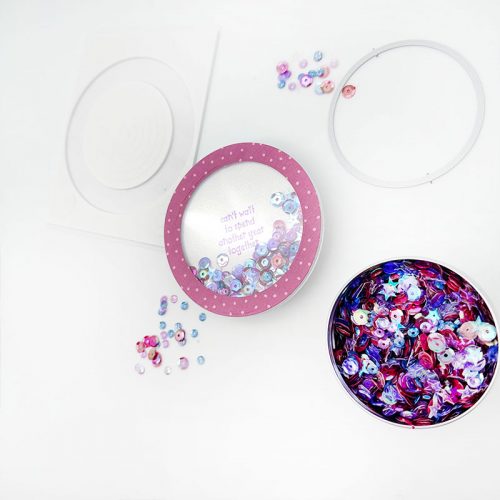
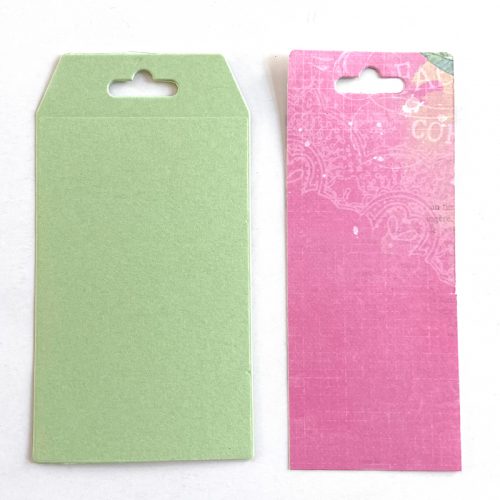
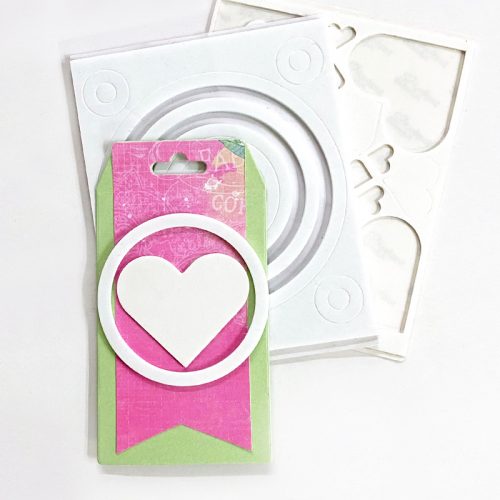
Circled Heart Tag
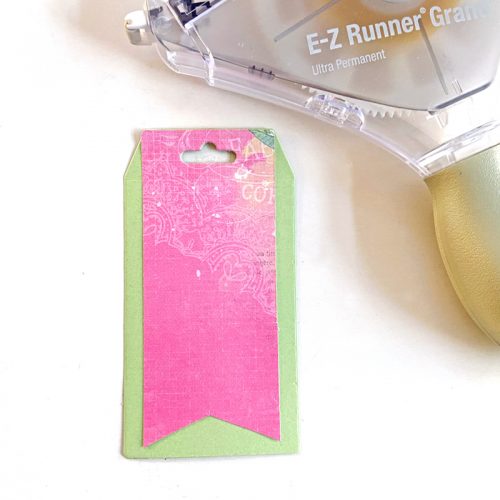
Die-cut a tag shape from light green cardstock. Cut a 2 x 5-inch strip of patterned paper and make a fishtail on one end. Adhere to the tag with the E-Z Runner® Ultra Strong Refillable Dispenser.
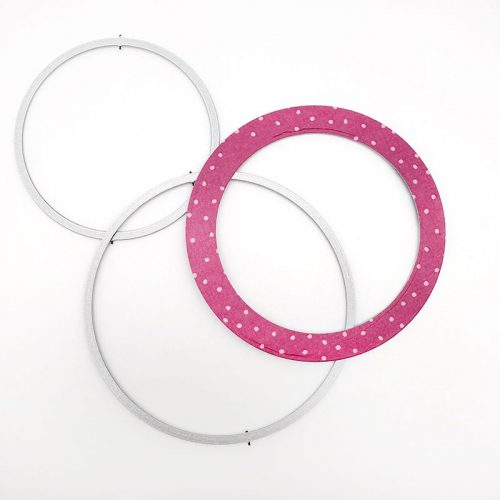
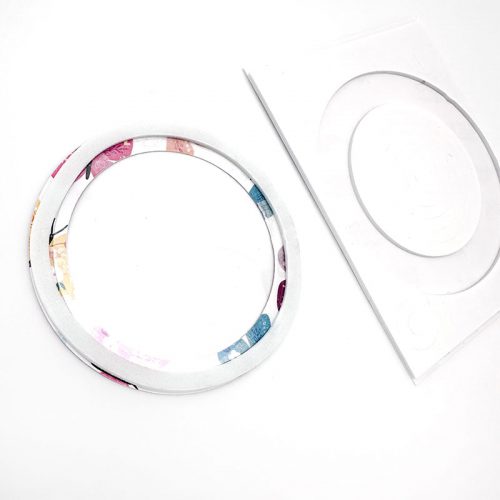
Center a 3D Foam Circle Frames White (the fourth largest ring) on the tag – leave the top liner on. Next, add a large 3D Foam Heart in the circle frame. Remove the liner and foil with the desired color.
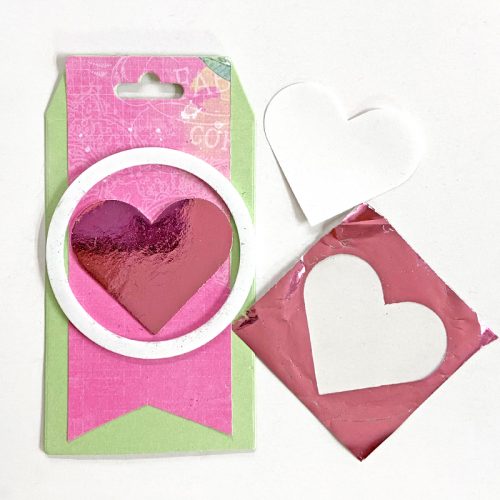
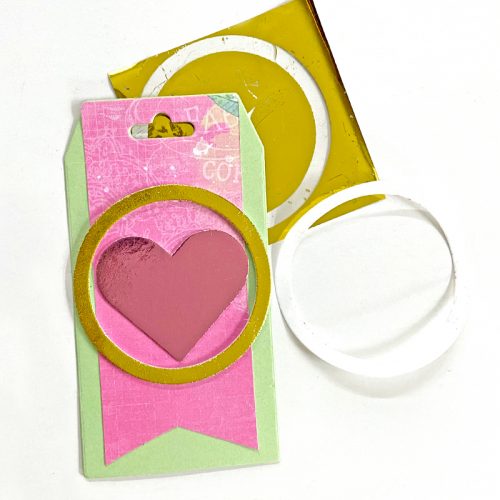
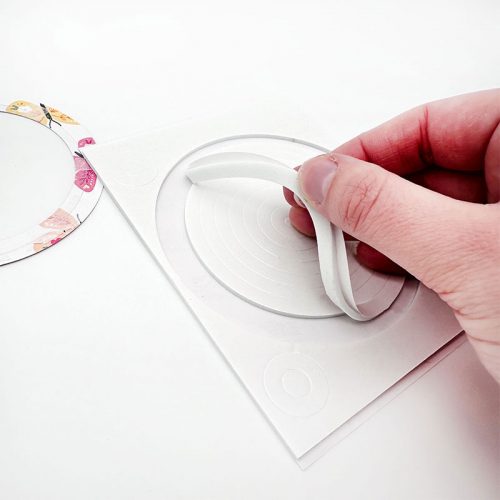
NOTE: To foil, apply the foil color side facing UP over the exposed adhesive. Rub gently with your fingertips to transfer the color to the 3D Foam Hearts. Reapply the foil in the missed area.
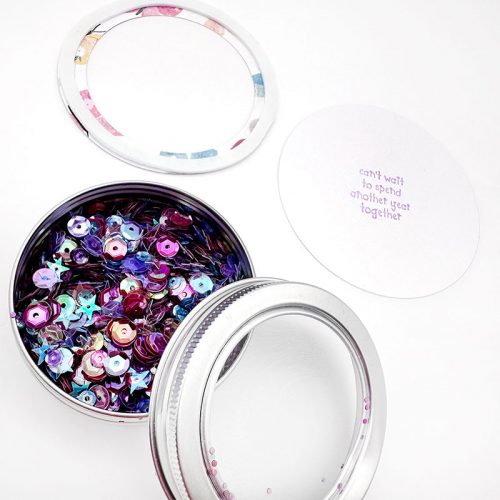
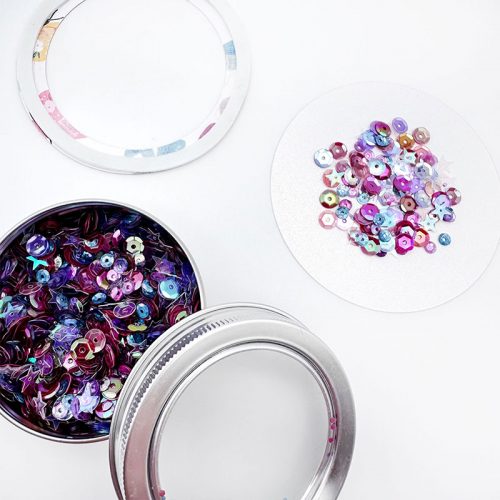
Repeat the foiling steps with the 3D Foam Circle Frames White. Add the sentiment across the foiled heart with the E-Z Runner® Ultra Strong Refillable Dispenser, thread ribbon through the tag opening, and finish!
I hope you create this BeauTEAful Tea Dispenser Ensemble! Share the link, if you do, so I can visit and see it!
Thanks for stopping by!
Margie Higuchi
Creative Time: 45 minutes
Skill Level: Intermediate
Materials Needed:
Scrapbook Adhesives by 3L®:
E-Z Runner® Ultra Strong Refillable Dispenser
Crafty Foam Tape 108ft.
3D Foam Hearts
3D Foam Circle Frames White
Metallic Transfer Foil Sheets in Pastel Colors
Other: Simple Stories (Dream On & Tag Elements Papers – Simple Vintage Life in Bloom Collection); Sizzix (Tag Dies); Ribbon; Light Green Cardstock; Bone Folder; Tea Bags
Click Preferred Retailers List
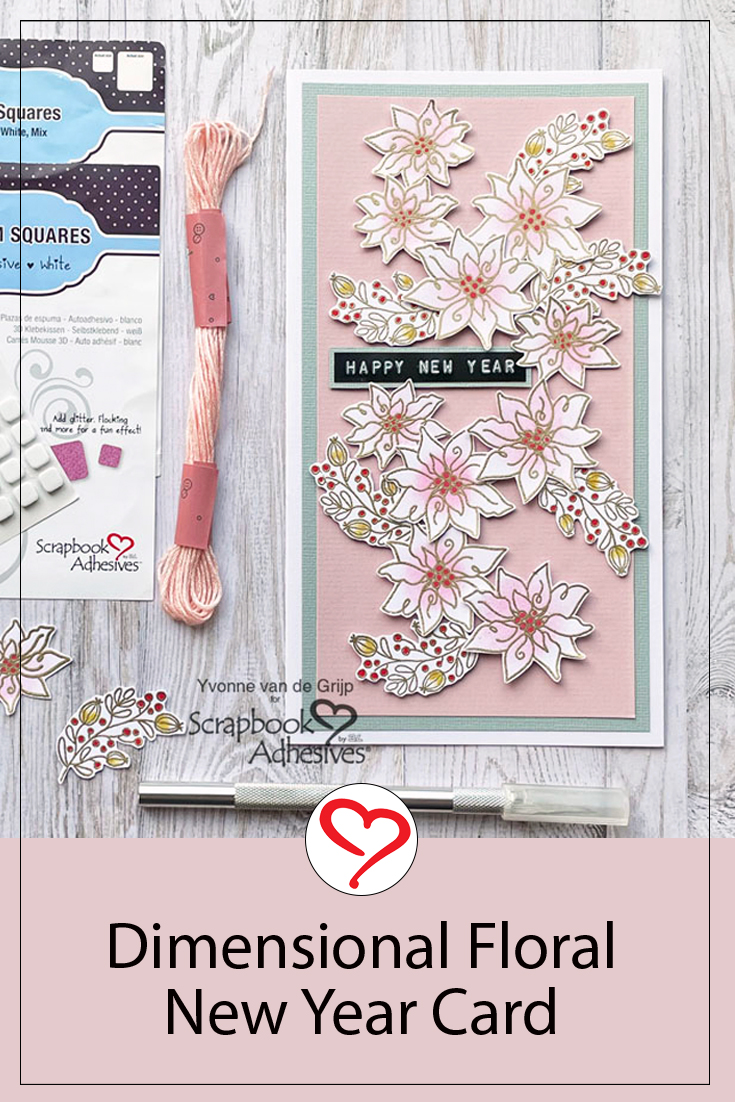
Save to Pinterest!
Visit our Website and Blog!
Sign up for our Newsletter so you never miss a contest or giveaway!