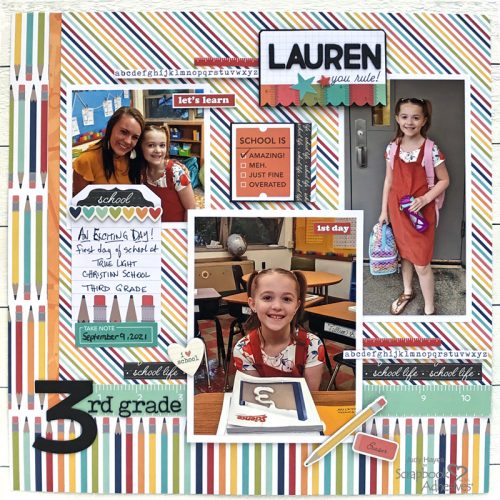
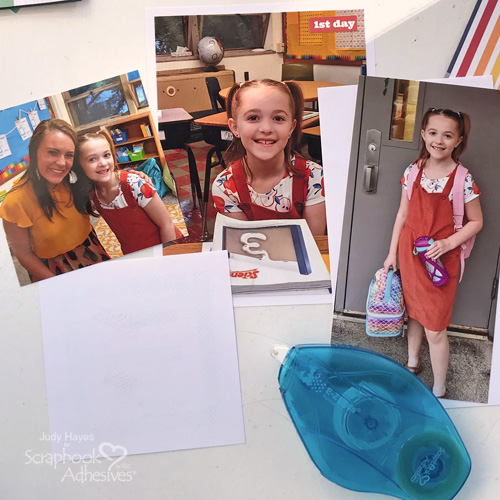
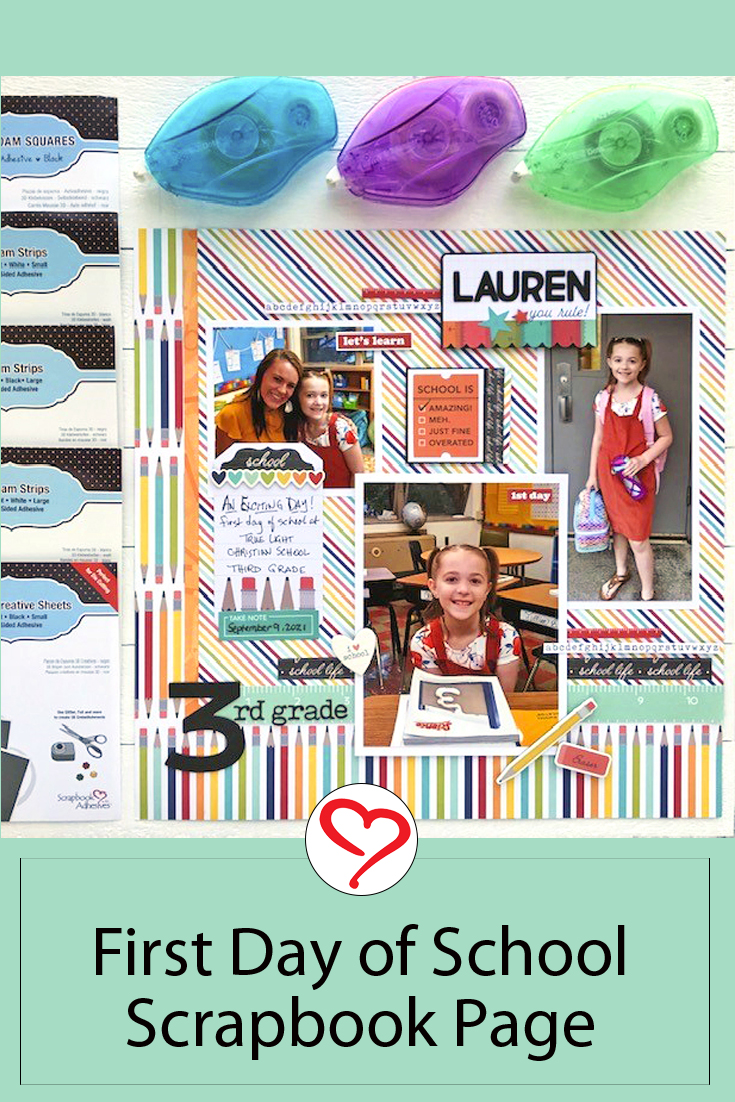
Hello friends! September always makes me think of back to school! Photos of my granddaughter’s first day of school inspired me to put together this First Day of School scrapbook page. All the papers. stickers and more in the Simple Stories Collection’s Essential Kit “School Life” along with adhesives from Scrapbook Adhesives by 3L were perfect for this page. I simply added black and white cardstock and die-cut letters and number.
Edit to Add: Simple Stories Feature Hop & Giveaway is Closed. Thank You for Participating!!
Congratulations to the winners, Amanda W., Connie J + Debra R.! 🎉
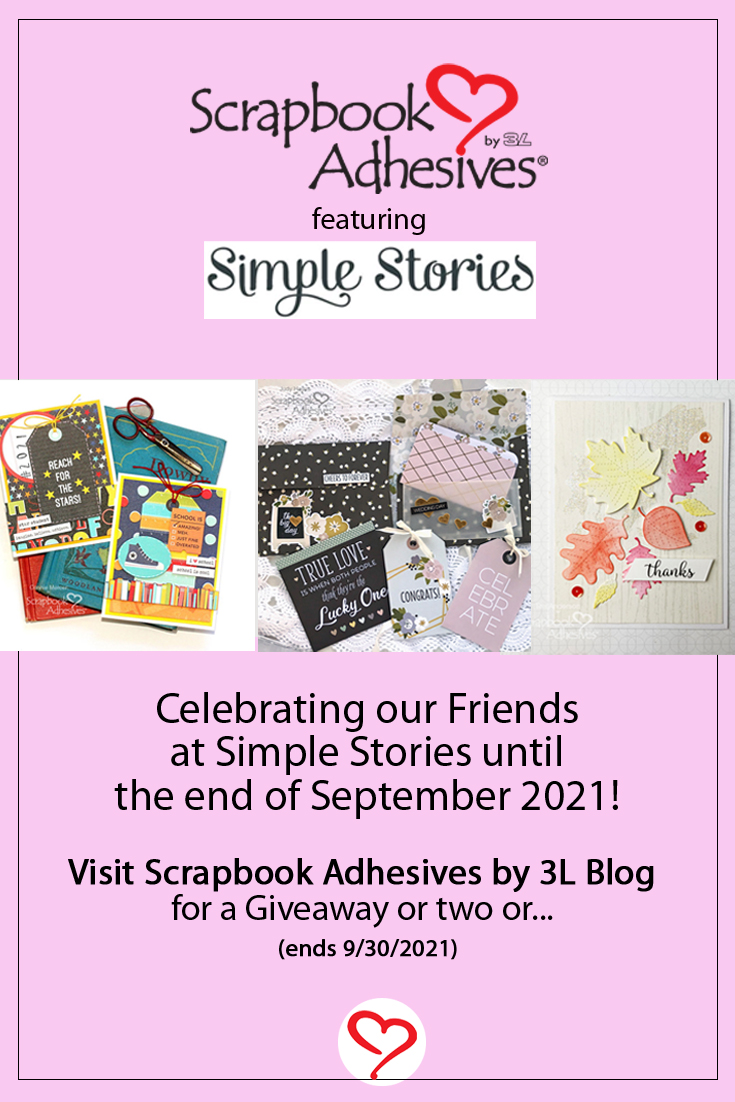
Don’t forget! Scrapbook Adhesives by 3L is featuring our friends at Simple Stories until the end of September. To commemorate, we are giving away three sets of adhesives and paper pack packages. Please see Judy’s fabulous scrapbook page to the end. Then read about the giveaway details!
Choose First Day of School Background Paper
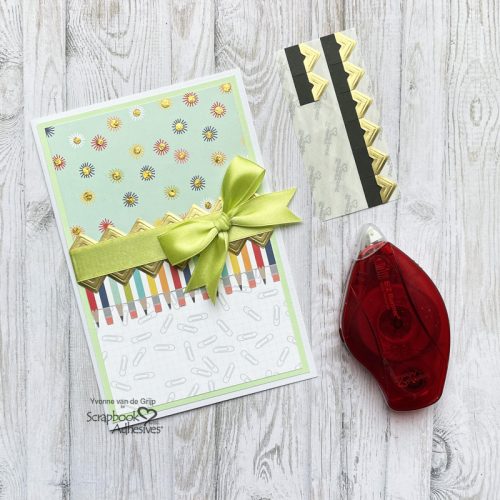
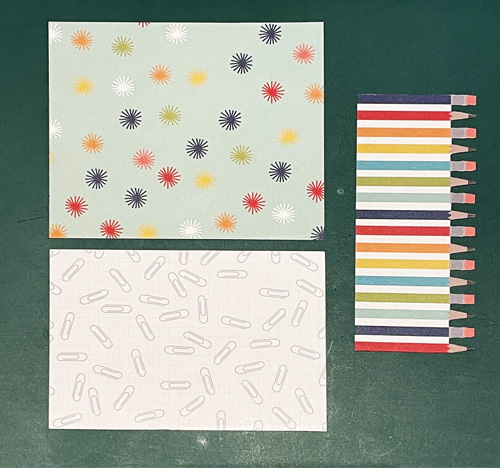
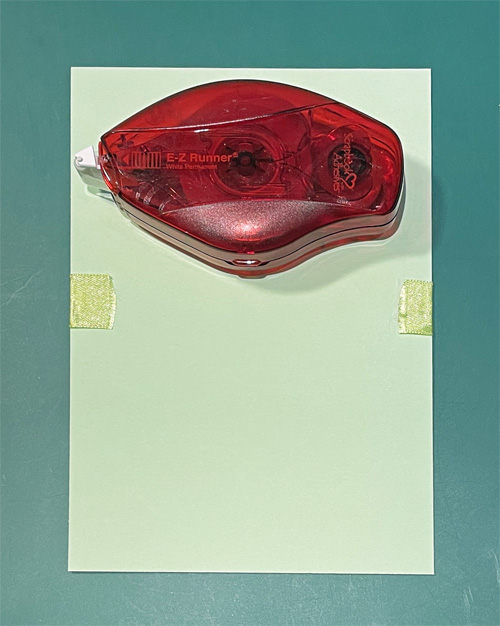
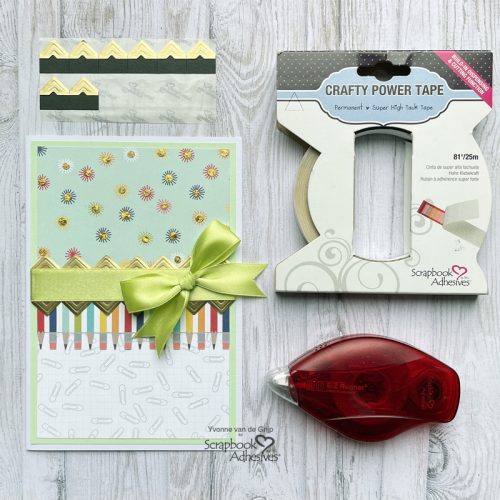
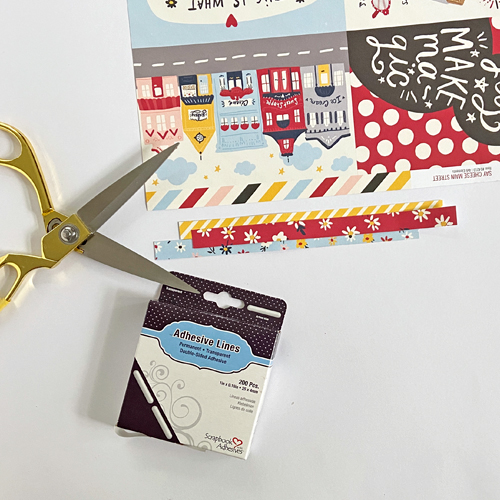
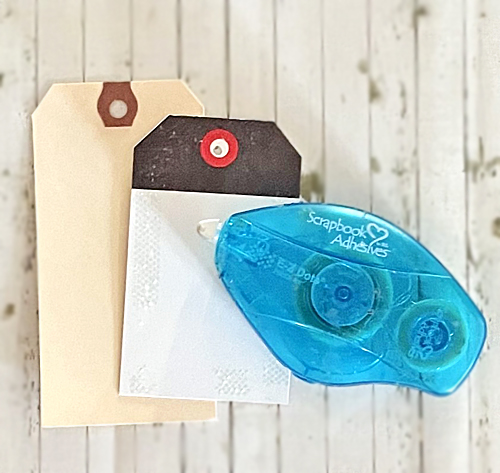
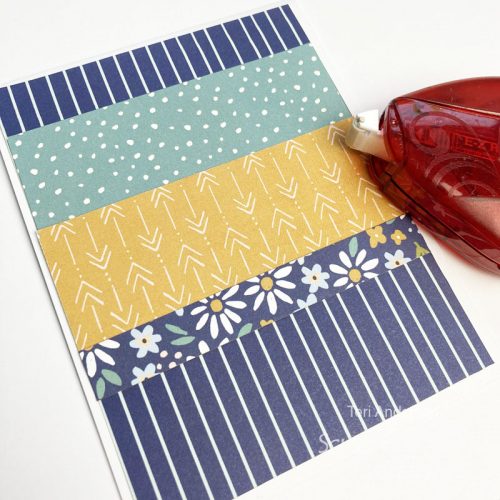
First of all, I chose striped patterned paper and pencil paper for the background. Stripe paper is cut 10 x 10.75 inches and layered over pencil paper with a narrow strip of orange added to the left edge. Use E-Z Dots® Permanent Refillable Dispenser to fasten all papers together.
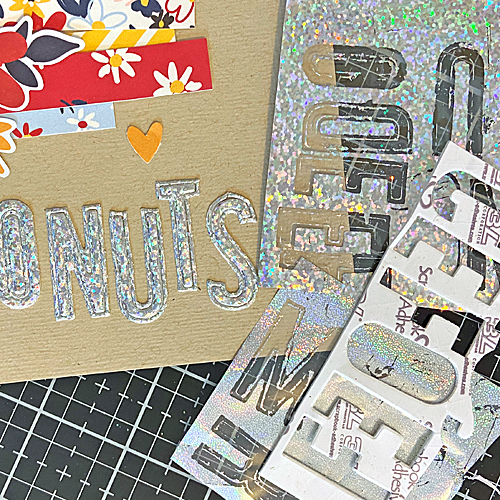
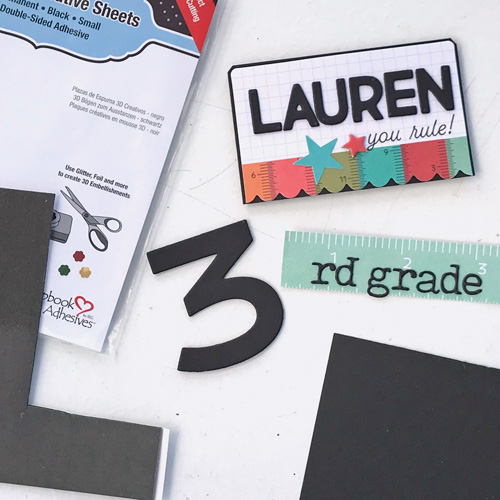
Dimensional Number and Letters
Next, I cut number 3 and letters for “rd grade” and letters for the name “Lauren.” To make these, peel white liner from 3D Foam Creative Sheets Small, Black, and fasten black cardstock to 3D foam. Position dies on cardstock side and use die cutting machine to cut letters and number. This technique makes dimensional letters/number that are adhesive backed stickers.
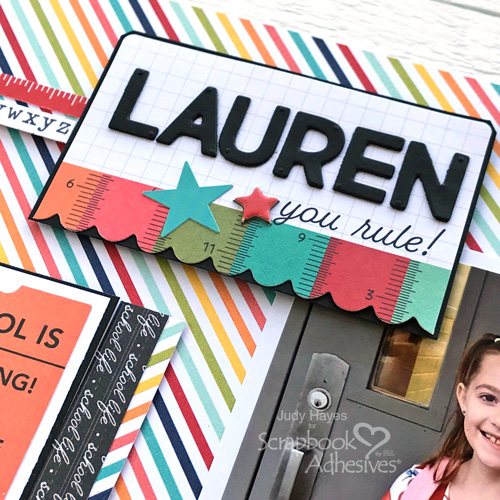
Peel liners from letters and place letters from name on Simple Stories “School Life” Journal Bit. Add chipboard star and cardstock star sticker. Cut black cardstock mat and fasten to the backing using E-Z Dots® Permanent Refillable Dispenser to apply adhesive.
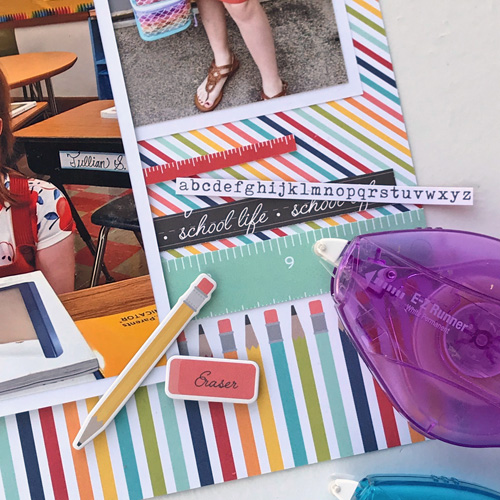
Cut a strip of ruler paper and fasten across the bottom edge of stripe paper on scrapbook page using E-Z Dots® Permanent Refillable Dispenser. Remove liner from number 3 and press in place. Add letters “rd grade” by removing liners and pressing in place.
Photo Arrangement
Cut white cardstock mats for each photo and fasten to the back of each photo using E-Z Dots® Permanent Refillable Dispenser.
Arrange photos on the scrapbook page and temporarily hold in place using E-Z Dots® Repositionable Refillable Dispenser. Arrange other pieces to determine the layout. Permanently secure the two photos behind the main photo using E-Z Dots® Repositionable Refillable Dispenser to apply adhesive to back.
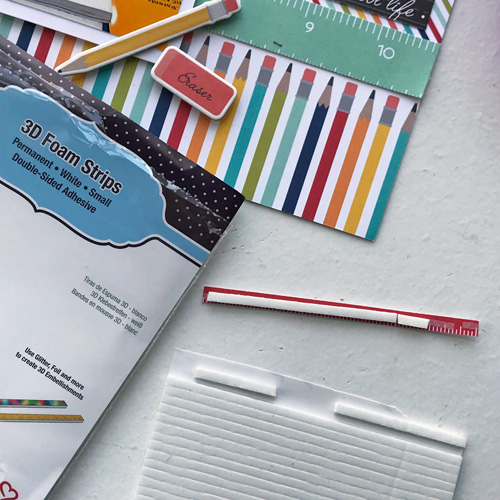
To fasten the main center photo cut 3D Foam Strips Large White to fit and apply on back. Remove liners and press photo in place.
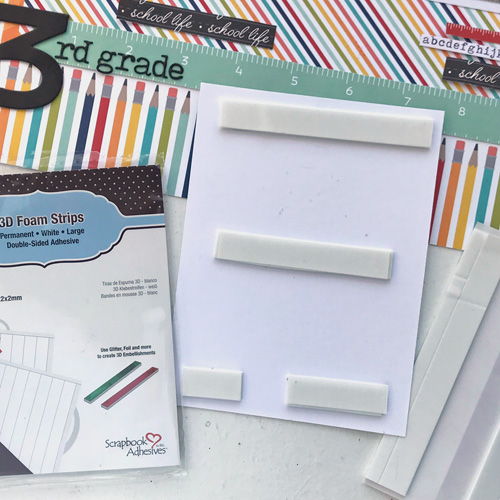
Name Label
Cut pieces of 3D Foam Strips Large Black to fit label and fasten to back, remove liners, and press name label in place.
Add Strips
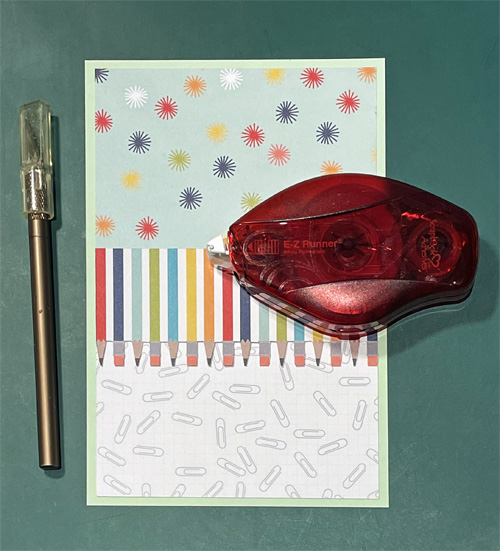
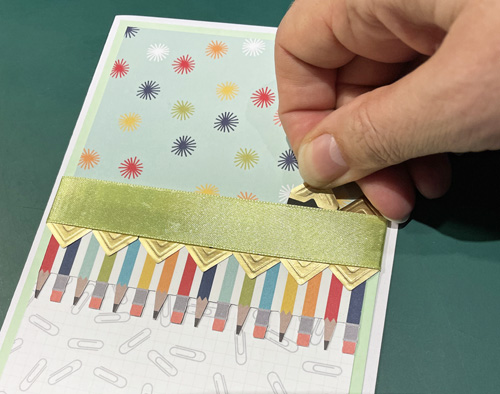
Cut strips of paper with “school life”, red ruler strips, and alphabet strips. Fasten “school life” strips with E-Z Dots® Permanent Refillable Dispenser.
For narrow red ruler strips, use E-Z Runner® Micro Refillable Dispenser to apply adhesive and fasten in place. It’s perfect for narrow pieces!
To add some dimension, the alphabet strips are fastened with 3D Foam Strips which are narrow and work perfectly for these strips. Where the strip extends over the main photo, apply with E-Z Runner® Micro Refillable Dispenser. Secure the strips near the name label in the same way.
Add Stickers
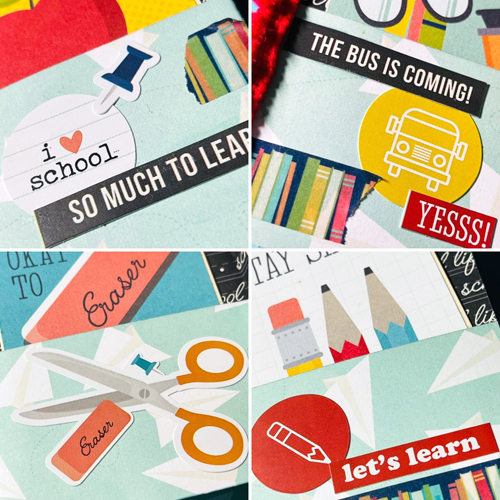
At each end of a pencil, fasten small pieces of 3D Foam Strips, peel liners and fasten pencil across the photo with ends fastened to page. Apply a small piece of foam strips to the eraser sticker and fasten it near the photo corner. Peel liner from back of heart sticker, add a small piece of Foam Strips at the left edge, and fasten to edge of the main photo.
Peel liner from “let’s learn” sticker and fasten to white cardstock. Trim close around the sticker to leave a narrow white border. Apply Thin 3D Foam Squares White Mix to back, peel liners, and fasten across the edge of the smaller photo.
School Is Embellishment
Mat the orange “School is” piece with white cardstock using the E-Z Dots® Permanent Refillable Dispenser. Cut a black mat with narrow reveal and adhere with E-Z Dots® Permanent Refillable Dispenser. Cut a strip of “school life” paper off a tag from the page of tags and a strip of stripe paper. Fasten both to the edge of the “School is” piece.
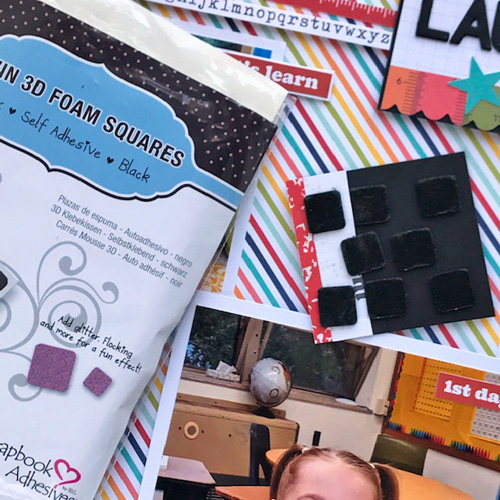
Apply Thin 3D Foam Squares Black Mix to back of “School is” assembled piece, remove liners, and press in place between photos.
Make Journal Tag
Add a “school” sticker label to the top of the journal tag. Secure the heart chipboard stickers below the “school” sticker. Fasten the “take note” journal bit at bottom of the tag using E-Z Dots® Permanent Refillable Dispenser to apply adhesive. Write journaling with a black pen and use a calligraphy marker to write the date. Apply adhesive to back of journal tag using E-Z Dots® Permanent Refillable Dispenser and fasten to scrapbook page.
Thanks for Visiting!
Judy Hayes
Creative Time: 50 Minutes
Skill Level: Intermediate
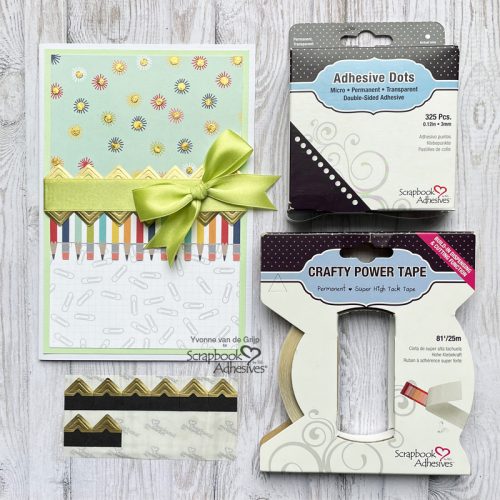
Materials Needed
Scrapbook Adhesives by 3L®
Other: Simple Stories Collection’s Essential Kit “School Life”; Sizzix Tim Holtz Dies – Alphanumeric Bold, Countdown, Alphanumeric Tiny Type Lower); Cardstock – Black, White; Uni-ball Signo Black Pen; Black Calligraphy Marker
Save to Pinterest!
Scrapbook Adhesives by 3L feat. Simple Stories Giveaway!
Can’t find the comment section at the bottom of this post? Click below and scroll to the bottom of the post. We moderate comments several times a day, if yours doesn’t appear right away, it will be approved before the contest is closed.
See the other posts!
9/15: Celebrate Birthday Card and Gift Box
9/17: True Love Art Journal
9/19: Good Fun Page with Simple Stories
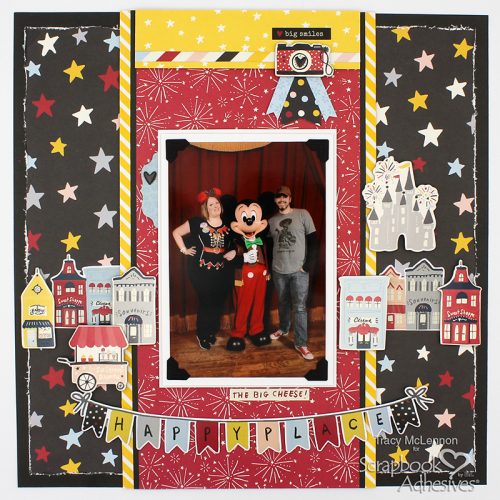
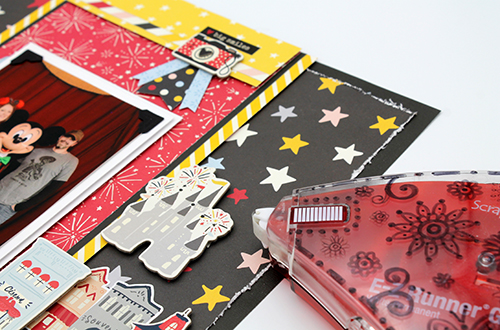
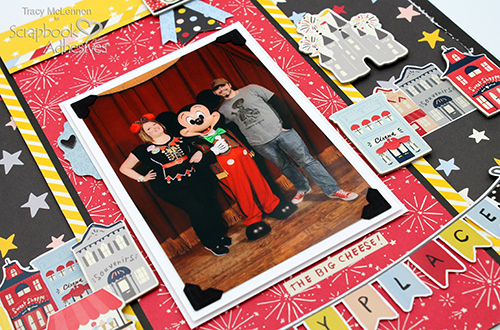
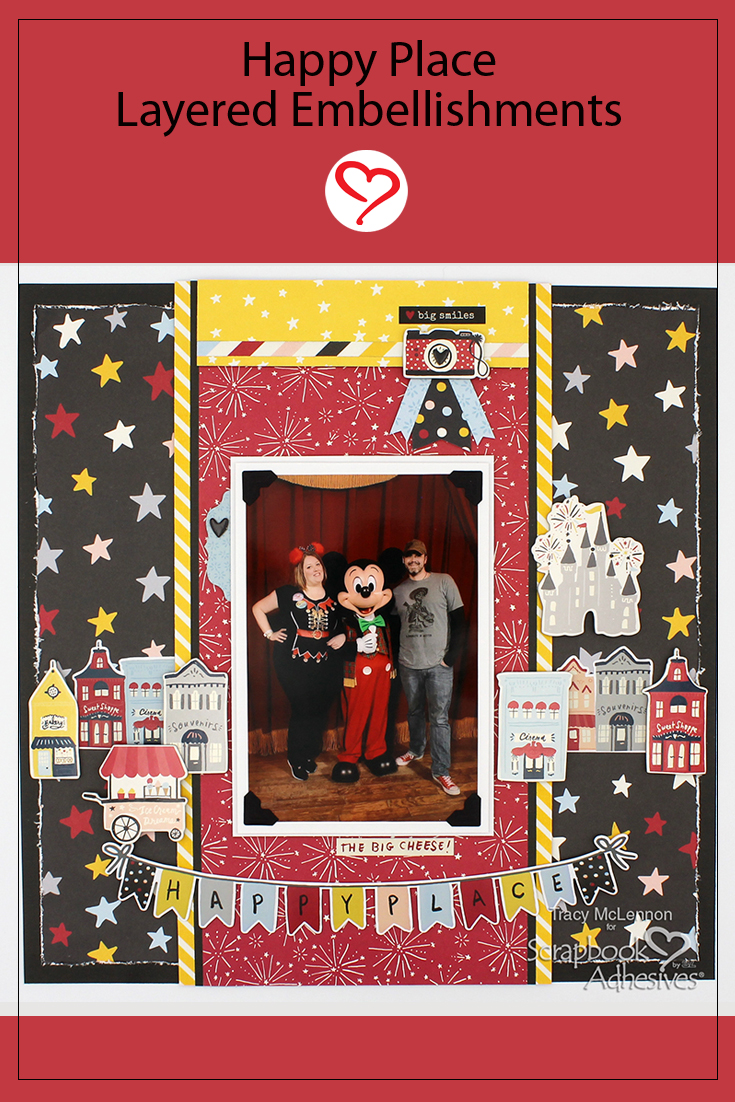
9/21: Happy Place Layered Embellishments Post
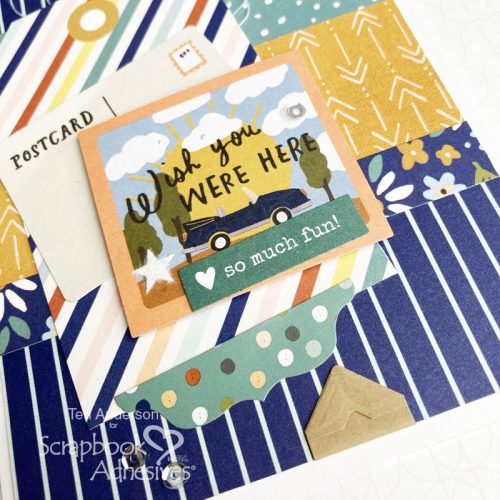
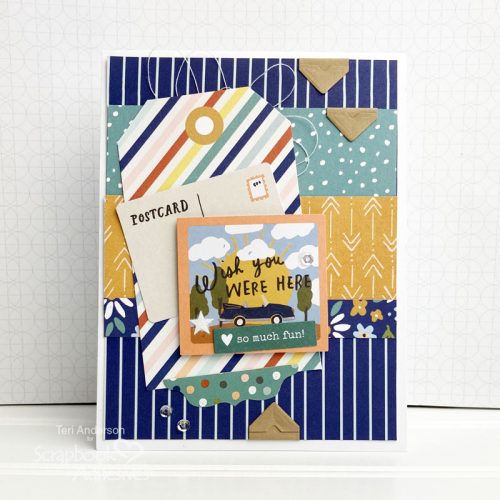
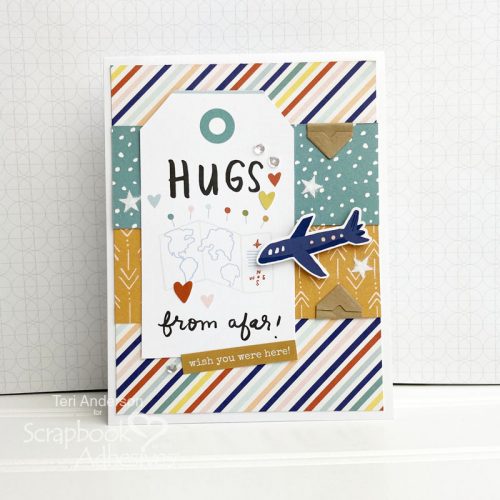
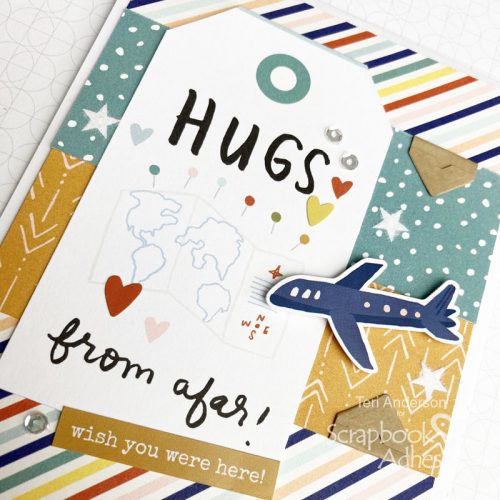
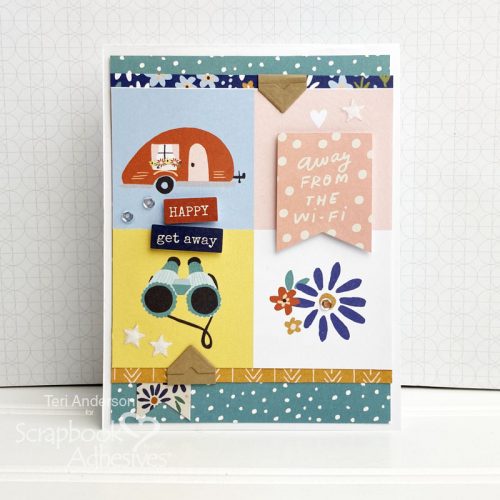
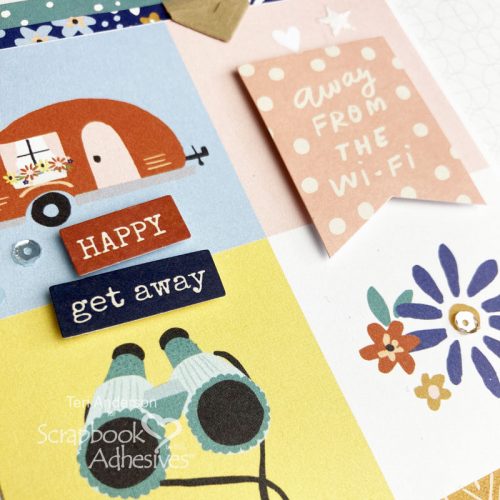
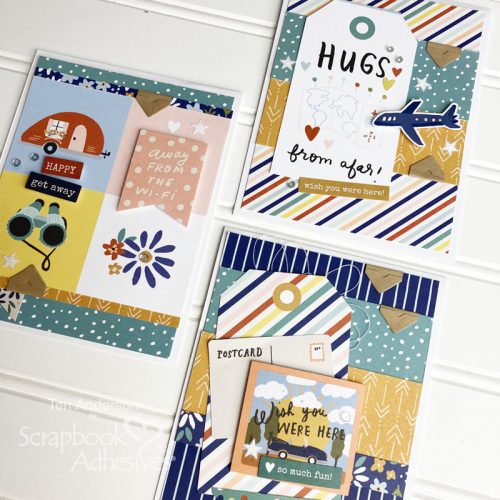
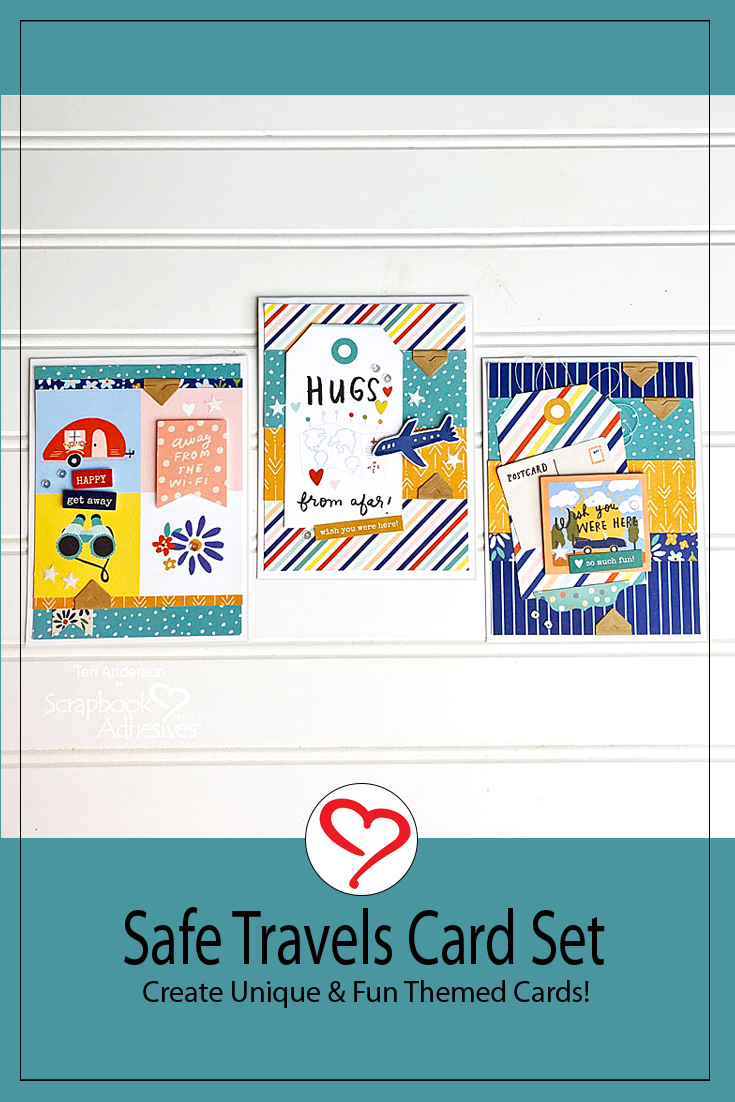
9/23: Cards for Travelers
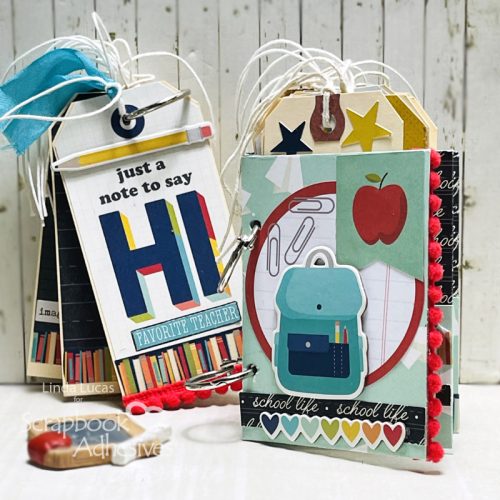
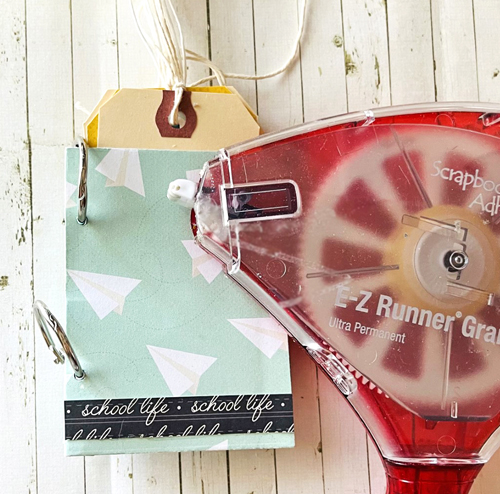
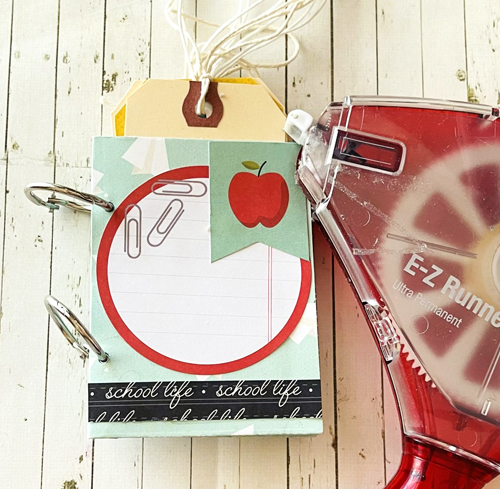
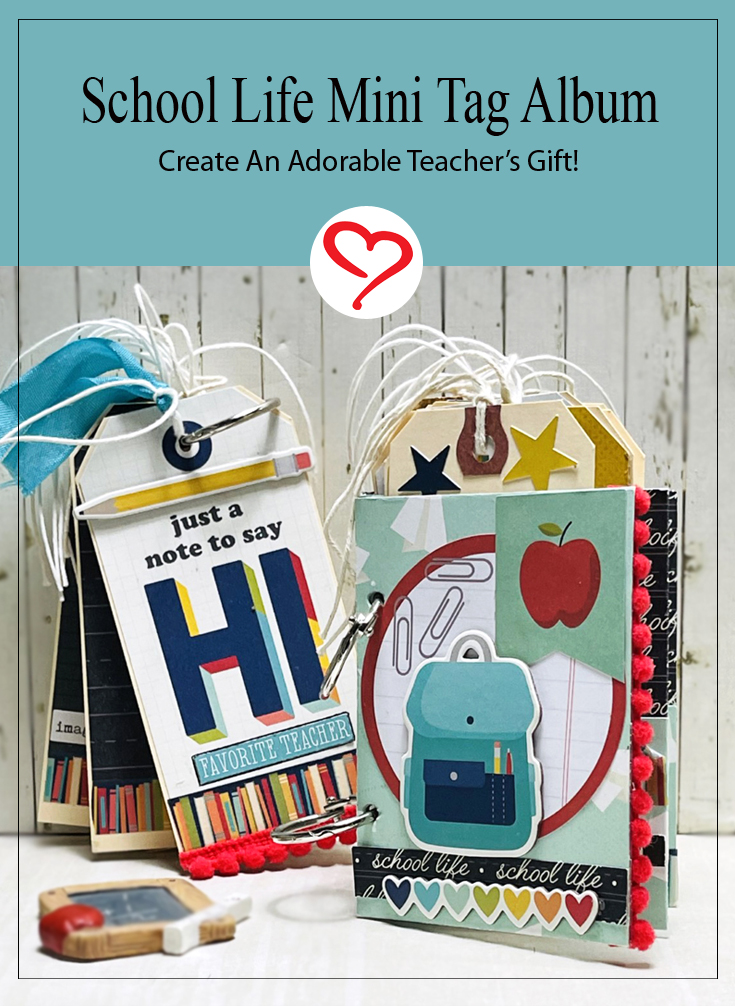
9/25: School Life Mini Tag Album
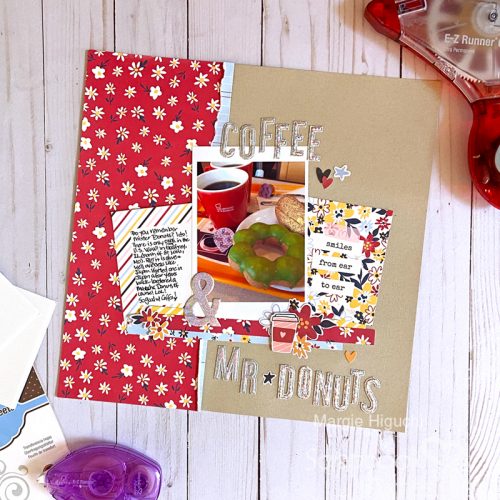
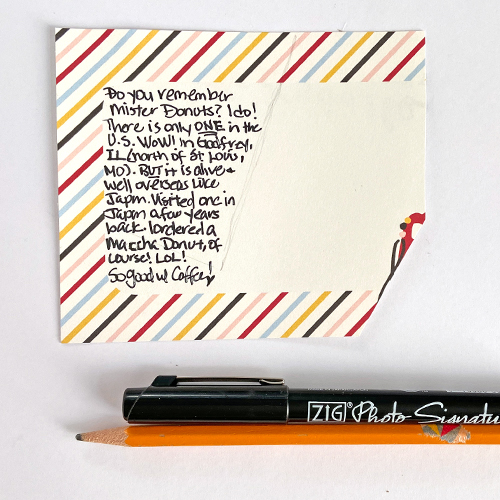
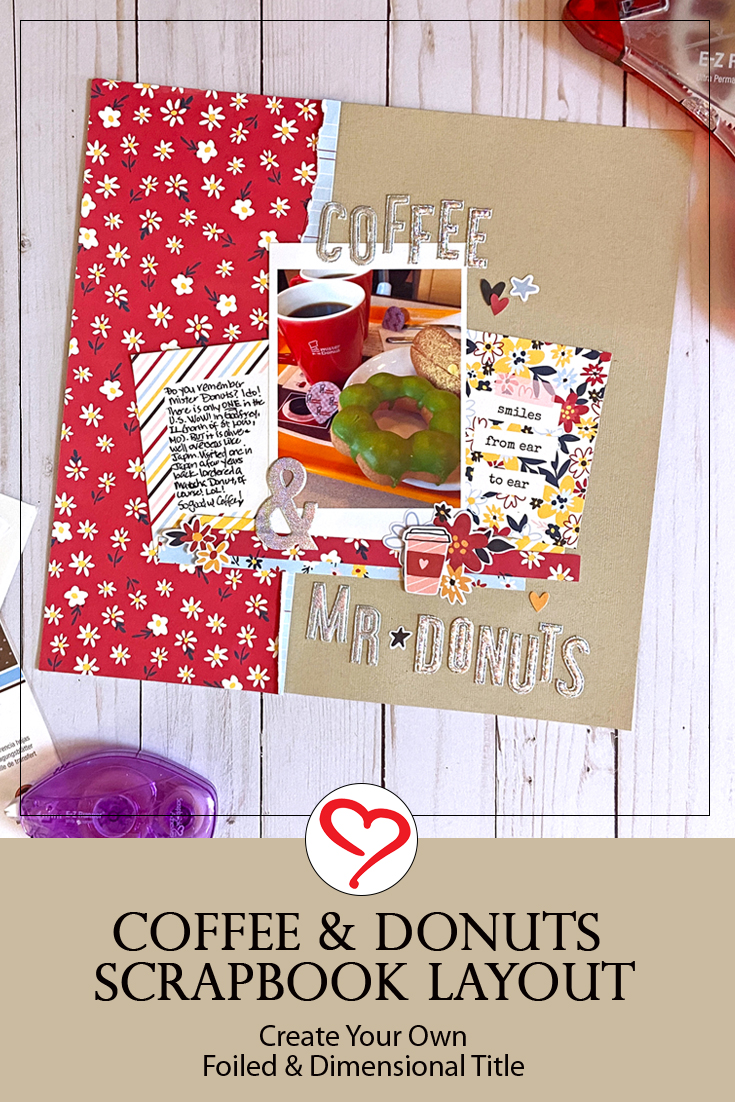
9/29: Coffee & Donut Scrapbook Page
Enter for a chance to win one of our three GIVEAWAYs of an Adhesive + Patterned Paper Kit Prize Package! This giveaway is live until September 30th, 2021! Click the link below and follow the prompts.
http://www.rafflecopter.com/rafl/display/0f302f8d68/?
Visit our Website and Blog!
Sign up for our Newsletter so you never miss a contest or giveaway!