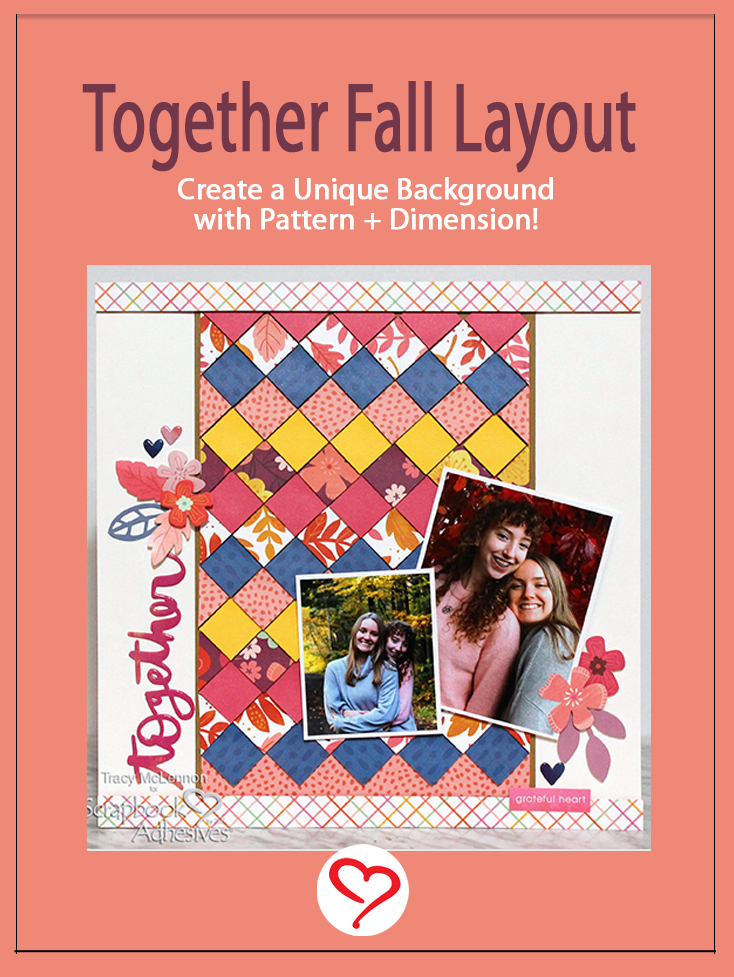
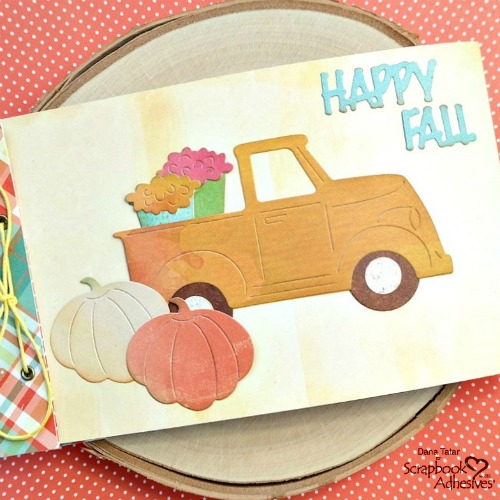
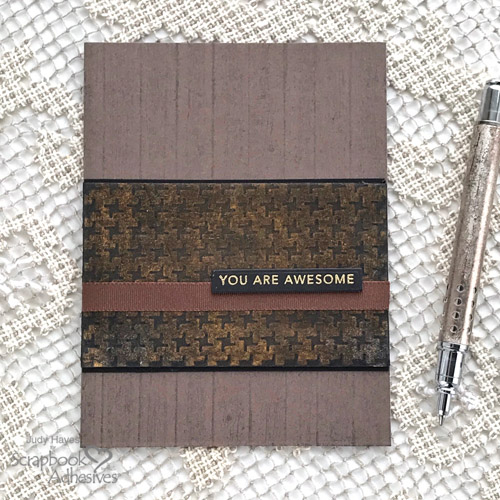
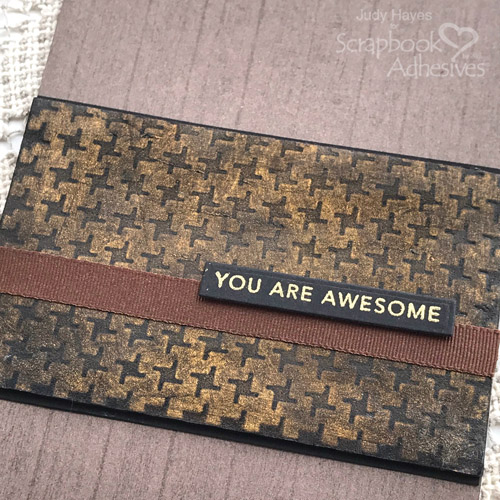
Hello everyone! Judy here with a masculine card with a faux metal band created using 3D Foam Creative Sheets Medium White with gold holographic foil from Metallic Transfer Foil Sheets Holographic Colors. I grunged it up a bit so it’s not so sparkly! Yet, it still has a holographic shimmer!
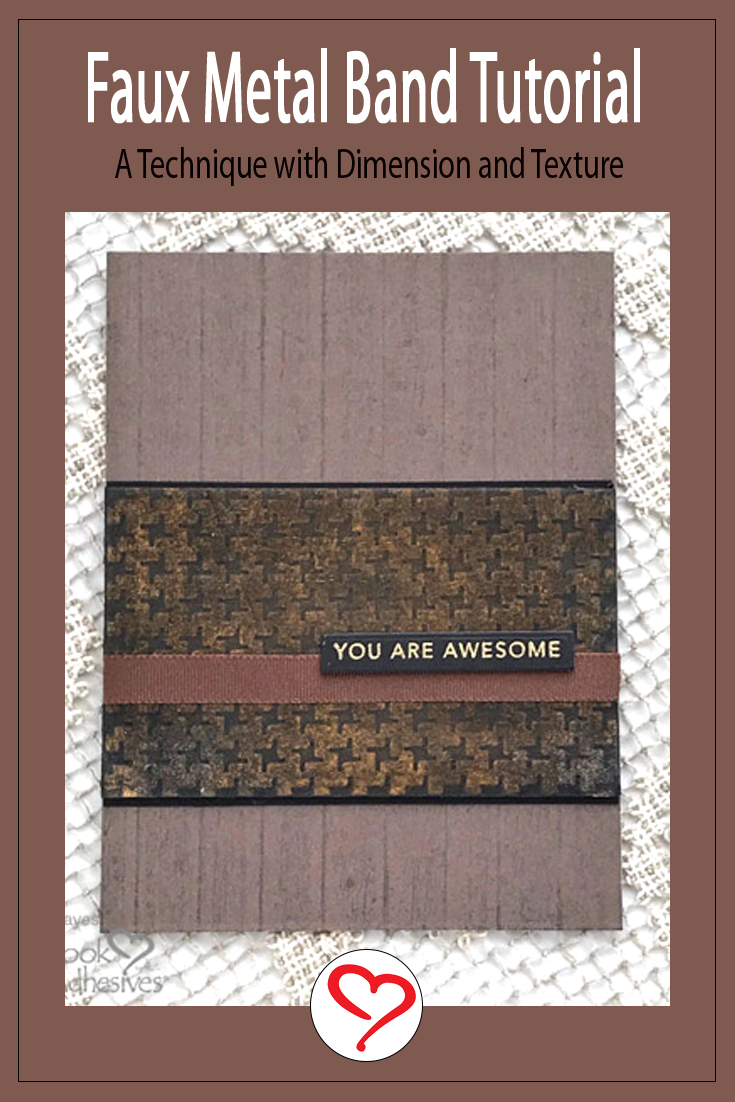
Faux Metal Band Creation
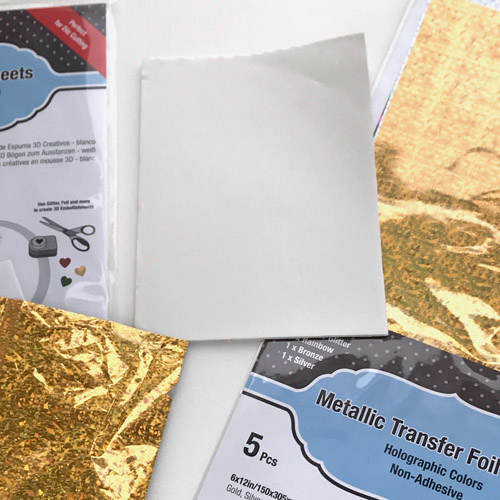
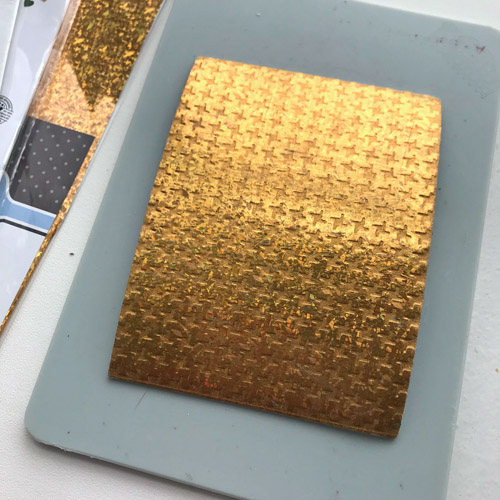
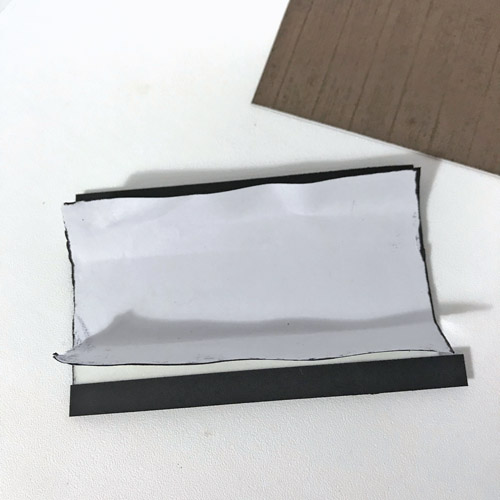
Start with a piece of 4.25 x 5.5-inch of 3D Foam Creative Sheets Medium White. Then cut a slightly larger piece of gold holographic foil from Metallic Transfer Foil Sheets Holographic Colors.
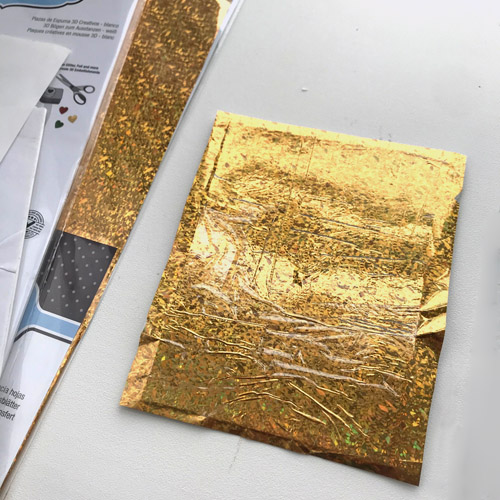
Remove the top liner from the foam sheet and place the foil with the color side up on top of the exposed adhesive. Rub gently to transfer the color and peel it off. If there are any missed spots, re-foil the area. Repeat as needed.
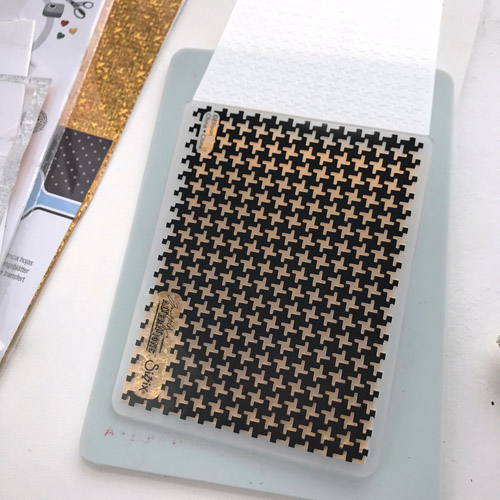
To give the piece more depth, place the foiled foam piece in an embossing folder.
Run the embossing sandwich through the die-cutting and embossing machine.
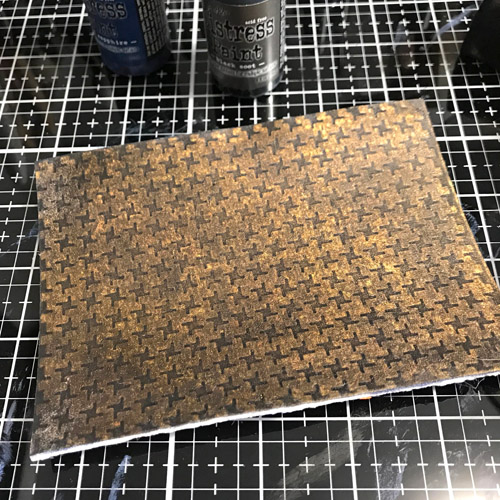
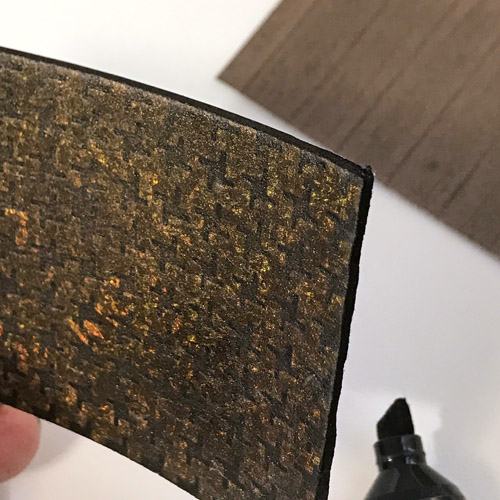
Apply black paint over foiled foam with a make-up sponge. Wipe off excess paint with a paper towel or soft cloth. Repeat until you get your desired color over the entire piece. Trim the foam piece to 4.25 x 2.5 inches. Then use a permanent black marker to cover the white edges.
Use gray ink to stamp planks at top and bottom of 4.25 x 5.5-inch brown card. (Plank stamp is not big enough to stamp entire card front at one time. Align stamp with card edge and stamp across the top. Mask top with a scrap of paper. Align stamp with the same edge to stamp across the bottom so planks match. The band will cover where stamping meets).
Adding to the Card Front
I want to mat the top and bottom to anchor the faux metal band against the card front. To do this, cut two 0.5-inch strips of black cardstock.
Peel backing away from one long edge of the foam piece and align black cardstock strip with a narrow reveal along the edge. Repeat on the opposite edge. Trim strips even with the foam.
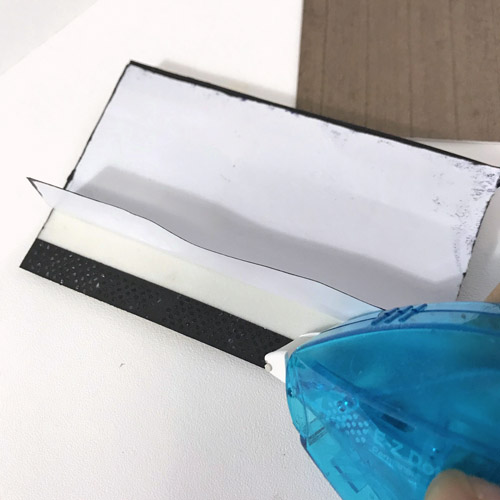
Apply E-Z Dots® Permanent Refillable Dispenser to each of the black strip. Peel the liner from the foam and attach the faux metal foam to the card front.
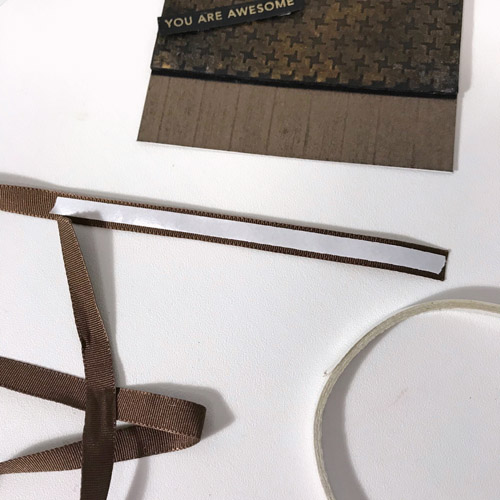
Place a piece of Premium Double-Sided Tape 1/4in on the back of the ribbon. Secure it over the faux metal band. Trim ribbon ends even with card edge.
Finishing with the Sentiment
Stamp verse with Versafine Onyx Black on black cardstock. Heat emboss with gold embossing powder. Use die-cutting machine and matching die to cut verse strip.
Designer’s Tip: Stamp and heat emboss multiples of these to have on hand.
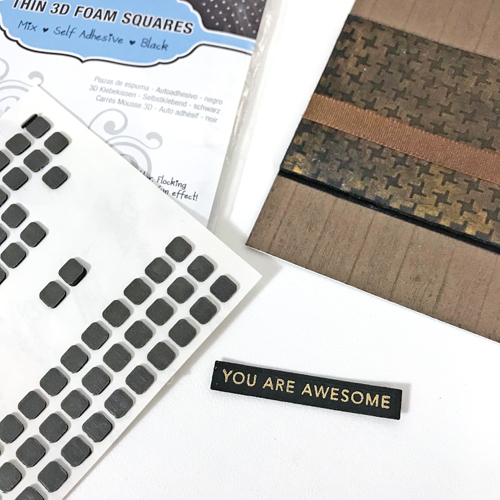
Place small squares of Thin 3D Foam Squares Black Mix on the back of the sentiment strip and place it along the ribbon.
A Birthday Card
The 3D Foam Creative Sheets Medium White can easily be cut to any size including 2.5 x 4.25-inch which was used for this card. Since I had a leftover piece, I used it to put together another card, a slimline style.
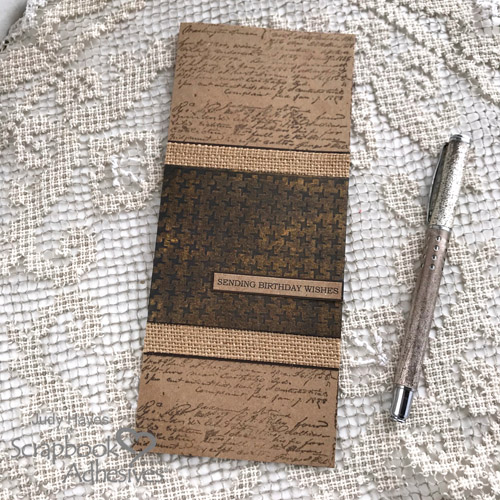
The differences are the card size, the script stamp and the burlap strips. These pieces butt up to the faux metal band and secured using E-Z Dots® Permanent Refillable Dispenser. The sentiment is matted with brown and adhered flat with the E-Z Dots® Permanent Refillable Dispenser
I hope you found inspiration from my Faux Metal Band Cards today! Happy Crafting!
Thanks for Visiting!
Judy Hayes
Creative Time: 35 Minutes
Skill Level: Intermediate
Materials Needed
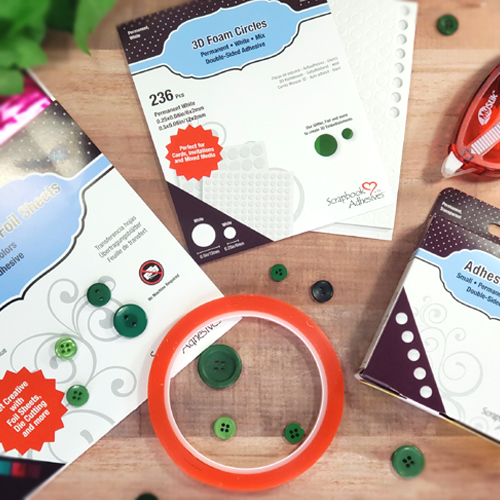
Scrapbook Adhesives by 3L®
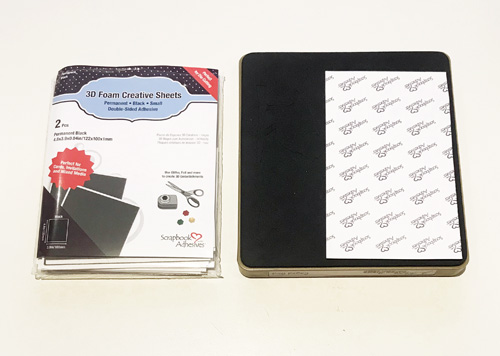
- 3D Foam Creative Sheets Medium White
- E-Z Dots® Permanent Refillable Dispenser
- Metallic Transfer Foil Sheets Holographic Colors
- Thin 3D Foam Squares Black Mix
HomeHobby™ by 3L
Premium Double-Sided Tape 1/4in
Other:
Imagine Crafts/Tsukineko – Versafine Onyx Black Ink; Ranger – Gold Detail Embossing Powder, Distress Paint Black Soot, Cool Graphite Ink; Sizzix – Pinwheel Textured Impressions Folder; Stampers Anonymous – Tim Holtz Craze & Planks stamp; Taylored Expressions – Mini Strips-Life Saver, Mini Strips Die; Brown Card; Black Card Stock; Brown Ribbon; Black Permanent Marker

Save It!
Visit our Website and Blog!
Sign up for our Newsletter so you never miss a contest or giveaway!