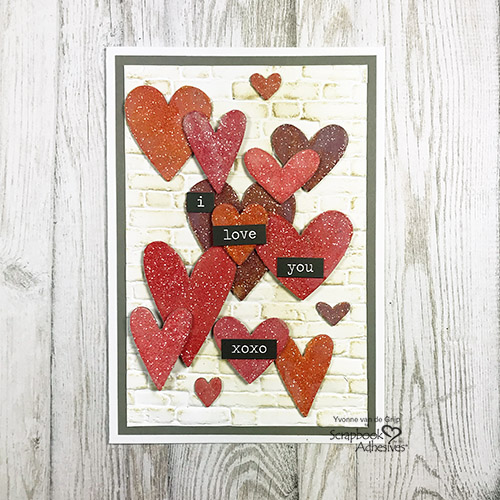
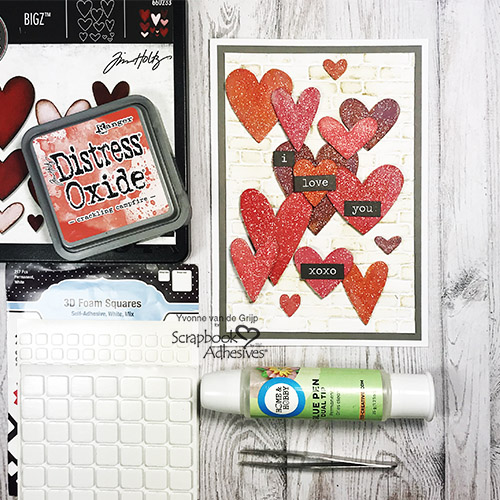
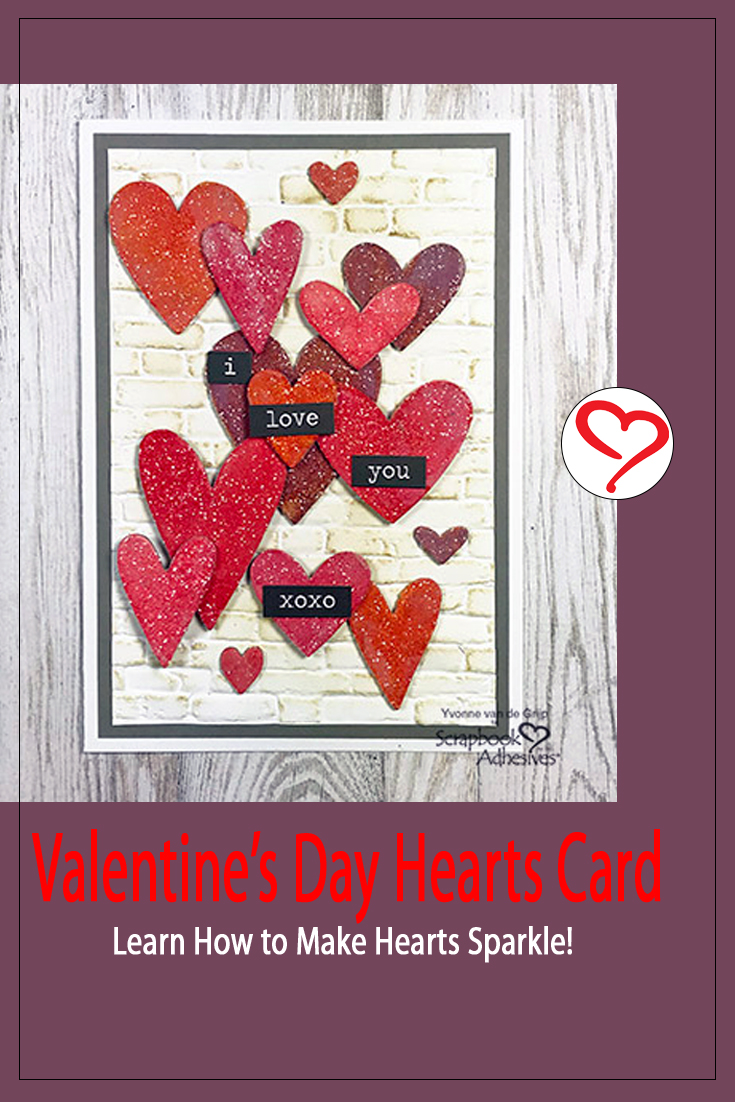
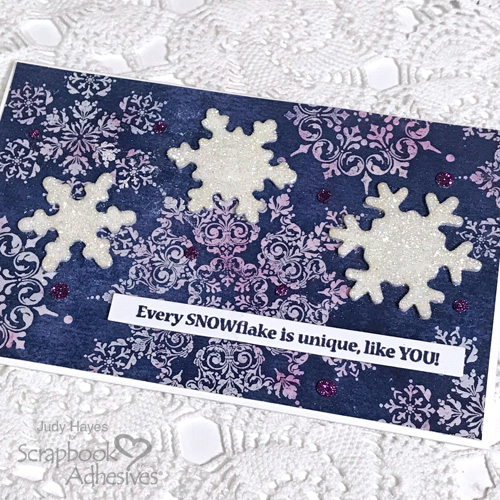
Hi everyone, Yvonne here. With Valentine’s Day coming up soon, I thought it would be fun to share a lovely hearts card with you all. As you know I love sparkle and dimension on my cards so…why not on this card?! LOL!
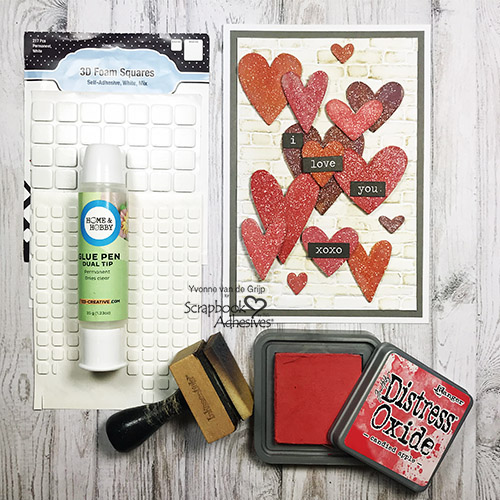
The Dual Tip Glue Pen is a great adhesive to add sparkle to your Valentin’s card. 3D Foam Squares White Mix is the perfect product to add dimension. Let me show you how easy it is to create this Valentine’s Day Hearts card. Shall we get started?
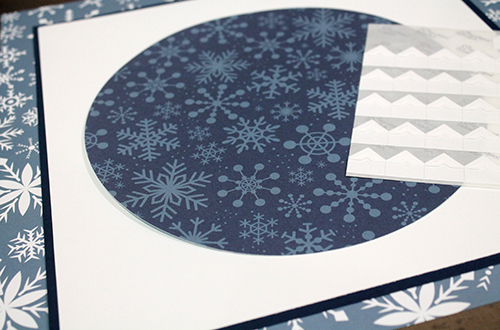
Making the Card Base
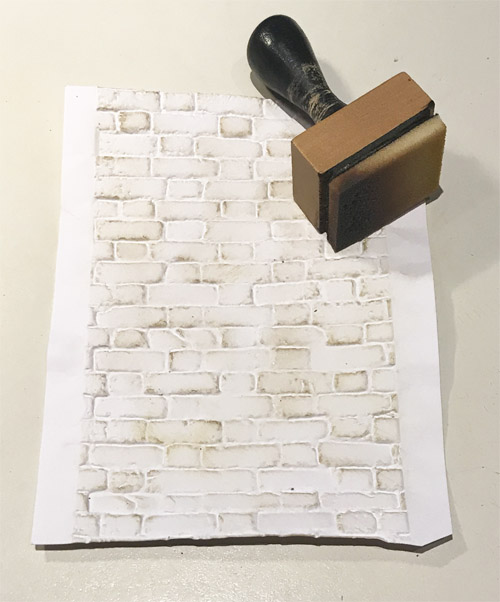
Start by taking a white piece of cardstock and put it between a brick wall patterned embossing folder. Then run through your die-cutting and embossing machine using the sandwich as recommended by the manufacturer of the machine.
Then use brown ink and an ink blending tool to alter the brick wall panel.
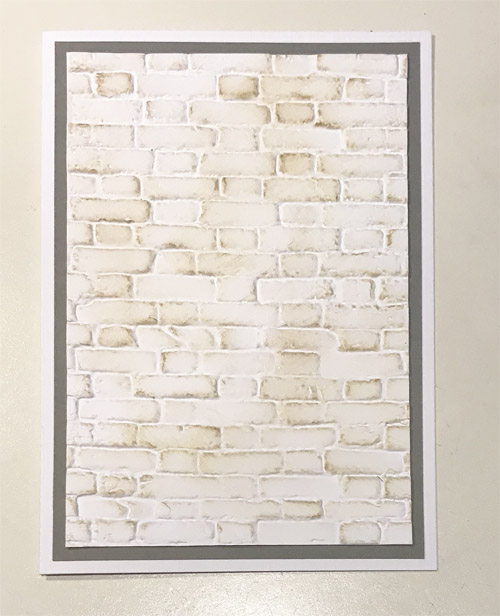
Next, trim the embossed paper to a rectangular size.
Adhere the embossed panel onto a grey card panel using the E-Z Runner® Grand Refillable Dispenser and then adhere onto a white card base also using the E-Z Runner® Grand Refillable Dispenser.
Making Valentine’s hearts.
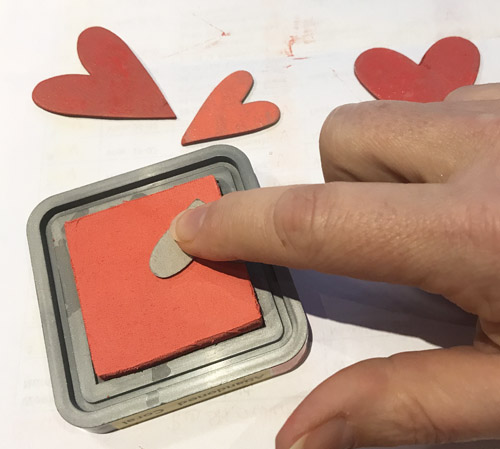
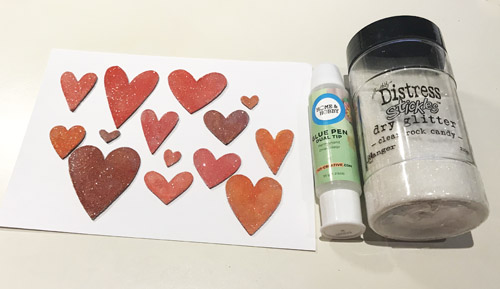
To die-cut the hearts for my Valentine’s Day card, I used chipboard with a steel rule die that is made for heavy-duty die-cutting.
Then I colored the hearts by rubbing them over red inkpads. Make sure to use different shades of red inkpads. Now let the ink dry.
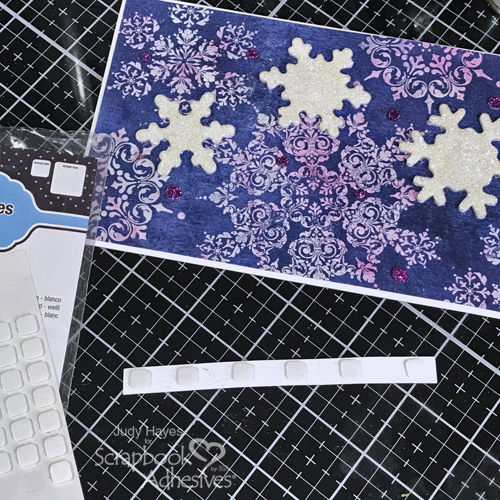
Next, put a little glue from the Dual Tip Glue Pen onto the colored side a the chipboard heart and spread the glue using your finger. Make sure you cover the whole heart.
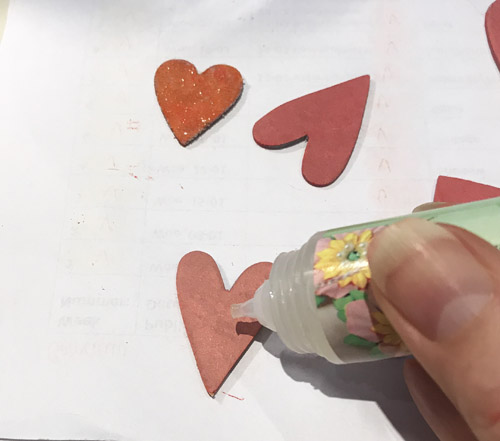
Then sprinkle clear glitter over the heart to give it a subtle sparkly effect. Repeat with adding glitter to all the chipboard hearts. Let dry.
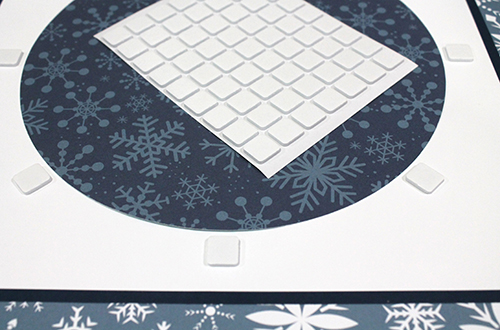
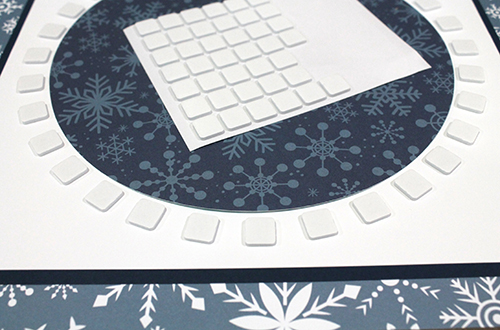
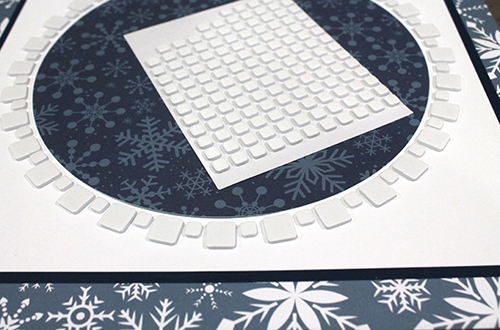
Adding Dimension
Start by adhering a larger heart shape onto the center of the card using the Thin 3D Foam Squares White Mix. Then build dimension by adhering the other hearts onto the card base not only using the Thin 3D Foam Squares White Mix, but also by using 3D Foam Squares White Mix. This way you create a lovely 3D effect on your Valentine’s Day card.
Finish the card by adding some sentiment stickers. And Voila…your Valentine’s Day card is ready to be sent to your (secret?) love.
I wish you happy crafting!
Yvonne van de Grijp
Creative Time: 45 minutes
Skill Level: Intermediate
Materials needed:
Scrapbook Adhesives by 3L®
E-Z Runner® Grand Refillable Dispenser
3D Foam Squares White Mix
Thin 3D Foam Squares White Mix
HomeHobby™ by 3L
Dual Tip Glue Pen
Other
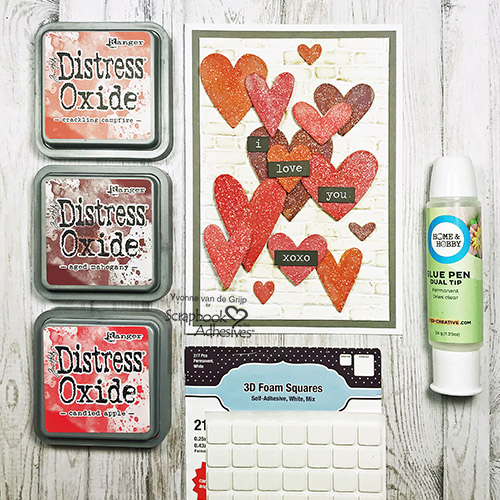
Etched Die (Sizzix: Heartfelt Bigz Die-template by Tim Holtz); Embossing folder (Sizzix 3-D Texture Fades: Brickwork by Tim Holtz); Die Cutting Machine Spellbinders® Paper Arts (Platinum 6 Machine); Cardstock (White, grey); Chip Board; Glitter (Distress Stickles™ Dry Glitter Clear Rock Candy by Tim Holtz); Ink pads (Distress Oxide by Tim Holtz: Crackling Campfire, Candied Apple, Festive Berries, Aged Mahogany; Distress inkpad: Brushed Corduroy); Ink Blending Tool, Sentiment stickers (Tim Holtz Big Chat); Tweezers; Paper Trimmer
Save It to Pinterest!
Visit our Website and Blog!
Sign up for our Newsletter so you never miss a contest or giveaway!


