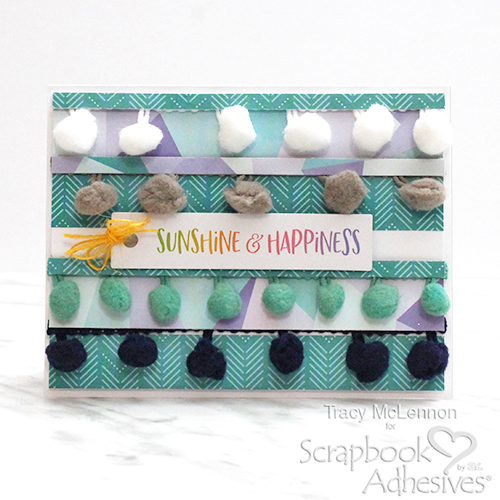
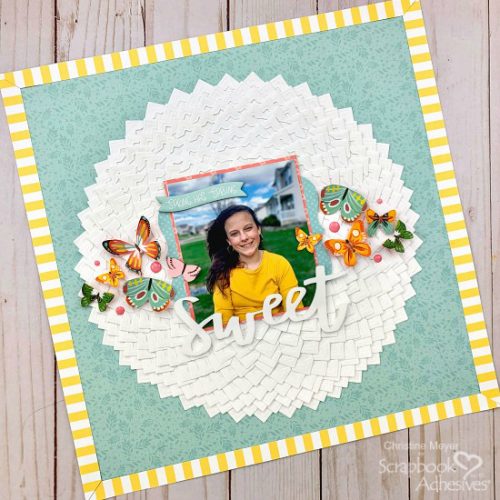
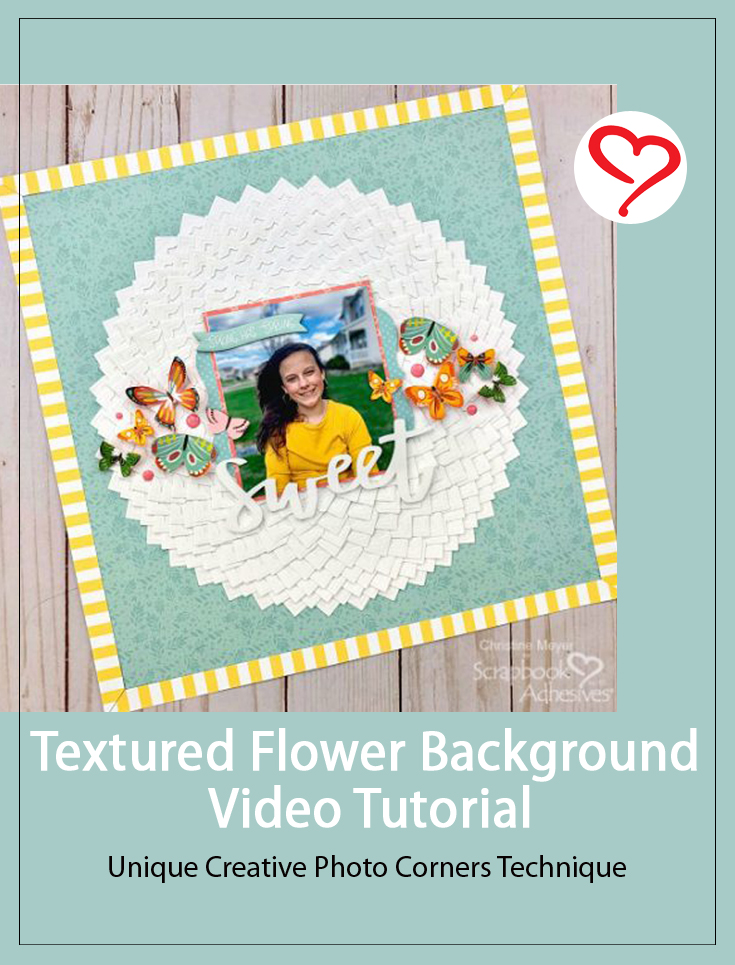
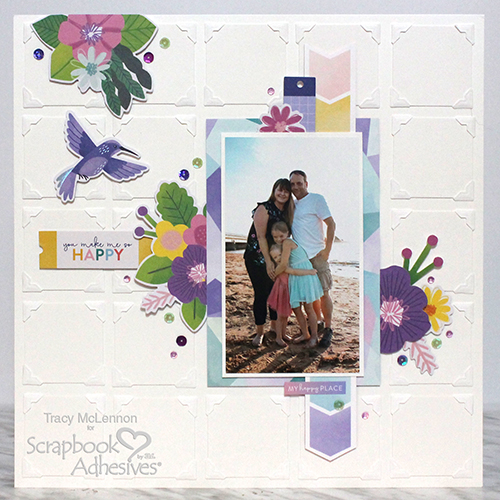
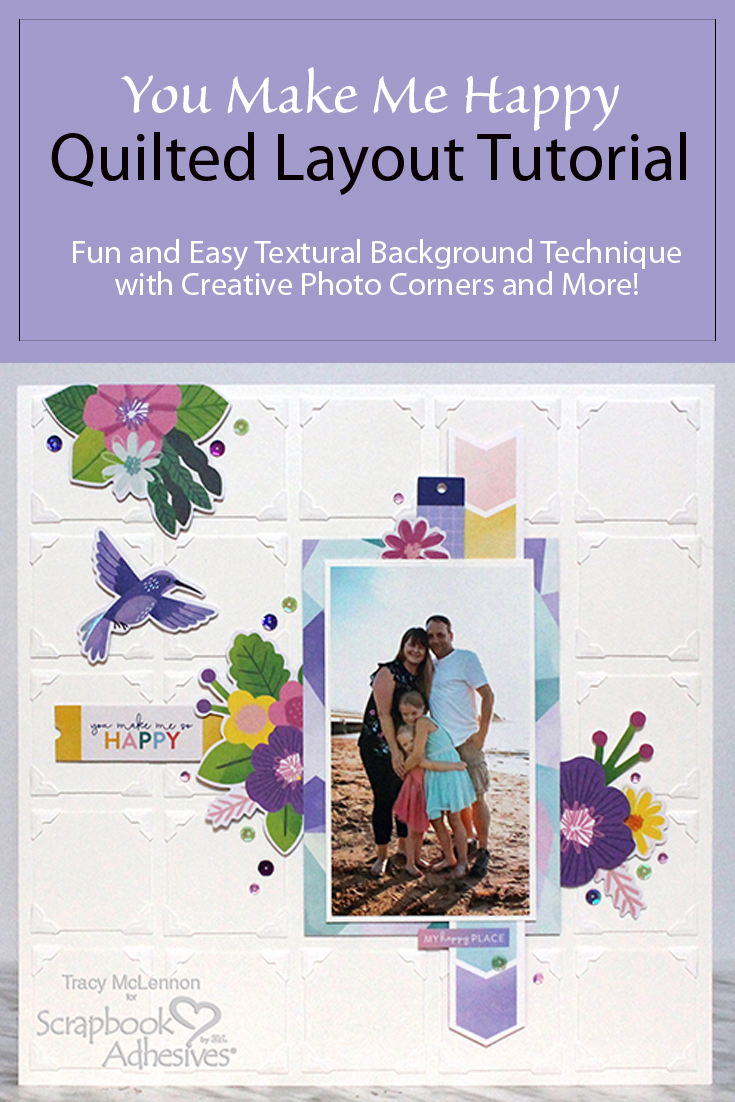
Hello crafty friends and welcome back! Tracy here and today I have a fun little layout tutorial to share. When I came up with this Quilted Layout background idea, I kind of pictured it like a puffy duvet. I wanted to create a monochromatic, but a textural background to build my layout on. Here are all of the details.
A Quilted Layout Background
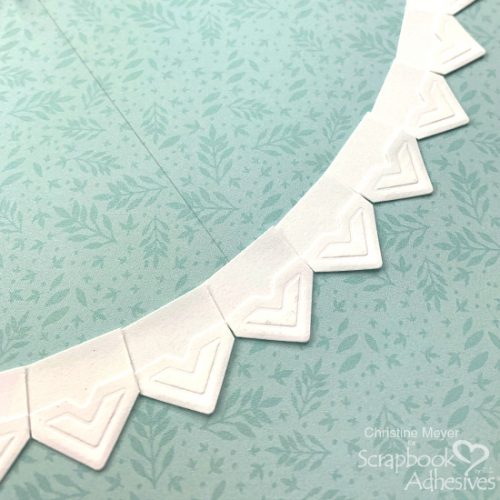
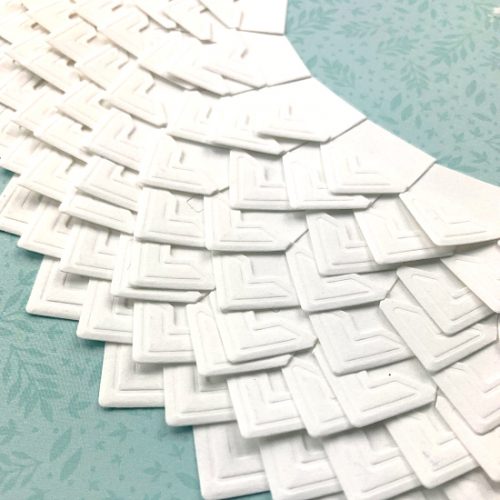
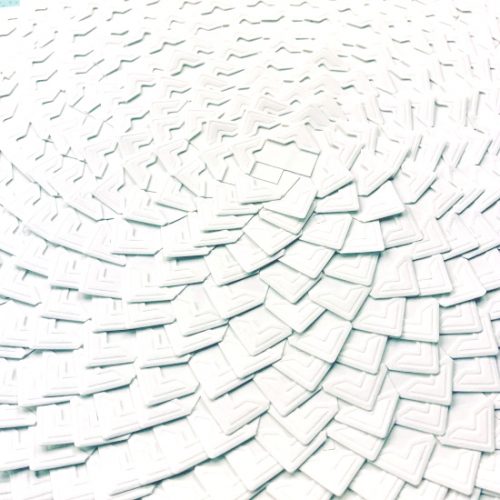
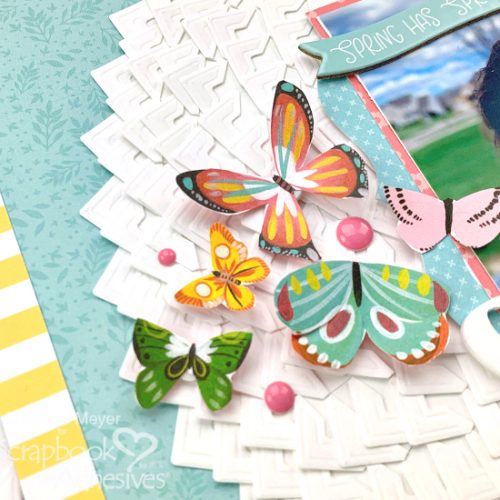
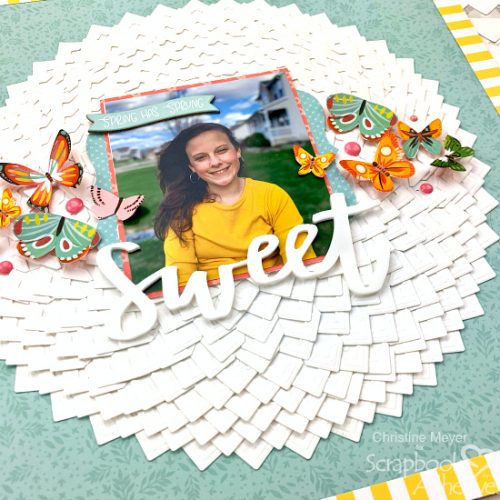
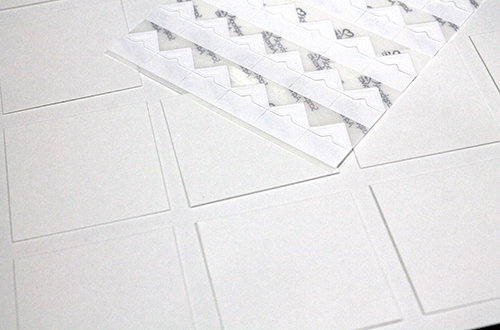
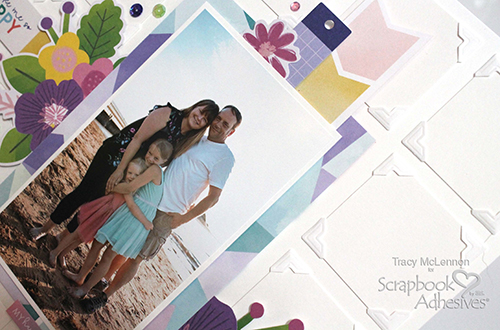
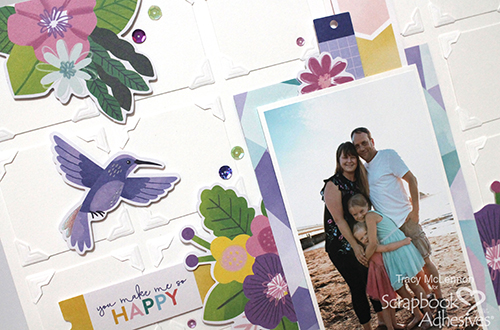
First I took two sheets of white cardstock. One sheet is left whole as the background and the other is cut into 2×2 squares. Next, grab those Creative Photo Corners White and start adding the squares, spaced apart to the background piece of white cardstock to create the Quilted Layout base.
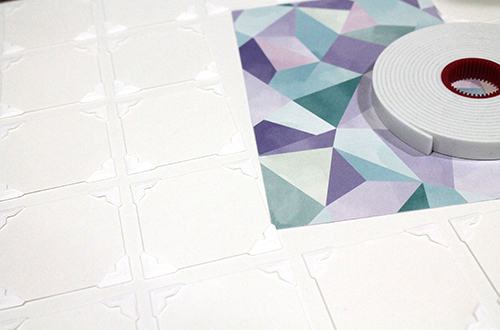
Add the squares around the whole layout and another row up the left-hand side. Then I measured the open spot that is left and cut a piece of patterned paper to fit into that space. I added that patterned paper using Crafty Foam Tape White.
I cropped and matted my photo in white cardstock using the E-Z Runner® Grand Refillable Dispenser and then added it to the Quilted Layout patterned paper section using Crafty Foam Tape White.
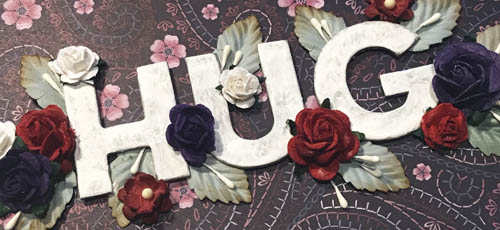
Next, I started adding my die cut embellishments around the quilted layout using a combination of 3D Foam Squares White Mix and Thin 3D Foam Squares White Mix. This creates even more dimension between embellishments.
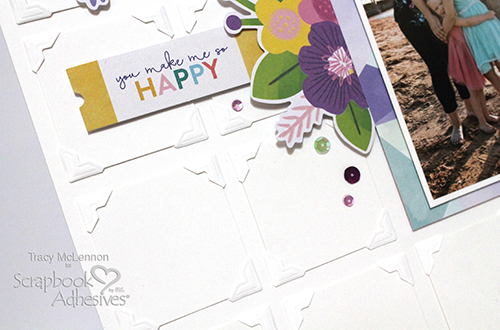
Finally, I added sequins around my embellishments clusters using my go-to Adhesive Dots Micro to complete this Quilted Layout with a little sparkle.
Thanks so much for stopping by!
Tracy McLennon
Creative Time: 1 hour
Skill Level: Intermediate
Materials Needed:
Scrapbook Adhesives by 3L®
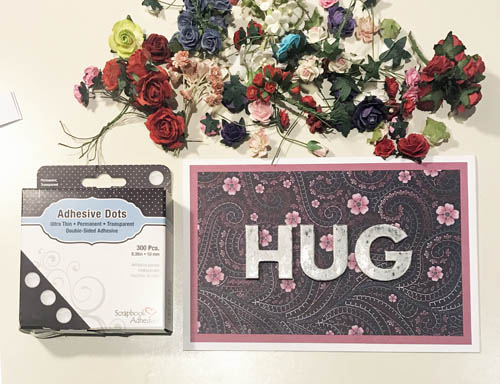
Adhesive Dots Micro
Thin 3D Foam Squares White
3D Foam Squares White Mix
Creative Photo Corners White
Crafty Foam Tape White
E-Z Runner® Grand Refillable Dispenser
Other
Patterned Paper, Die Cut and Cardstock Stickers: Pink Paislee (Bloom Street Collection); White Cardstock; Sequins
Save It to Pinterest!
Visit our Website and Blog!
Sign up for our Newsletter so you never miss a contest or giveaway!