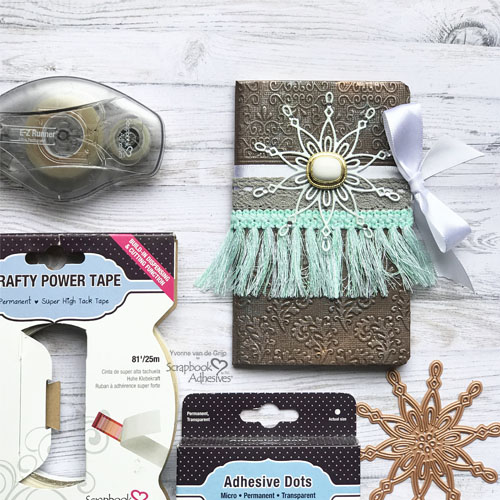
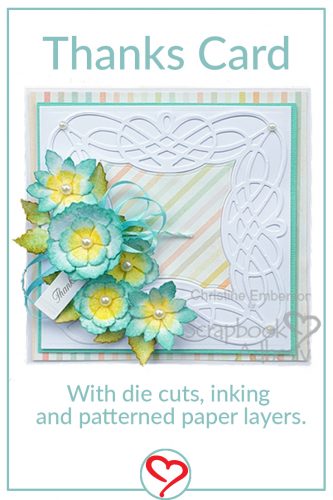
Hi everyone, Christine here today a Thanks card in celebration of World Cardmaking Day. It’s very easy to do with Scrapbook Adhesives by 3L®! Take a closer look at the card details, then scroll to the bottom of this post and enter to win some adhesives in our GIVEAWAY!!
Thanks Card Details
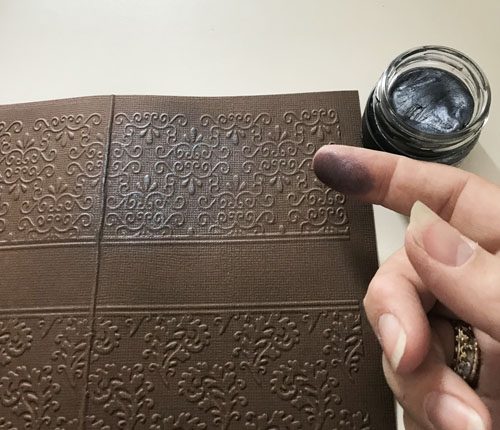
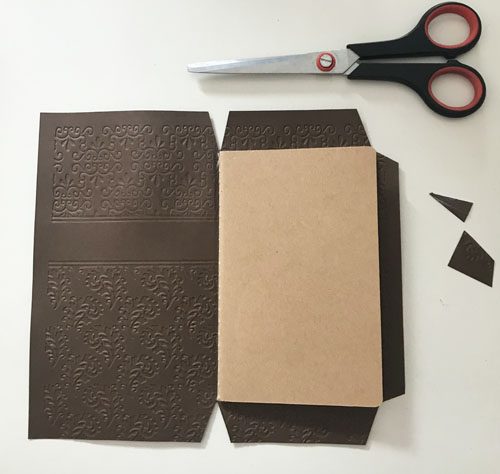
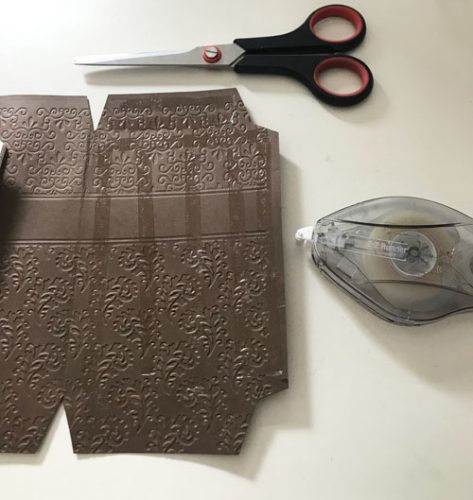
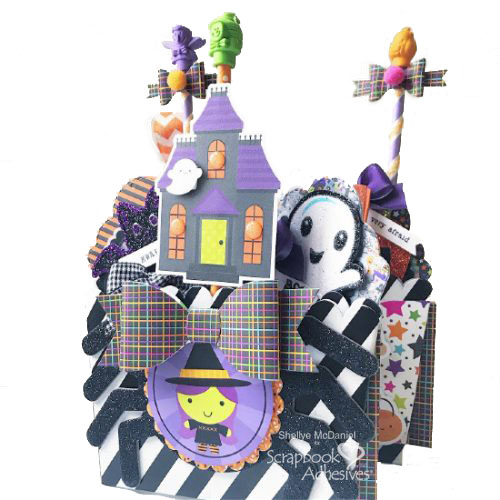
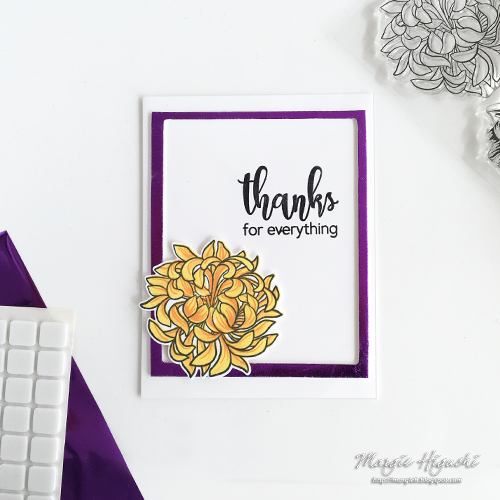
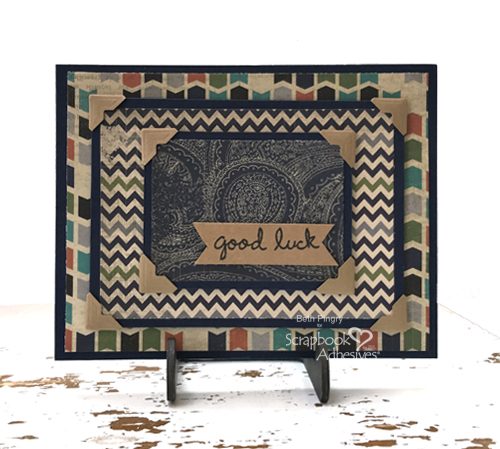
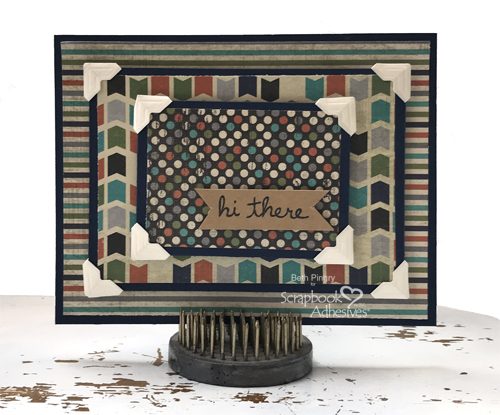
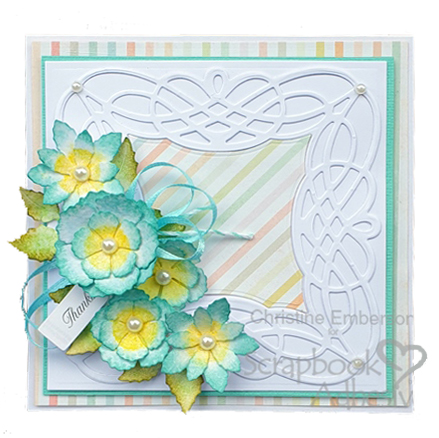
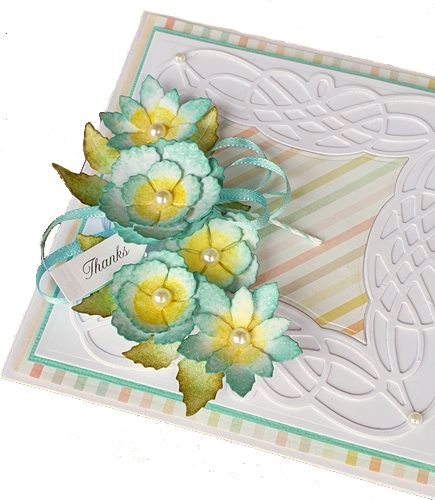
I’ve used a variety of die cuts and paper to piece this Thanks card together for interest and texture.
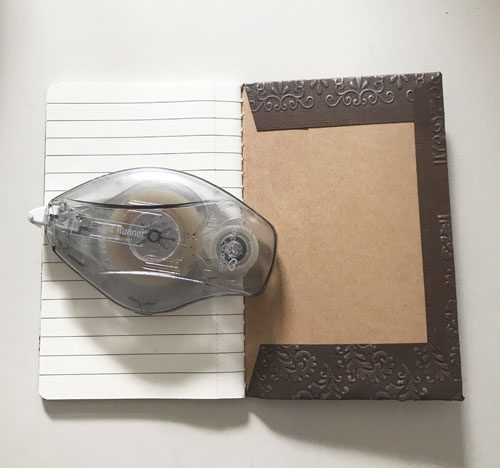
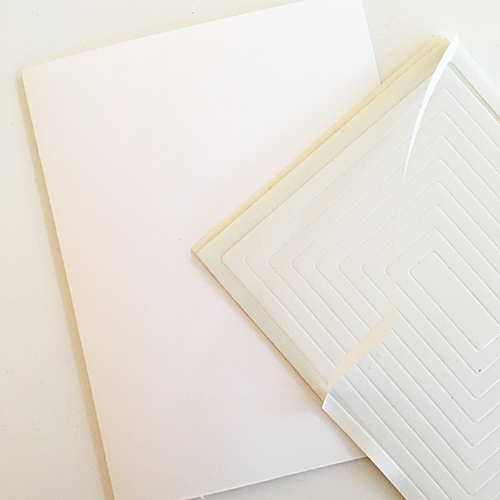
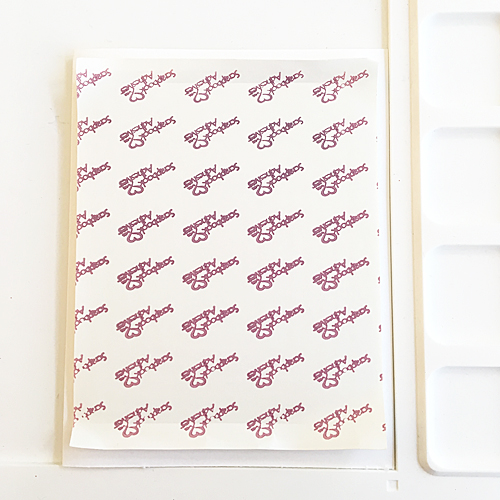
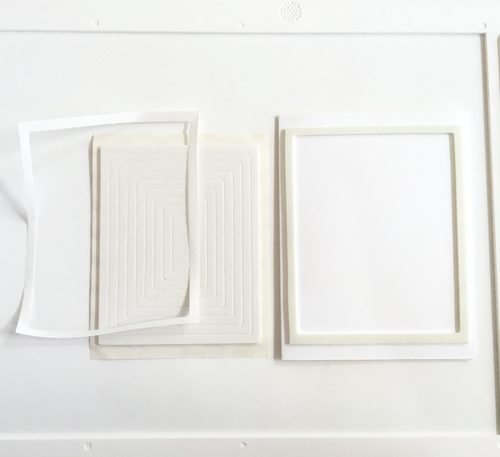
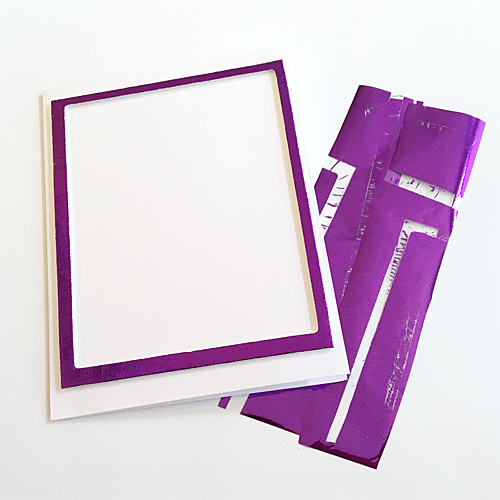
I start with square layers for my card base. The intricate die cut frame is the last piece, and it’s secured with my E-Z Runner® Grand Refillable Dispenser.
Now to work on my flower clusters. The flowers and leaves are die-cut from watercolor paper, which is inked in different ink colors. Bend the flower petals and leaves before layering them on the Thanks card.
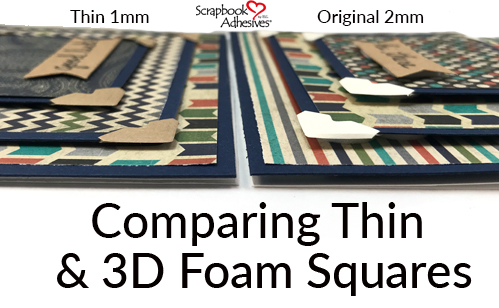
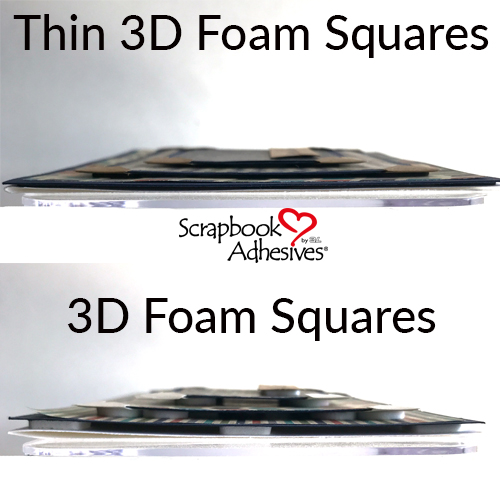
Then add ribbons and pearls. The final piece is “Thanks” stamped in black ink on a white tag die cut. Secure it tucked into the flower cluster with 3D Foam Squares .
Thanks for stopping by and keep scrolling for the World Cardmaking Day GIVEAWAY!
Creative Time: 30 Minutes
Skill Level: Intermediate
Materials Needed
Scrapbook Adhesives by 3L®
Home Hobby by 3L®
Other
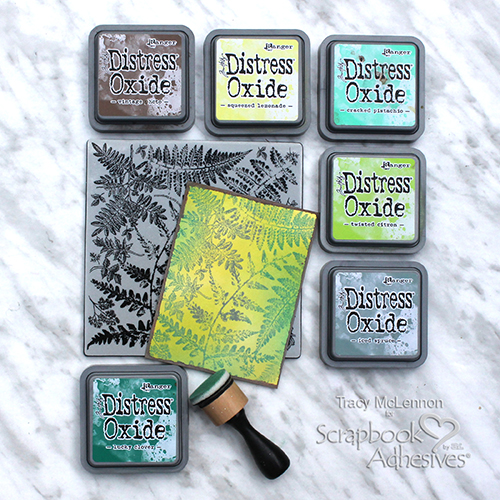
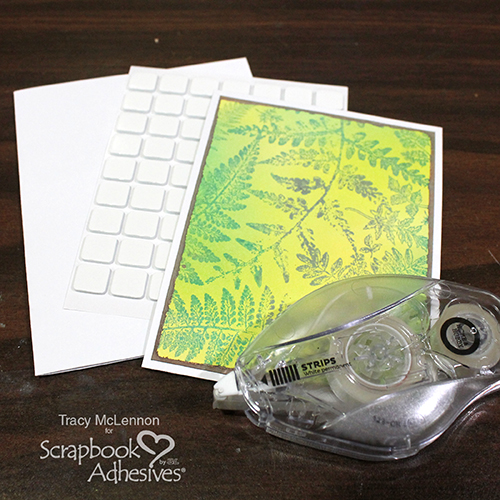
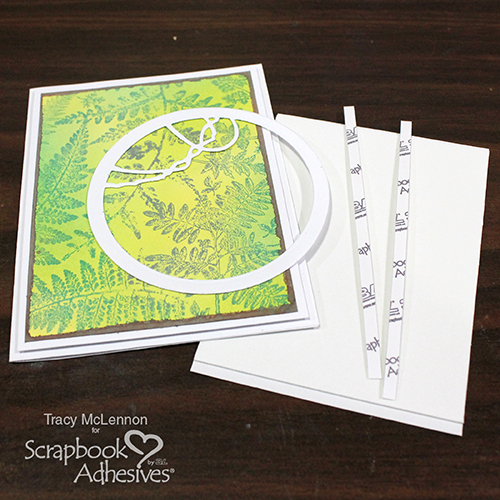
White Card Base; Watercolour Card; Scrap Patterned Paper; Etched Dies (Spellbinders Paper Arts: Textured Flowers, Braided Grace Square); Ribbon; Twine; Ranger Ink Distress Inks; Pearls
Love it! Pin it!
Happy World Cardmaking Day!
We can’t pass up a chance to reward you, our loyal fans, on this fun and hopefully productive cardmaking day!
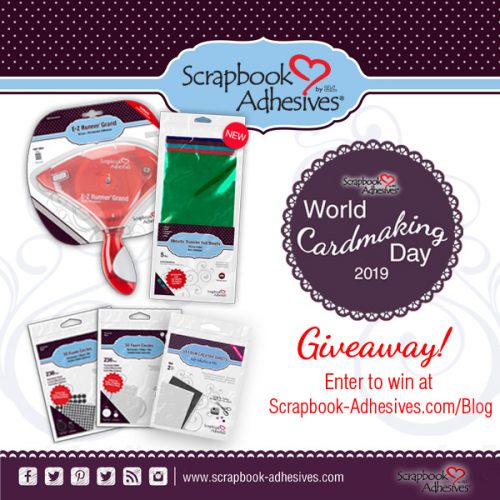
Enter to Win in the GIVEAWAY of TWO +$30 Prize Packages of Adhesives!
Enter NOW, this giveaway is live October 4-7, 2019 only!
Can’t find the comment section at the bottom of this post? Click below and scroll to the bottom of the post. We moderate comments several times a day, if yours doesn’t appear right away, it will be approved before the contest is closed.
Visit our Website and Blog!
Sign up for our Newsletter so you never miss a contest or giveaway!