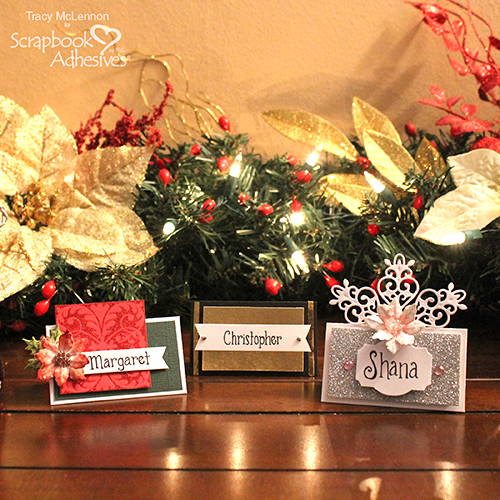
Welcome back, crafty friends! Are you ready for Christmas? Today I have some quick and easy Christmas place cards to share. I love everything about Christmas, and especially holiday crafting.
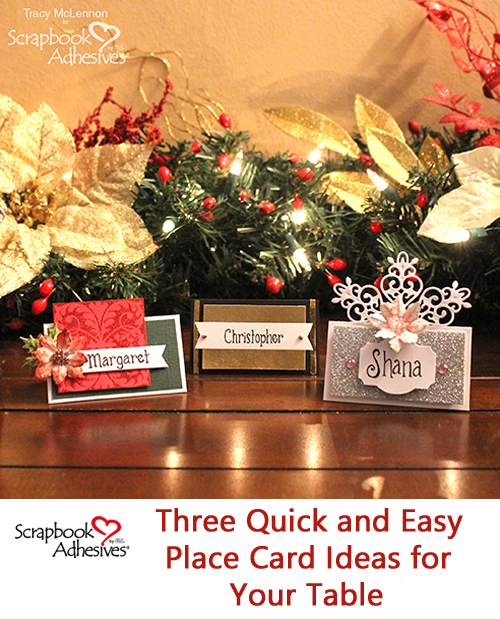
The holidays can get hectic, and if you haven’t pre-planned, there is probably not a lot of spare time to craft. Here are three quick and easy place card ideas that won’t take hours to create and will add holiday flair to your dinner table.
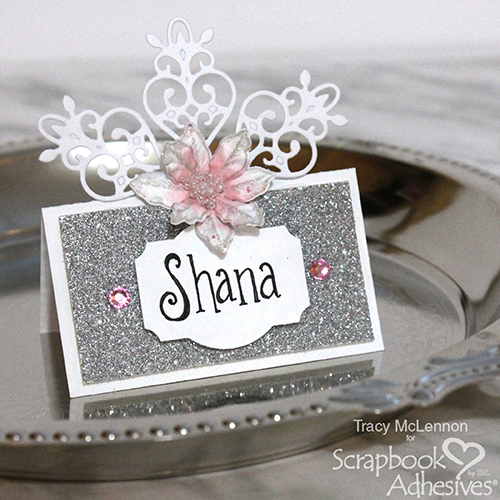
Pink and Sparkly Place Card
First up, the sparkly pink Christmas place card. For that unconventional tablescape.
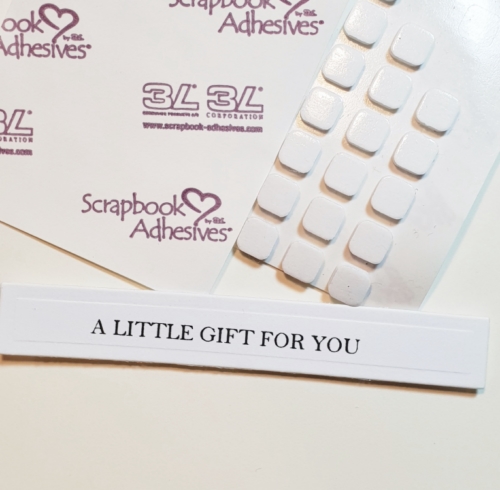
This first place card consists of simple layers and a little bit of dimension. Use Adhesive Dots Medium Ultra Thin to add the snowflake die cut and the mini poinsettia. The glitter cardstock is added using 3D Foam Squares White Mix. The name plate is cut from white cardstock using a punch and added using 3D Foam Squares White Mix.
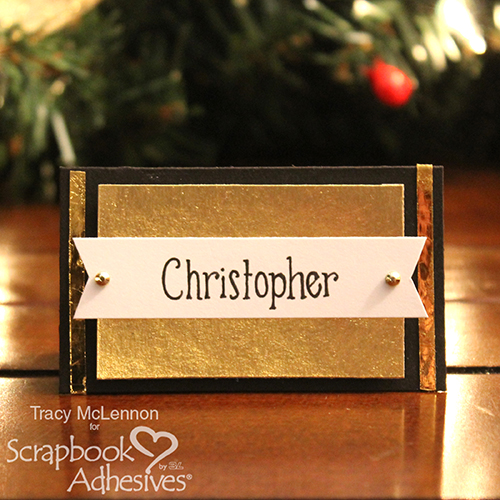
Sleek and Modern Place Card
The second place card gives more of a sleek modern Christmas vibe, for those that like a “less is more” table design.
This sleek place card starts with a black cardstock base. Add Extreme Double-Sided Tape ⅛ in to the sides, then using Gold Foil from the 3D Foam Creative Embellishment Kit add that sparkle and shine to the adhesive strips. Next, add the gold cardstock layer using 3D Foam Squares White Mix. The slender name plate is added using 3D Foam Squares White Mix, and add a couple of gold gems for good measure.
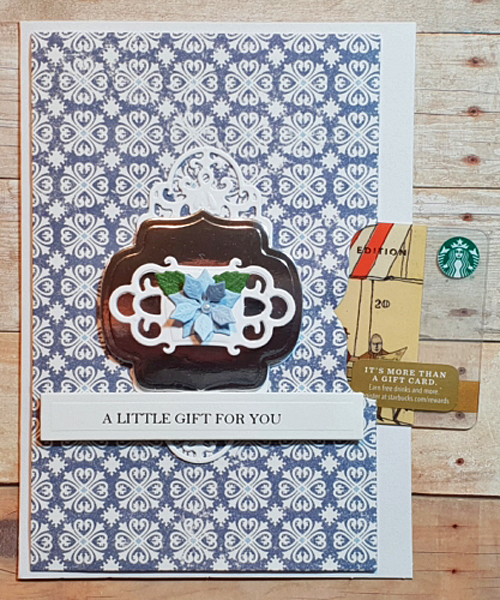
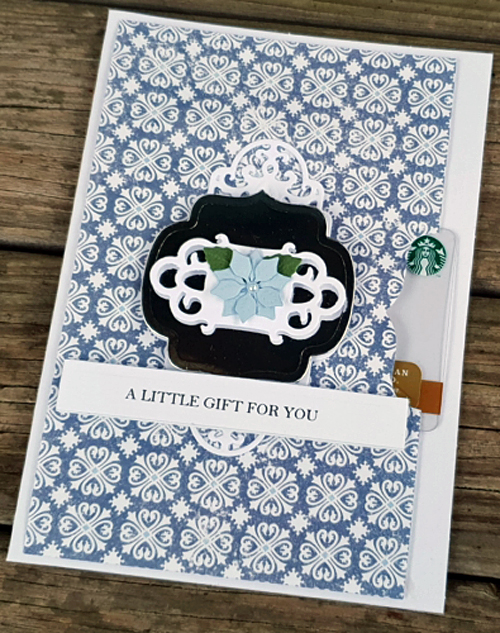
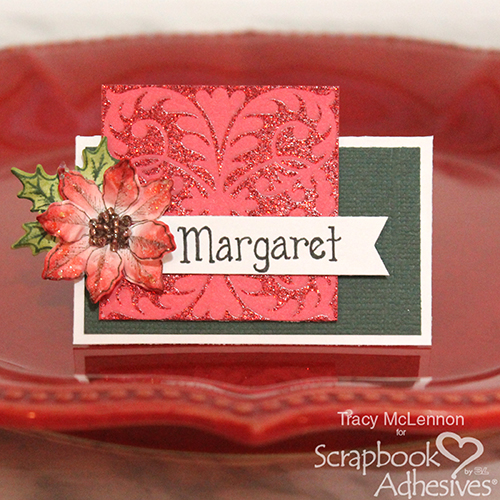
Classic Christmas Place Card
The final idea is a classic but simplest design for your place setting. Do you have stamped and colored poinsettias die cuts in your stash?
Using the E-Z Runner® Grand Refillable Dispenser add the green cardstock to the white cardstock base. Add the red glitter patterned cardstock using 3D Foam Squares White Mix. The poinsettia is added using Adhesive Dots Medium Ultra Thin. Then simply add a small name plate using the E-Z Runner Grand Refillable Dispenser.
Happy Holidays friends! Thanks so much for stopping by!
Tracy
Creative Time: 5-10 Minutes each
Skill Level: Beginner
Materials Needed
Scrapbook Adhesives by 3L®
3D Foam Creative Embellishment Kit
Extreme Double-Sided Tape ⅛ in
E-Z Runner Grand Refillable Dispenser
3D Foam Squares White Mix
Adhesive Dots Medium Ultra Thin
Other:
Cardstock (White, Green Black), Gold Metallic Cardstock, Red Glitter Patterned Cardstock, Heartfelt Creations- Poinsettia and Holly Clusters Cling Stamps and Die, Gold Gems, Pink Gems, Beads
Pin It!