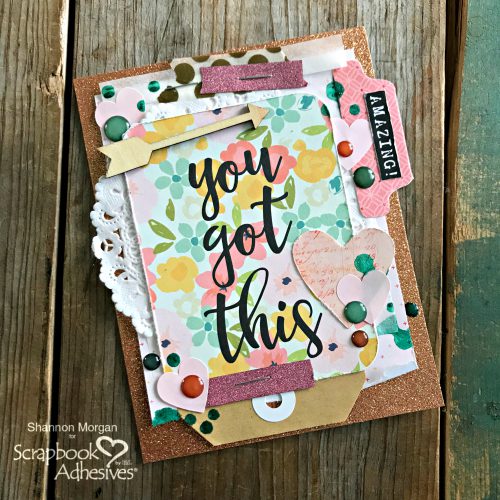
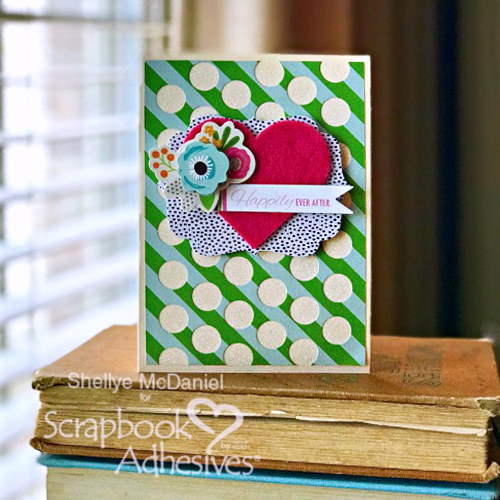
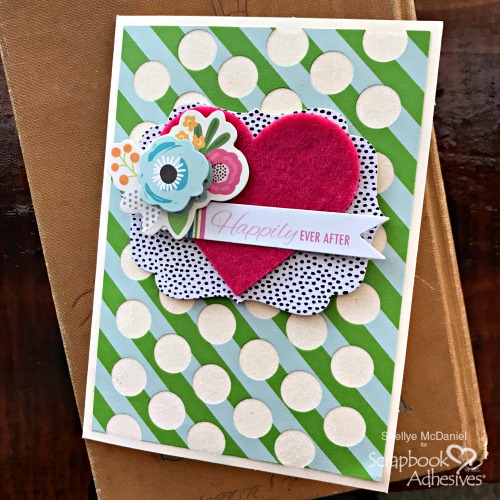
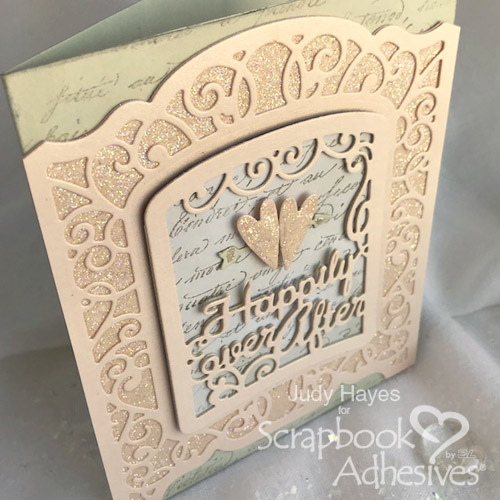
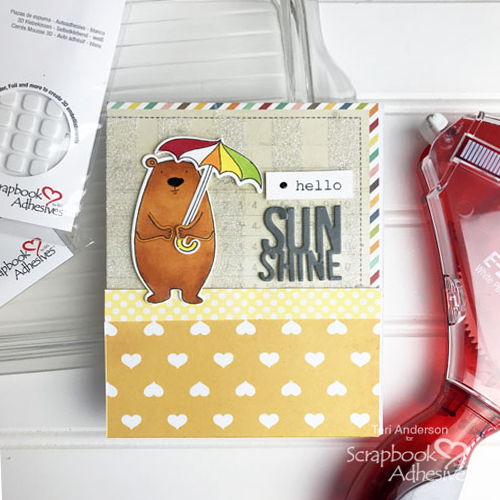
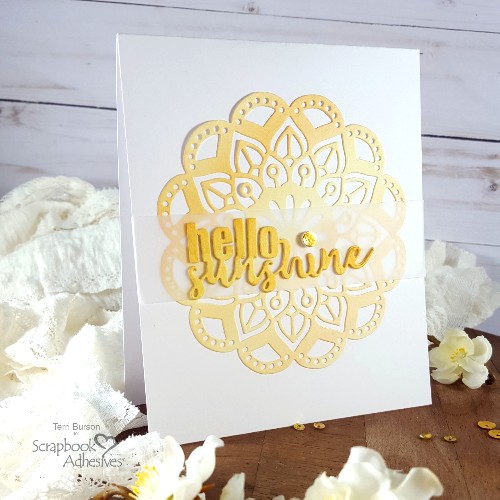
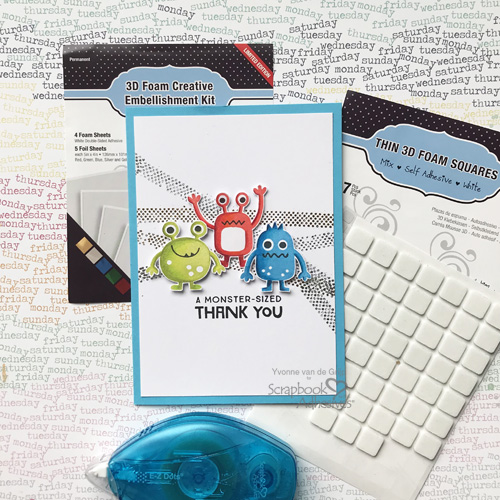
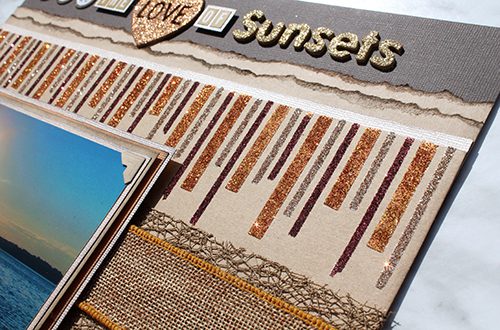
Are you always on the lookout for new trends in paper crafting? My eyes are always open and I’ve noticed a new technique trending in the scrapbooking world! I have seen people creating a messy striped background on layouts using various Mixed Media. Intrigued by the idea, I decided to put my own spin on that by combining Adhesive Sheets and Foil. Let’s take a look at how it turned out!
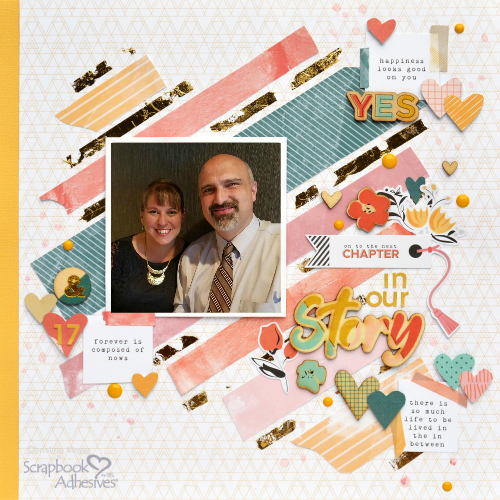
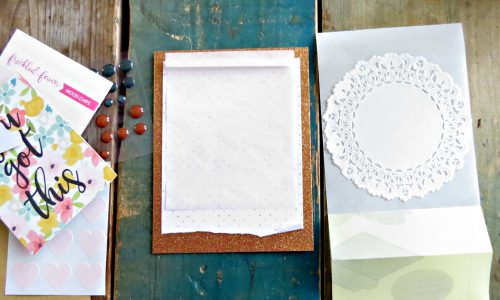
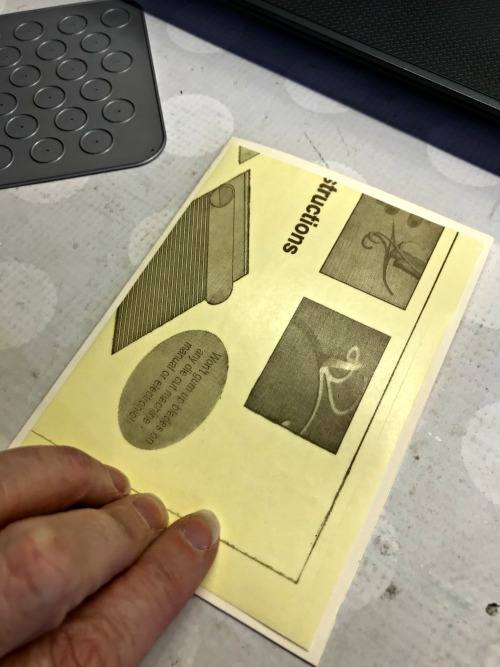
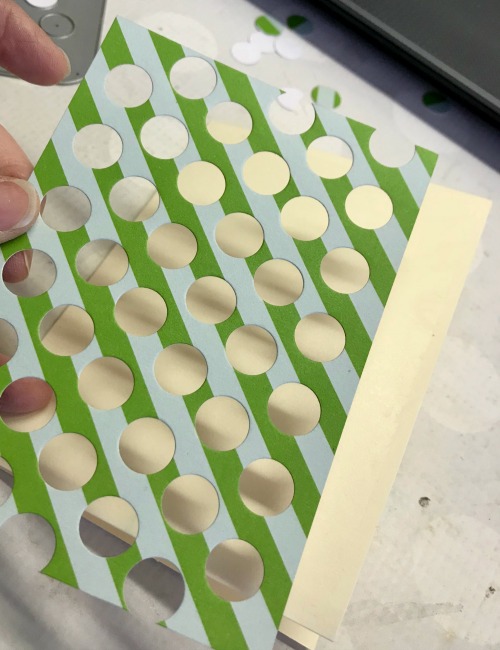
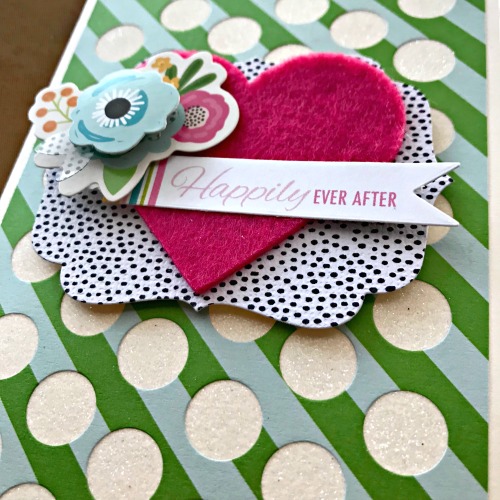
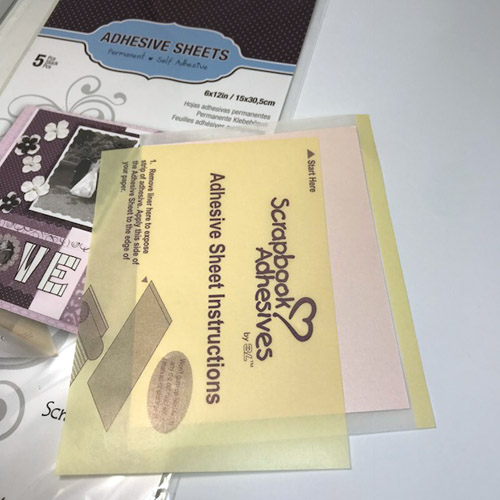
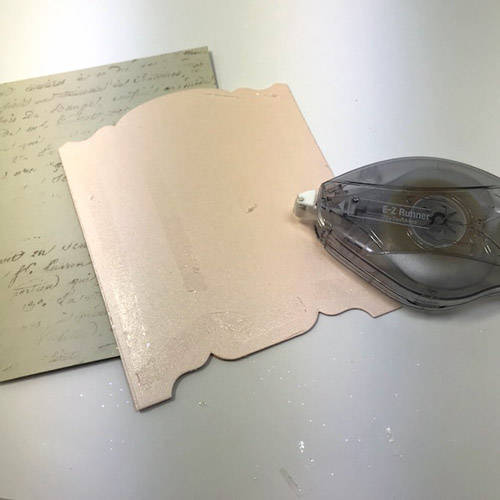
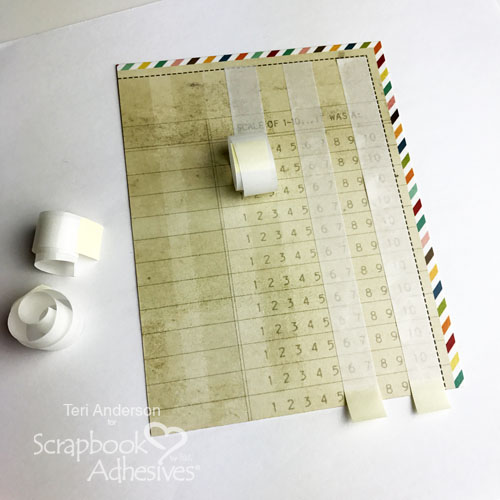
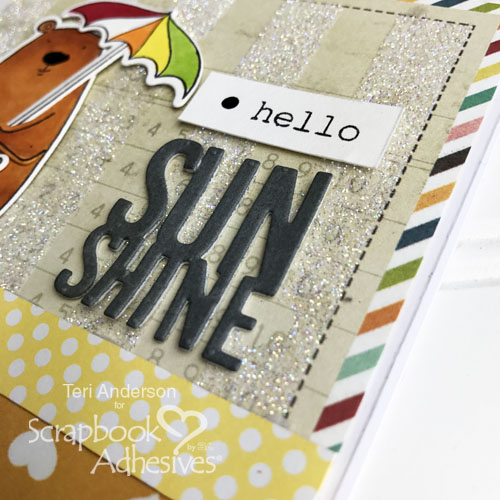
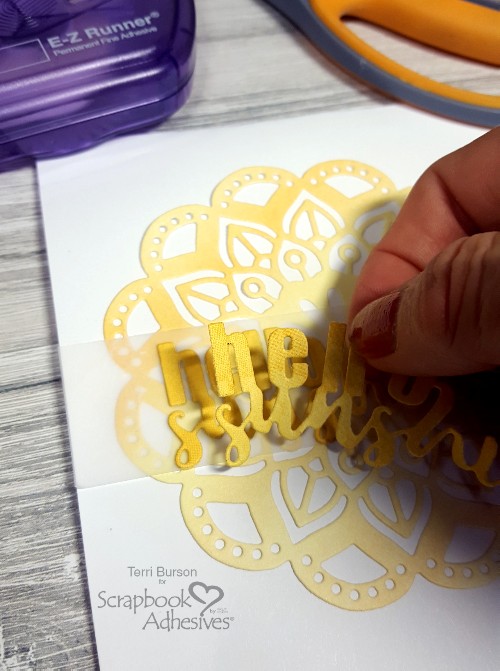
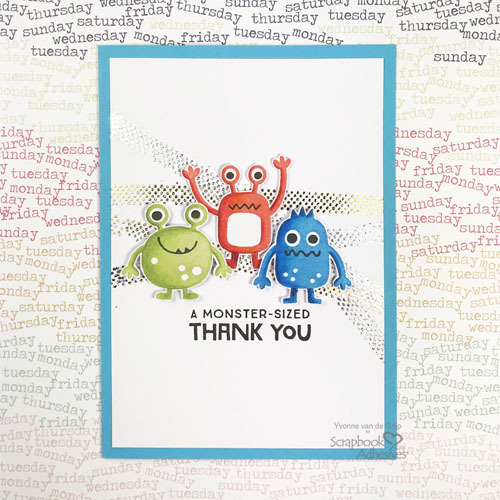
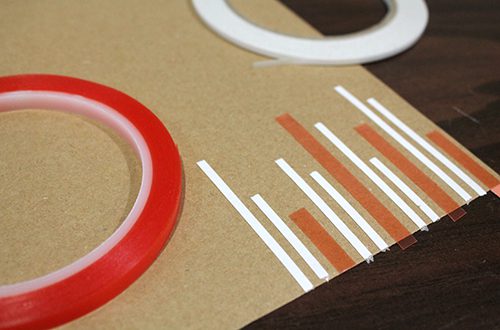
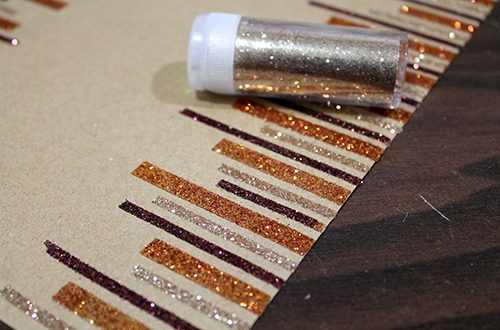
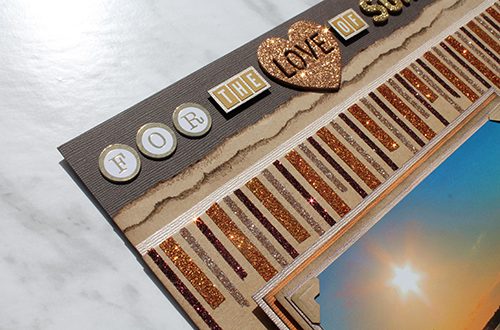
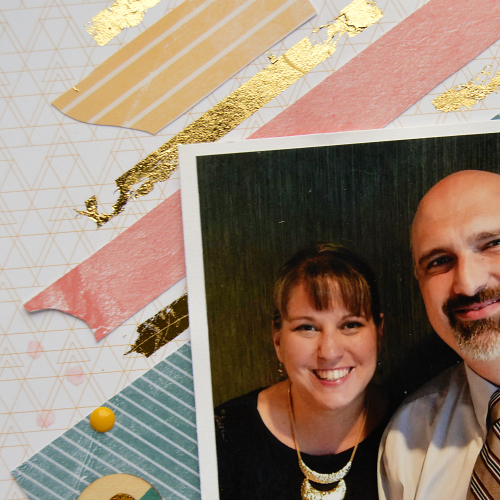
Instead of creating my entire background from the Adhesives Sheets and Foil – I opted to alternate them with patterned paper stripes. This occurred in part because the patterned paper I was working with was striped and already had me thinking in that direction. I cut out half-inch strips of the Adhesive Sheets keeping the height of the stripes uniform. As you can see the length varies with placement. This Process Video will walk you thru just how I made them:
Striped Background with Foil & Adhesives Sheets Process Video
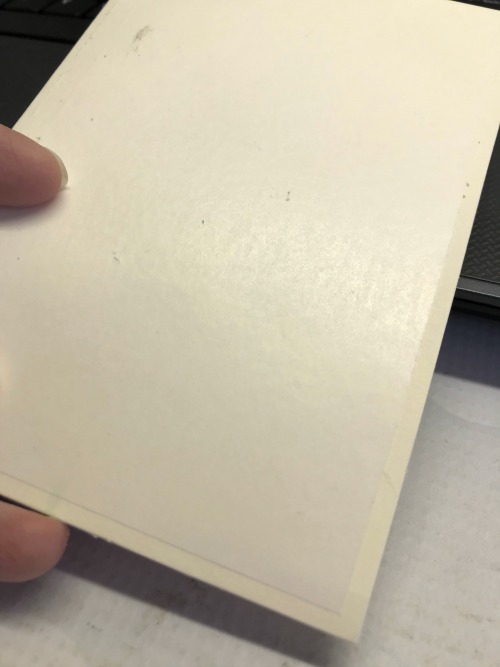
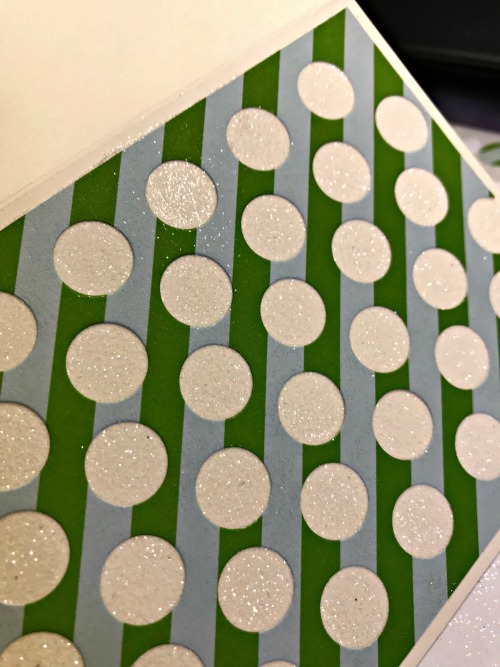
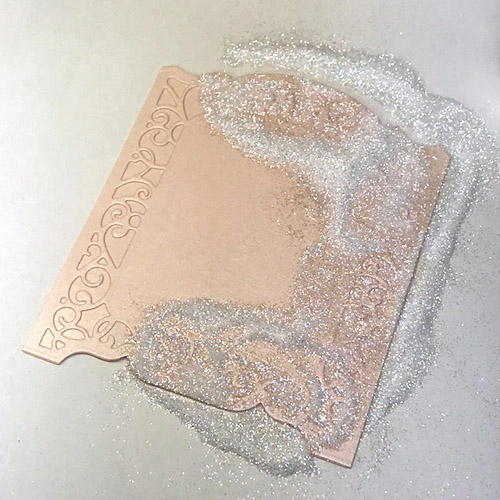
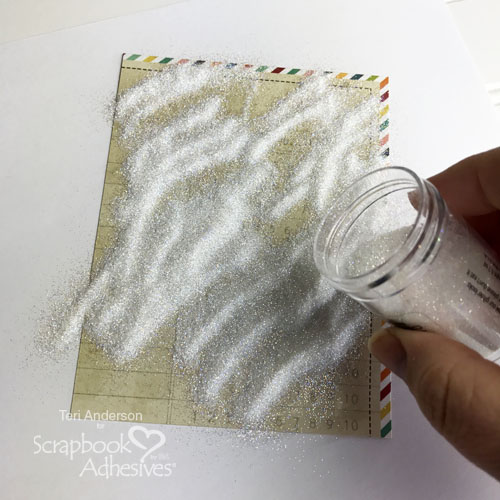
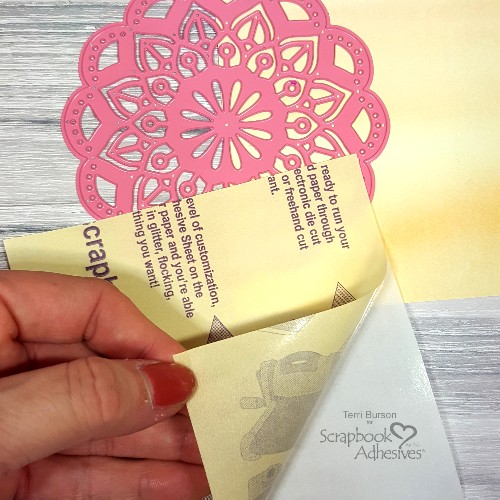
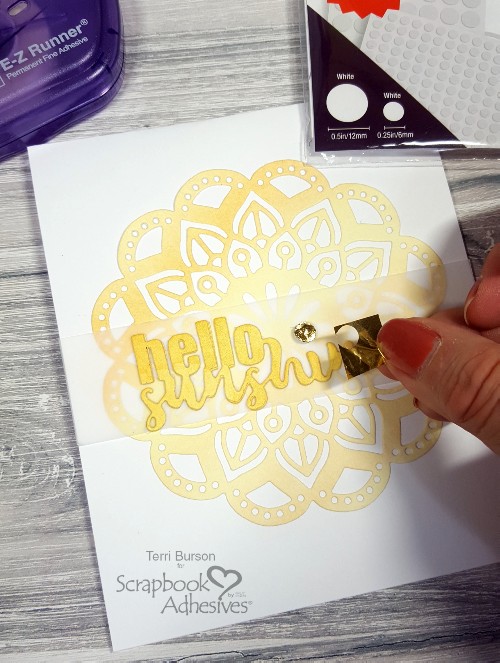
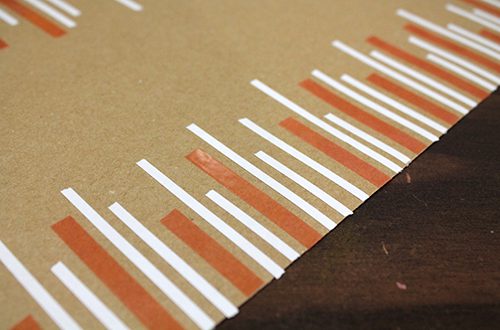
As you can see in the video, the foil is quite easy to add. It also creates a nice messy look which in my opinion makes things easier. I generally have a pretty clean style BUT anytime you are working with mixed media (or a mixed media look) you have to let that go!
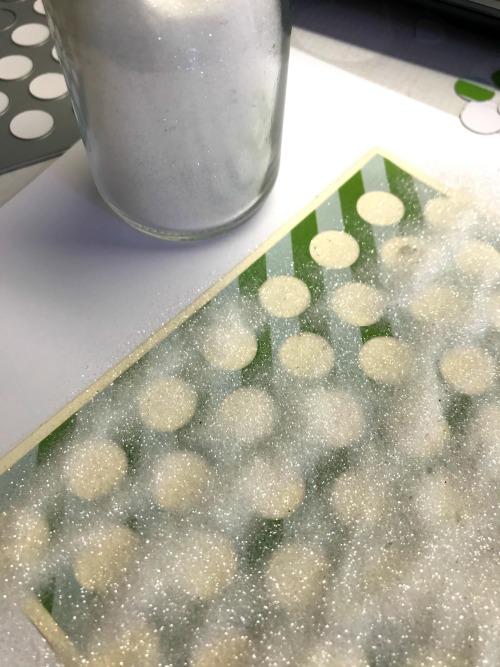
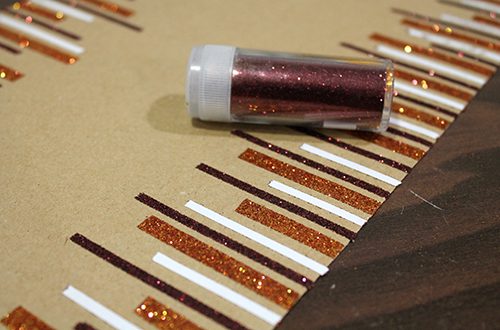
You don’t have to stop at foil for this application. This approach really allows you to Wear Your Adhesive on the Outside therefore you could try it with glitter, flocking, embossing powder, the possibilities are endless! And notice – no machine needed to apply the foil!
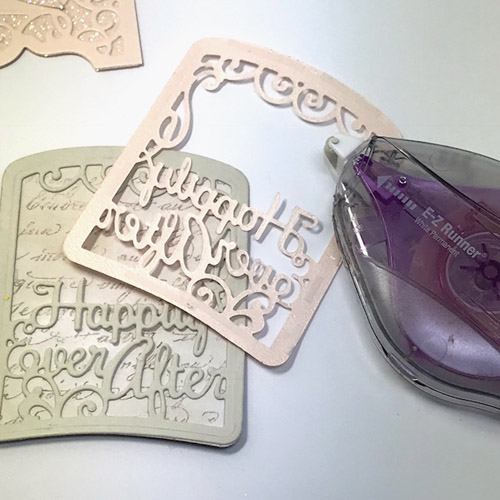
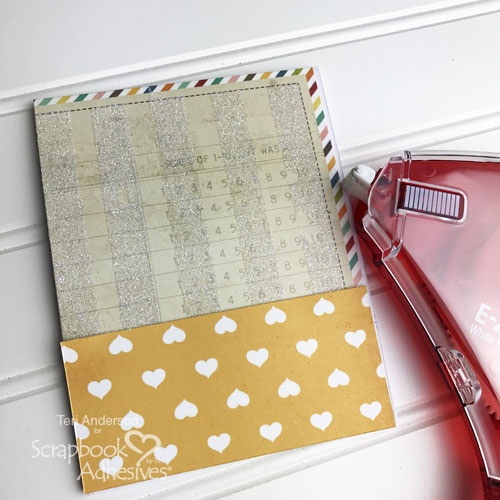
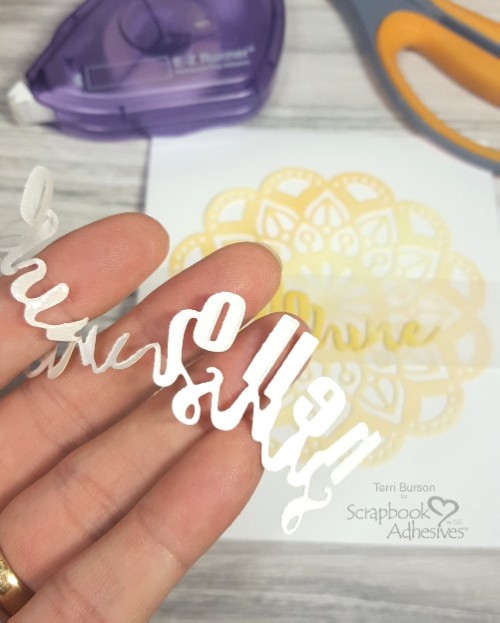
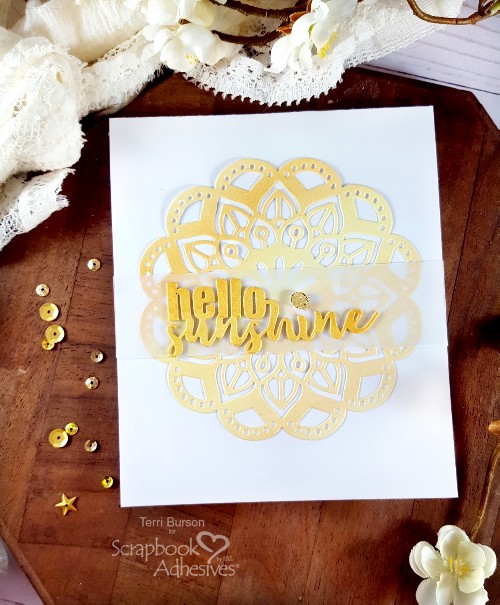
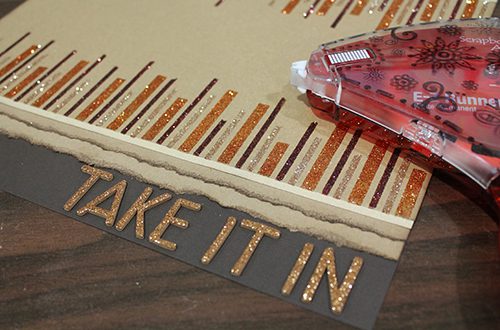
When I created my first stripe, I actually thought I’d go back and clean it up to be more precise. But as I went on I realized I actually was really liking the messier look therefore I decided to leave things just as they were.
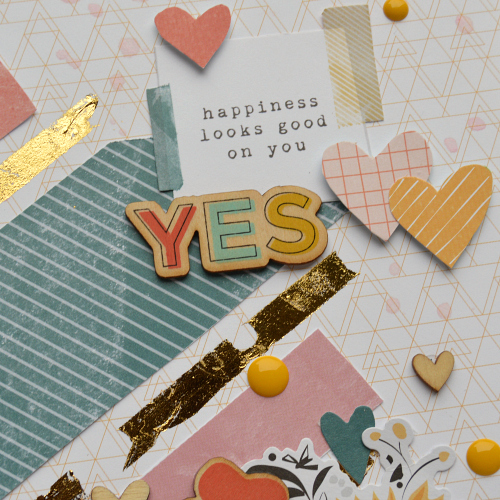
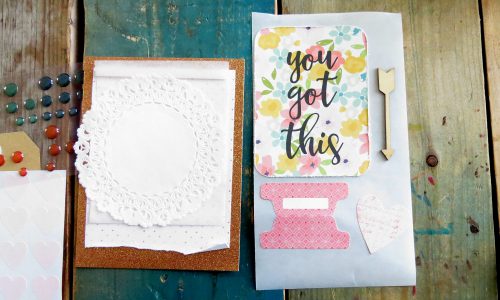
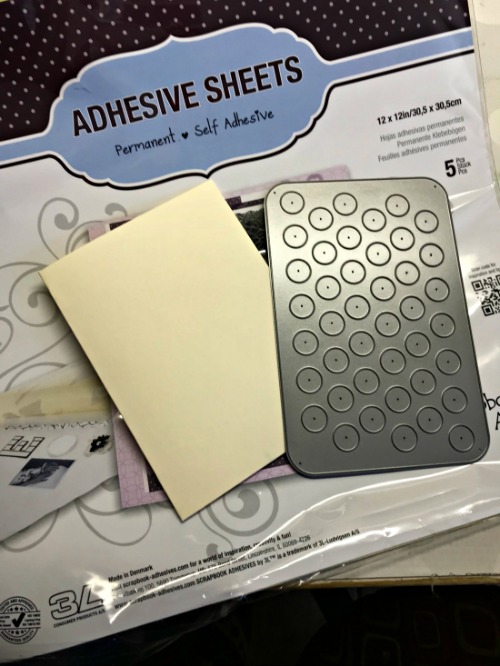
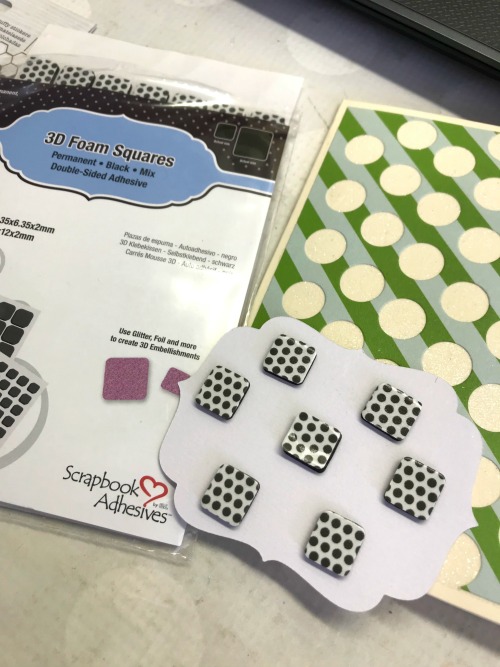
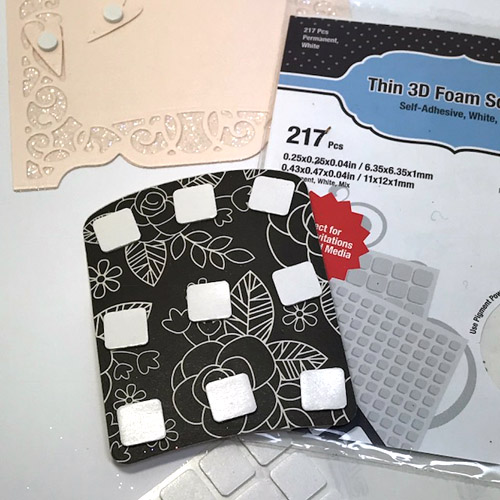
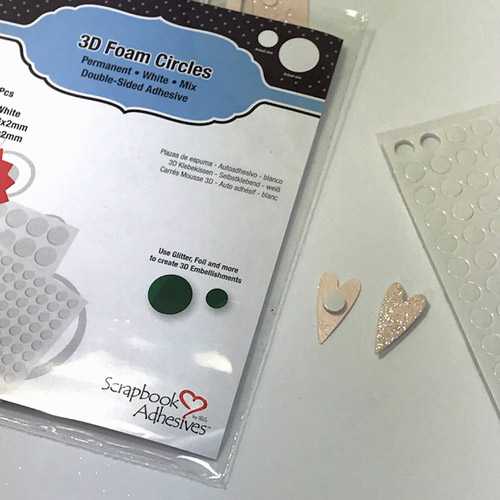
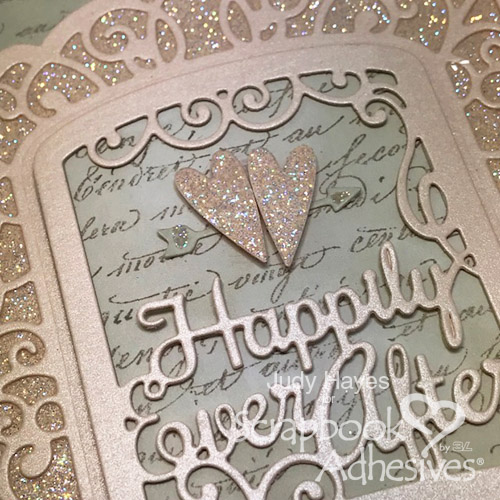
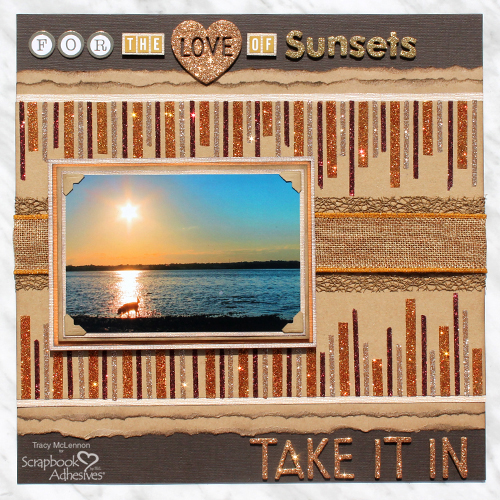
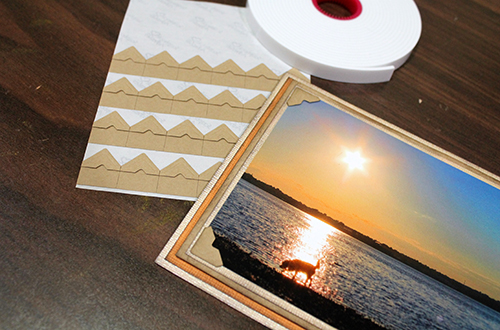
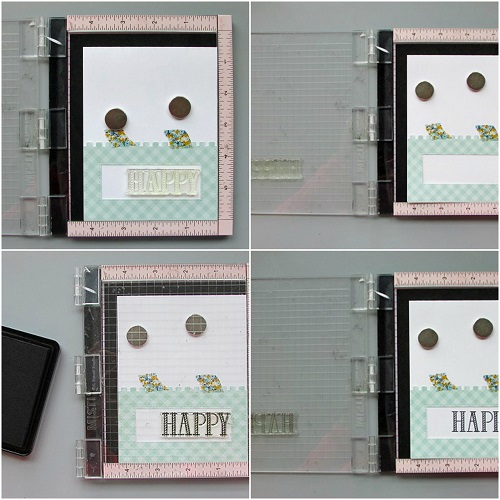
In addition to the Adhesive Sheets, I also gave the new 3D Foam Circles a workout – using them to secure and give dimension to my heart embellishments. This is one shape that is so much easier to apply with 3D Foam Circles on hand because it fits the shape so nicely!
Are you ready to make some stripes? Be sure to share them with us if you do!
–Christine
Scrapbook Adhesives by 3L®:
3D Foam Creative Embellishment Kit
Adhesive Sheets 4 x 6 inch
3D Foam Circles White Mix
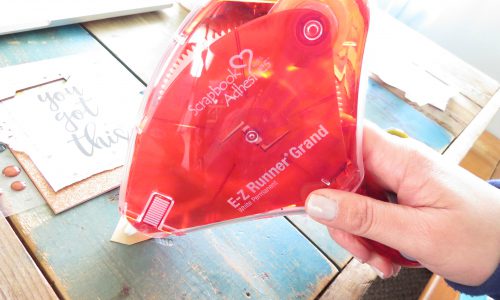
E-Z Runner® Grand Refillable Dispenser
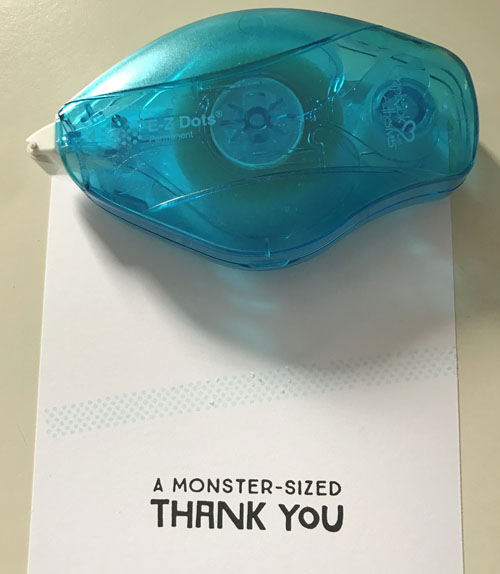
Adhesive Dots Mini
HomeHobby by 3L®:
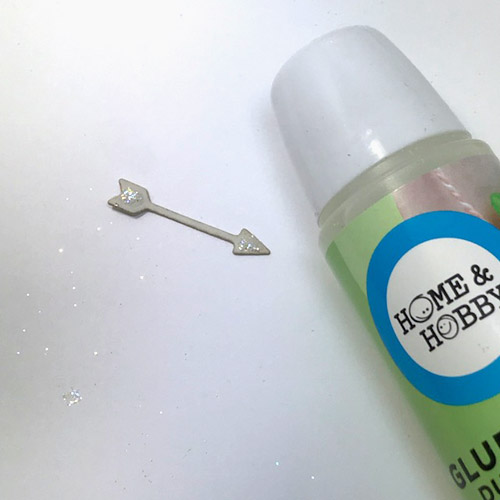
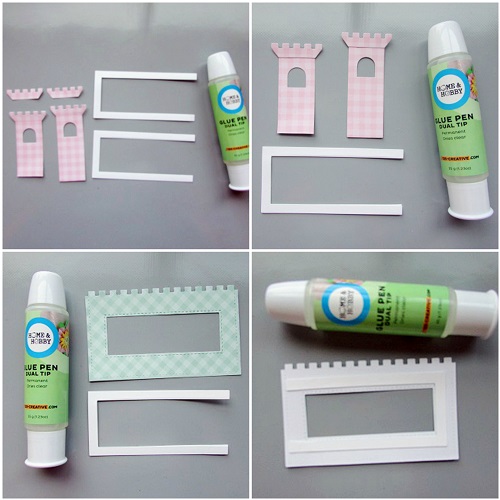
Dual Tip Glue Pen
Other Supplies: April Flavors of the Month Kit from The ScrapRoom Kit Club