We have a set of fun and sassy cards to share today. Do you love adding fun embellishments to your cards like me? I’d like to share some of the ways I attach embellishments using different Scrapbook Adhesives by 3L® adhesives.
Whether you like little delicate embellishments or heavier embellishments that really make a statement on your cards, there is a perfect adhesive for each of those jobs and everything in between.
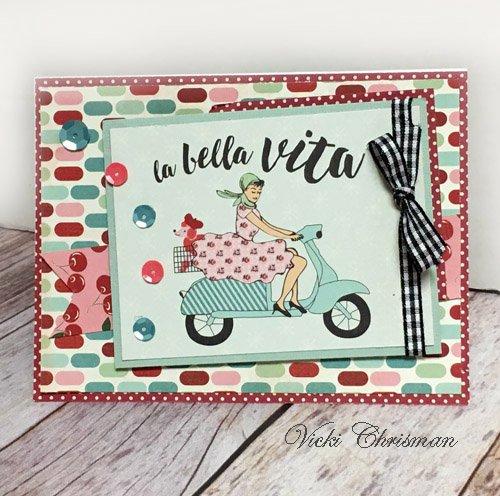
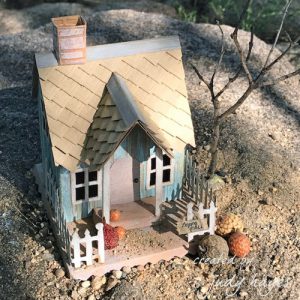
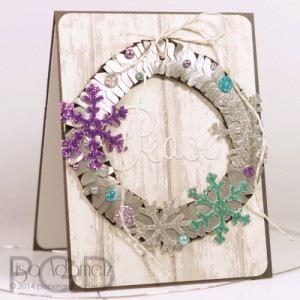
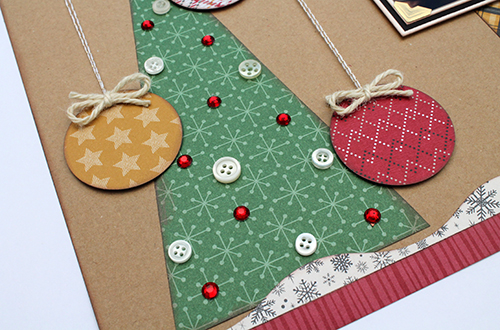
Sassy Embellishments on La Bella Vita Card
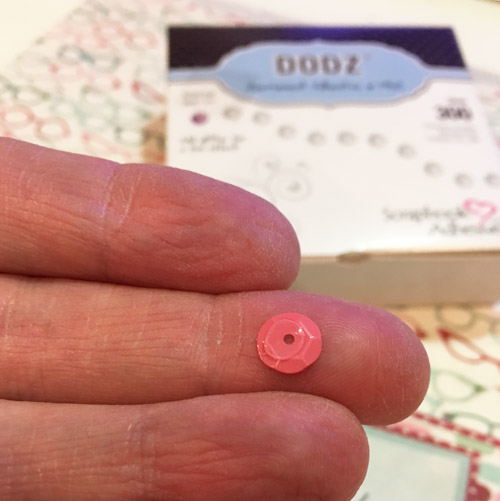
Because of the size of these small lightweight sequins, I used Dodz Adhesive Dots Mini. I love that there are so many different sizes to choose from. If you need to go even smaller, you could use Adhesive Dots Micro.
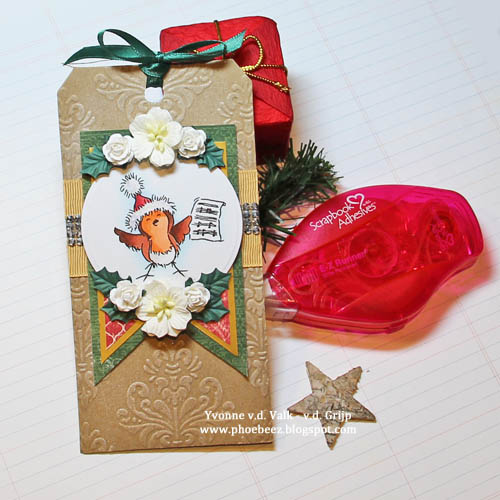
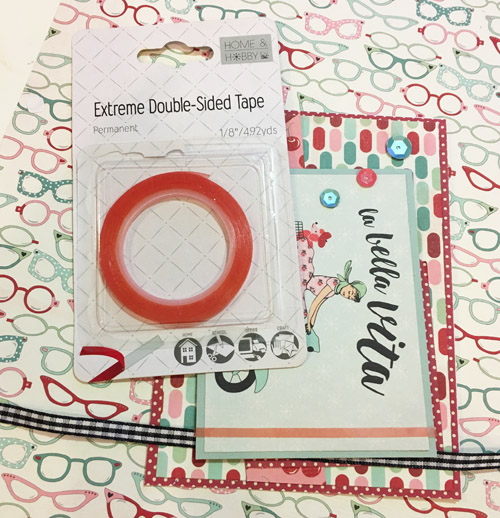
 In order to hold my ribbon in place, I use Extreme Double-Sided Tape 1/8″ Permanent. With just a small strip on the back of the cardstock piece to hold it in place, I add the ribbon and tie the bow.
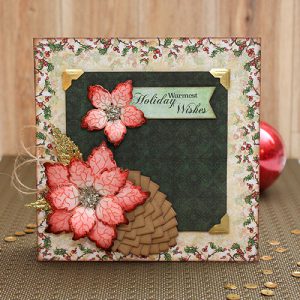
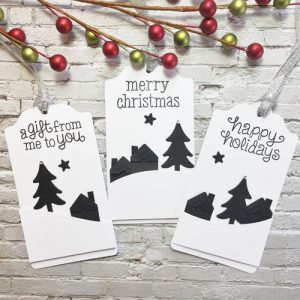
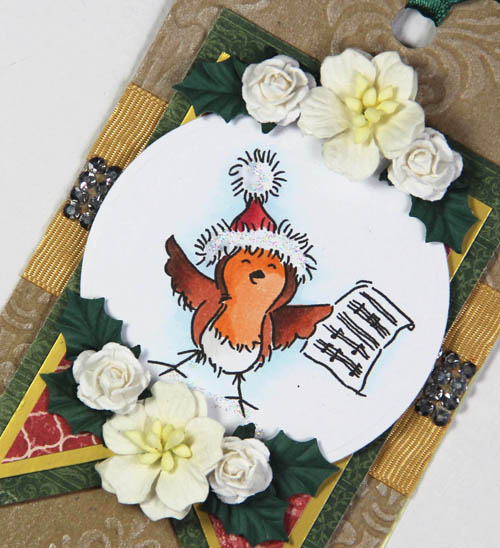
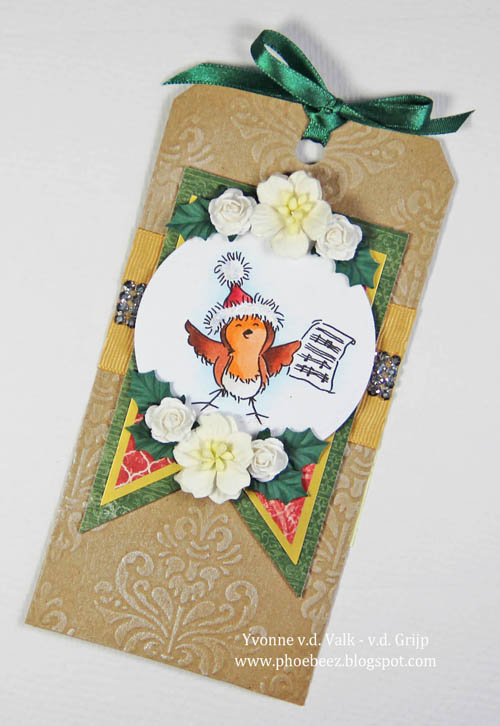
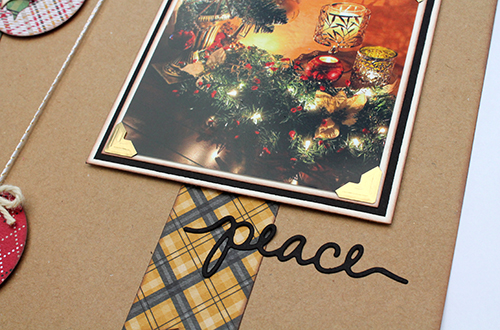
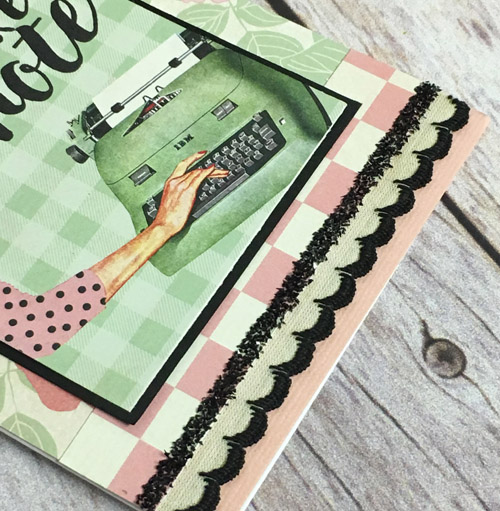
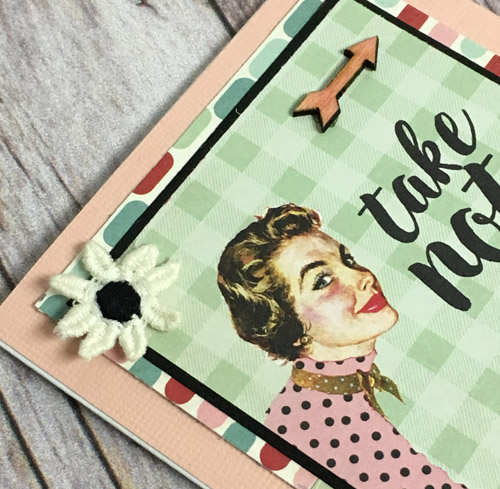
Sassy Details on Take Note Card
Extreme Double-Sided Tape 1/8″ Permanent was used in a couple of different ways such as adding my vintage trim to the bottom of the card and a strip of fine black glass glitter just above the trim (just add my tape to the card and sprinkle glitter on top, then tap off excess).
My matted image was popped up with Crafty Foam Tape White behind it before I add it to my card base.
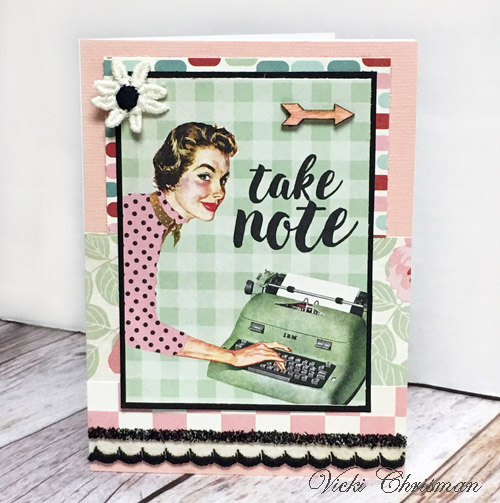
See the small wood arrow? Dodz Adhesive Dots Mini was used to secure it. The vintage flower embellishment adhered with Dodz Adhesive Dots Medium.
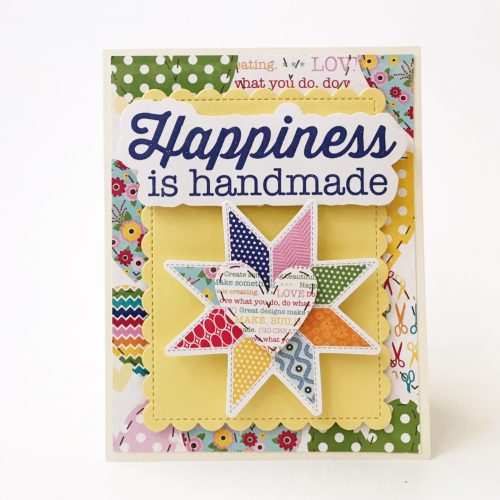
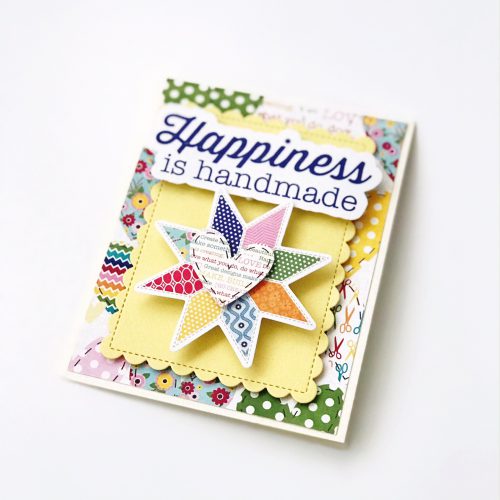
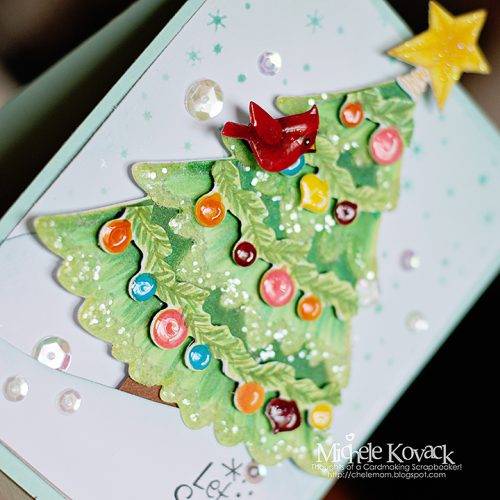
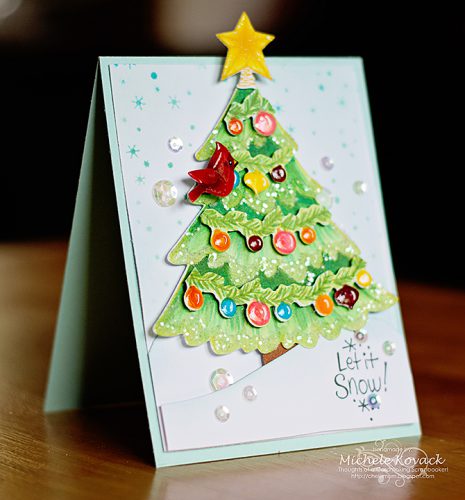
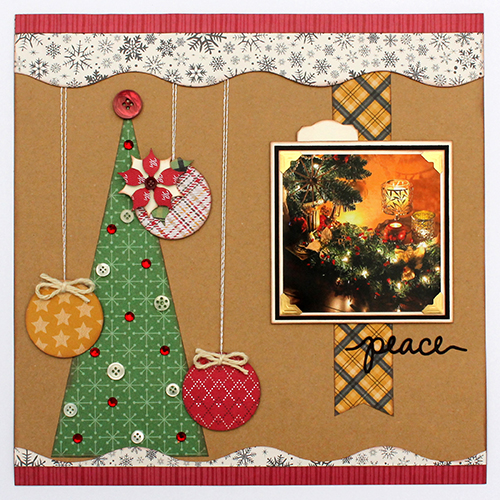
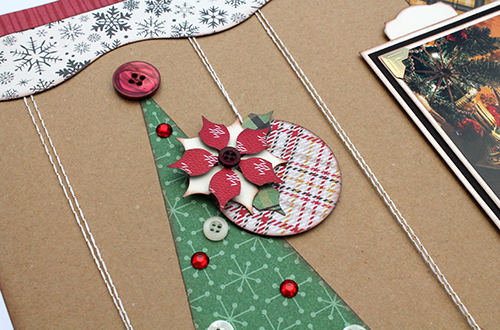
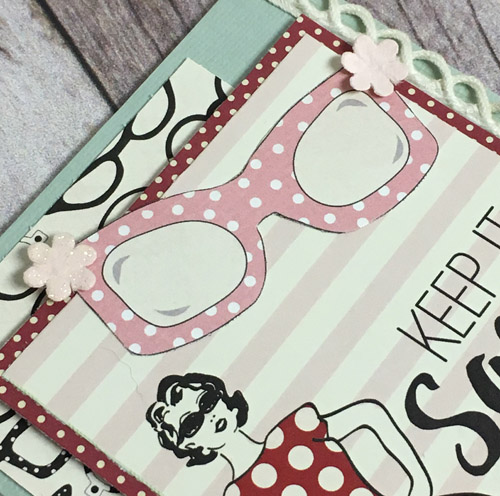
Details on Keep It Sassy Card
On this card, I used Extreme Double-Sided Tape 1/8″ Permanent to add my fabric trim just as I did with the ribbon on my first card. In addition, 3D Foam Squares White Small were applied to the back of the glasses that I fussy cut and as a result, it adds a fun dimension to the card!
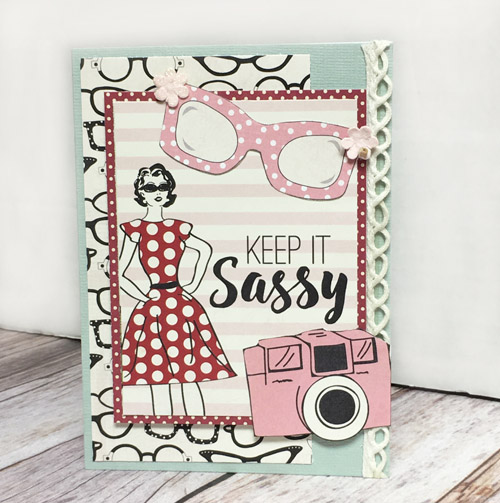
Little felt flowers were secured with Dodz Adhesive Dots Mini. I’ve used these adhesive dots on felt, paper and wood and plastic on all these cards, and they hold great!
So if you are a lover of embellishments like I am, you can see here that there are many options for adhesives for each specific job. Remember, if all else fails, add another EMBELLISHMENT! LOL!!
Thanks for stopping by!
Vicki
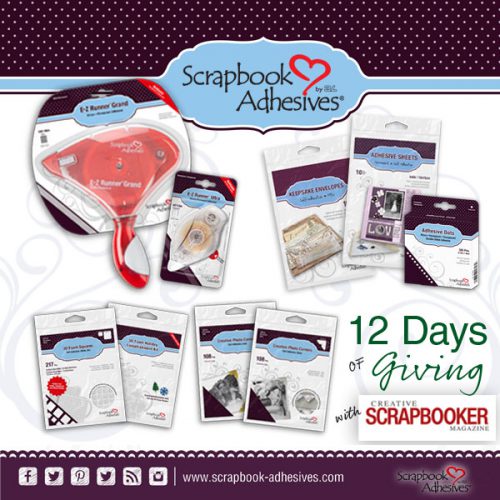
Scrapbook Adhesives by 3L® Used:
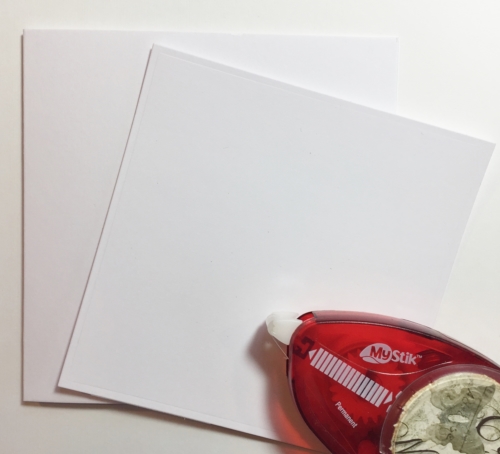
MyStik® Permanent Strips
Crafty Foam Tape White
3D Foam Squares White Small
Dodz Adhesive Dots Mini
Dodz Adhesive Dots Medium
Extreme Double-Sided Tape 1/8″ Permanent
Other:
Cardstock: Bazzill Basics Paper
Patterned Papers: Authentique Paper
Ribbon: Creative Impressions
Sequins: Fancy Pants Designs
Wood Veneer Piece; Vintage Trims; Black Glass Glitter