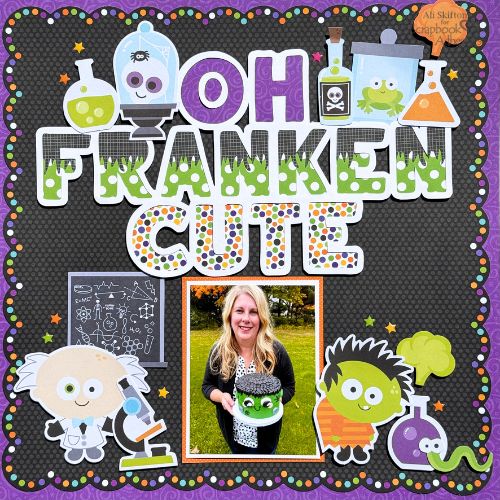
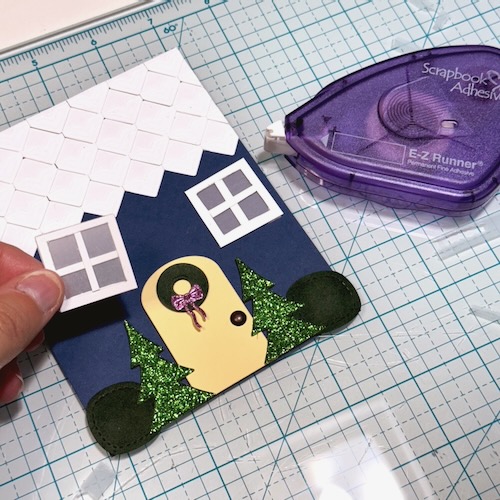
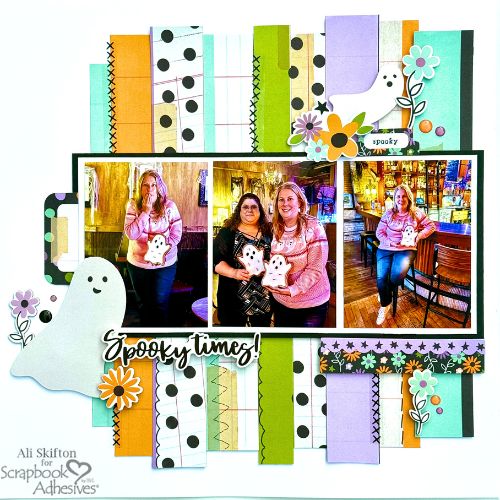
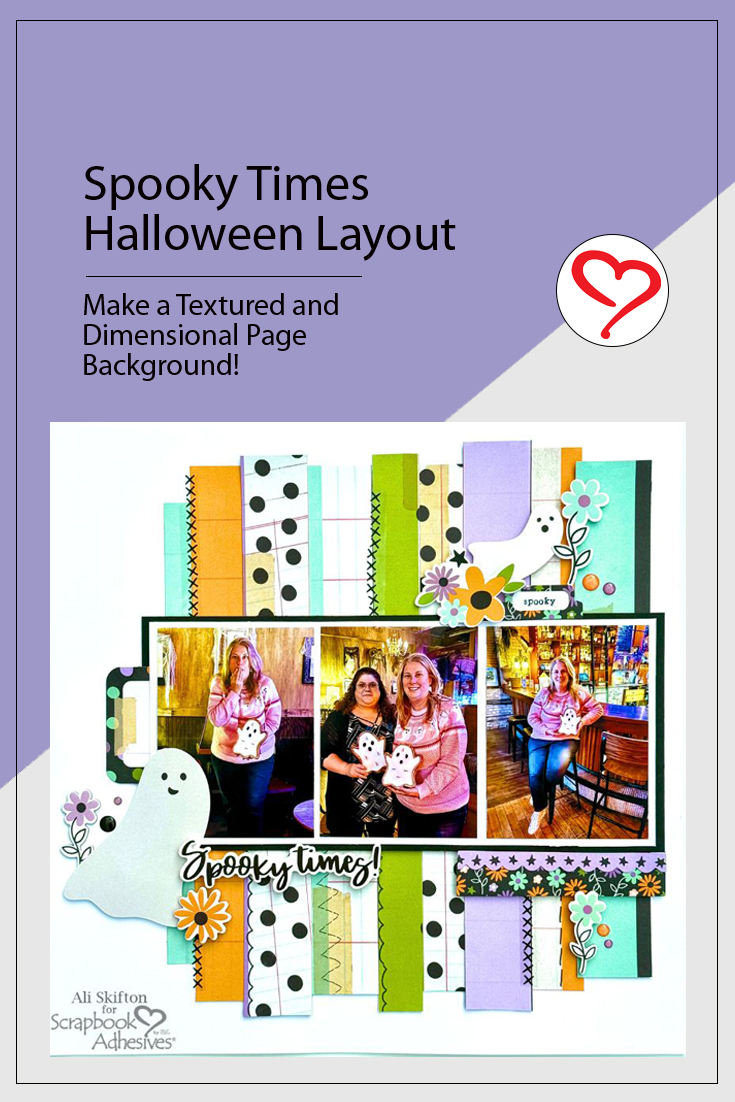
Hi, Ali (FunAdventuresWithAli) here today! Today I’m sharing a spook-tacular scrapbook layout featuring one of my all-time favorite adhesives—the E-Z Runner® Petite Permanent Dots Refillable by Scrapbook Adhesives. This little runner never lets me down—no jamming, just smooth sailing every time I craft!
Spooky Times Layout Spooky Story
This layout was inspired by a super fun ghost candle-making class I took with my friend Theresa in downtown. We had such a great time, and I totally fell in love with my pumpkin-scented ghost candle. I wasn’t expecting it to be so big, but that just means more cozy hours to enjoy during spooky season!
Spooky Times Page Foundation
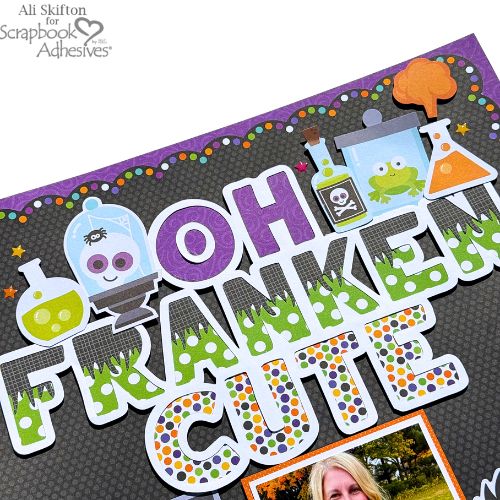
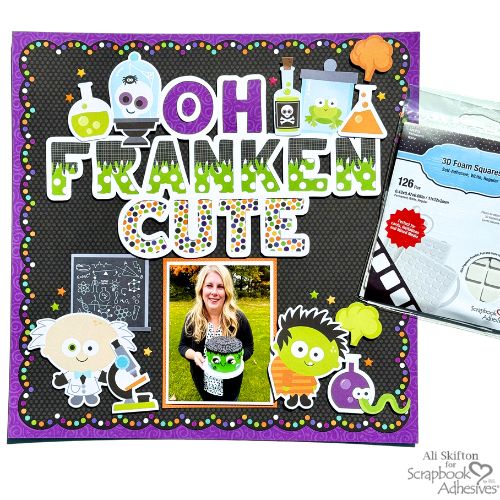
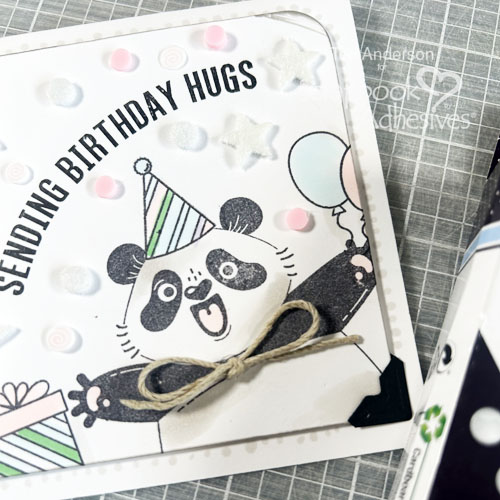
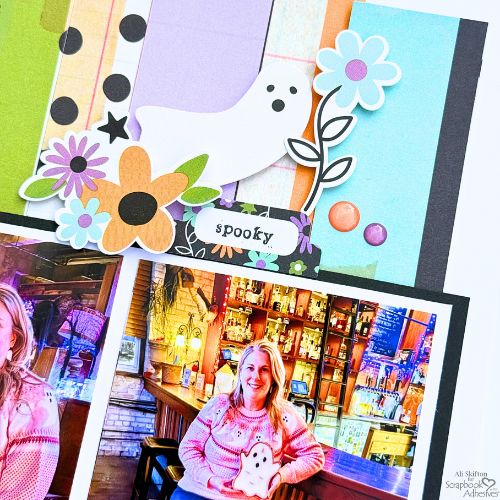
For the layout, I used one of my favorite collections—Spooky Things by Simple Stories. I picked just one patterned paper and cut it into strips to layer for a textured background. Using my trusty E-Z Runner® Petite Permanent Dots Refillable, I adhered the strips to white cardstock, creating the perfect floaty-scary backdrop for our ghostly photos.
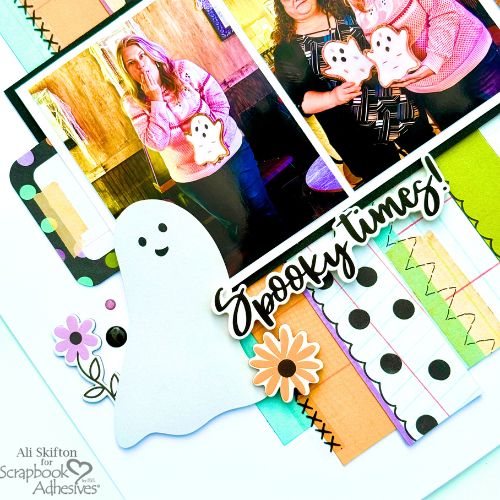
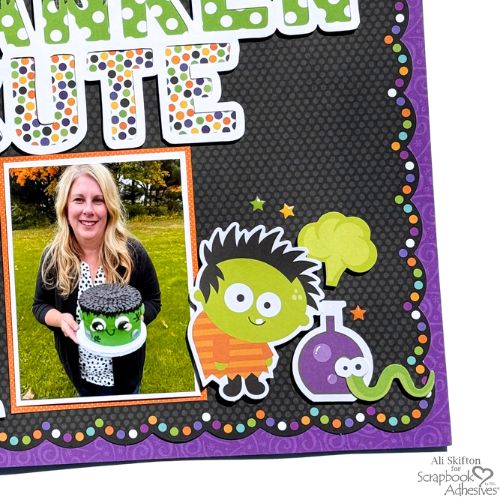
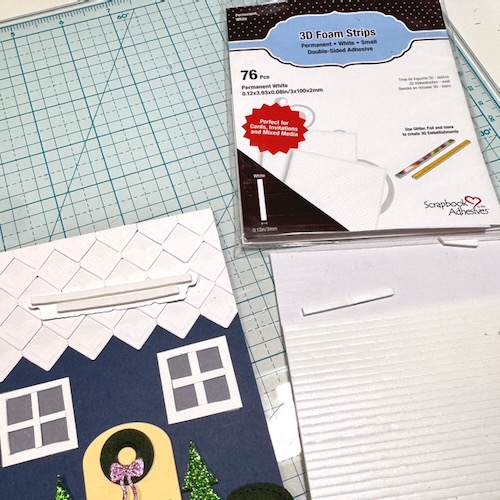
I double-matted our three pictures and used the Crafty Foam Tape Black 108ft. to pop them up for extra dimension. To add even more fun, I used the 3D Foam Squares White Variety Pack to lift the flowers, the cute little ghost embellishments, the foam sticker title, and the corner border on the bottom right.
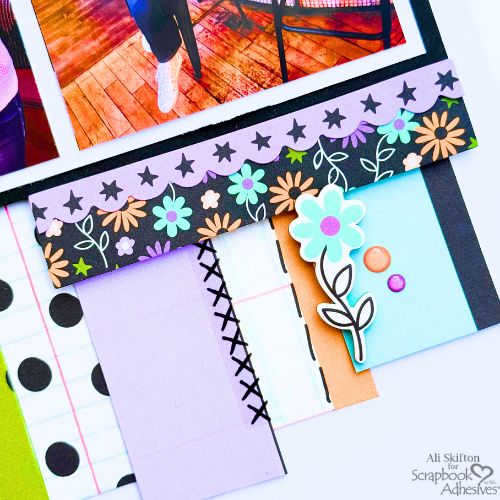
I sprinkled in some enamel dots around the clusters to finish it all off—and voilà! My spooky layout is complete.
👻 Happy Haunting, friends!
Thanks for visiting!
Ali Skifton (FunAdventuresWithAli)
Creative Time: 90 mins
Skill Level: Beginner
Materials Needed:
Scrapbook Adhesives by 3L®
E-Z Runner® Petite Permanent Dots Refillable Dispenser
Other: Simple Stories Spooky Things
Click Preferred Retailers List
Save to Pinterest!
Visit our Website and Blog!
Sign up for our Newsletter so you never miss a contest or giveaway!