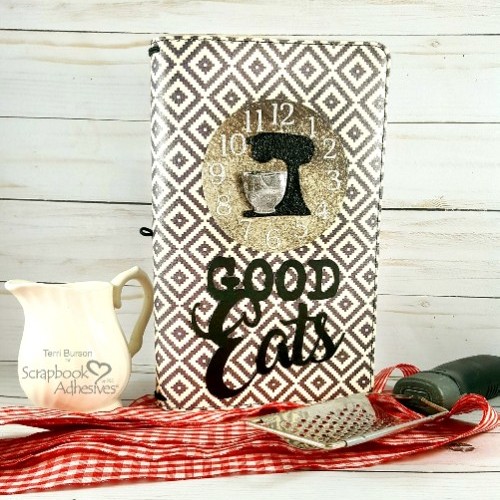
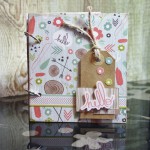
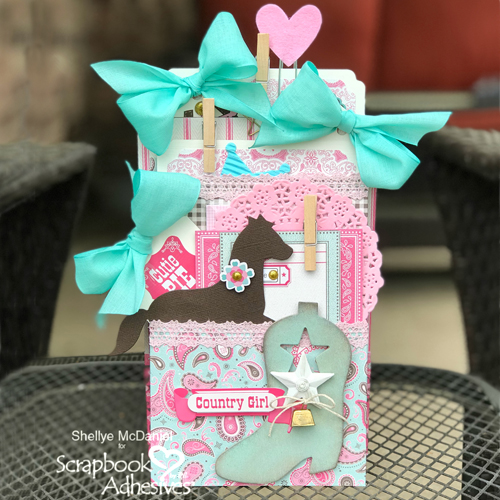
Hello, everyone! It’s Shelly McDaniel here with my very first project to share, The Loaded Envelope Bag. I tend to be late to the party sometimes, but I stumbled upon this idea a couple of weeks ago and I just had to make one!
Create an Envelope Bag
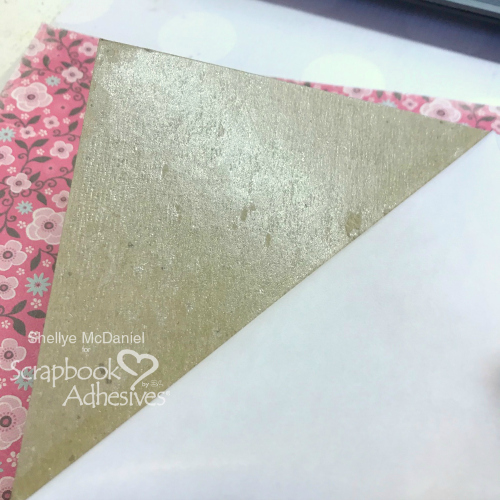
To get started, I took a 12″ double-sided piece of scrapbook paper and with a score board, scored one side of the paper at 3.25″ and 9″. Next, I turned the paper 90 degrees and scored at 9″.
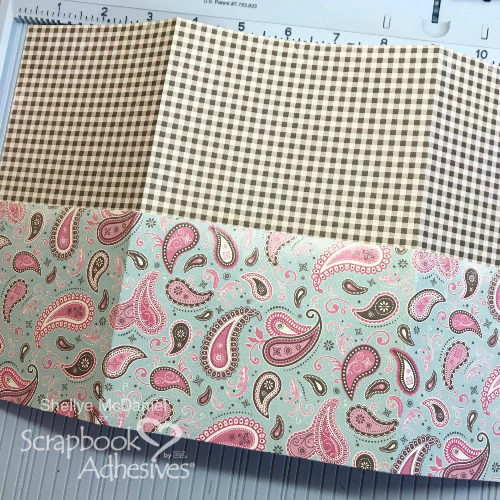
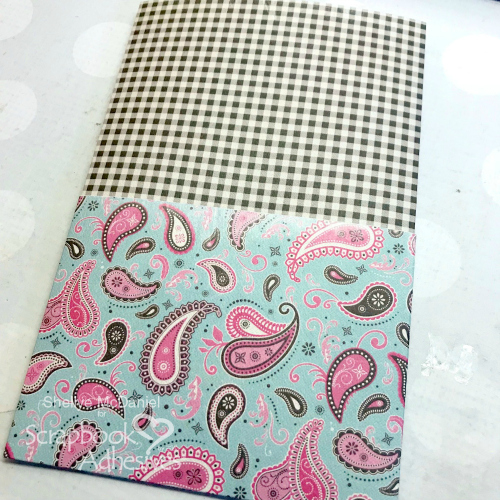
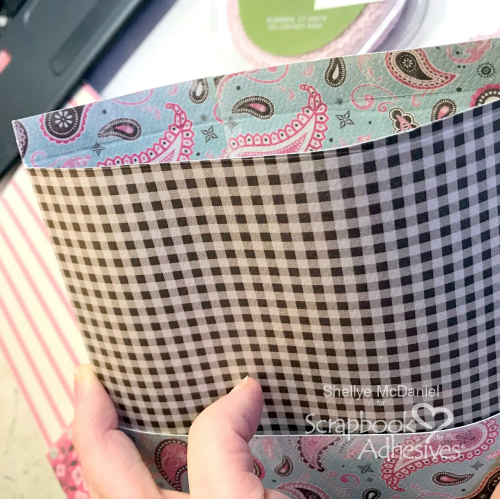
Fold the paper along the score lines. Fold the last scored line of the paper up to create a pocket.


Use the E-Z Runner® Grand Refillable Dispenser with the E-Z Runner® Grand Permanent Dots Refill to adhere the bottom and back flap together to create a bag with pockets.
Make it Stand
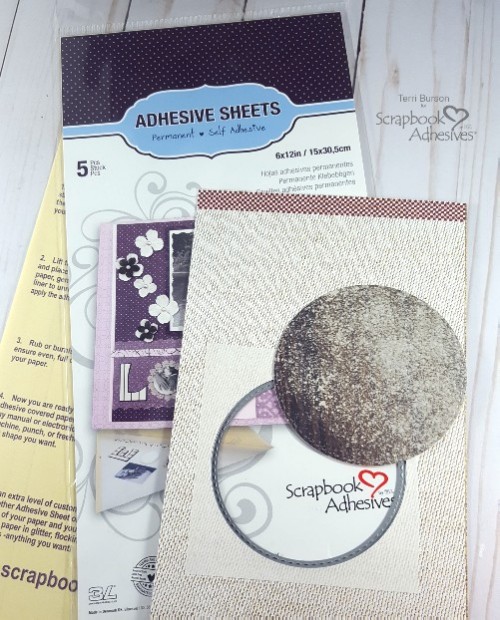
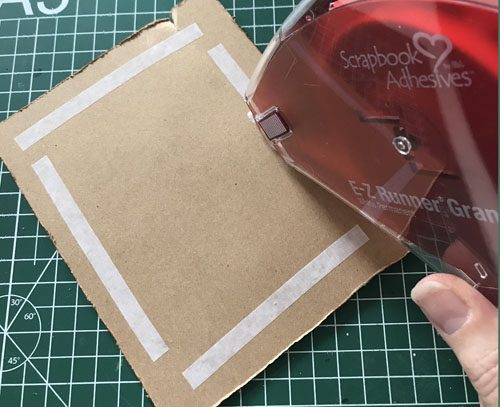
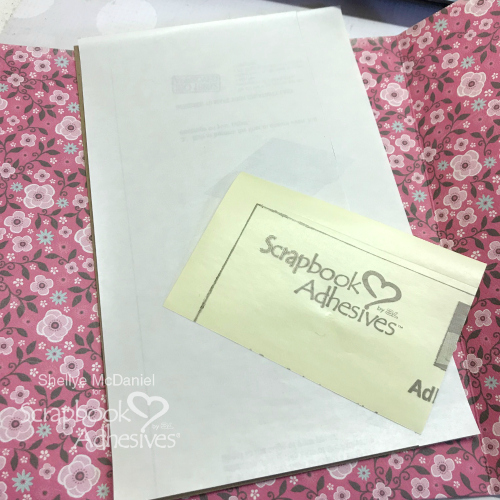
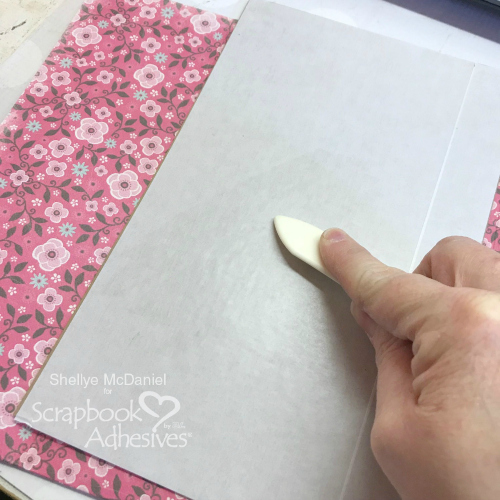
Next, I cut a piece of heavyweight 6 x 8.5″ chipboard and applied Adhesive Sheets 12×12 inch on one side. Trim the excess. Burnish the backing to transfer the adhesive onto the chipboard and peel off. With a sheet of 12 x 8.5″ patterned paper, wrap the chipboard (make sure the adhesive side is facing you). Once wrapped, secure with the exposed adhesive and this becomes easel piece of your envelope.
Now let’s connect the envelope and easel! Score the top (open end) of the envelope 0.50″ from the top. Cut away the front piece to leave a back flap. This becomes the hinge to attach the easel.
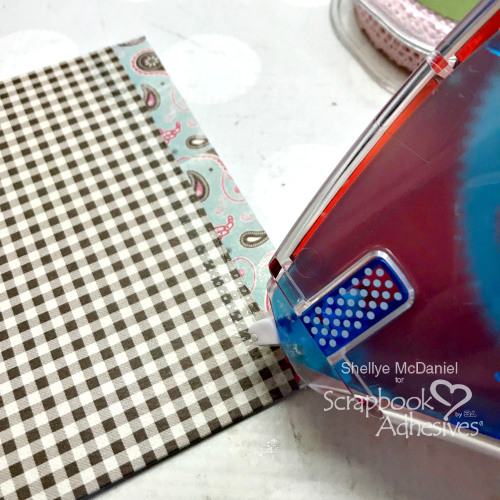
Apply the E-Z Runner® Grand Refillable Dispenser with the E-Z Runner® Grand Permanent Dots Refill to the back of the flap. Attach it the top of the easel. Voila!
Let’s Embellish
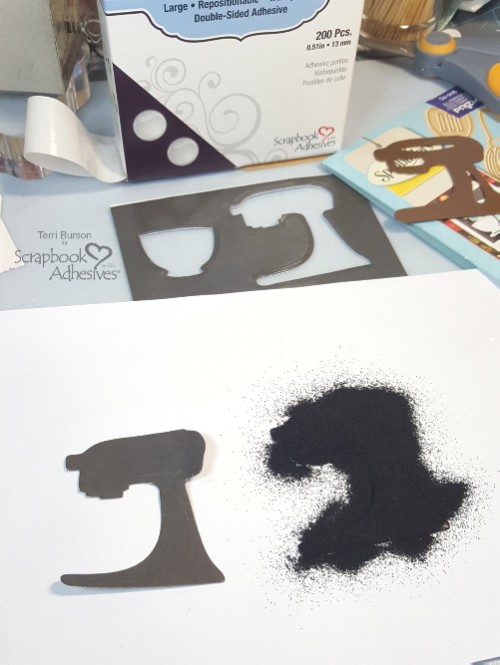
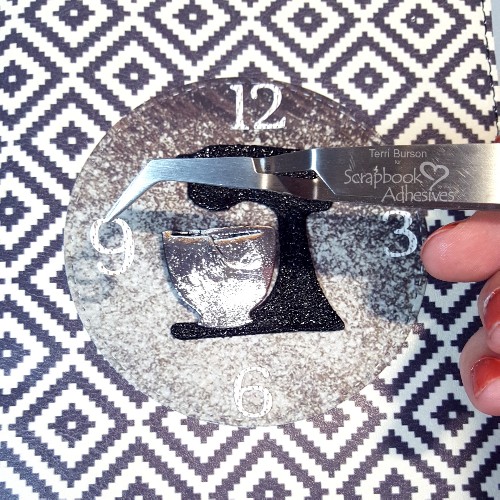
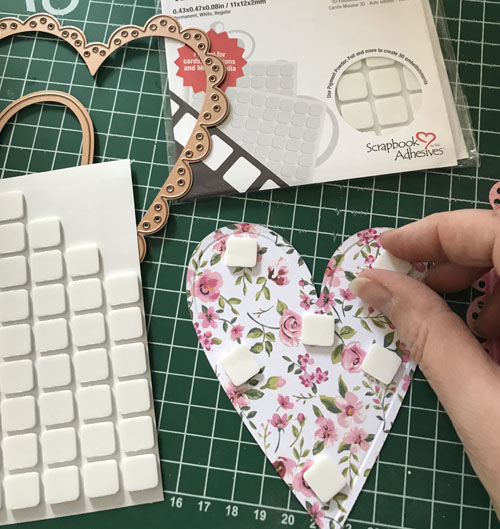
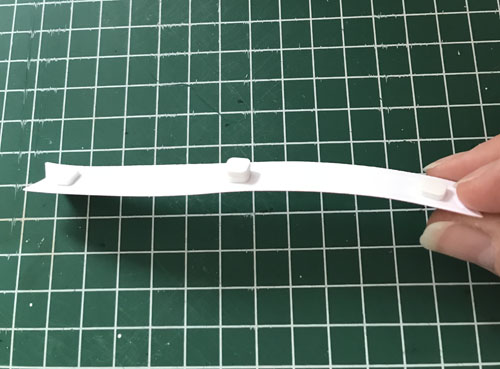
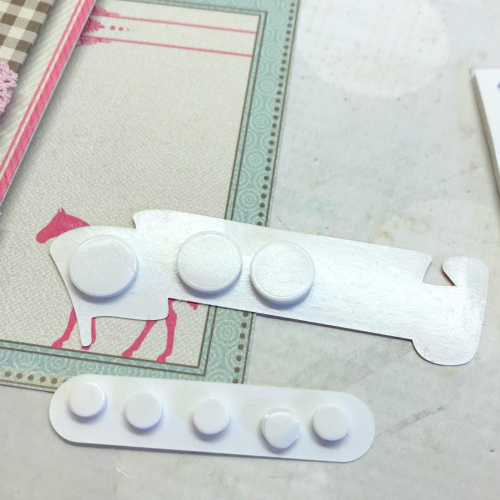
In decorating the front of the envelope/bag, I used the 3D Foam Circles White Mix to give dimension to various embellishments such as stickers, chipboard pieces and die cuts.
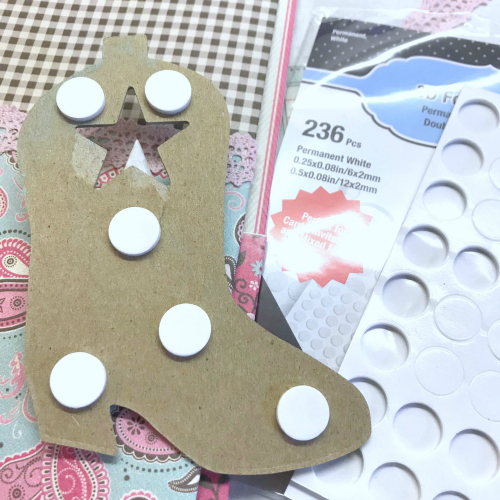
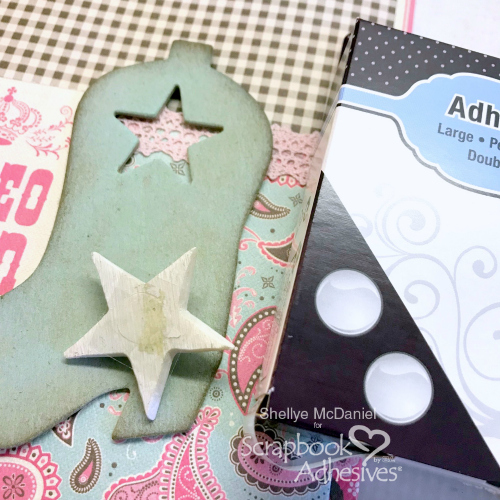
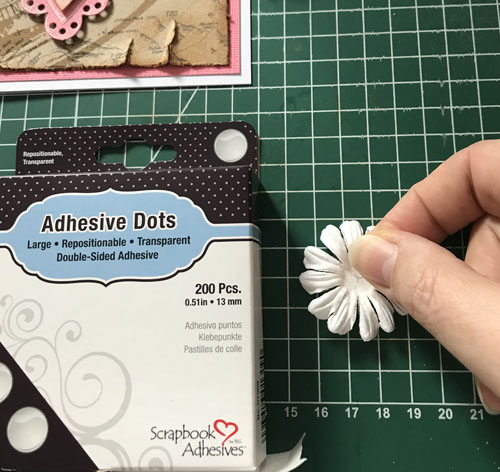
For the resin star, I used the Adhesive Dots Large to attach it to the front of the chipboard boot.
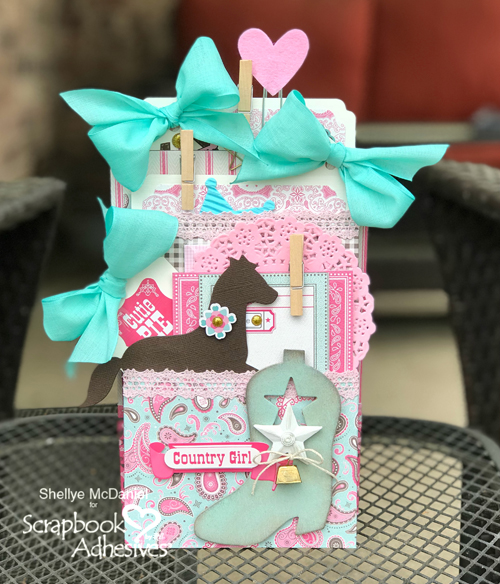
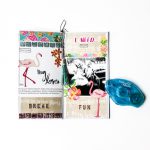
Now the envelope/bag is ready to fill with tags, ephemera or other goodies to go along with the theme of your bag. These are super fun to make for swaps or to gift to your favorite paper crafter! Have fun!

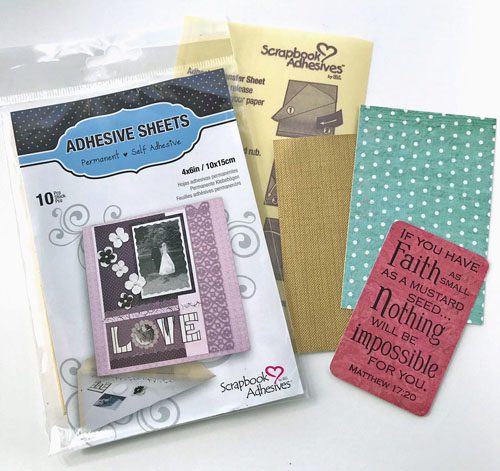
Scrapbook Adhesives by 3L® Products used:
E-Z Runner® Grand Refillable Dispenser
E-Z Runner® Grand Permanent Dots Refill
Adhesive Sheets 12×12 inch
3D Foam Circles White Mix
Adhesive Dots Large
Other Supplies:
Two Sheets 12 x 12″ Double-Sided Scrapbook Paper, Ribbon, Various stickers, tags and matching embellishments