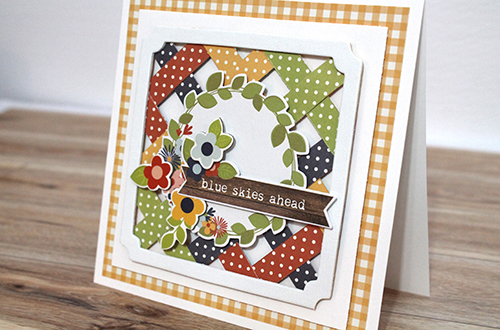
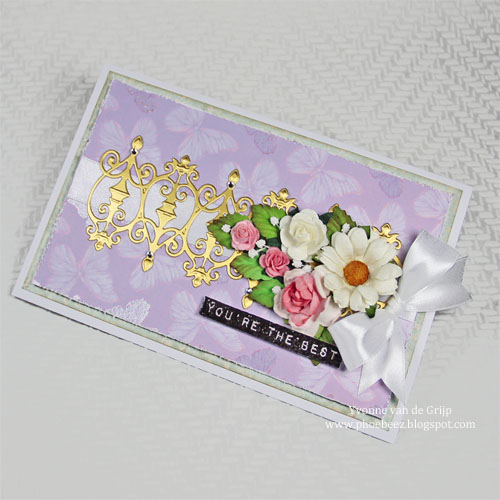
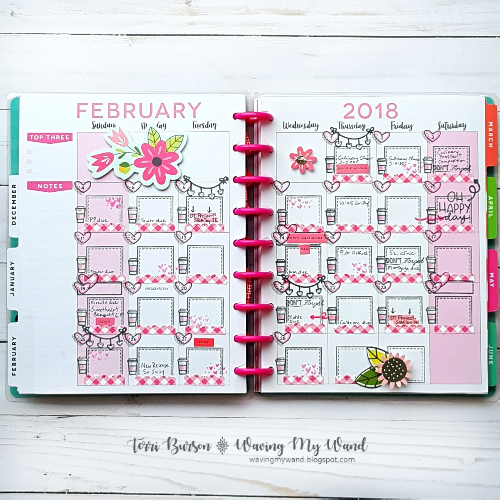
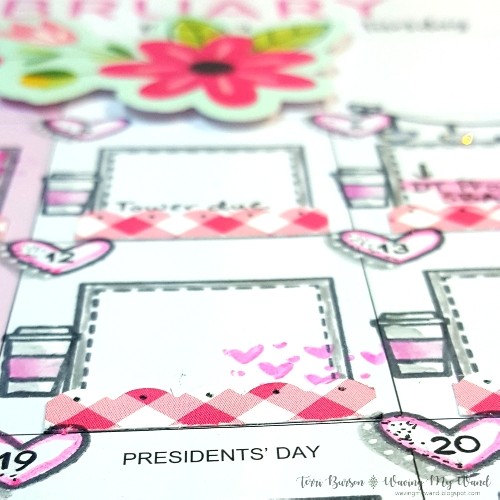
Sharing a confession…I’m addicted to making lists. Therefore, I buy many notebooks and jotter pads! BUT they often look plain so I really need them to look pretty. Somehow writing a list in something pretty is much less of a chore. LOL!
Christine here today get crafty with my trusty Scrapbook Adhesives by 3L® products to make it an enjoyable easy project.
Creating my Notebook
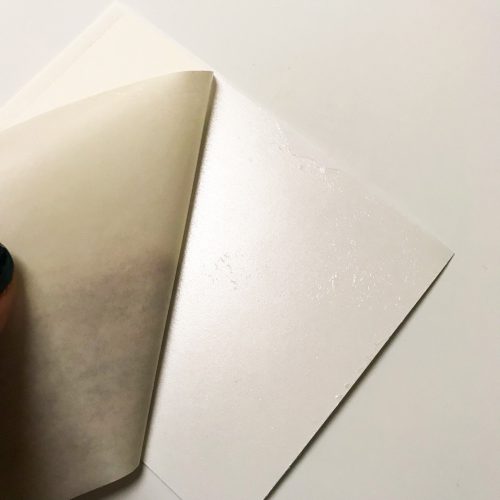
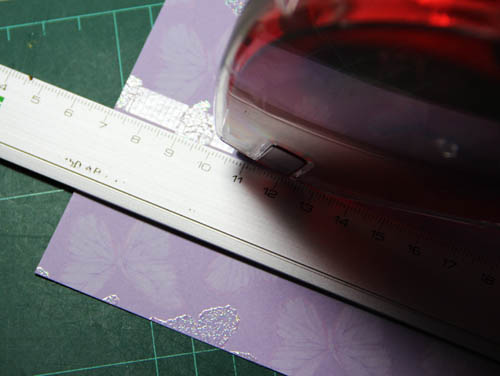
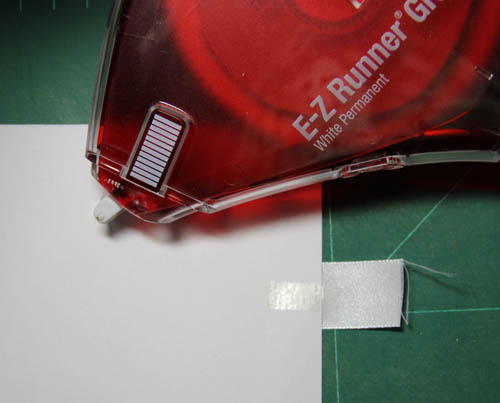
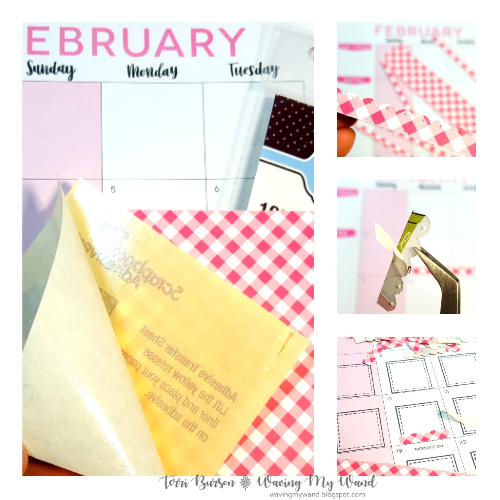
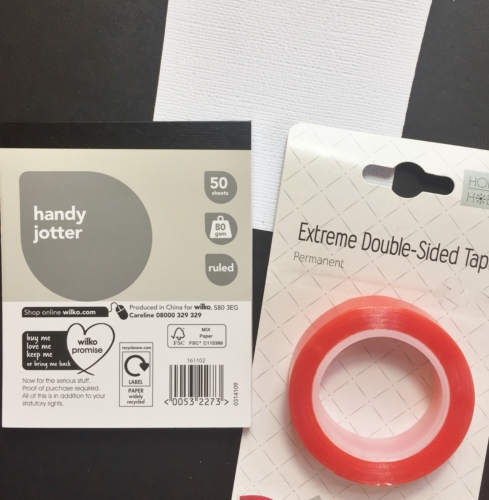
First I cut a panel of white card the same width as the notebook/jotter cover. Using strips of Extreme Double-Sided Tape 1/4″, I affixed the card to the front overlapping at the top.
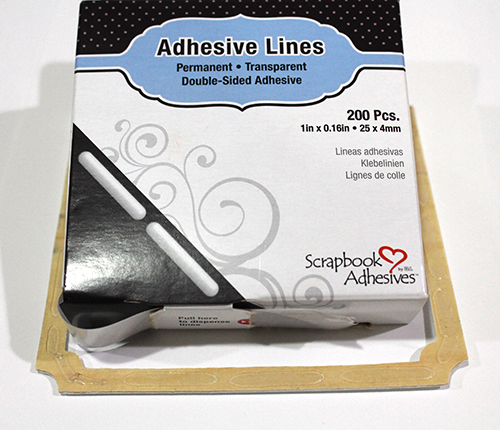
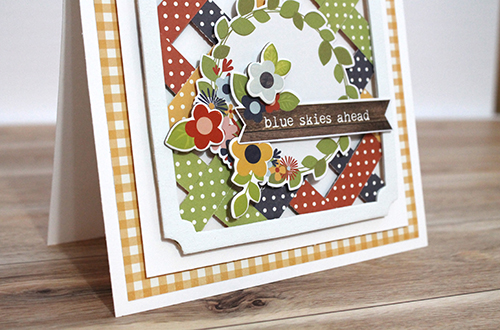
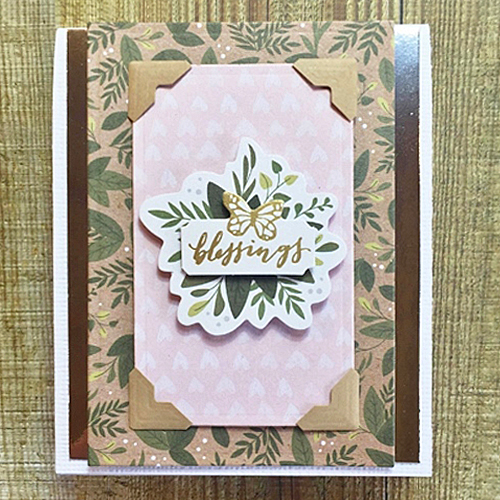
I then began to decorate, I affixed a rectangle of silver foil card using MyStik® Permanent Strips.

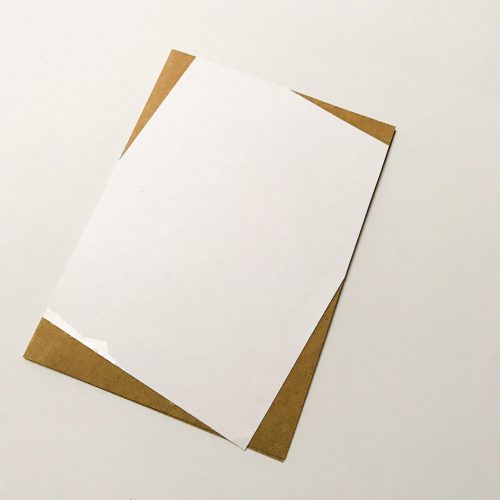
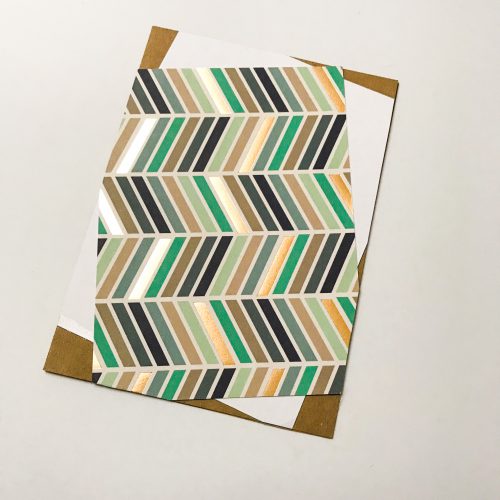
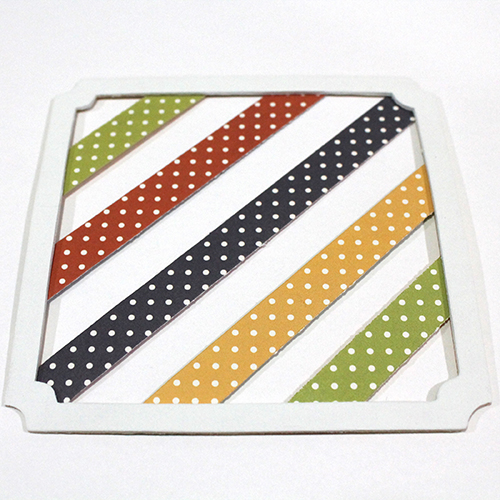
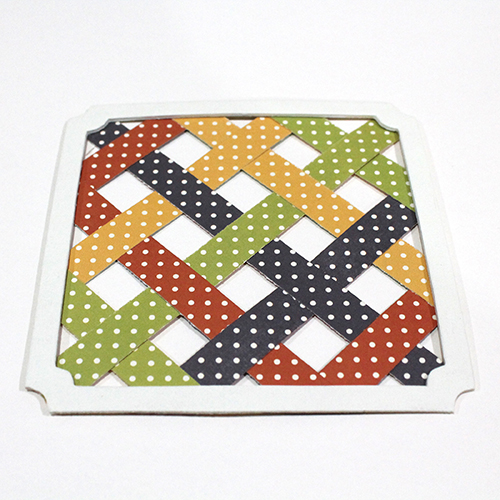
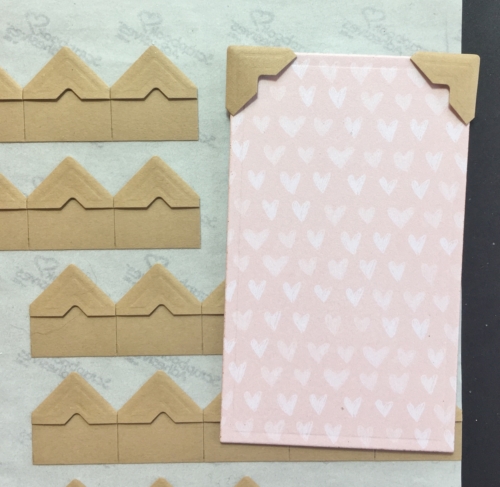
My next step was to die cut a small rectangle and apply Creative Photo Corners Kraft to each corner. Remember you can apply ink and color to Creative Photo Corners.
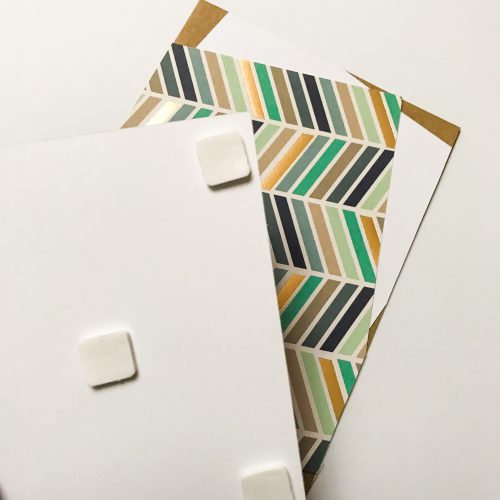
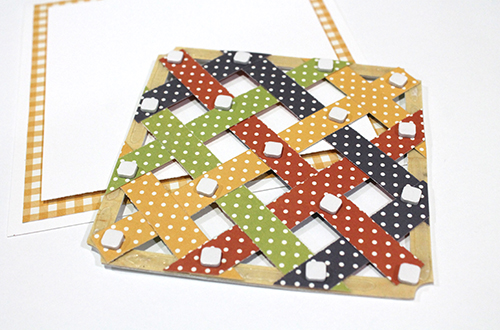
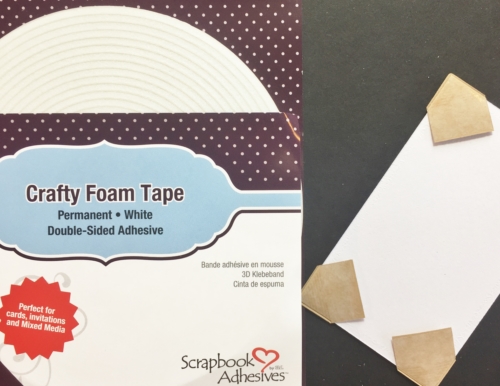
This is then attached to the notebook cover using Crafty Foam Tape.
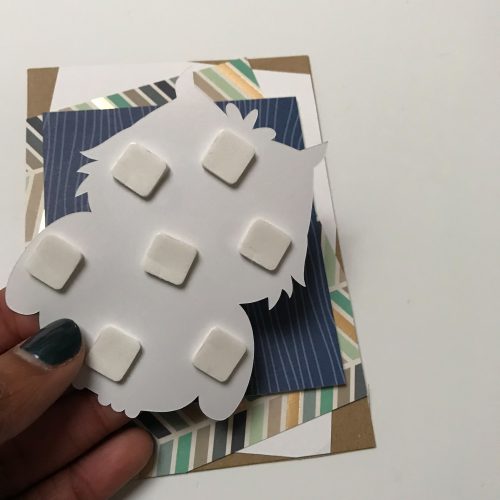
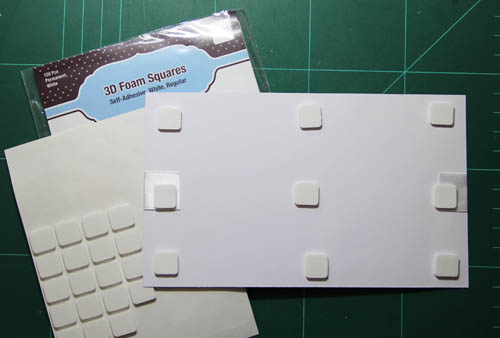
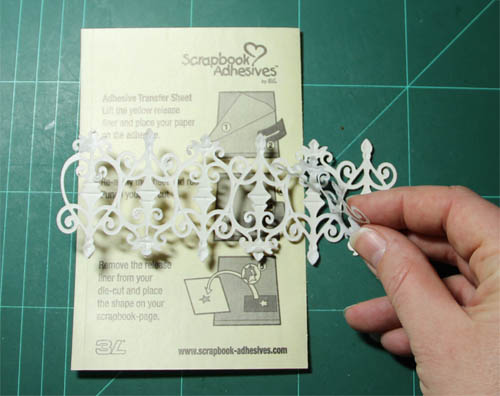
The finishing touch is the die cut embellishment held securely in place with 3D Foam Squares White Regular.
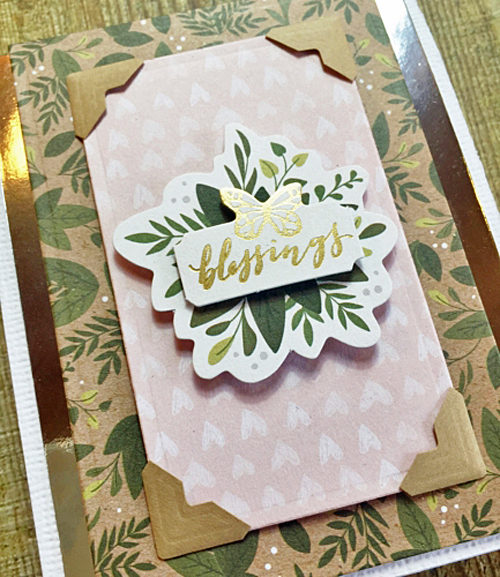
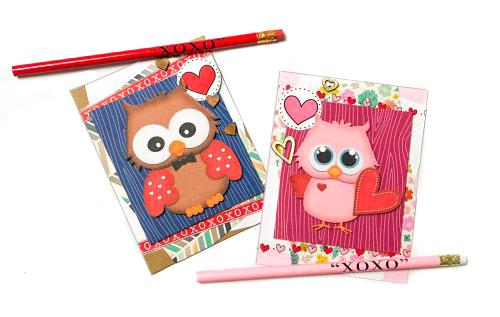
Purely optional if you wish to place the heart patterned paper the right way up or upside down! These notebooks/jotter pads are ideal for gifts too, work colleagues, teachers. Don’t forget to check out all the great products on the website.
Thanks for stopping by!

Scrapbook Adhesives by 3L®:
MyStik® Permanent Strips
Crafty Foam Tape White
3D Foam Squares White Regular
Creative Photo Corners Kraft
HomeHobby by 3L®:
HomeHobby Extreme Double-Sided Tape 1/4″
Others:
Dies: Spellbinders Paper Arts (A2 Matting Basics A)
White Cardstock, Silver Foil Card, Patterned Paper and Die Cut Embellishment – Jen Hadfield, Heart of Home