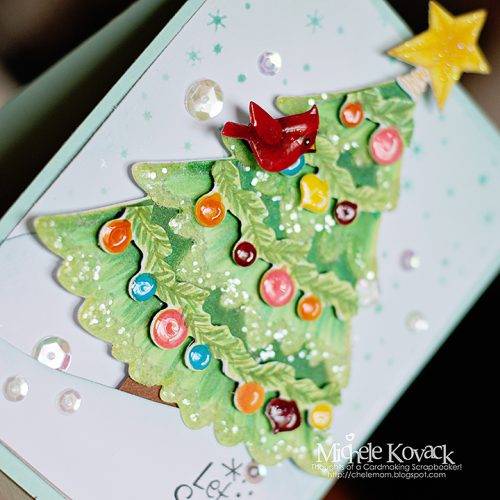
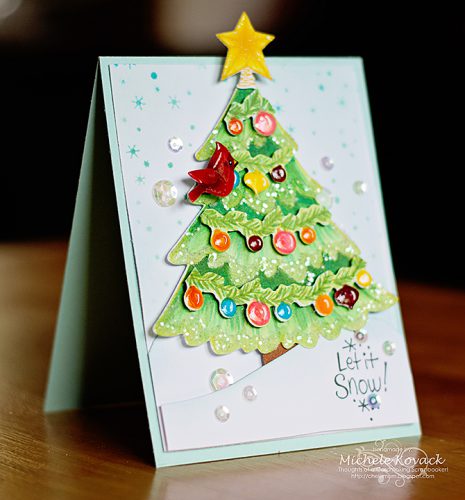
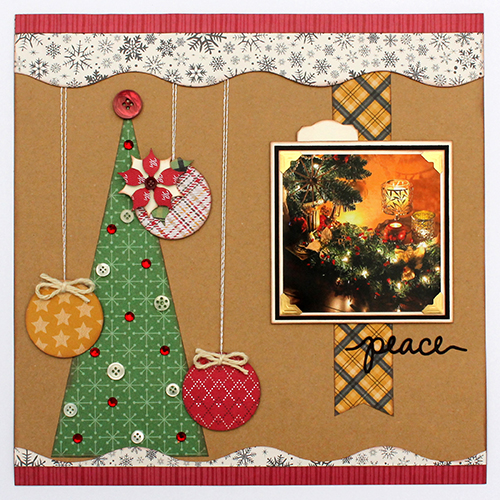
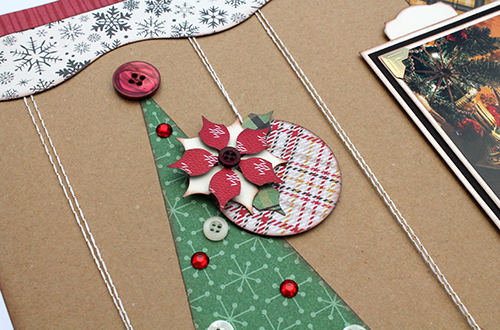
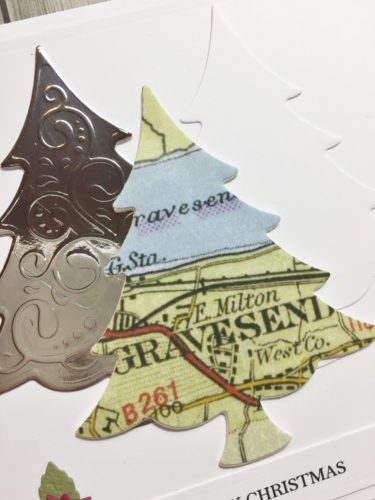
Merry Christmas! Dana Tatar here with you today sharing a Christmas-themed scrapbook layout. I designed a handmade Christmas tree embellishment for my page using Polypropylene Photo Corners.

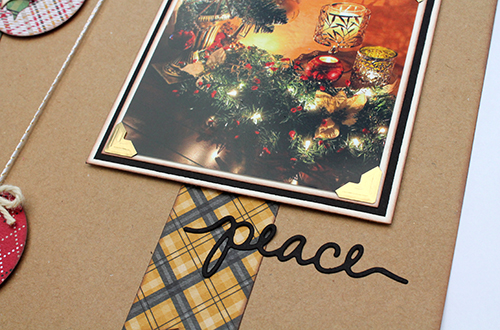
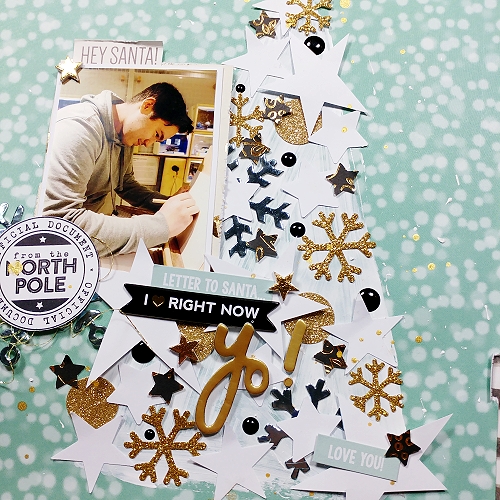
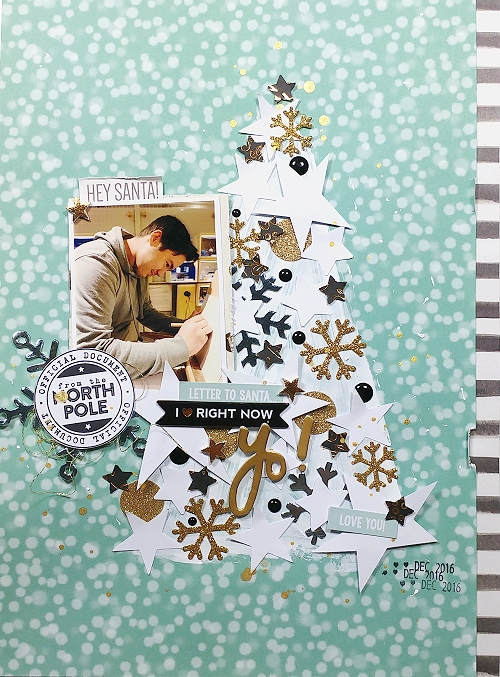
I enjoy visiting family and friends during the holiday season. One of the first things I look for in any home is the tree with all its twinkling lights and ornaments. I wanted to capture some of that joy for this project. I took these photos of my daughters last year at my Mom’s house in front of her tree.

Assemble and Decorate a Christmas Tree with Photo Corners
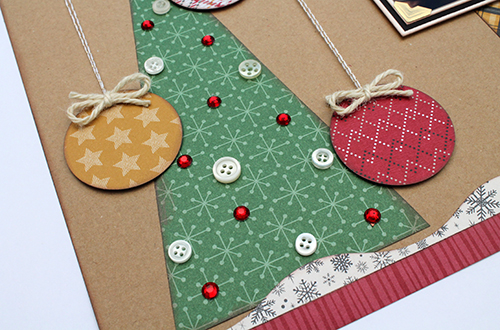
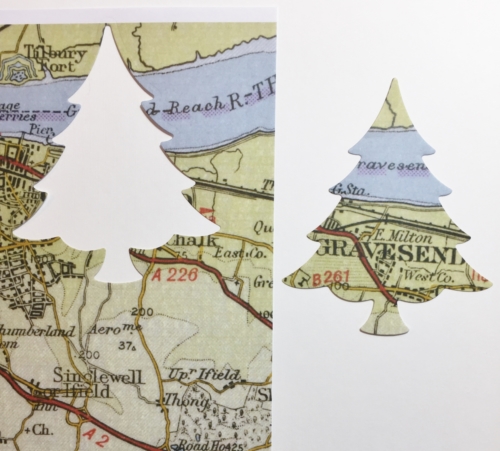
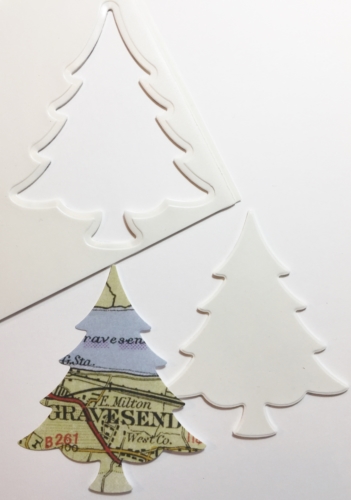
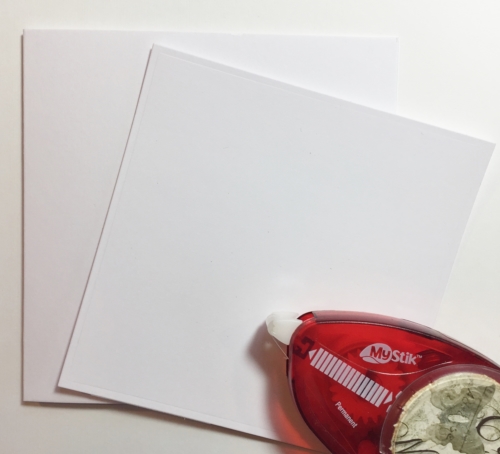
- Cut a triangle out of white cardstock.
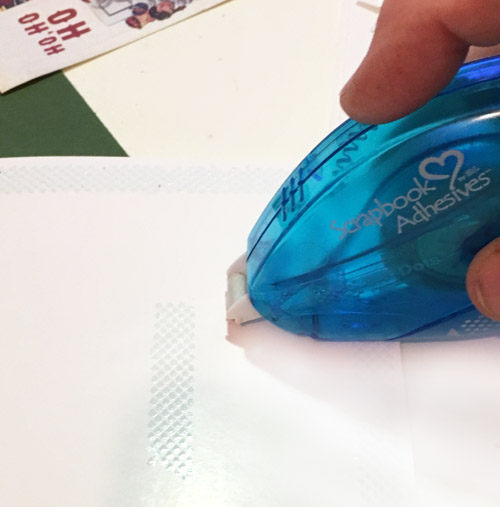
- Layer Polypropylene Photo Corners onto the cardstock until covered. Then, trim any overhanging photo corners from the edge of the cardstock.
- Add color to the tree with alcohol ink.
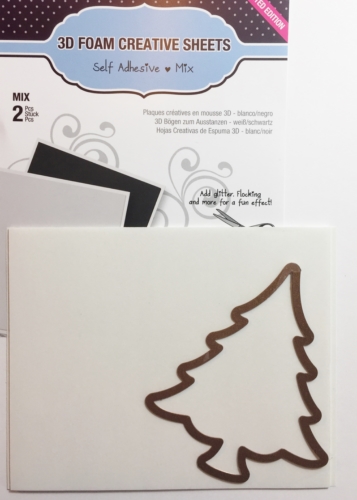
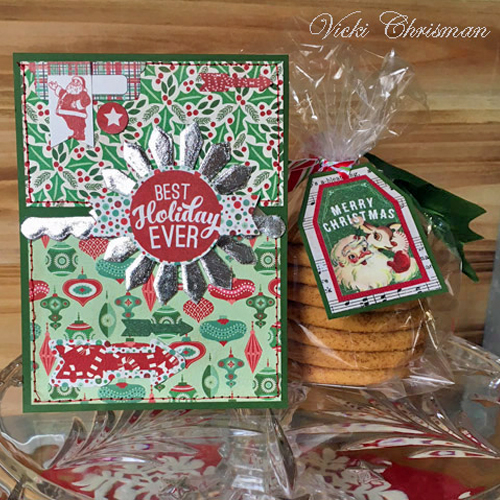
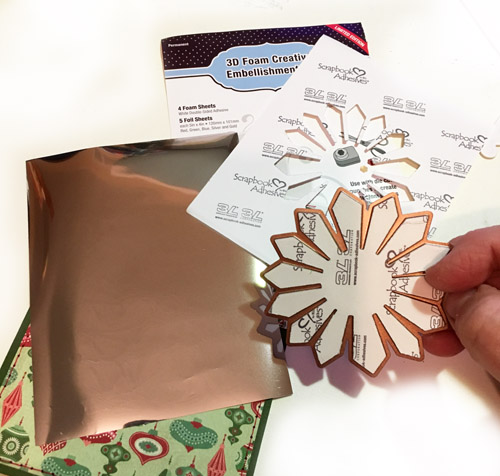
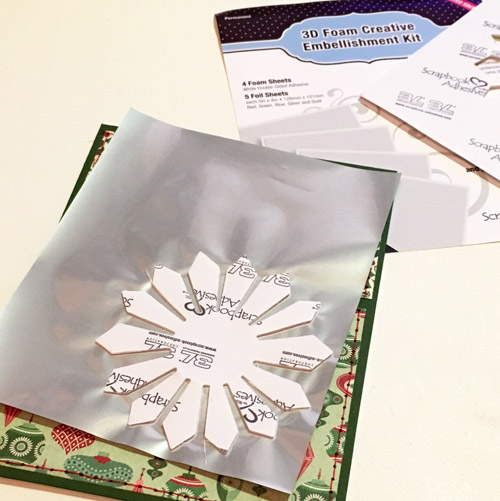
- Decorate the tree with 3D Foam Shapes from the 3D Foam Holiday Embellishment Kit. Lastly, apply foil to the 3D Foam Shapes.

I love this festive focal point! It was almost as fun to create and decorate as the tree in my home. I hope you have some extra time for crafting during this holiday season. The Scrapbook Adhesives by 3L designers love to use photo corners on their projects.
For more inspiration, CLICK on the images:
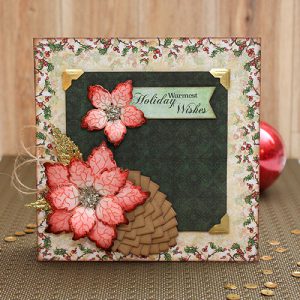
Pinecone Embellishments with Creative Photo Corners by Tracy McLennon
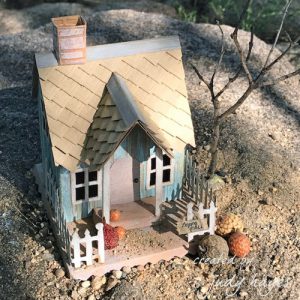
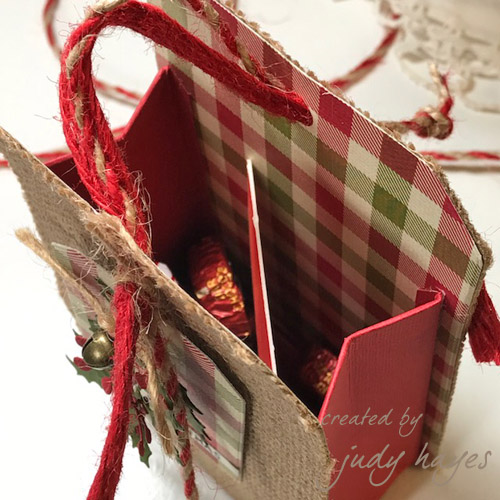
Tiny Paper House Tutorial with Photo Corners Shingles by Judy Hayes
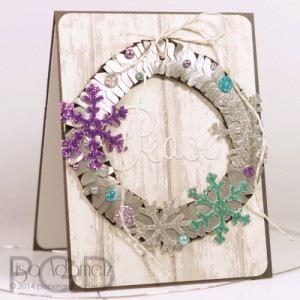
Peace Wreath Using Photo Corners and 3D Foam Snowflakes by Lisa Adametz

Festive Snow Scene Tags by Christine Emberson
Thanks for stopping by today!
~Dana Tatar
Scrapbook Adhesives by 3L Supplies:
Photo Corners – Polypropylene Clear
E-Z Runner® Grand Refillable Dispenser
E-Z Runner® Grand Permanent Strips Refill
3D Foam Holiday Embellishment Kit
3D Foam Squares White Regular
Dodz Adhesive Dots 3D
Other Supplies: Patterned Paper (American Crafts, Basic Grey, Studio Calico); Alcohol Ink (Ranger); Marker (Ranger); Tag (October Afternoon); Die-Cut (October Afternoon); Bow (Michael’s); Tin Pin (October Afternoon)