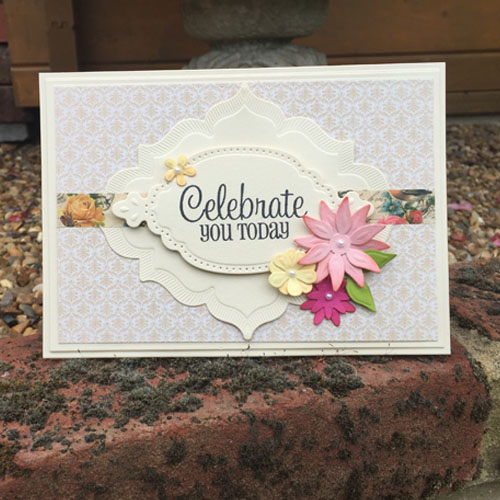
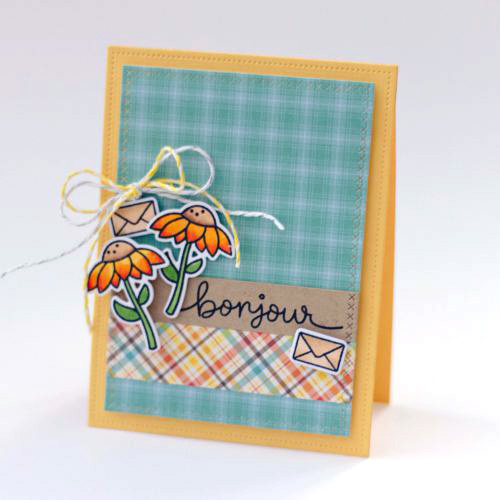
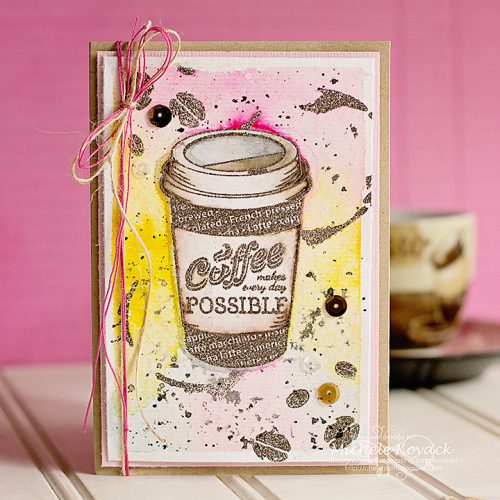
Hi everyone, Christine here with a Celebrate You Today card tutorial using brilliant Scrapbook Adhesives by 3L® products.
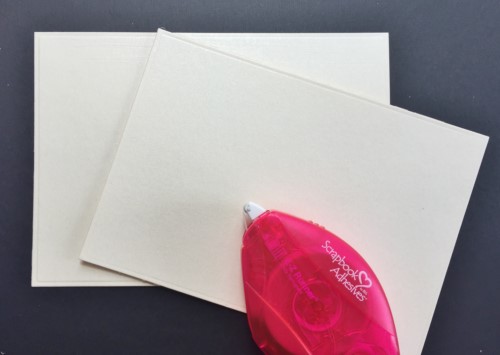
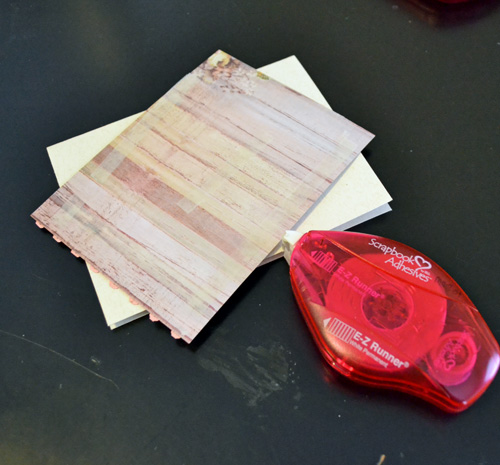
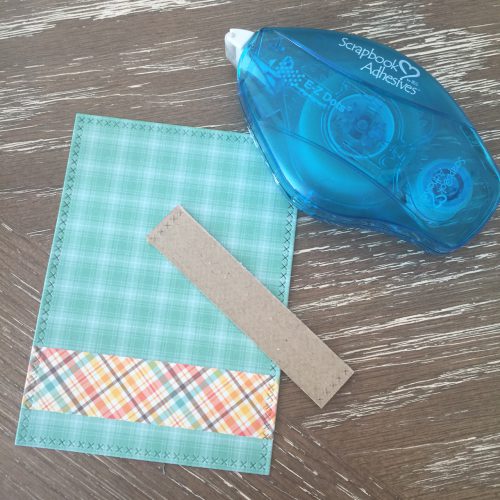
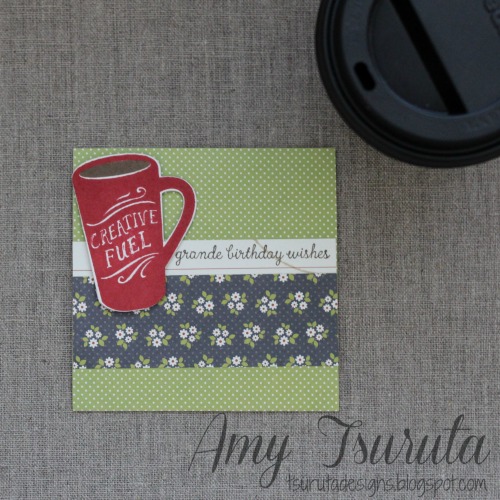
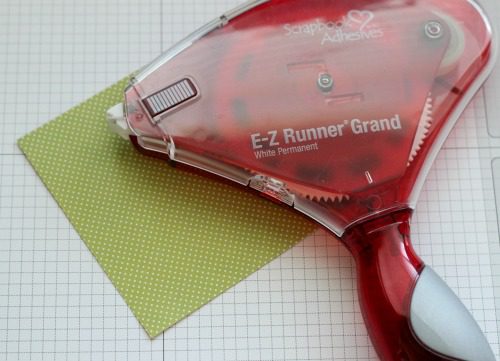
I first of all prepared my card base with a mat affixed in place with using E-Z Runner® Permanent Strips Refillable.
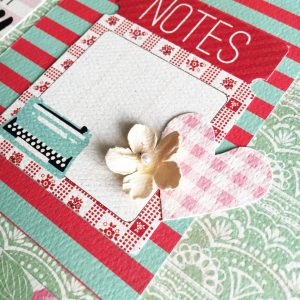
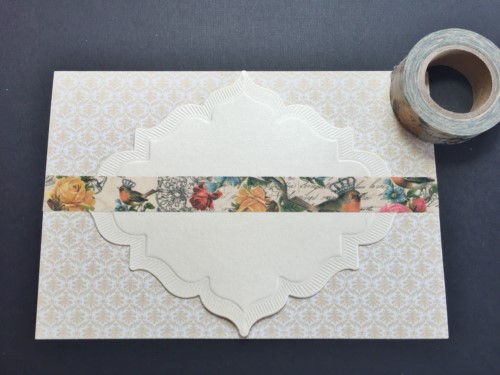
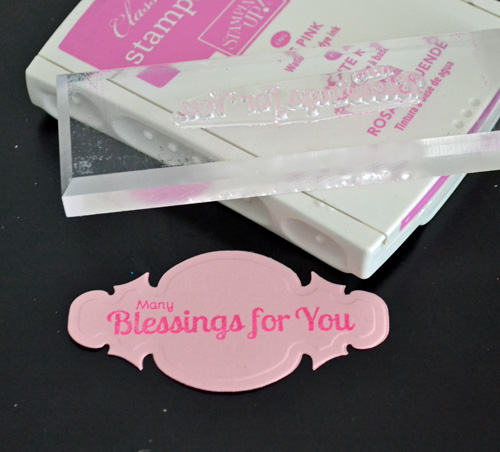
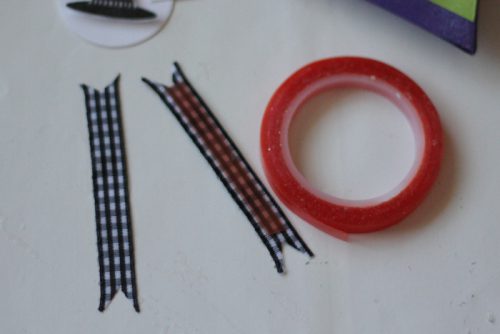
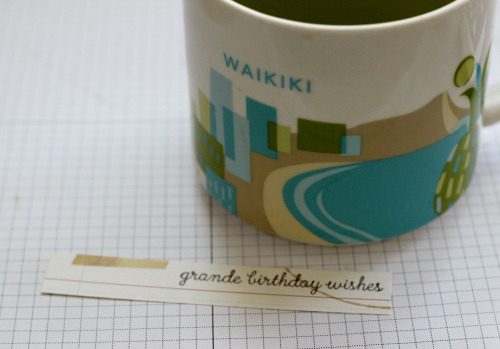
Onto a piece of patterned paper I positioned a die cut and then affixed washi tape in a horizontal line.
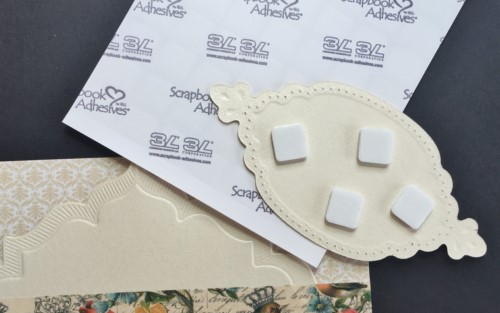
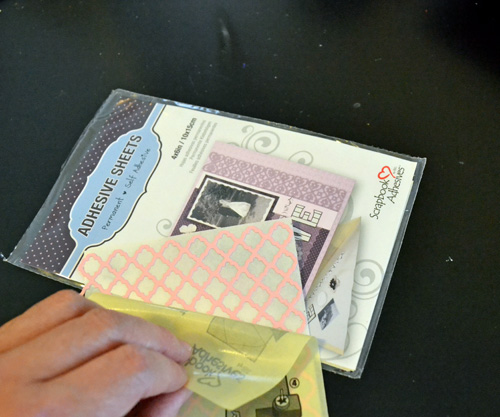
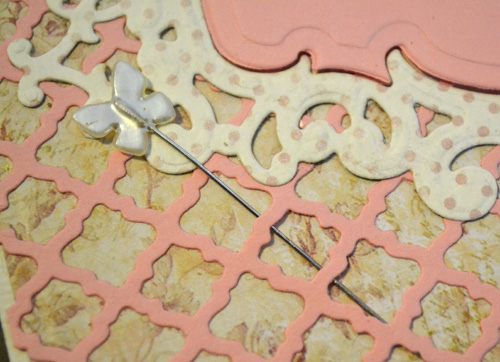
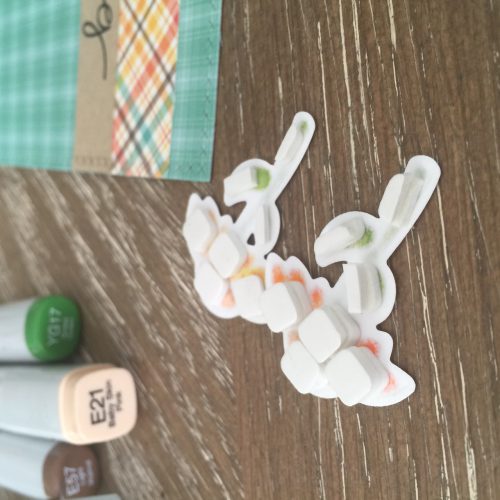
To overlay a second die cut I used 3D Foam Squares White Regular to add dimension.
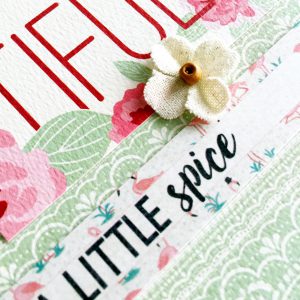
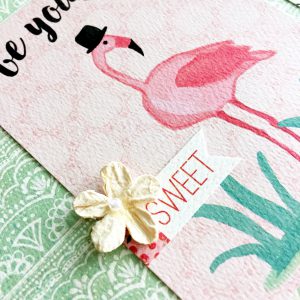
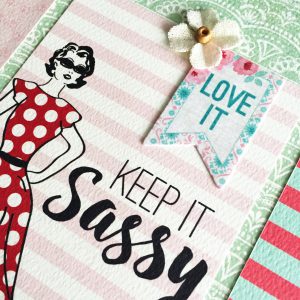
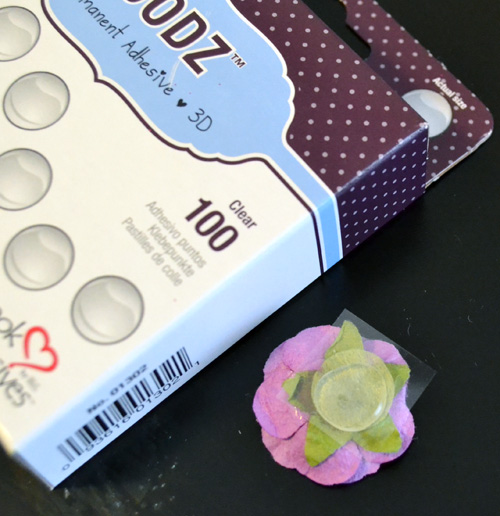
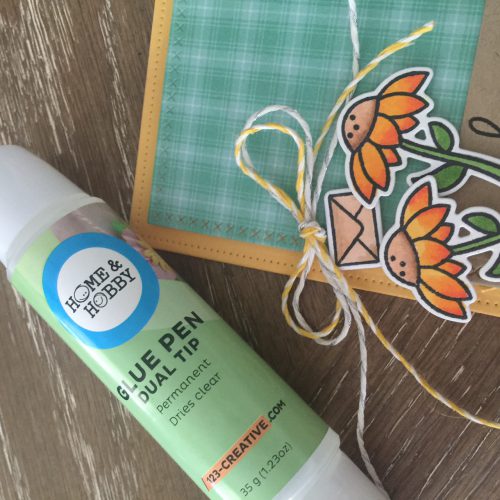
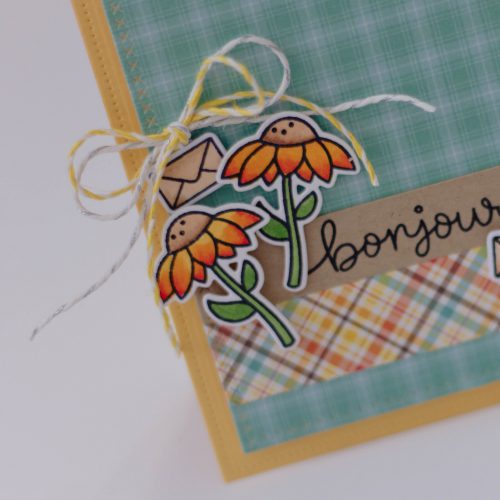
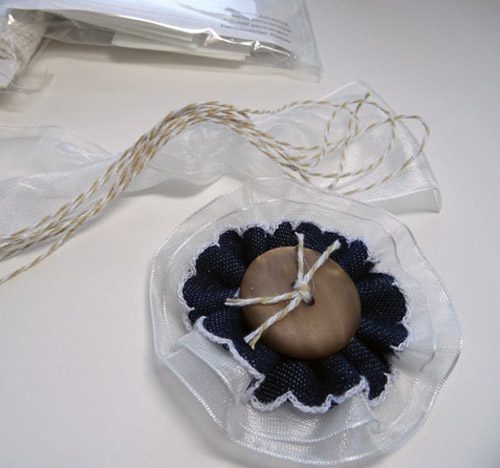
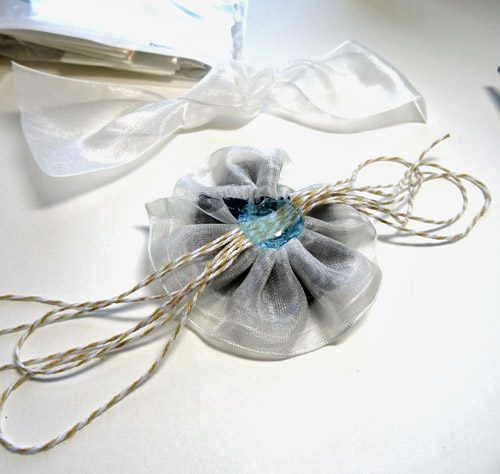
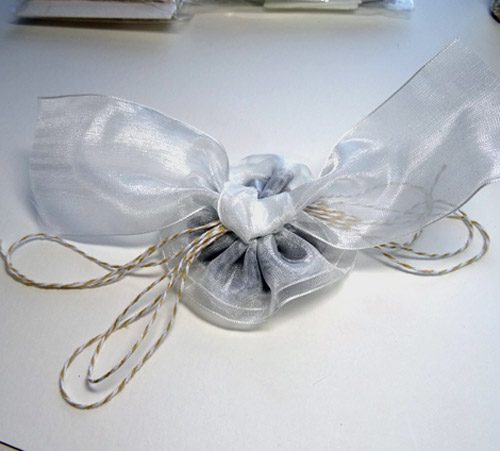
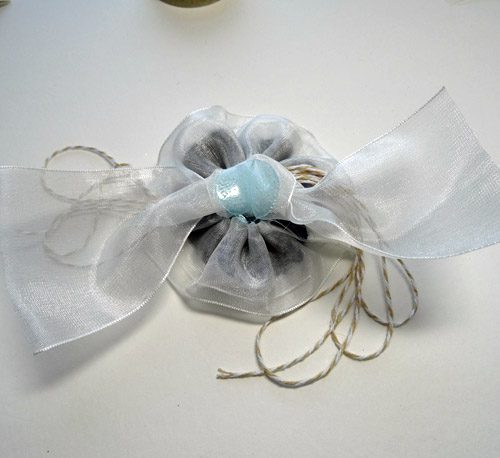
Affixed some die cut flowers for decoration with pearls to middle and it’s a finished card!
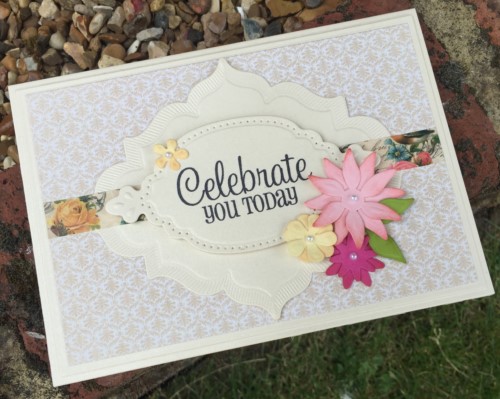
Don’t forget you can also affix the flowers and other smaller embellishments with 3D Foam Squares White Small.
Thank you for joining me today and please remember to check out the brilliant products on the website.

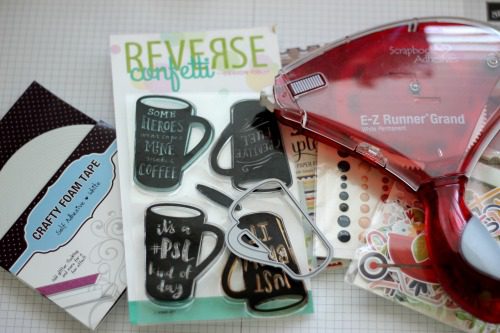
Products used:
Scrapbook Adhesives by 3L®:
E-Z Runner Permanent Strips Refillable
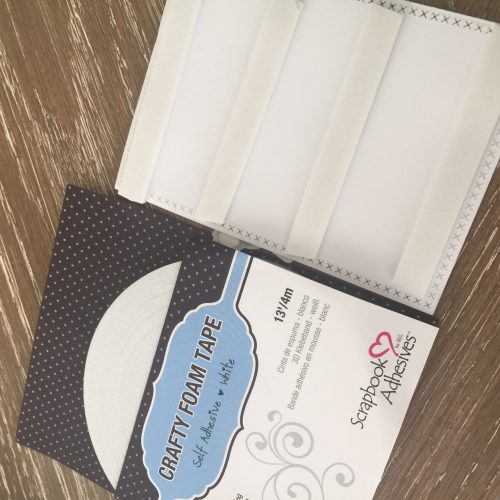
3D Foam Squares – White, Regular
3D Foam Squares – White, Small
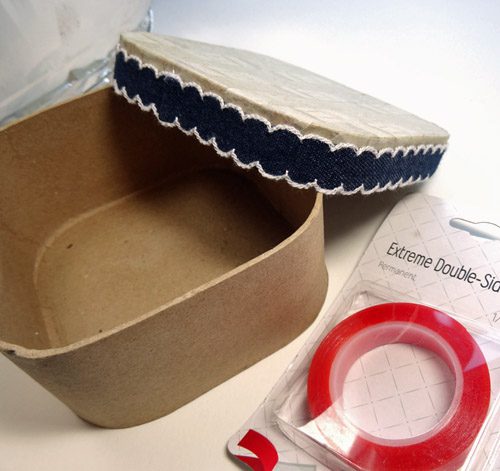
Washi Tape
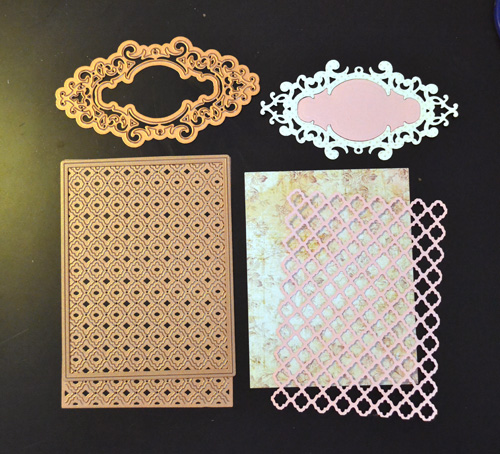
Spellbinders® Creative Arts (Die: 5 x 7 Matting Basics, Labels 56 Decorative Element, Marisa’s Bouquet); Patterned Papers; Ivory Cardstock; Pearls
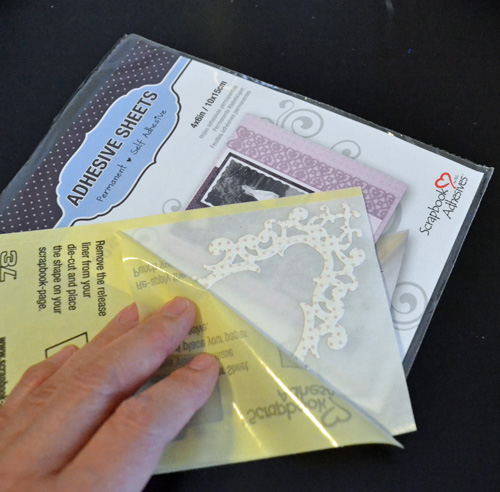


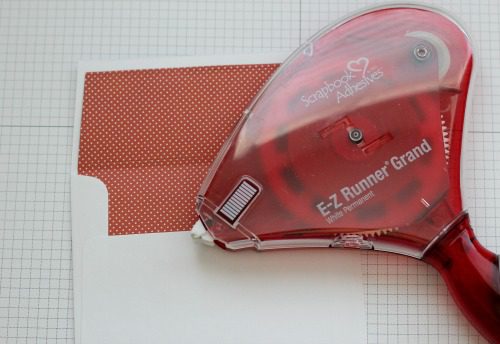


 I used to be one of those paper crafters that used liquid adhesives to adhere their paper and embellishments together. When fellow paper crafters would ask why I opted for a liquid adhesive I would site a negative past experience with a tape runner/dispenser, you know one of the following: it’s not strong enough to hold my layers together; not refillable; difficult to refill; expensive, etc. I had a laundry list of them (ha!)…and then I tried a Scrapbook Adhesives by 3L dispenser and found myself without excuses. Over the years I have used a variety of our dispensers, but as most of you know from previous blog posts, my one true love is