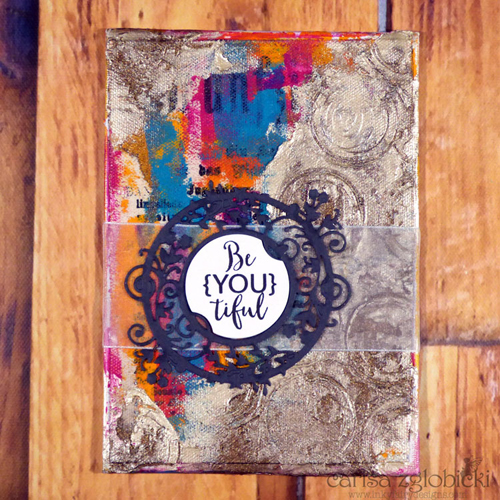
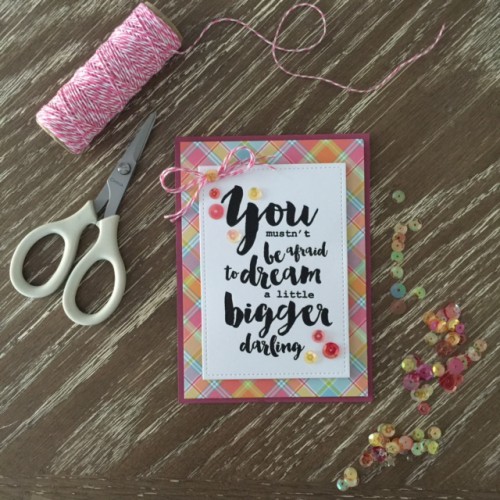
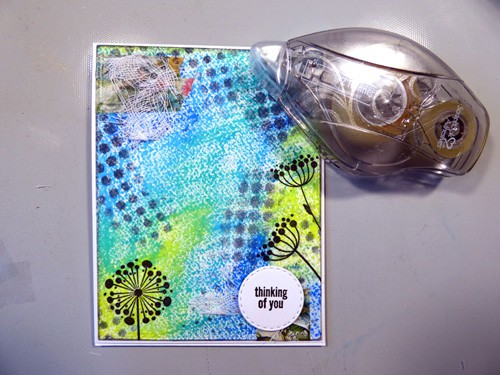
Hi everyone! Carisa Zglobicki here and today I have a fun mixed media card to share with you and I’m going to show you exactly how I created it incorporating my favorite products from Scrapbook Adhesives by 3L®.

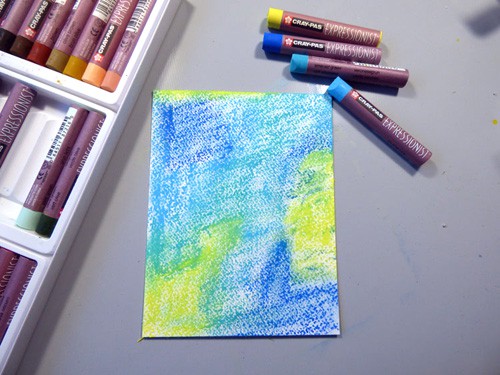
I started by pulling out a scrap piece of watercolor paper and adding color with oil pastels. I scribbled random blocks of color and blended lightly with my fingers to soften the background.
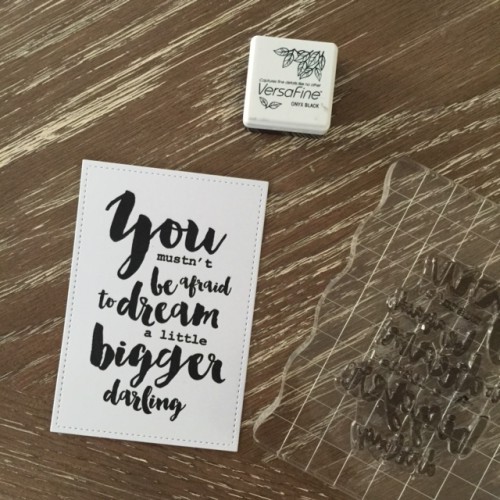
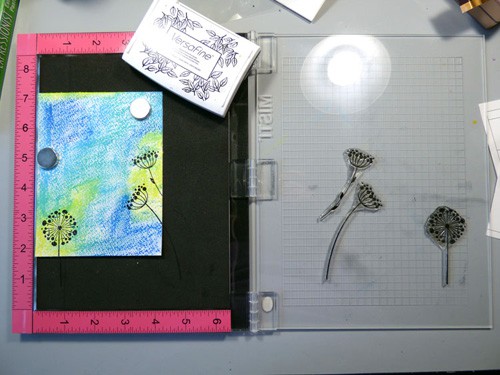
Next I added some stamping and since I was using watercolor paper with a lot of texture, I pulled out my stamping tool and black ink.
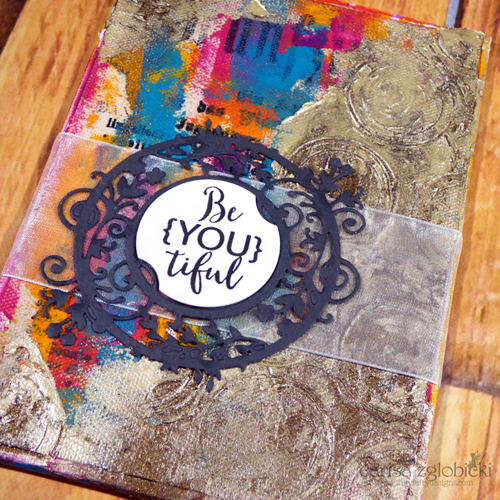
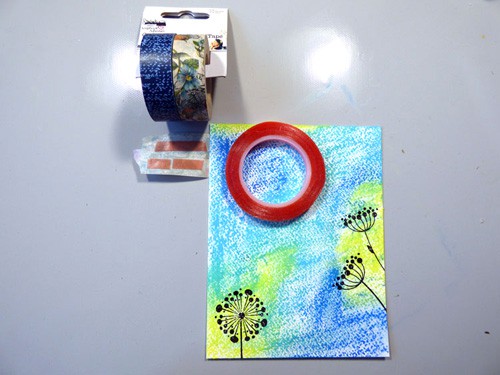
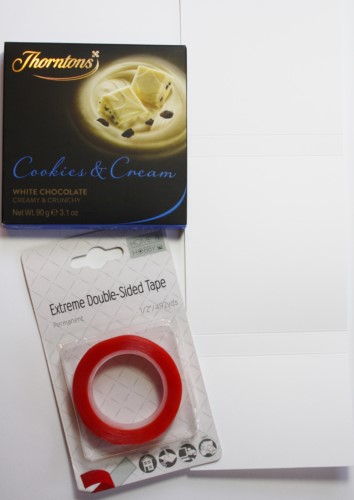
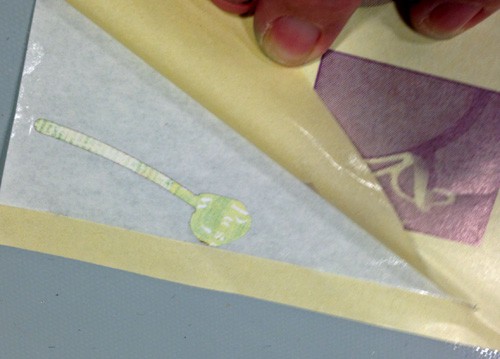
Washi tape doesn’t stick to the oil pastels because of the surface. But with the Extreme Double Sided Tape 1/4″ I don’t have to worry because it will stick to anything – LOL!
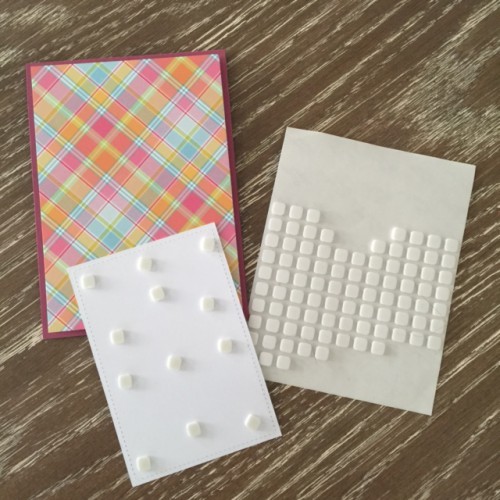
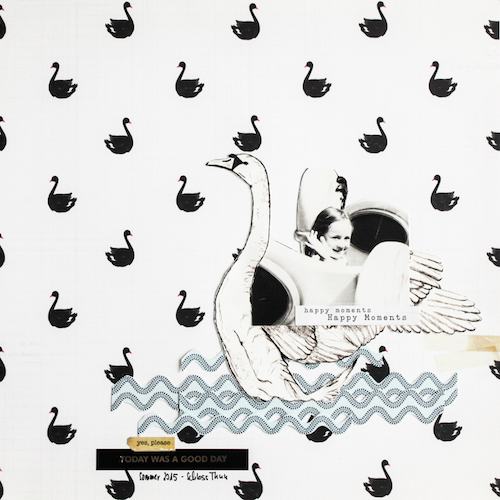
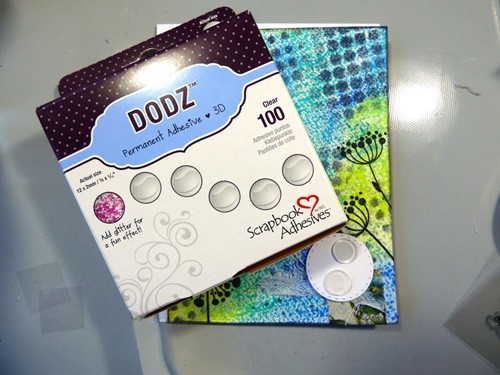
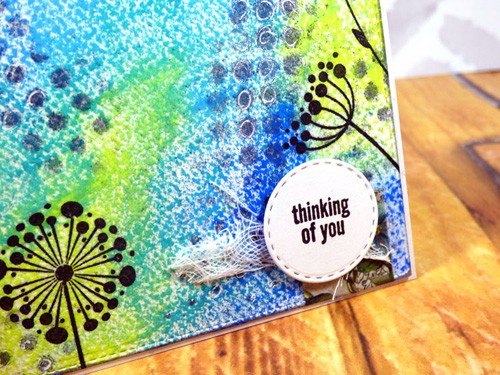
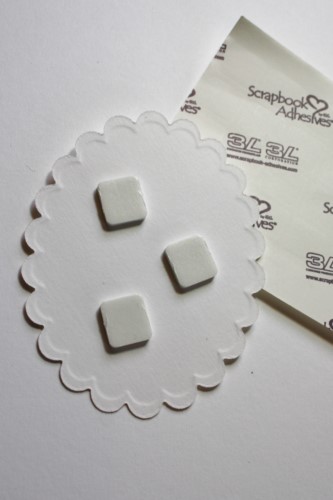
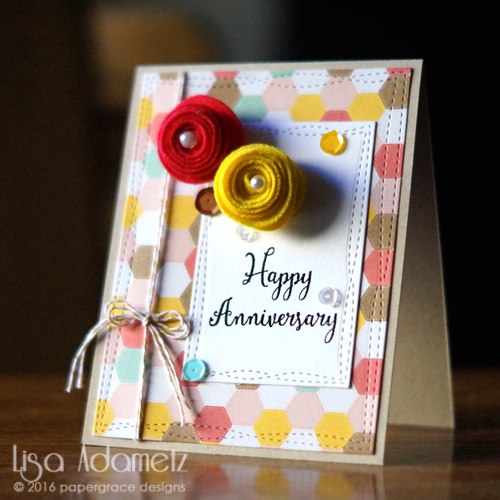
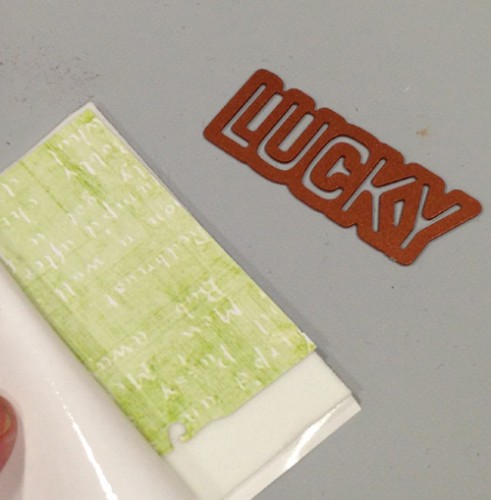
After I added some additional texture with a stencil and some watercolor medium, it was time to add my sentiment. I wanted some dimension so I used DODZ 3D (clear double-sided adhesive dot).
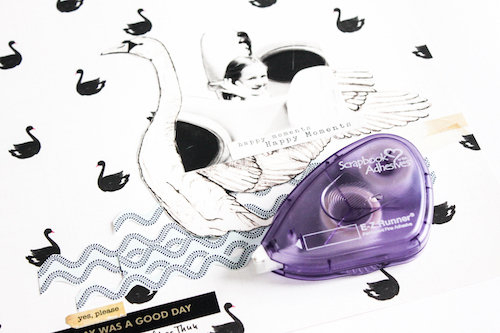
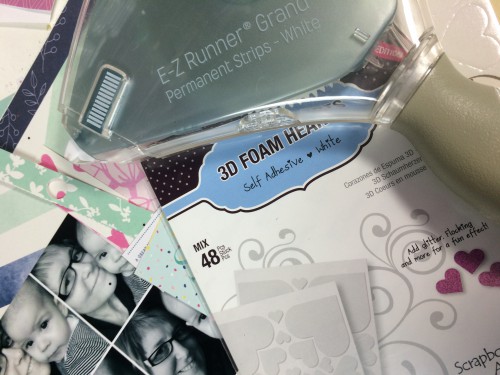
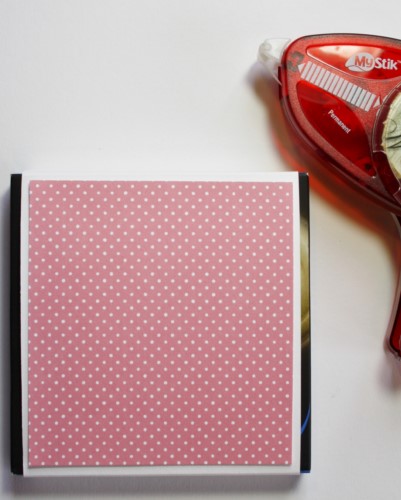
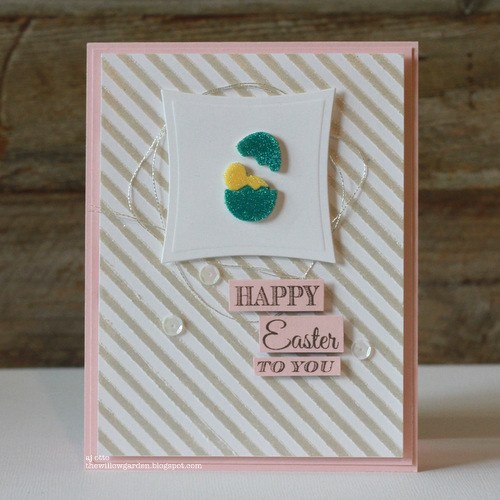
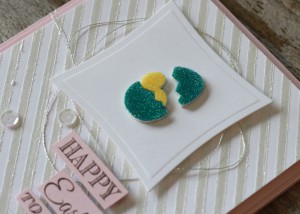
Once my panel was completed, I was ready to add it to my card base. I used the NEW E-Z Runner® Ultra Refillable Dispenser. It’s an ultra strong, permanent, double-sided adhesive in a refillable dispenser. The 42 feet (!) clear line of adhesive is immediately tacky and perfect for my watercolor paper.
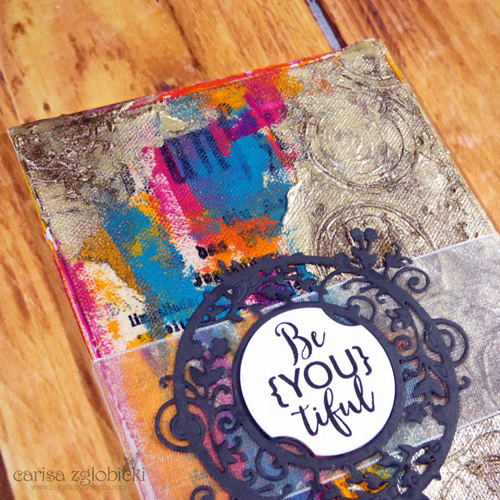
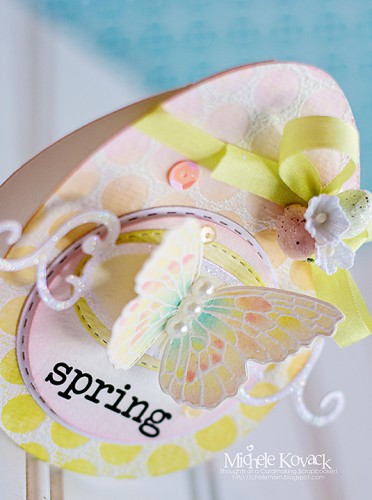
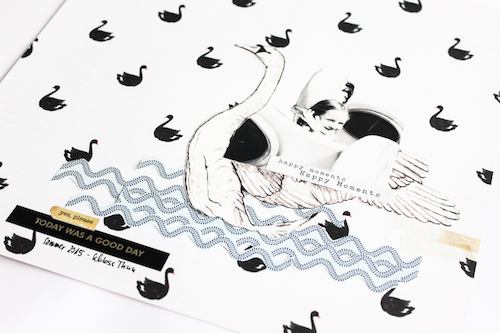
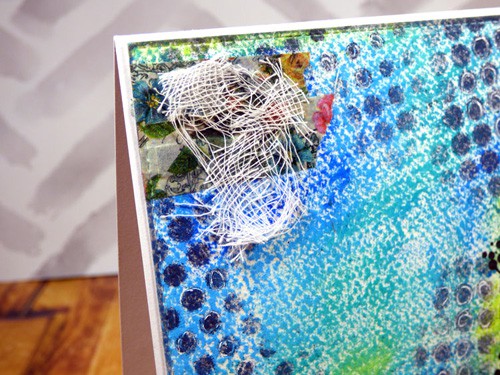
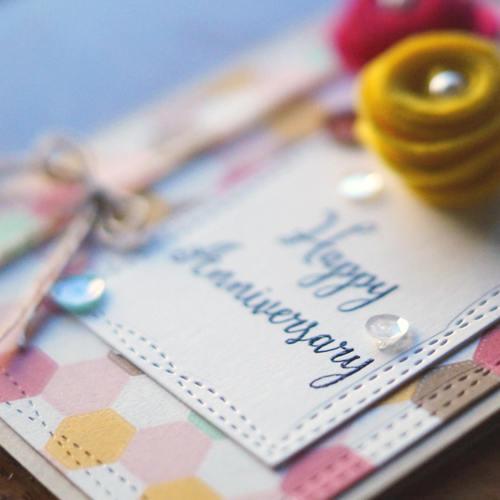
For more dimension and texture, I added some cheesecloth with Art Medium. Perfect way to adhere it because it dries completely clear as you can see in this close up.
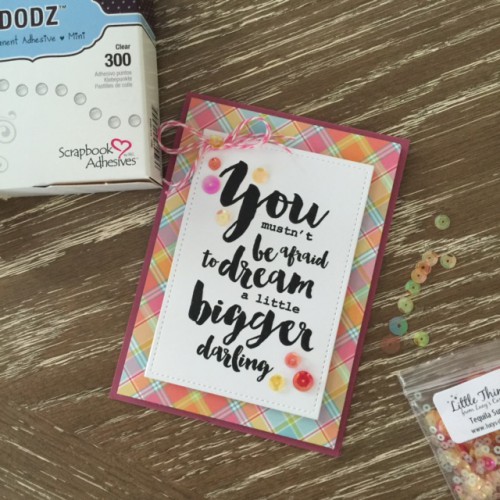
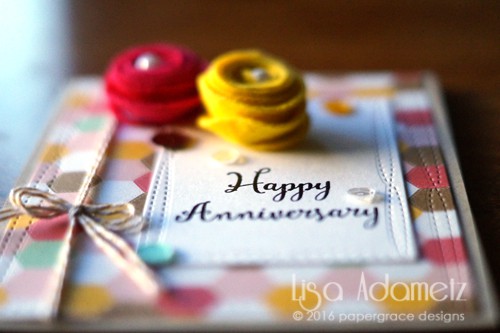
I had so much fun creating this card. It was like working on a mini art journal page except I get to send it to a dear friend!
Supply List:
Extreme Double Sided Tape 1/4″
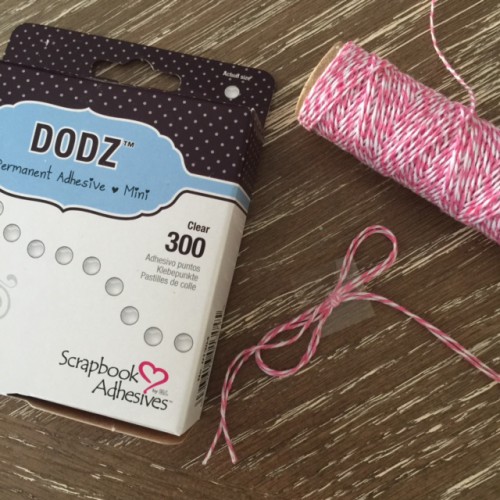
DODZ 3D
E-Z Runner® Ultra Refillable Dispenser


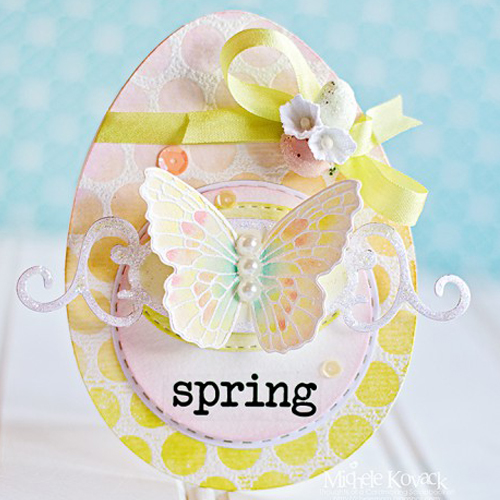
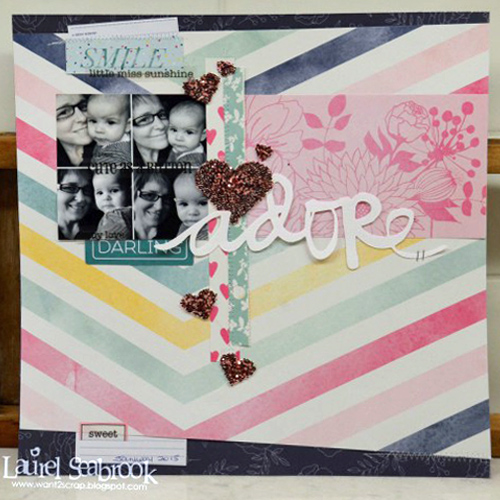
 For this one, I used our fun
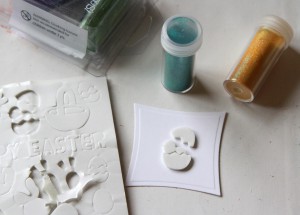
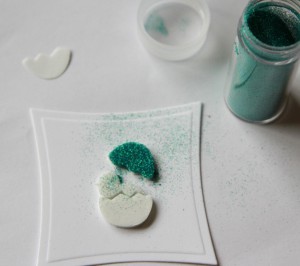

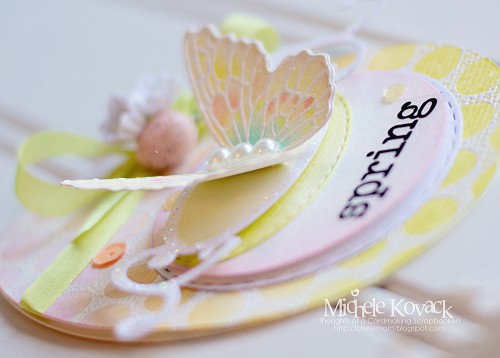
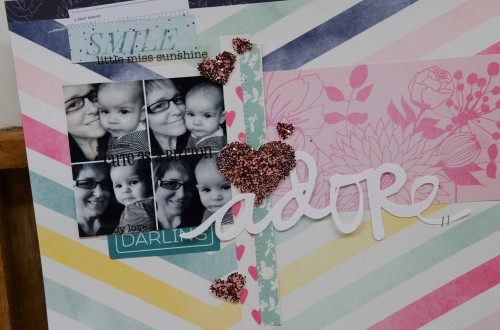
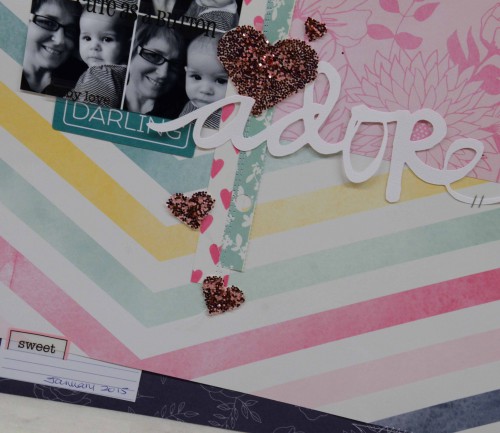
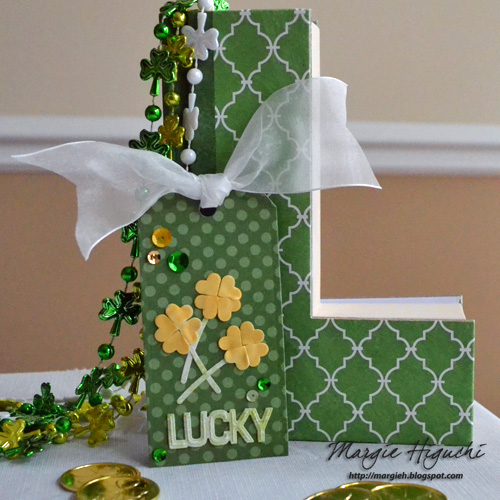
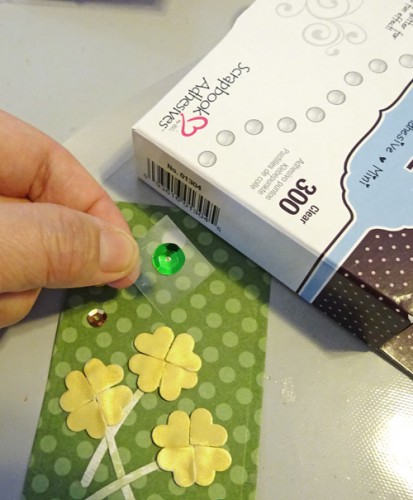
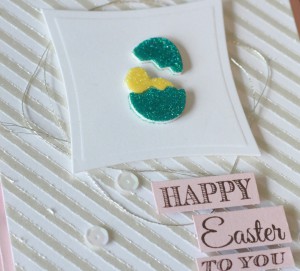 And another close up angle, love the size of the glitter, perfect for these little shapes!