Welcome to the second day of the Spring Fever Blog Hop sponsored by Spellbinders™!
Today we feature 2 tutorials from our Design Team Members Asia King and Angela Ploegman. We’re sure you’ll love them!
Dress Form Tutorial from Asia King!
I have a tutorial showing how to turn an old tired paper mache dress form into a shabby chic number.
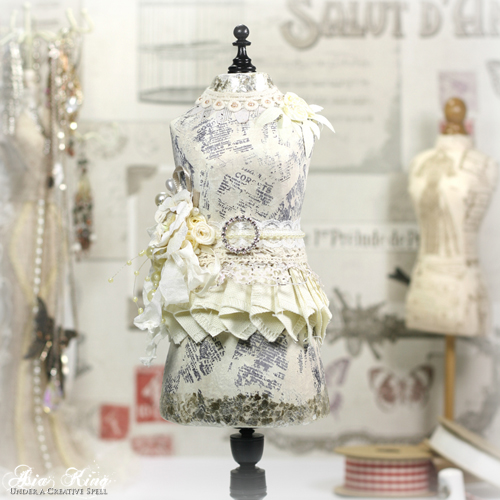
I bought this old dress form at a charity jumble sale and it was crying for a make-over :). So let’s get started.
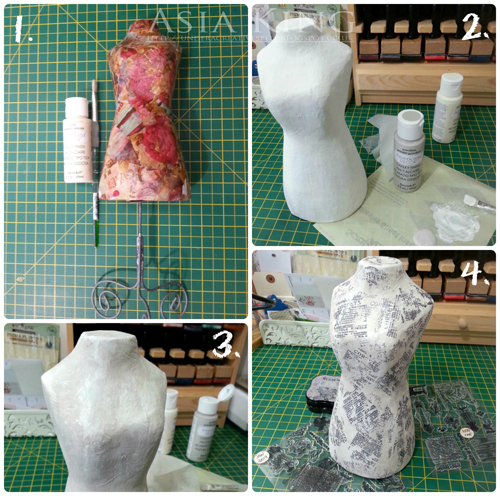
1. Prepare your dress form and paints. Give it a gentle wipe to make sure it is clean and free of grease.
2. Cover the dress form with a couple of generous coats of paint. Allow to dry.
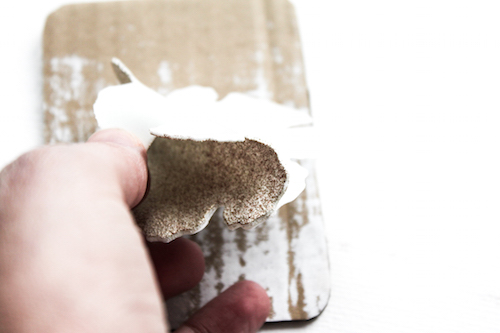
3. Add a layer of Primitive paint, wiping it off gently in parts with a wet baby wipe. For ease of distressing work in sections to avoid paint drying out too quickly. Allow to dry fully.
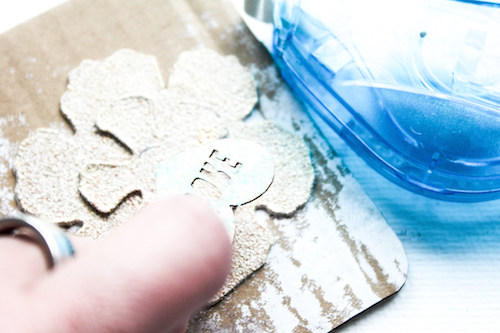
4. Randomly stamp the text stamps all around the dress form. I stamped freehand without a stamping block. Alternate the direction of text, overlap the prints and stamp parts of the images – this will help create a decoupaged look.
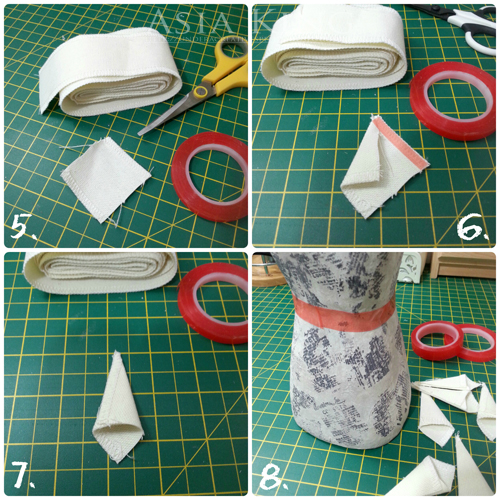
5. To create a pleated skirt cut several square-ish pieces of canvas ribbon. Turn each piece round with a corner pointing up (it will resemble a diamond shape).
6. Pull the left edge towards the centre and press with your finger to make a small fold – use the photo as a guide. Add a strip of Extreme Double-Sided Tape 1/8″ along the right edge.
7. Pull the right side of the fabric and align it with the edge of the fold as shown.
8. Wrap Extreme Double-Sided Tape 1/4″ around the waste of your dress form.
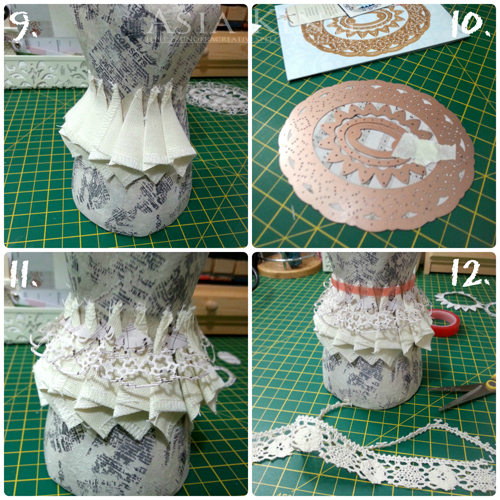
9. Arrange your fabric pleats as shown. Press the fabric into the Extreme Double-Sided Tape to ensure good contact with the adhesive.
10. Die cut vintage music sheet using the Oval Regalia die set- arrange the dies as show (at this point I wasn’t sure if I was going to use all the die cuts). Use the largest oval to create a frilly ‘ribbon’ for the skirt.
11. Adhere the die cut ‘ribbon’ by pressing the paper into the tape in the gaps between the pleats.
12. Continue adding layers with lace ribbons and Extreme Double-Sided Tape 1/4″ until you are happy with the result. I also added a small diamante buckle.
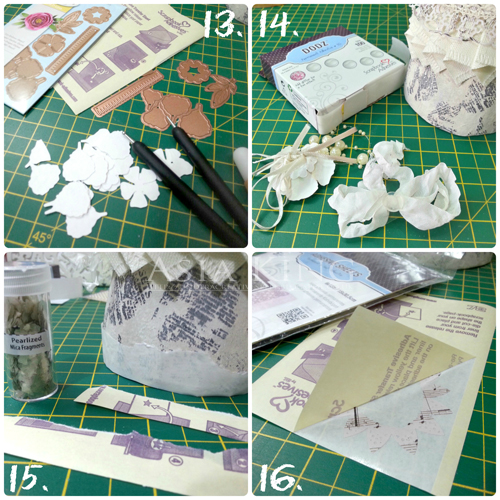
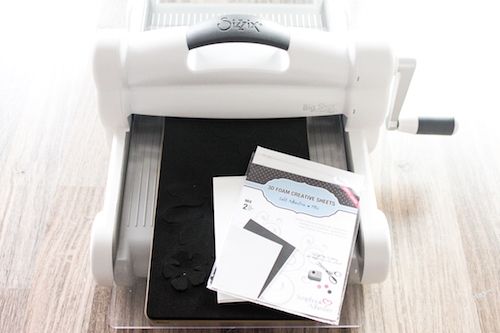
13. Die cut several petals and blooms from the Peony set and create a 3D flower.
14. Add ribbons and pearl strings to the back of the flower with Adhesive Dots Small and Adhesive Dots 3D. Adhere to the dress form. Secure with decorative pins, if necessary.
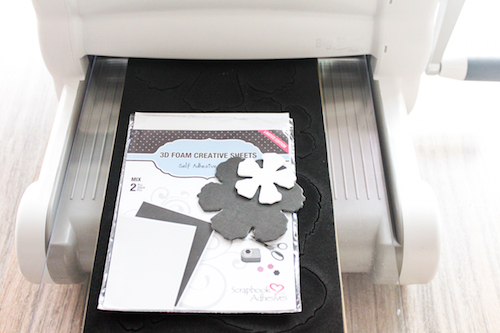
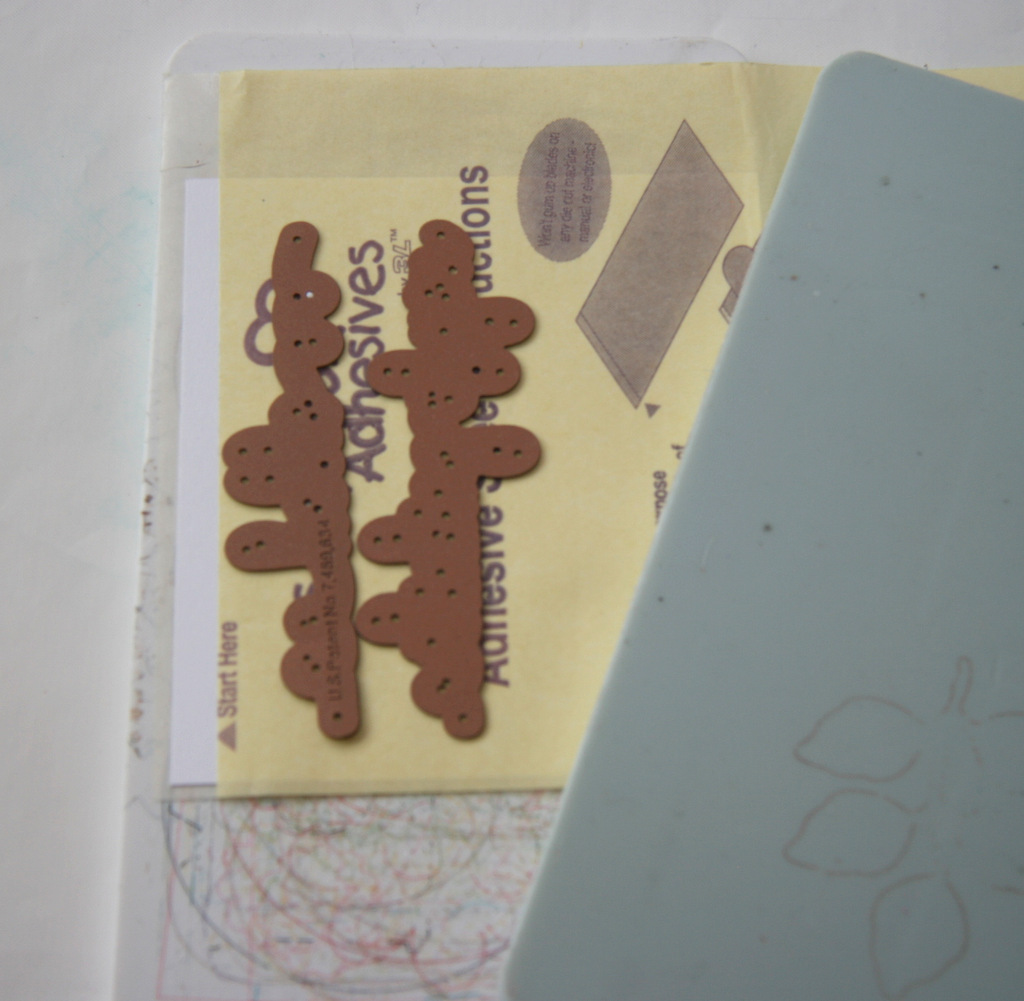
15. Tear narrow strips from Adhesive Sheets 6×12″ and adhere around the bottom and the neck of the dress form. Sprinkle generously with Pearlized Mica and rub any excess flakes off.
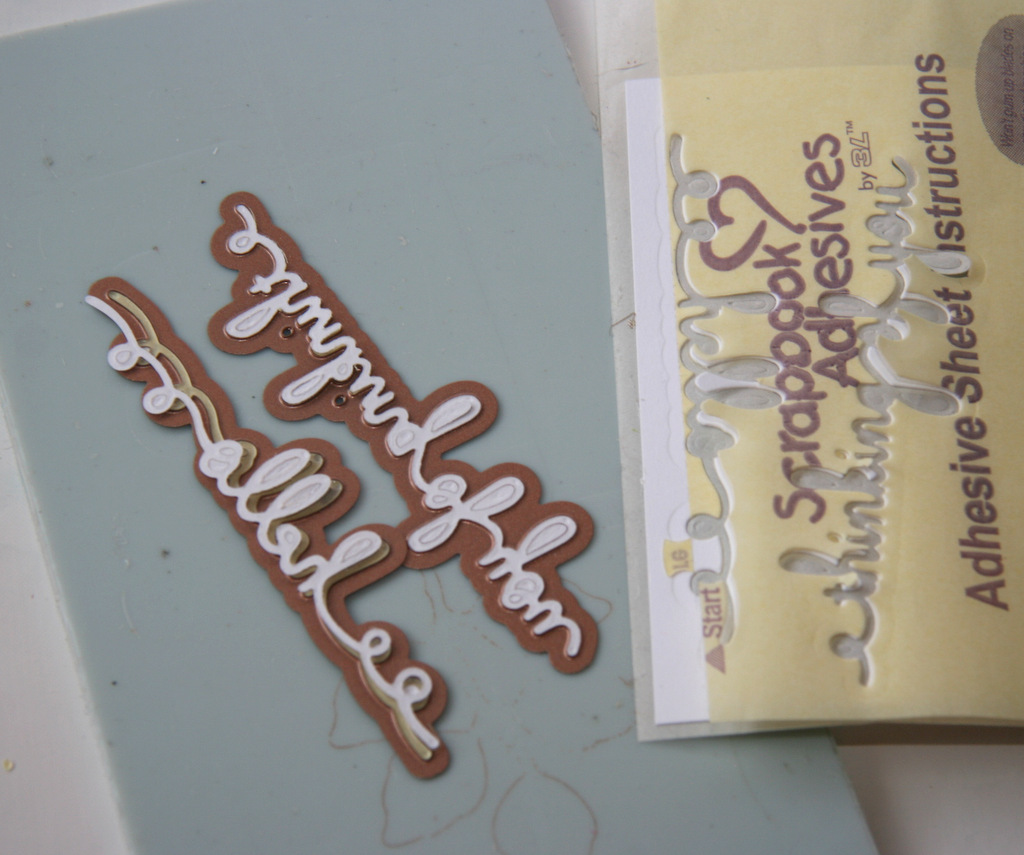
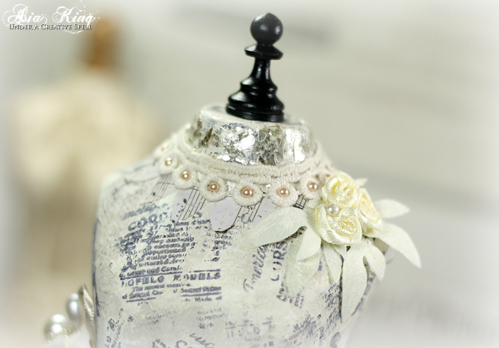
16. Cover your second largest die cut shape with adhesive using Adhesive Sheets and adhere around the neck to create a necklace.
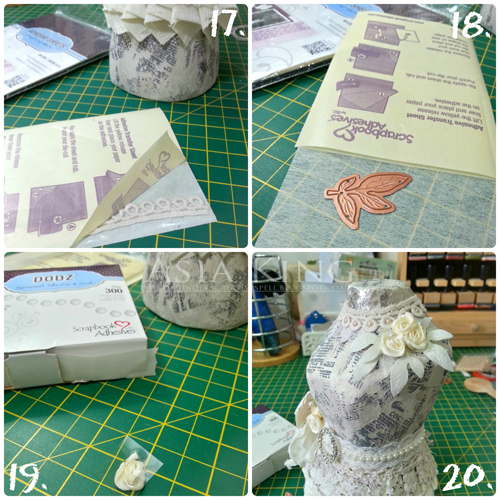
17. Cut a length of the narrow lace ribbon and cover with adhesive. Adhere around the neck line and embellish with small flat back pearls.
18. Cover some mulberry paper with Adhesive Sheets and die cut some leaves using the die from the Peony set.
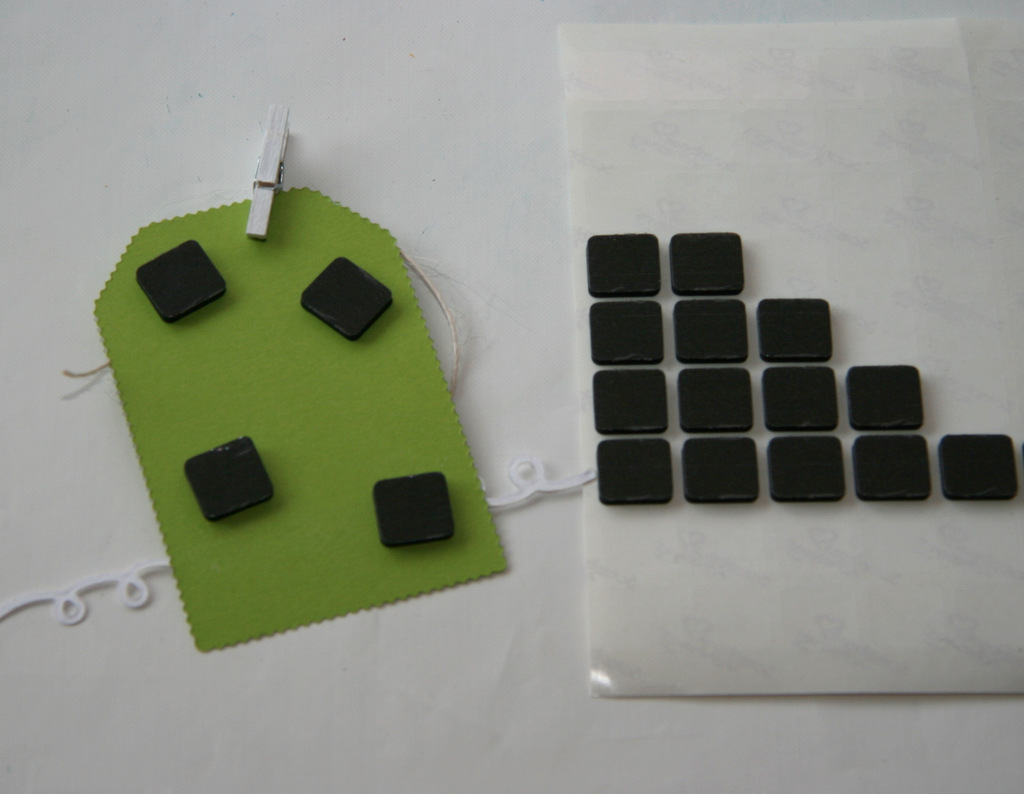
19. Add Adhesive Dots Small to three small ribbon roses.
20. Arrange the leaves and the roses over the shoulder as shown above.
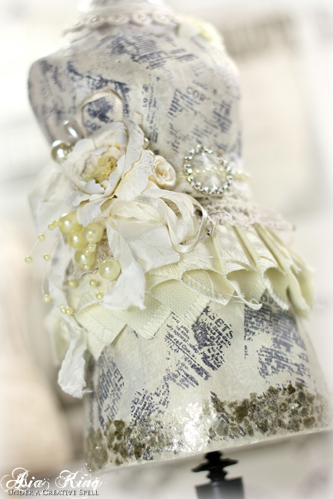
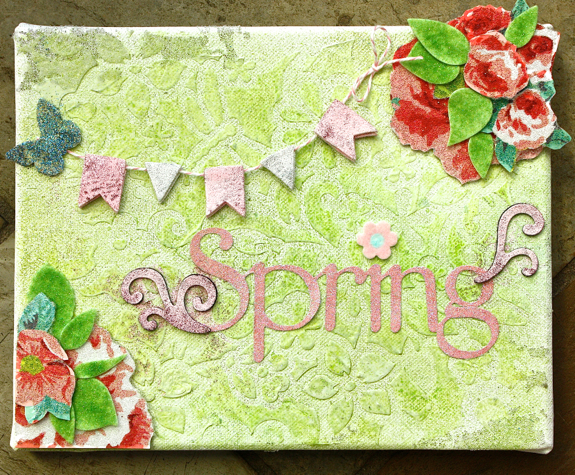
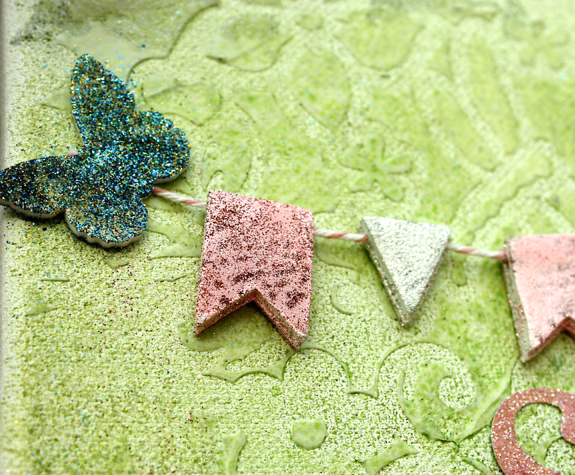
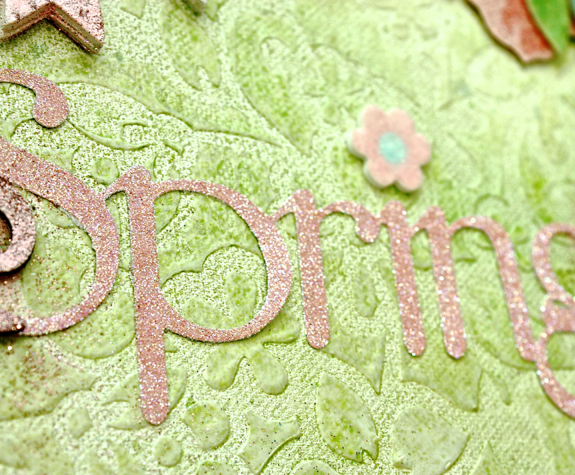
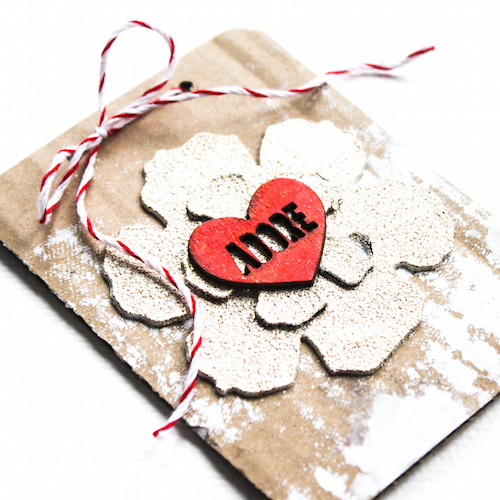
I have recently fallen madly in love with the crushed glass mosaic finishes that are currently trending in the home decor department stores across the UK. You can see them used on lamp bases, vases, mirrors, frames and even small table tops. For me the most exciting thing was to discover that you can easily recreate this sophisticated look with Adhesive Sheets and Mica Fragments.
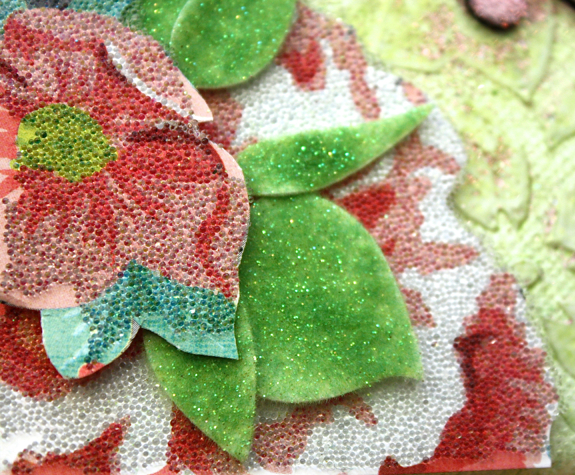
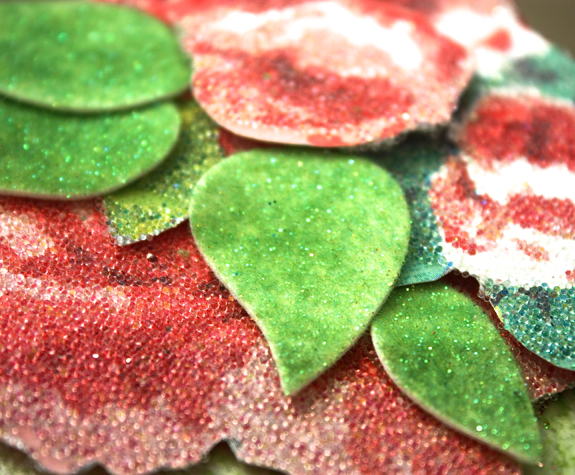
You don’t have to be limited to the straight lines of your Adhesive Sheets either. And that’s because you can die cut your Mica covered sheets with a guaranteed full coverage and no gummed up dies 🙂 – just as I have done to create a rose lattice trellis in my recent Roses of Friendship card.
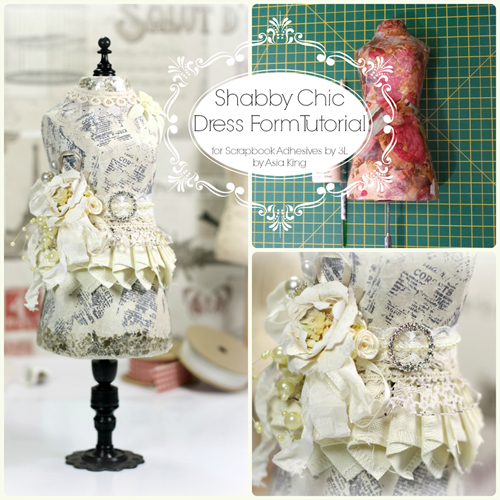
I hope you enjoyed my tutorial – I would love to know what you think! Feel free to share and pin the graphic above for future reference :).
To finish my dress form I replaced the original ugly metal stand with a new one I made myself from old wooden chess pieces :). To find out more and to check out additional close-up pictures of my project, be sure to also visit my blog Under A Creative Spell!
Supplies:
- Scrapbook Adhesives by 3L®: Adhesive Sheets 6×12″, Adhesive Dots Small, Adhesive Dots 3D, Extreme Double-Sided Tape 1/8″, Extreme Double-Sided Tape 1/4″
- canvas ribbons and lace ribbons
- Spellbinders: Peony and Oval Regalia die sets; Ephemera Papers
- Stampendous: Pearlized Mica Fragments, Vintage Ladies and Charmed Art Perfectly Clear Stamps
- DecoArt Americiana Decor Chalky Finish in Lace and Primitive, StazOn Mini Cloudy Sky ink by, seam binding, ribbon roses, decorative pins, pearls.
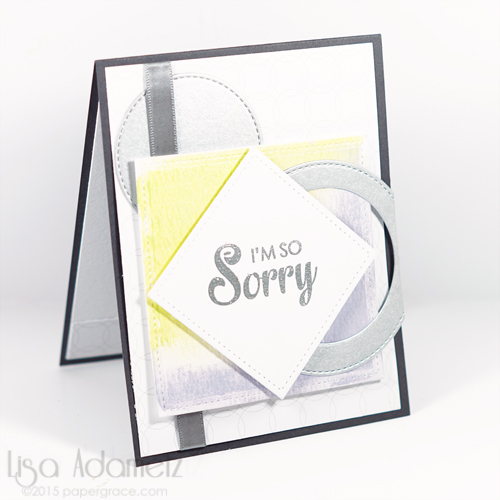
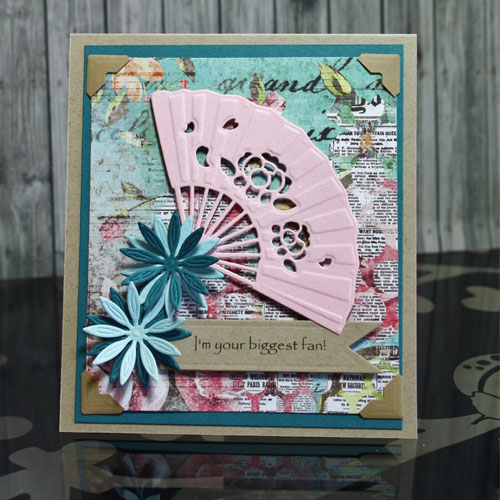
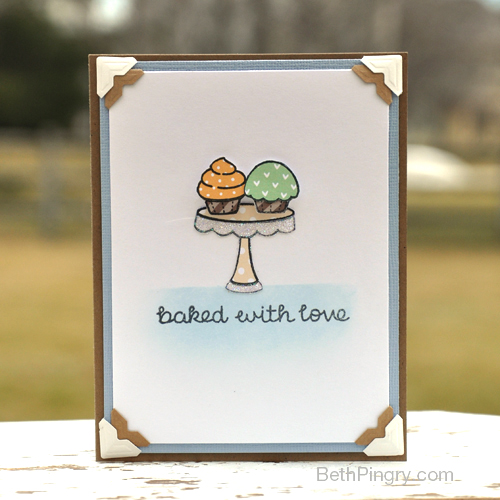
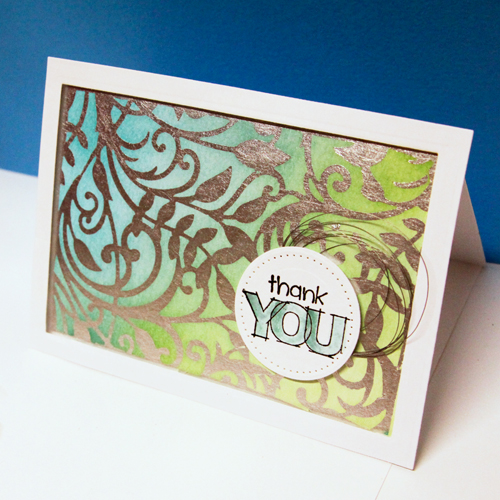
Foiled Ombre Card Tutorial by Angela Ploegman
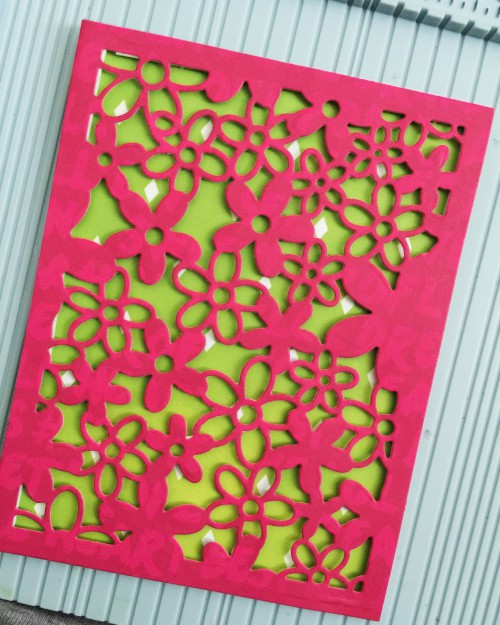
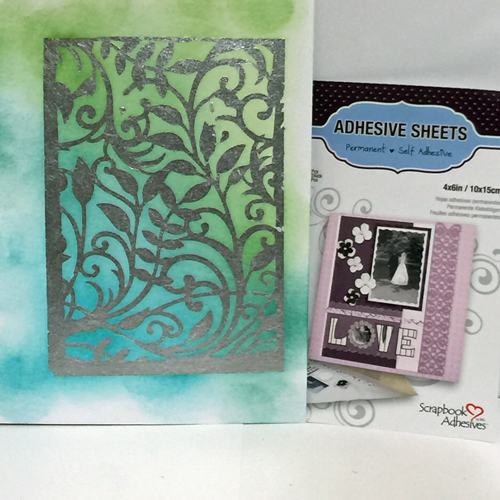
Spellbinders Dies and Scrapbook Adhesives by 3L® Adhesive Sheets are a perfect match! The super thin and super sticky Adhesive Sheets cut cleanly, leaving no residue…a MUST in order to be successful with this technique. Here’s the card I created using the technique to produce the custom foiled and inked background:
Tutorial
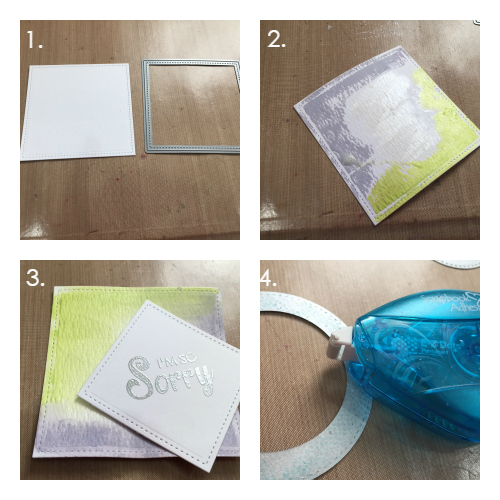
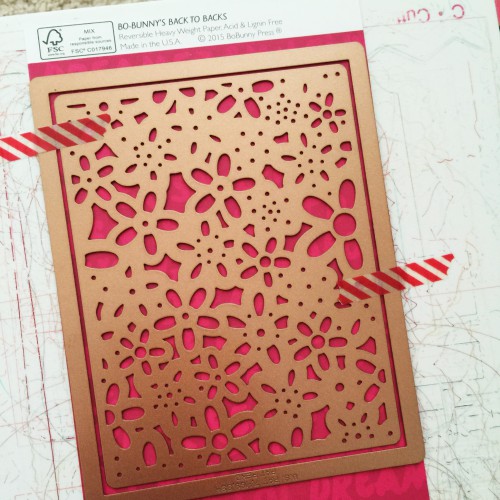
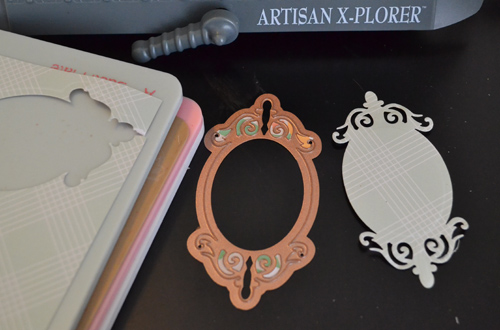
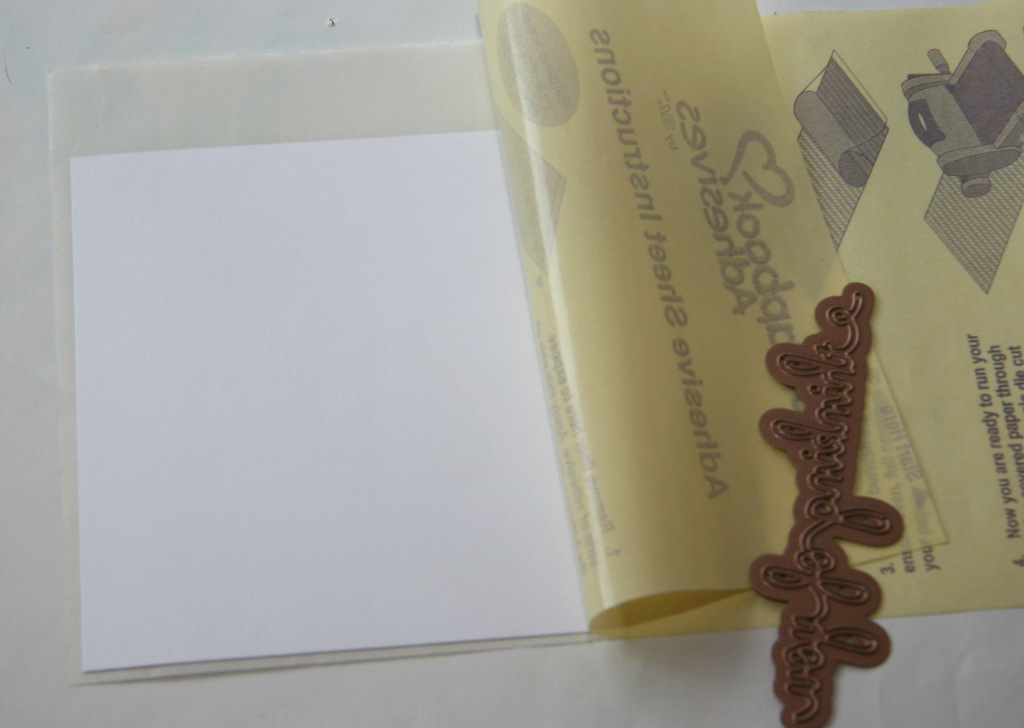
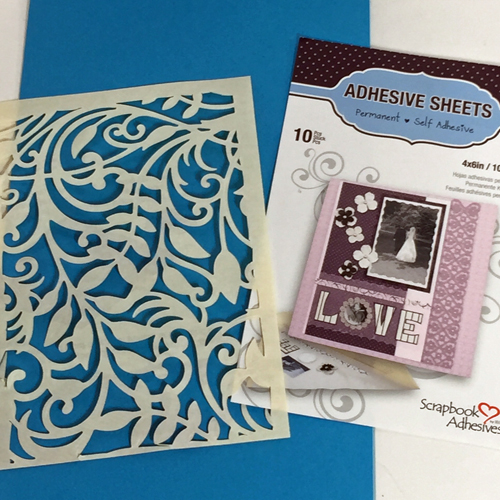
1. Die cut the Adhesive Sheet 4×6″ with a background die.
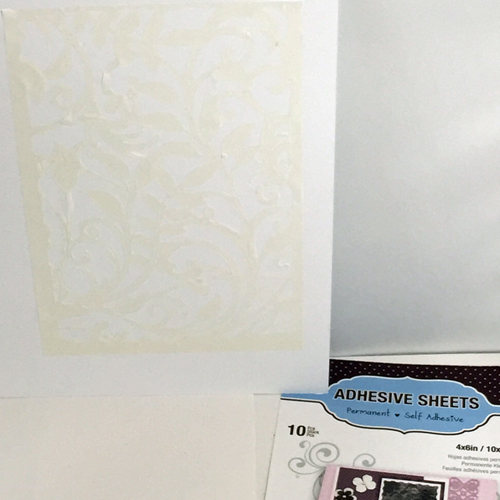
2. Peel the protective backing and apply the die cut Adhesive Sheet to the card base. It’s difficult to see in the photo, but it’s there!
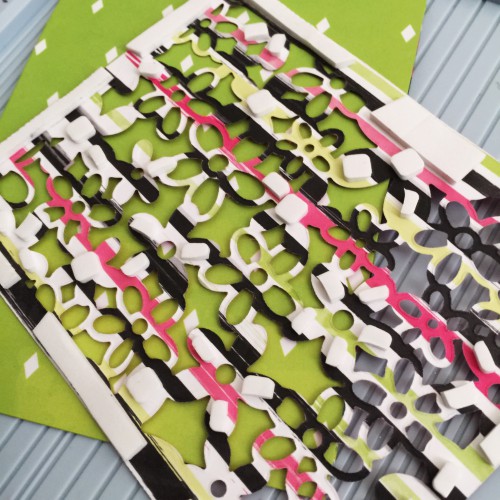
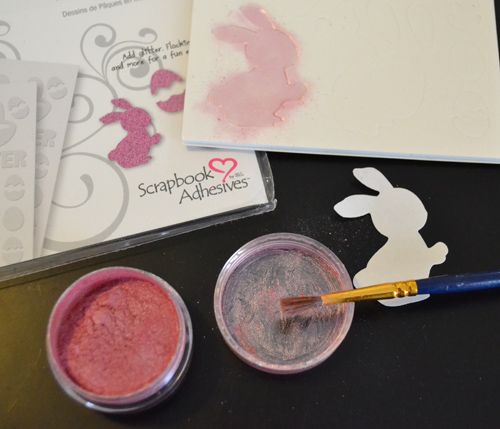
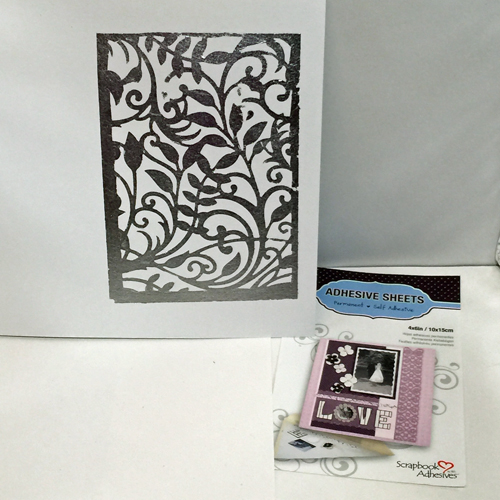
3. Burnish the adhesive and then remove the top protective backing and apply silver leafing.
4. Apply three different colors of ink blending well between colors. The super thin Adhesive Sheets make this possible!
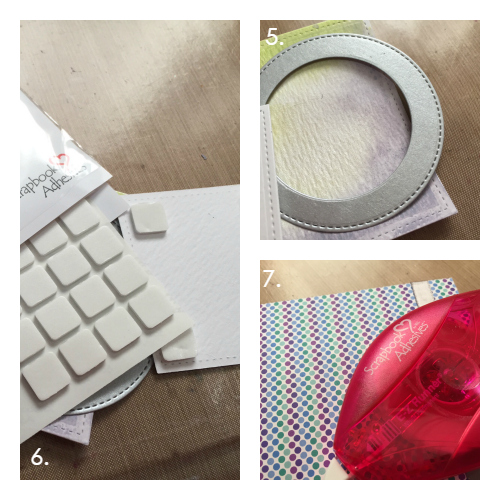
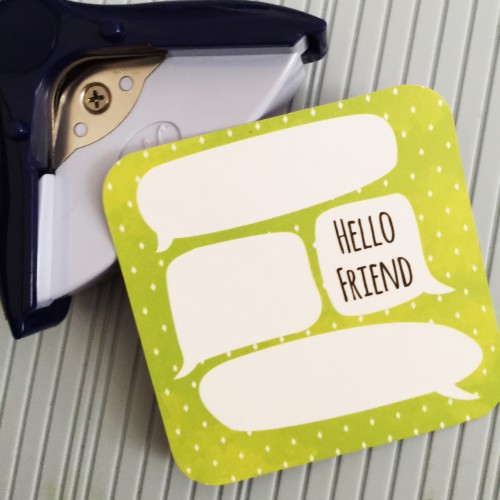
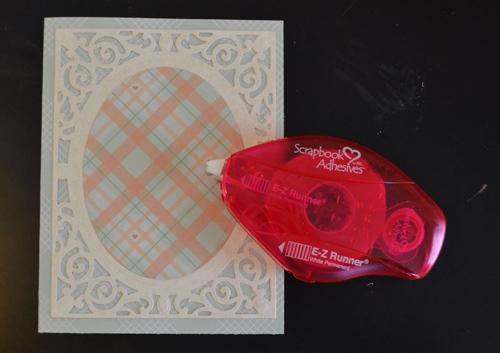
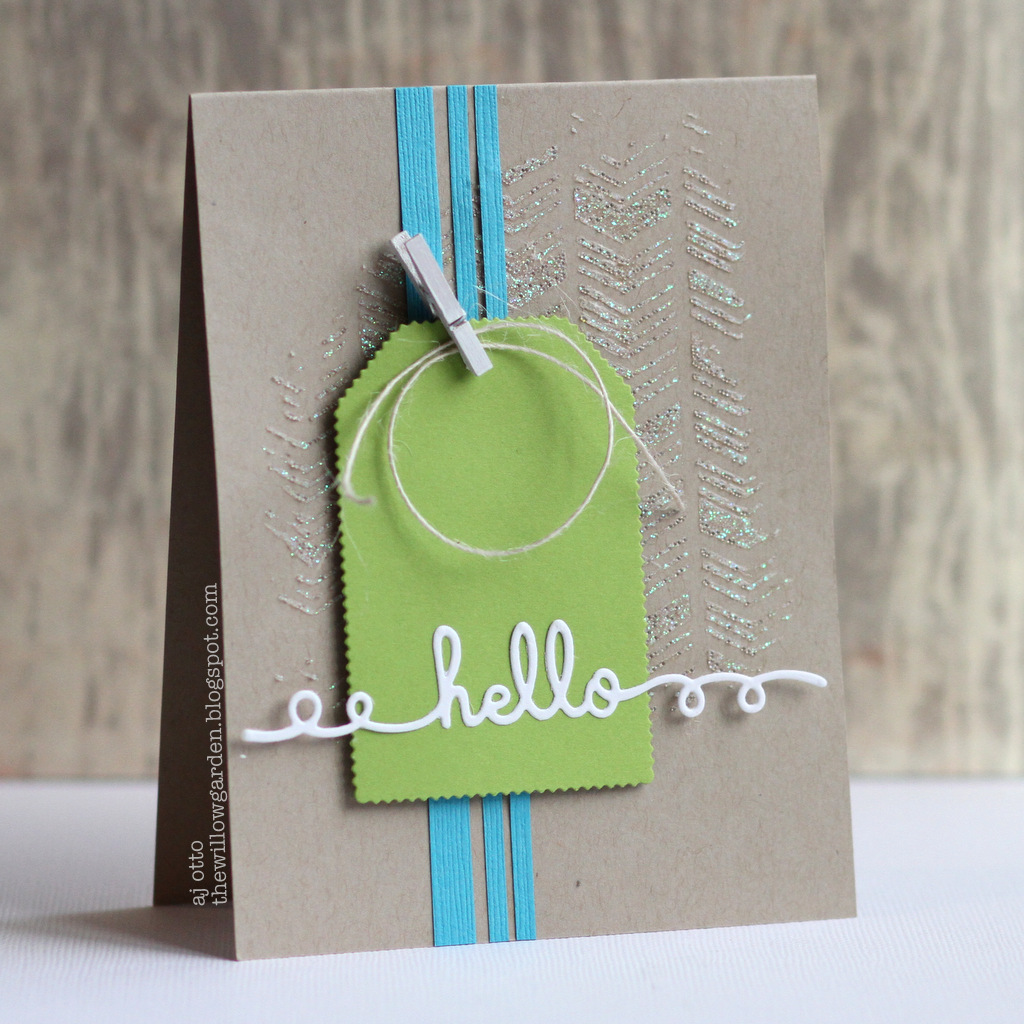
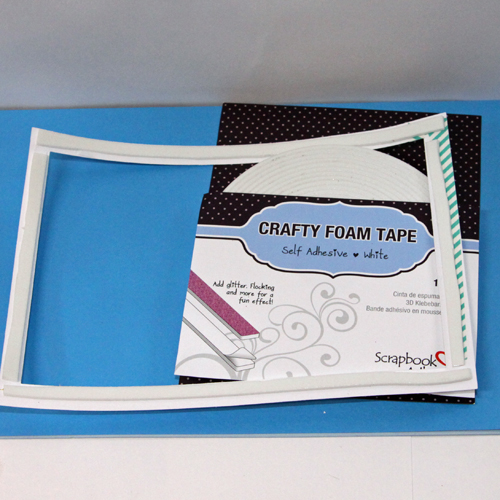
5. Die cut the card border and apply to the card base using Crafty Foam Tape White.
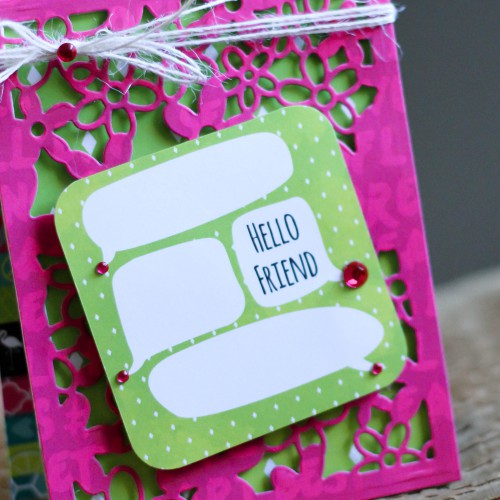
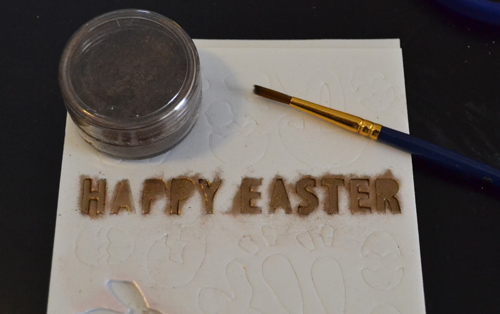
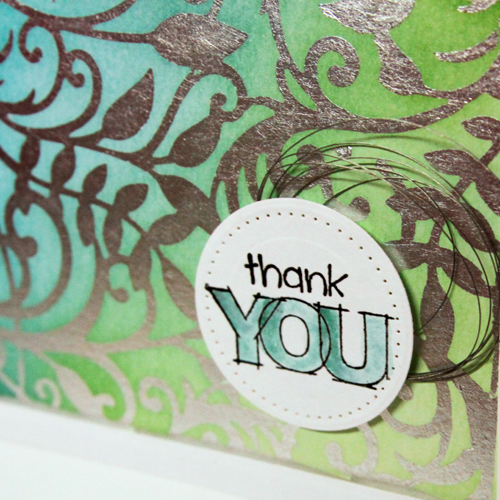
6. Stamp the sentiment, emboss with clear embossing powder and color the sentiment with the blue ink from the card base. Die cut using the perforated circle dies.
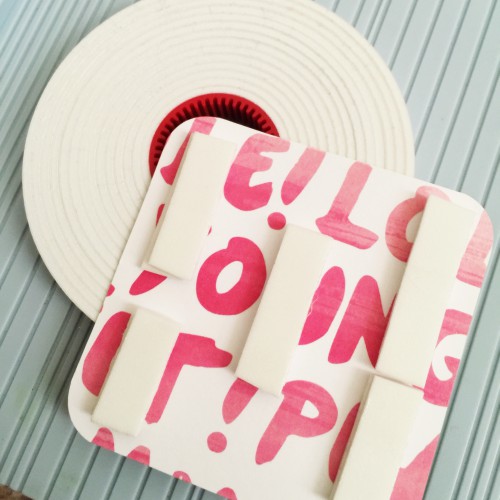
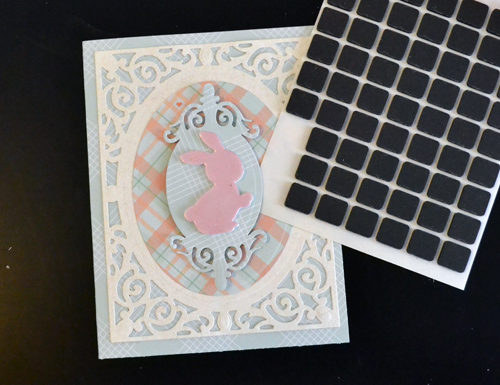
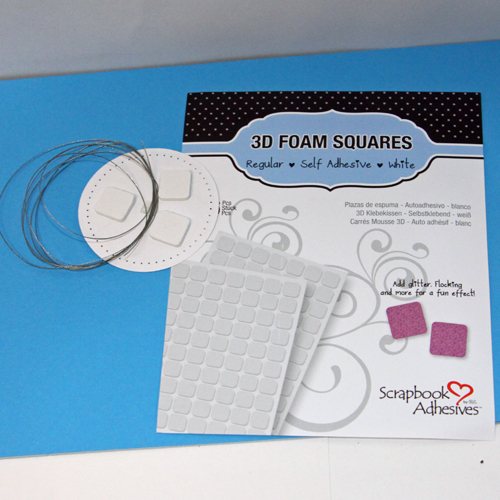
7. Adhere loops of jewelry wire the back side of the sentiment block with a Adhesive Dots Small. Adhere the sentiment block to the card front with 3D Foam Squares White Regular.
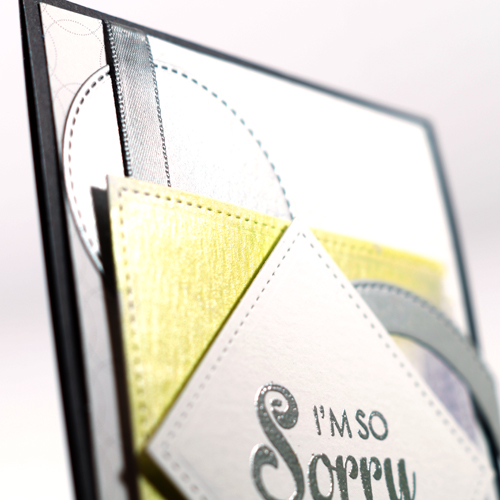
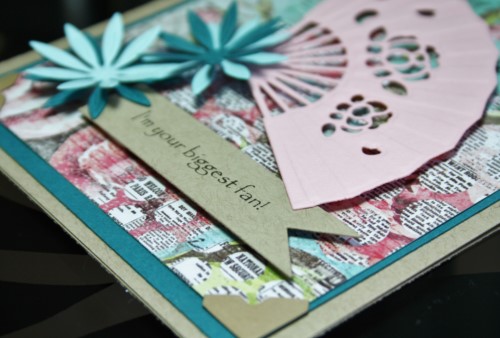
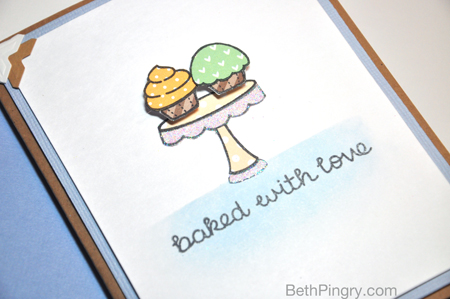
That’s it! Super trendy and super easy….it’s what the right tools bring to EVERY project! Here’s a close up of the sentiment block with the foiled background:
Scrapbook Adhesives by 3L® Supplies used: Adhesive Sheets 4x6in, Crafty Foam Tape White, Adhesive Dots Small, 3D Foam Squares White Regular
Spellbinders Botanical Swirls, 5 x 7 Matting Basics A and B, Celebra’tions Perforated Circles,
Bazzill Basics Paper Card Stock, Close to my Heart Stamp, Tsukineko Ink, Ranger Embossing Powder, EK Success Silver Foil, Ranger Distress Inks, misc. jewelry wire.
And now on to the contests:
a Rafflecopter giveaway
Be sure to visit Basic Grey® and Clearsnap® today for their tutorials and chances to win!
Check back with Spellbinders tomorrow for more tutorials and prizes!
Save
Save
Save
Save
Save
Save