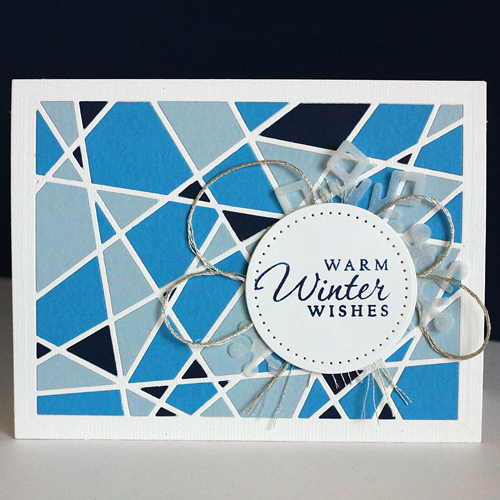
Hello everyone! Asia King here and today I am sharing a project I created for Scrapbook Adhesives by 3L®’s booth at this year’s CHA, Mixed Media Dragonflies. My ensemble has got quite a lot going on so I will be sharing it in two parts. Today is the first one and for the next installment please pop back on January 28th :).
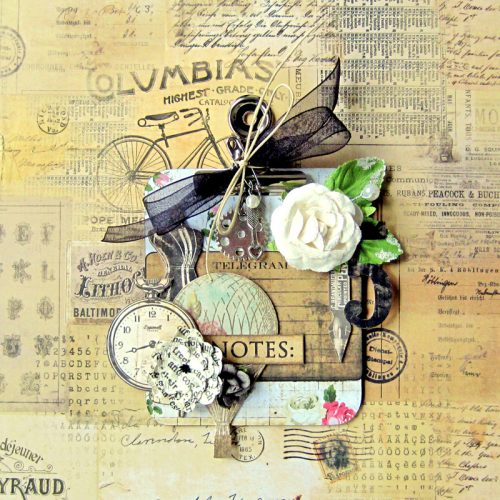
Making the Dragonflies Canvas
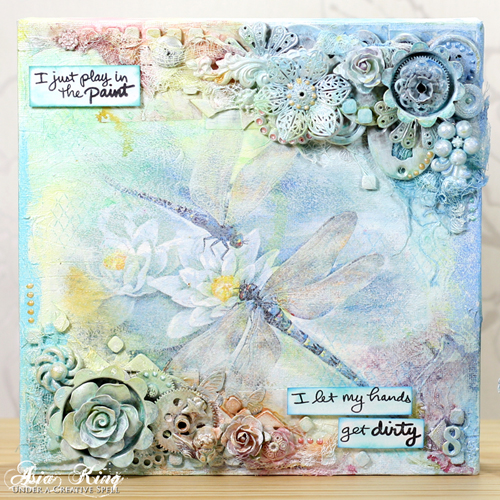
This project is a new take on the dry decoupage technique I shared in my mixed media altered vanity box back in May last year. I used my favourite dragonflies printed napkins – they have such a happy design and colour palette, don’t you think?
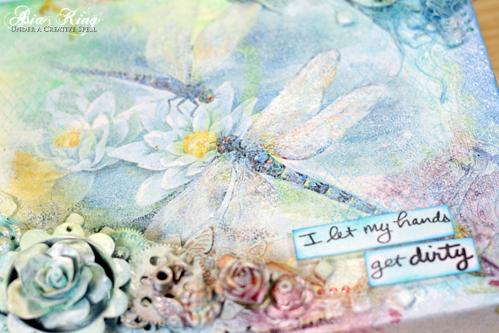
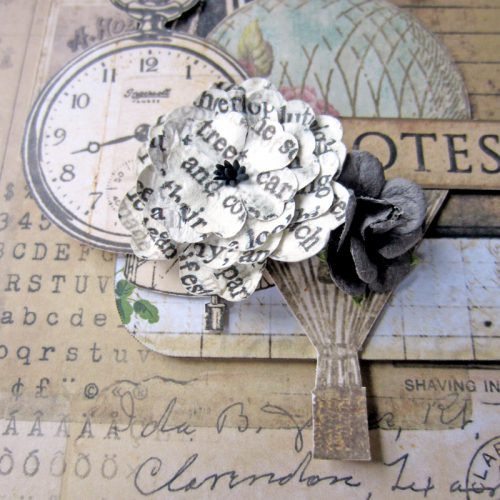
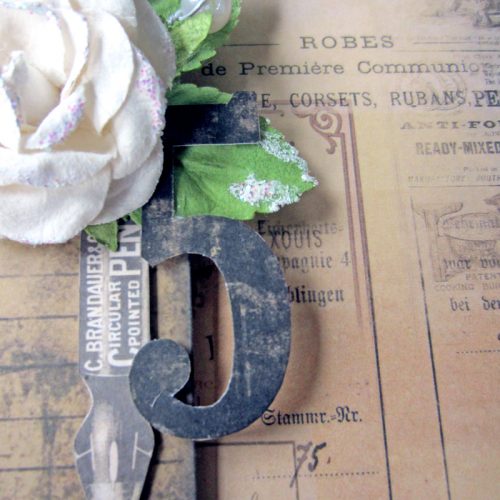
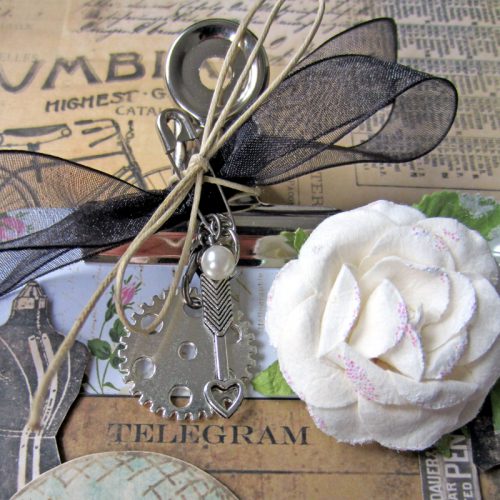
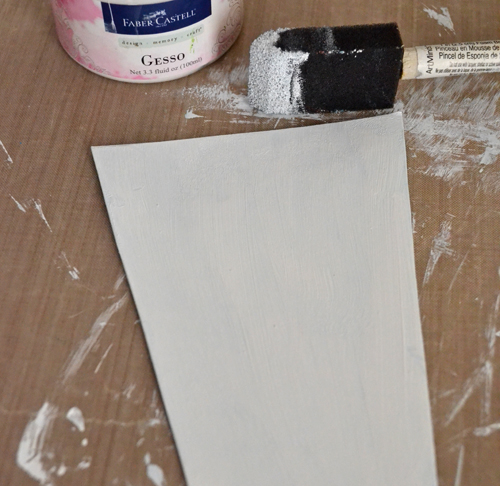
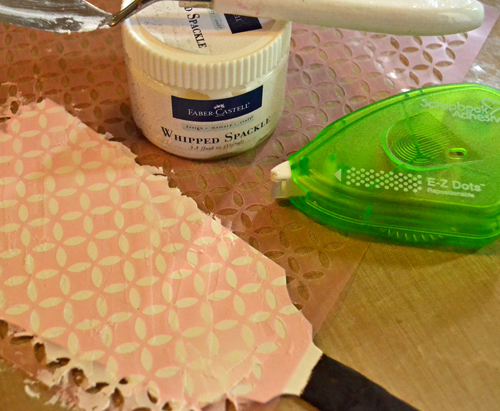
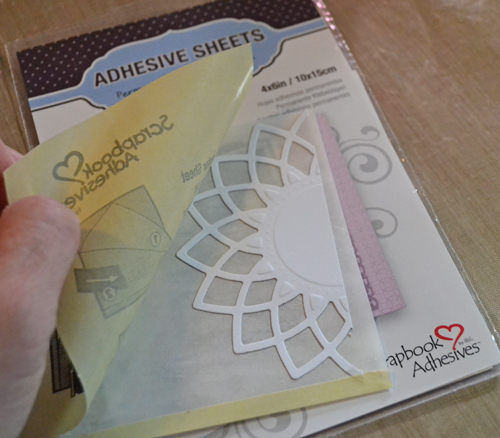
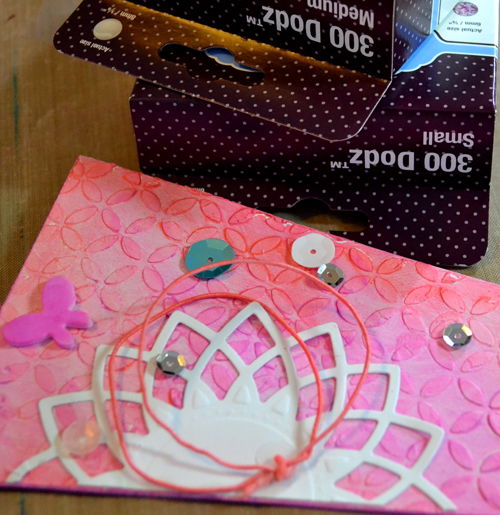
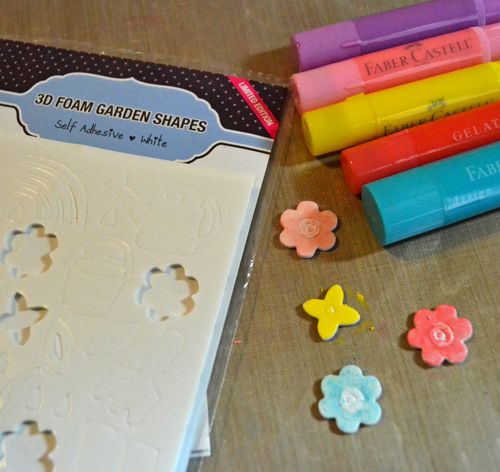
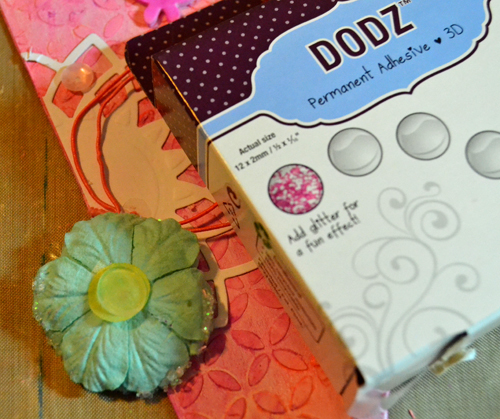
After adhering the napkin to the canvas with Adhesive Sheets – 12×12″, I dry brushed some white gesso over the design to tone the colours down a bit. Then I created lots of different textures. I’m using Adhesive Dots Small, Adhesive Dots3D, Thin 3D Foam Squares, 3D Foam Squares , 3D Foam Pennants and about a million of buttons, random found objects and different metal, resin and fabric embellishments.
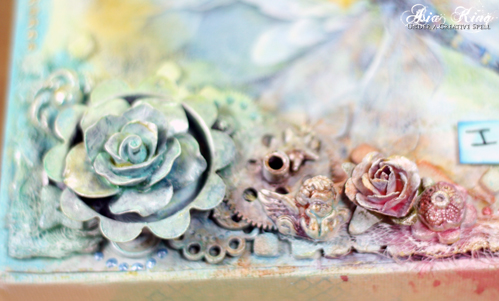
Once everything was secured in place with my trusty Adhesive Dots Small and Adhesive Dots 3D I covered all elements with a generous dollop of white gesso and heat set it with my heat gun. Then I just played around with ink sprays and paints to add colour and shimmer. I also added some heat embossing with coordinating embossing powders for more texture.

To complete the canvas I added some stamped journaling quotes mounted over Crafty Foam Tape White and some more detailing with Liquid Pearls.
Supplies
Scrapbook Adhesives by 3L®:
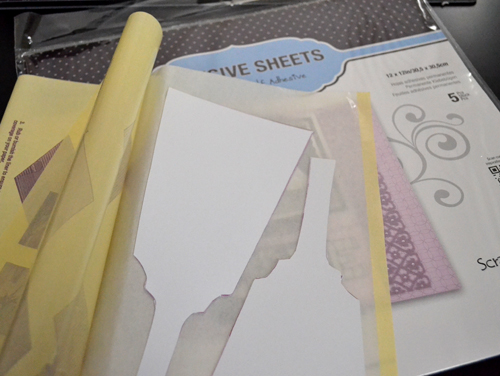
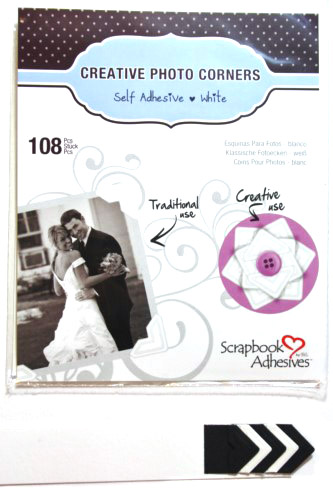
- Adhesive Sheets 12×12″
- Thin 3D Foam Squares Mix White
- 3D Foam Squares White Mix
- Crafty Foam Tape White
- 3D Foam Pennants
- Adhesive Dots Small
- Adhesive Dots 3D
Other:
- Stampendous Boss Gloss, Stampendous Periwinkle and Aqua embossing powders, Discover Today Perfectly Clear stamps, NK Studio Wired Rubber stamp
- DecoArt Americana Metallic Oyster Pearl and Spa Blue acrylic paints,
- Ranger Ink Perfect Pearls (Baby Blue, Petal Pink, Buttercup),
- Prima Color Bloom sprays (Soft Teal, Summer Sky),
- Tattered Angels Glimmer Mists (Peach Delight, Lemon Zest, Black Cherry, Iridescent Gold),
- Gold Cosmic Shimmer Mist,
- Tsukineko StazOn (Jet Black, Blue Hawaii),
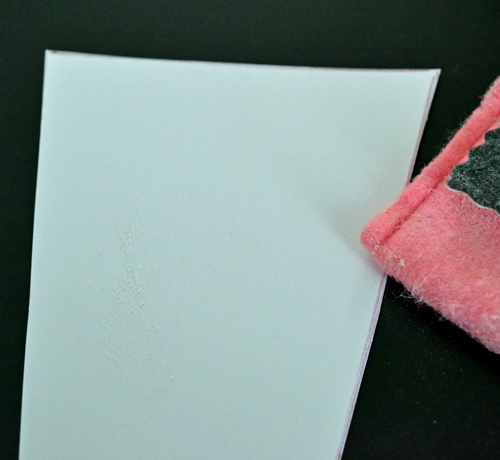
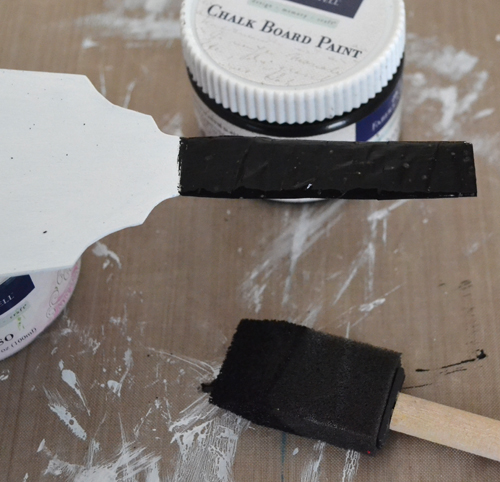
- white gesso, canvas, printed napkins, various embellishments and findings, paper flowers, buttons, cheese cloth
Thank you for stopping by today and don’t forget to pop back here on the 28th to see Part 2 of my CHA assemble! 🙂
Big crafty hugs


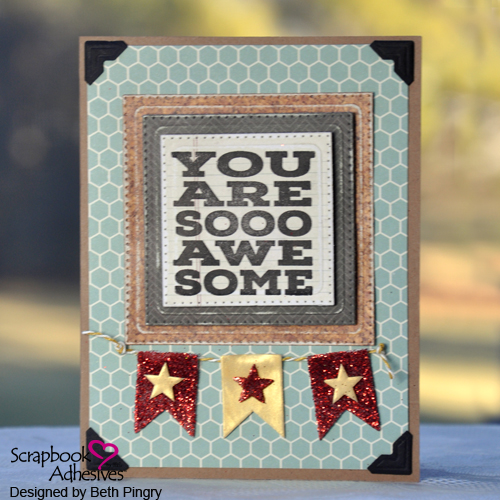
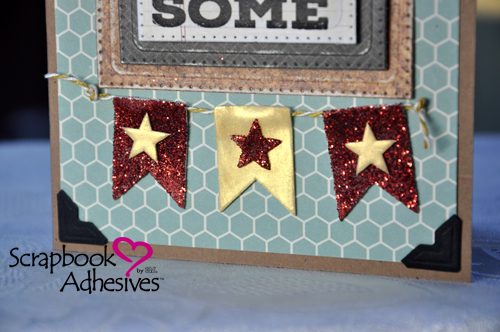
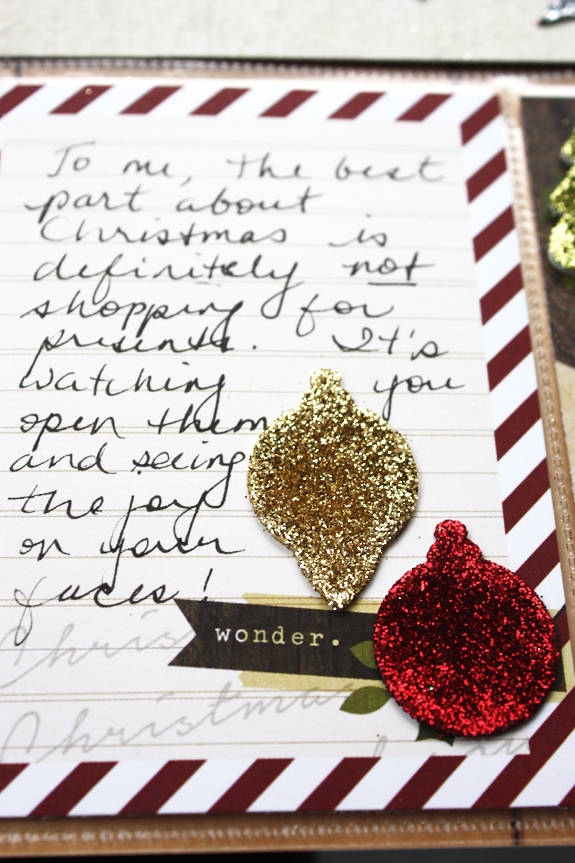
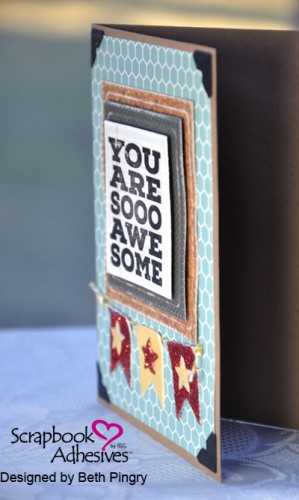 Finally, I added more color with the 3D Foam Pennants, which are covered in red glitter and Gold Pigment Powder, with 3D Foam Stars too! I simply add the stars to the top of the embellished pennants. (It’s so easy to use the 3D Foam Shapes – check out all the designs available!) I tucked a bit of twine behind them and knotted it.