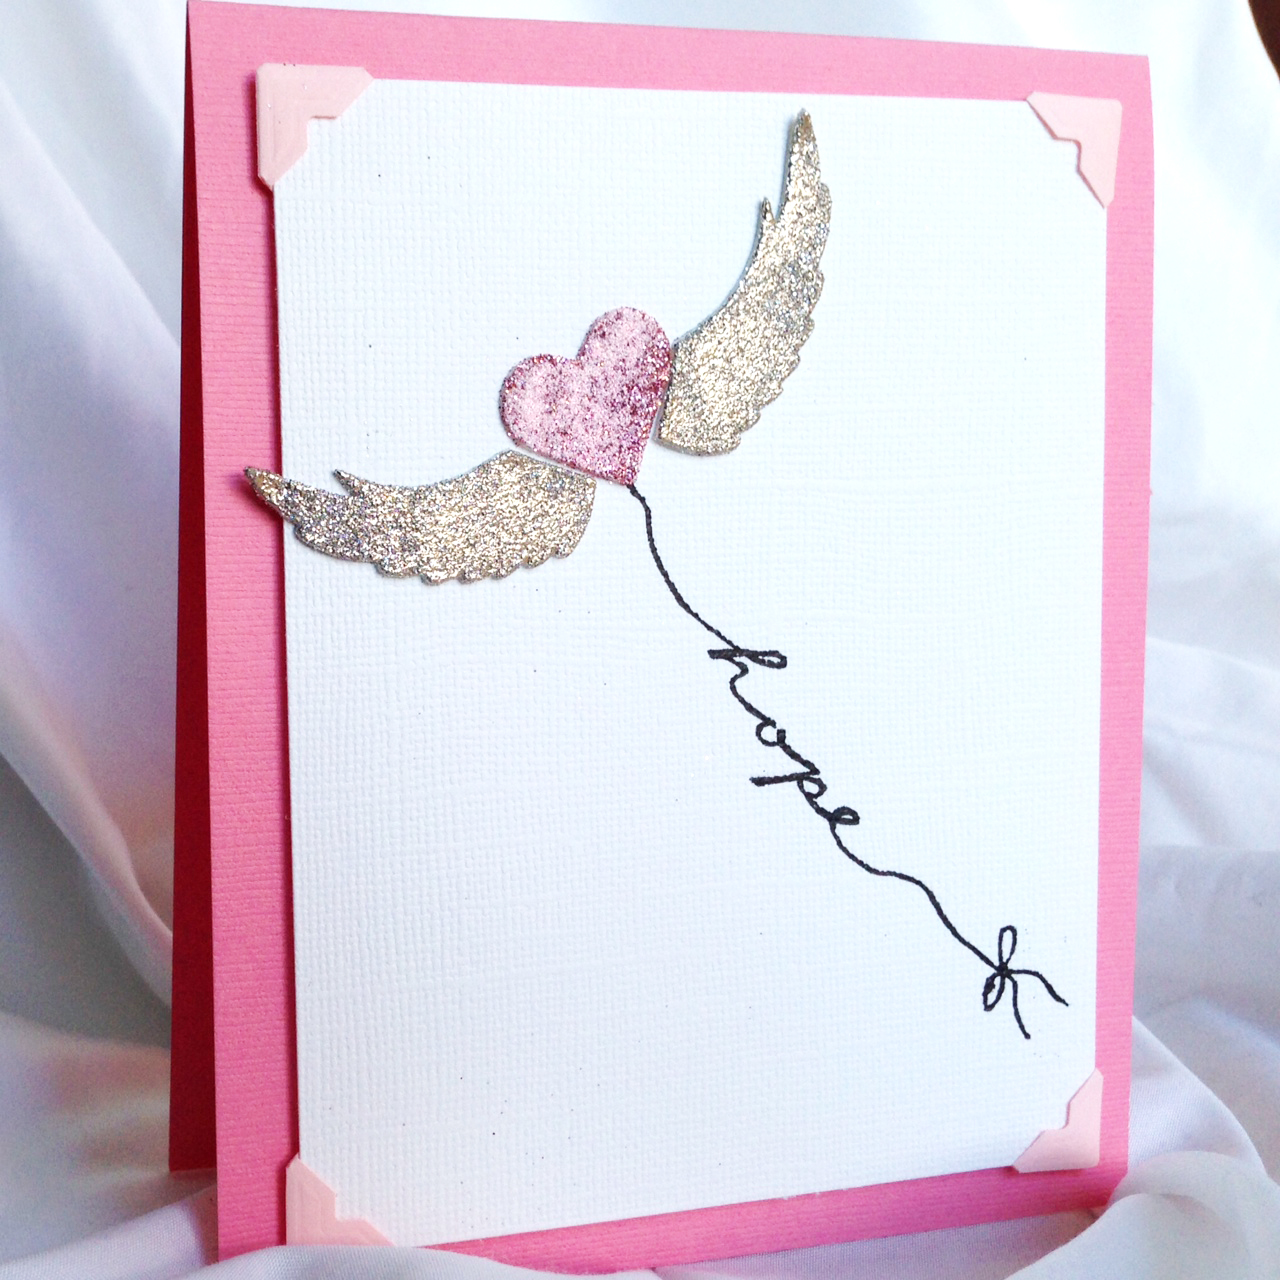
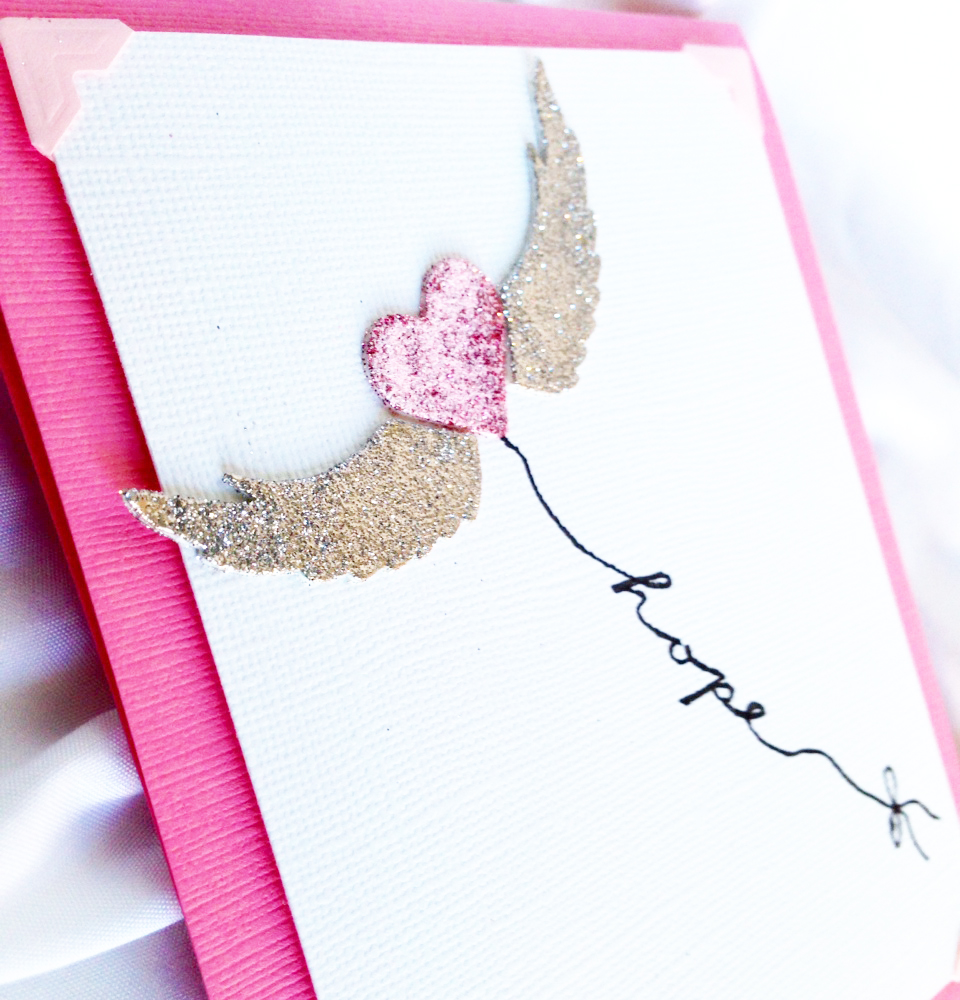
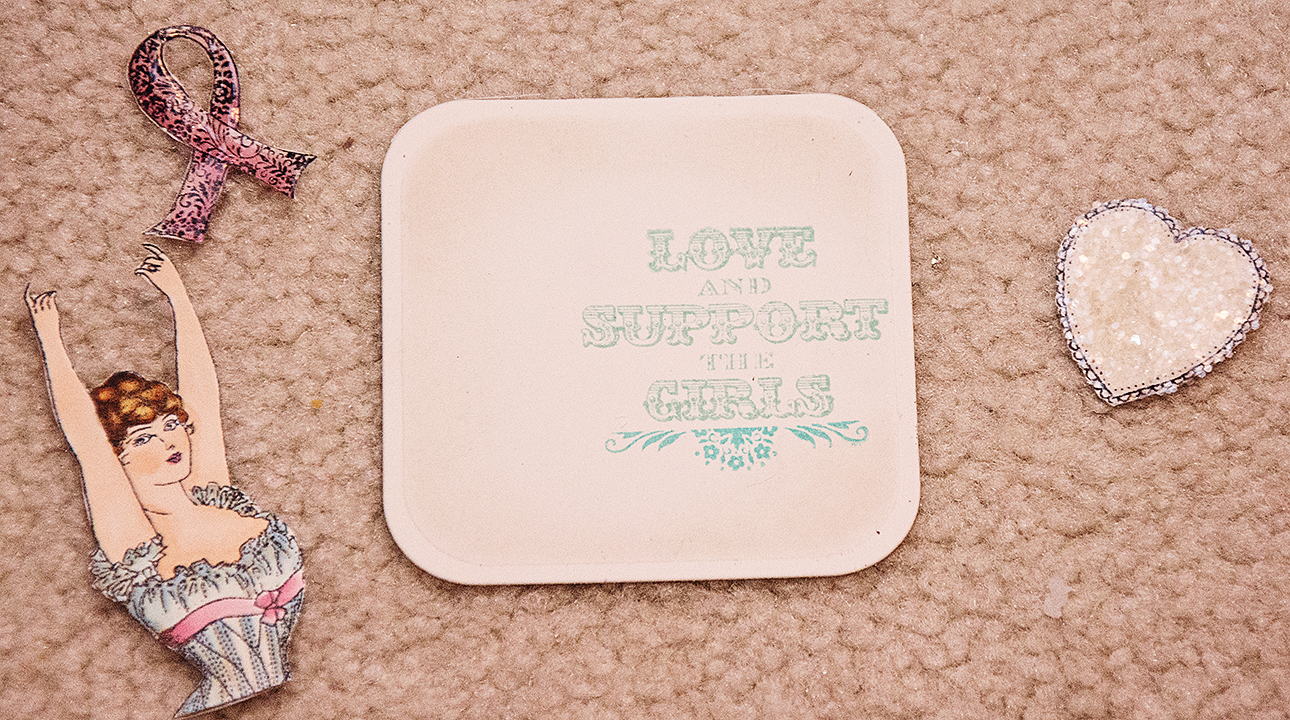
Hello everyone – Asia King here. I’m back today with an inspirational card in celebration of the Breast Cancer Awareness Month.
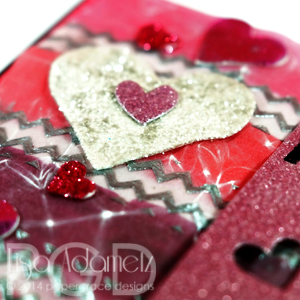
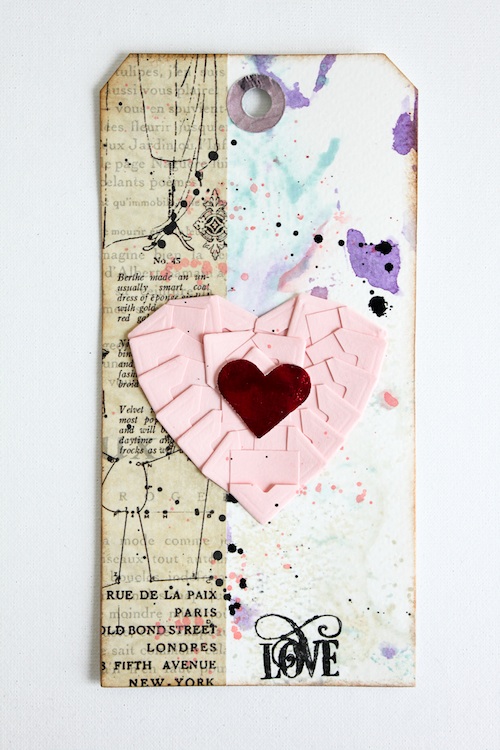
Breast Cancer Awareness campaigns are usually associated with a pink colour. As I wanted my card to include an element of hope, I added splashes of green colour as well.
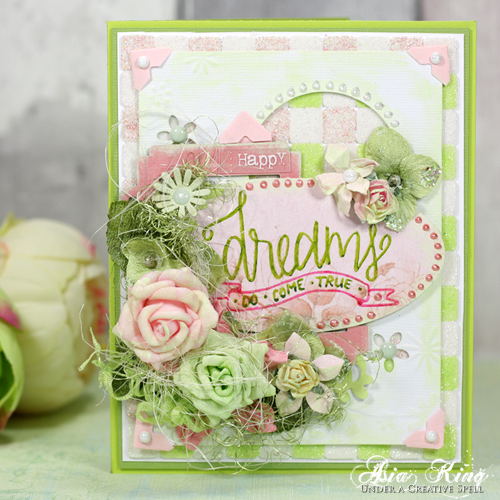
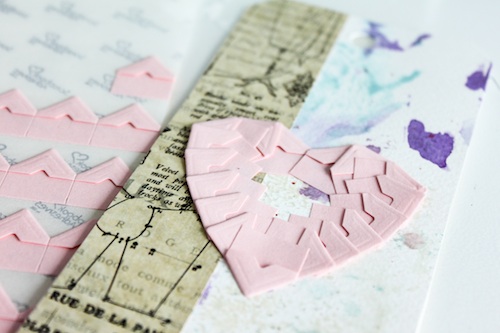
I really enjoyed making this card, especially my glitter tiled background.
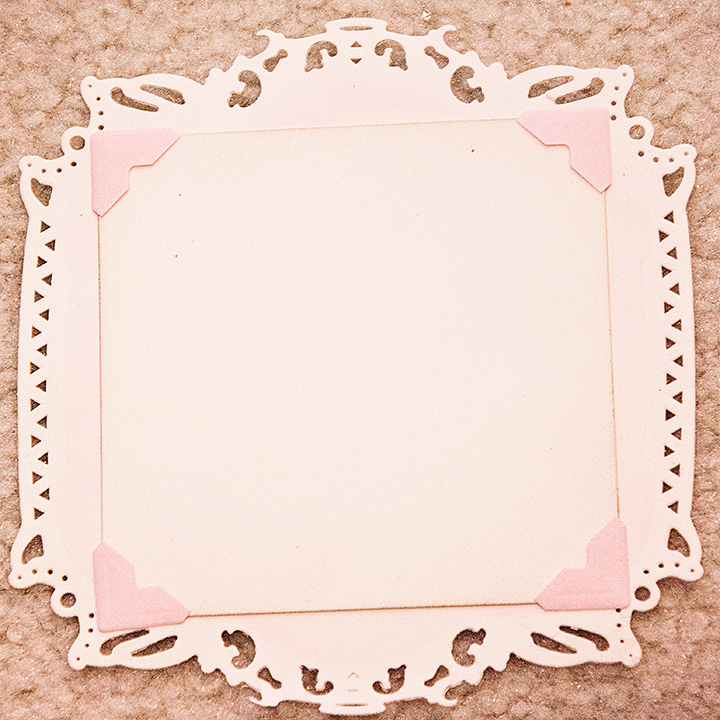
I started by pulling out a large scrap of white card and a cute decorative white panel that was pre-embossed and had a round aperture.
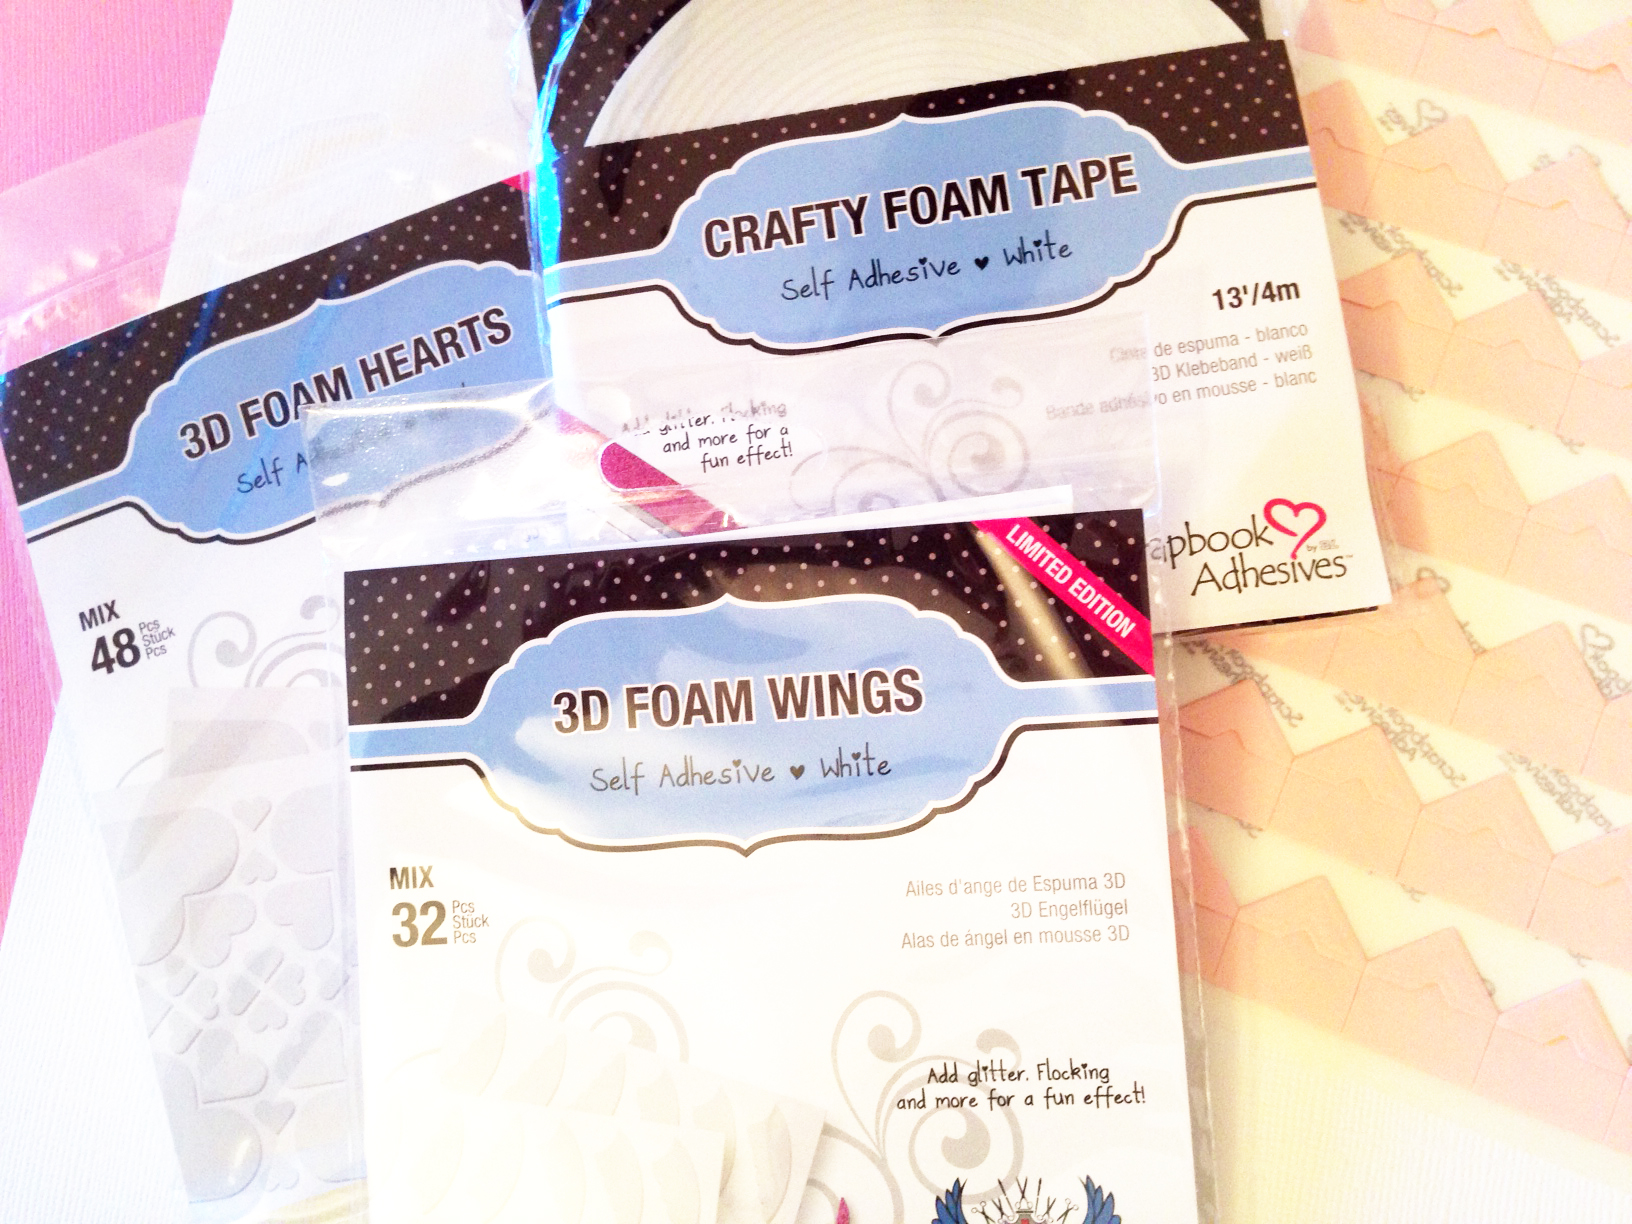
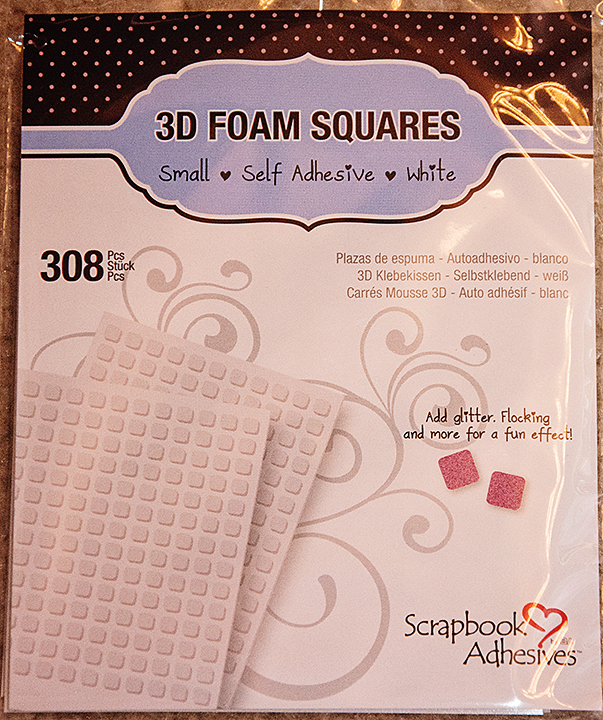
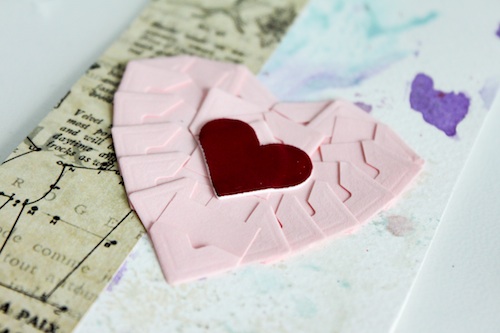
I began sticking rows of Thin 3D Foam Squares – Mix White to create an area slightly bigger than the panel. I used the panel as a guide to see which areas would be showing through the apertures as they needed to be fully covered with the foam squares.
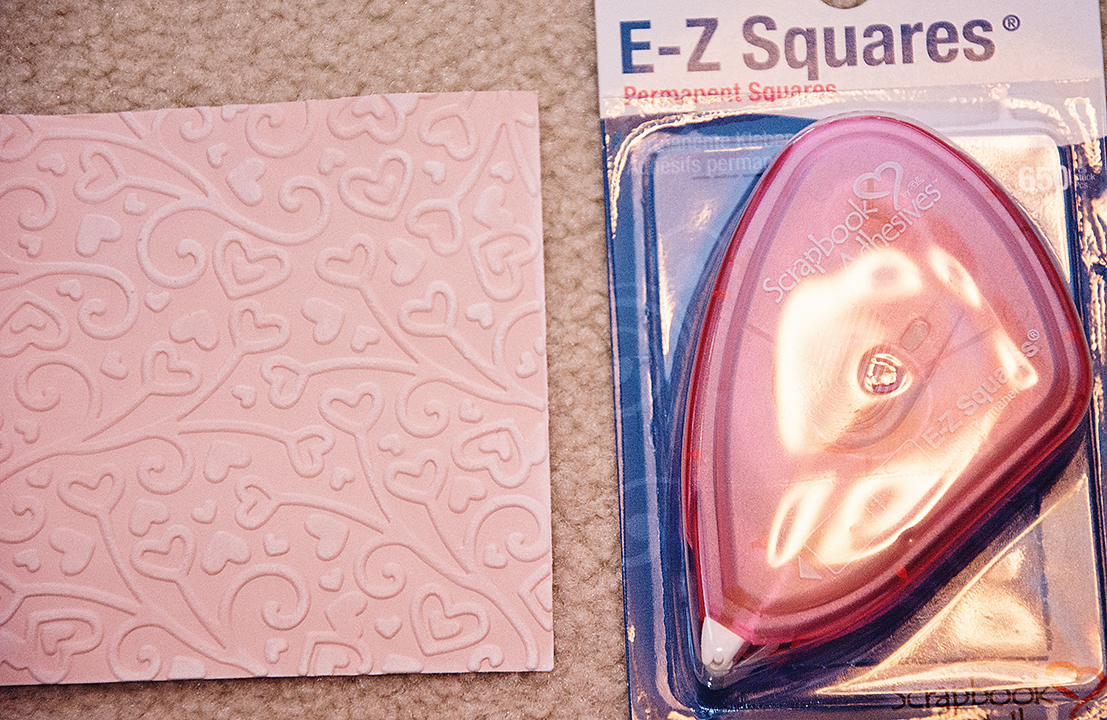
Next I covered the squares in glitter, alternating the colours to create a pattern. When I finished, I trimmed the excess card around the squares background leaving a small border.
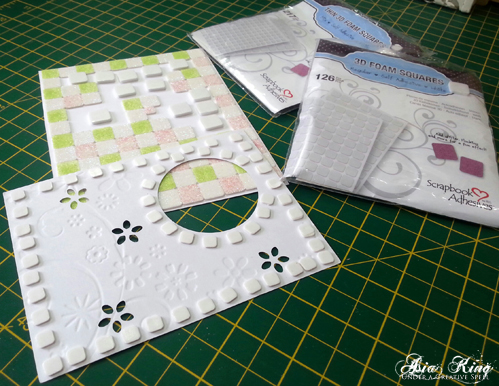
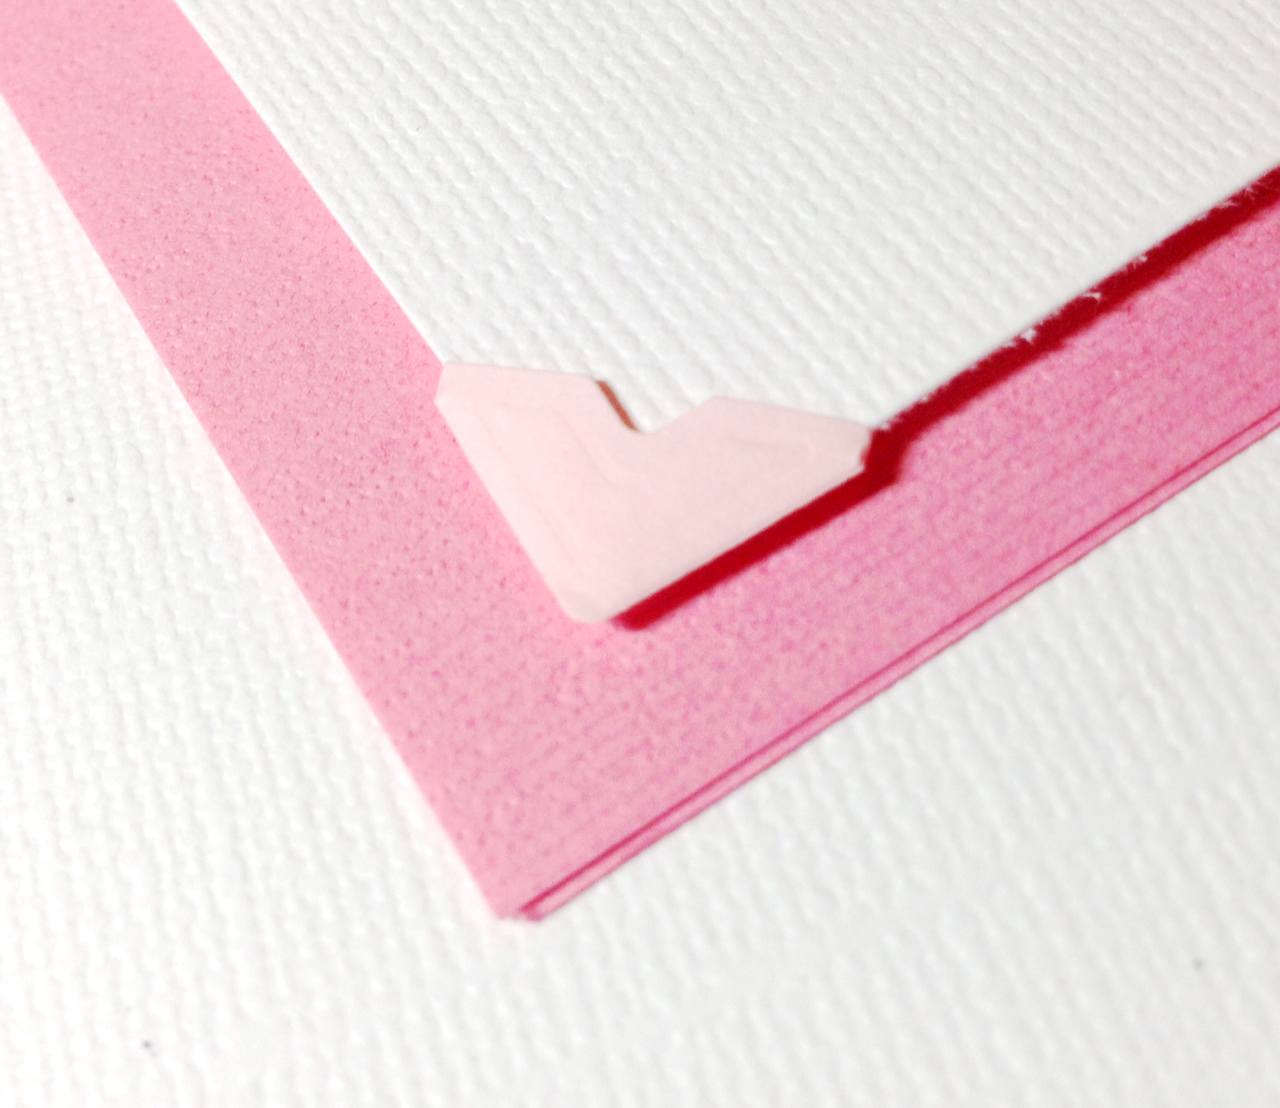
To mount the decorative panel onto the background I used Thin 3D Foam Squares – Mix White and 3D Foam Squares – White, Regular. Before you do that, you might like to swipe the front of the panel with some chalk/matt paint and add the Photo Corners – Classic Style, Pink (available during October at your local retailer).
To adhere the background to a green card blank I used E-Z Runner® Permanent Strips – Refillable.
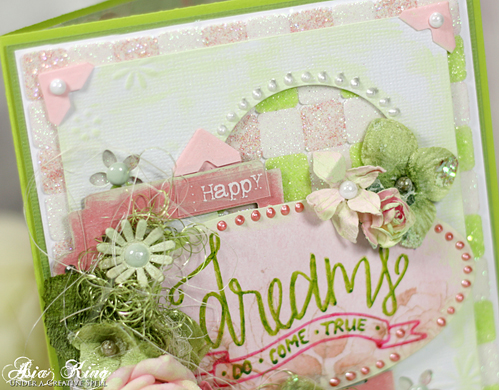
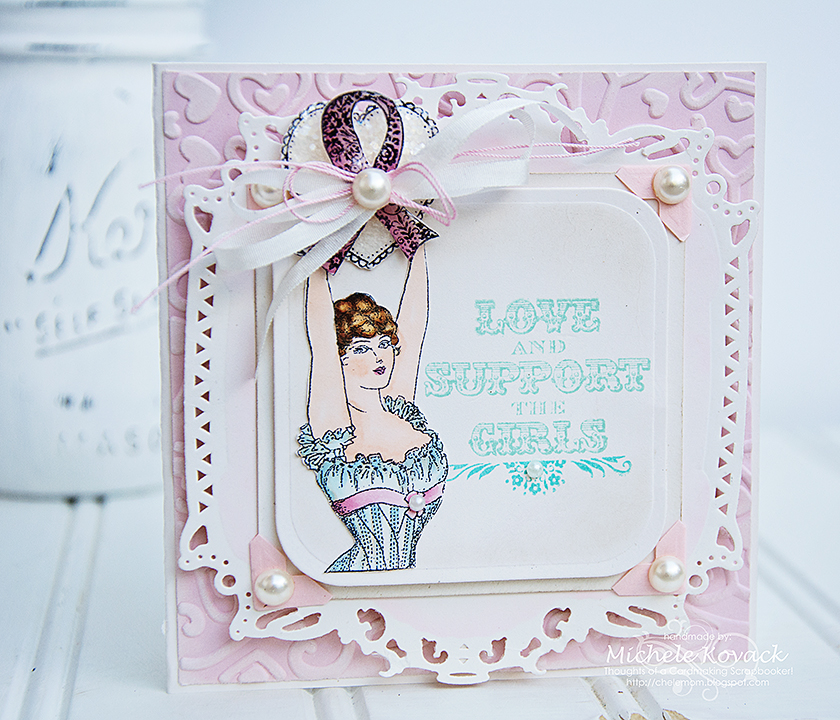
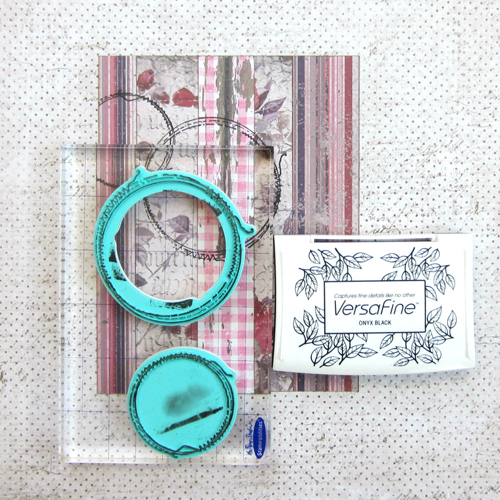
Next I rummaged through my stash again and pulled out various (long forgotten) elements, a selection of flowers and florist’s fibers. To create the sentiment panel I inked the Dreams stamp with PITT pens and stamped onto an oval die cut element. The die cut was slightly glossy, so to avoid smudging the ink I heat embossed it with a clear embossing powder.
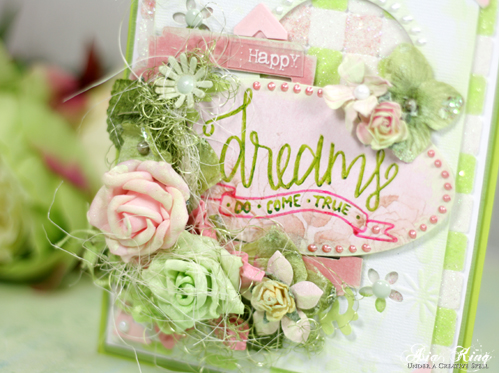
To adhere all my florals and fibers I used DODZ™ – Small; DODZ™ – Medium; DODZ™ – 3D. To finish the card I added some half pearls and Liquid Pearls.
Supplies:
Photo Corners – Classic Style, Pink; Thin 3D Foam Squares – Mix White; 3D Foam Squares – White, Regular; E-Z Runner® Permanent Strips – Refillable; DODZ™ – Small; DODZ™ – Medium; DODZ™ – 3D.
Other supplies:
Neat and Tangled – Dreams stamp; Stampendous: Crystal Micro Glitter, Melon Ultra Fine Pearl Glitter, Pastel Pink Ultra Fine Glitter, Clear Detail Embossing Powder
Cardstock: Bazzill Basics and Core’dinations David Tutera (Die Cut Circle).
Faber-Castell PITT pens (May Green & Pink Madder Lake); Liquid Pearls (White Opal & Petal Pink); Basic Grey Half Pearls
I hope you enjoyed today’s inspiration. Happy dreaming everyone!
Big crafty hugs