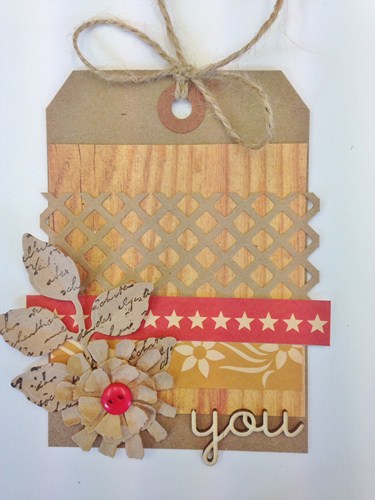
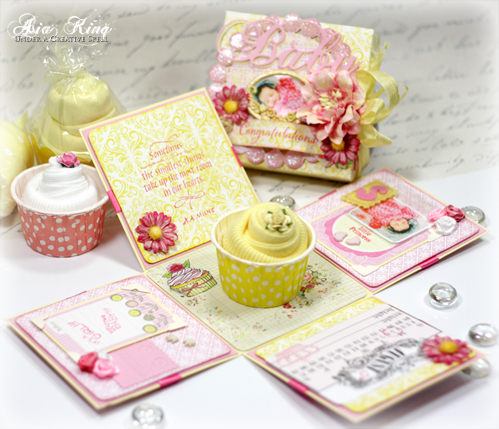
Hello everyone! Asia King here. Today I am sharing an exploding box-card that I made for my friend at work who’s had a baby girl. I recently fell in love with exploding boxes, they are so easy to make and so much fun!
If you’d like to see how to make one, feel free to check out my tutorial I shared in this post a couple of months ago.
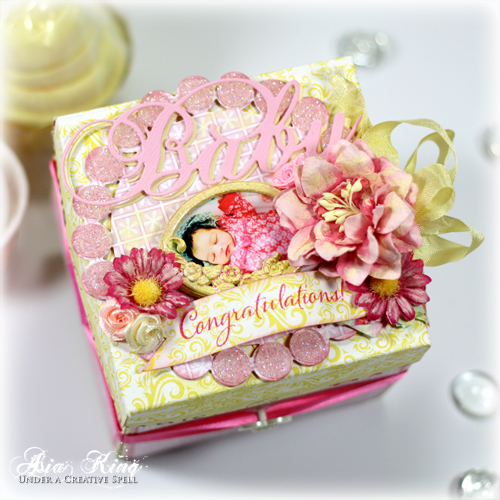
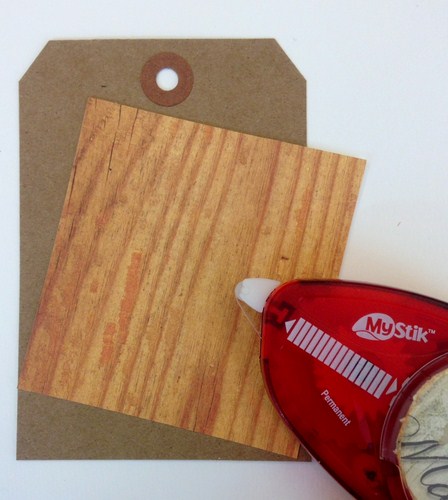
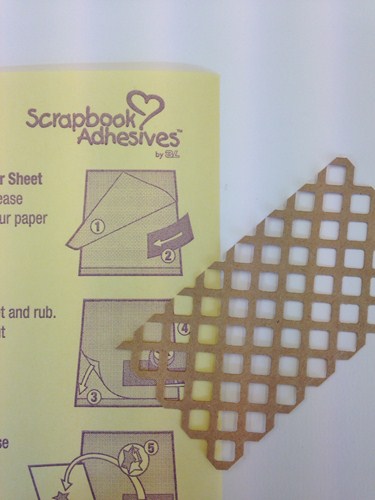
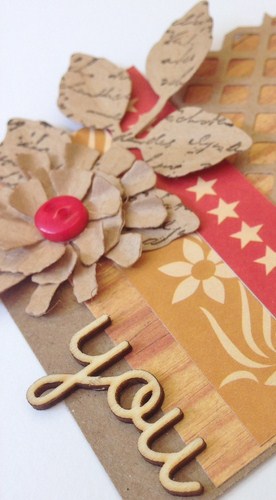
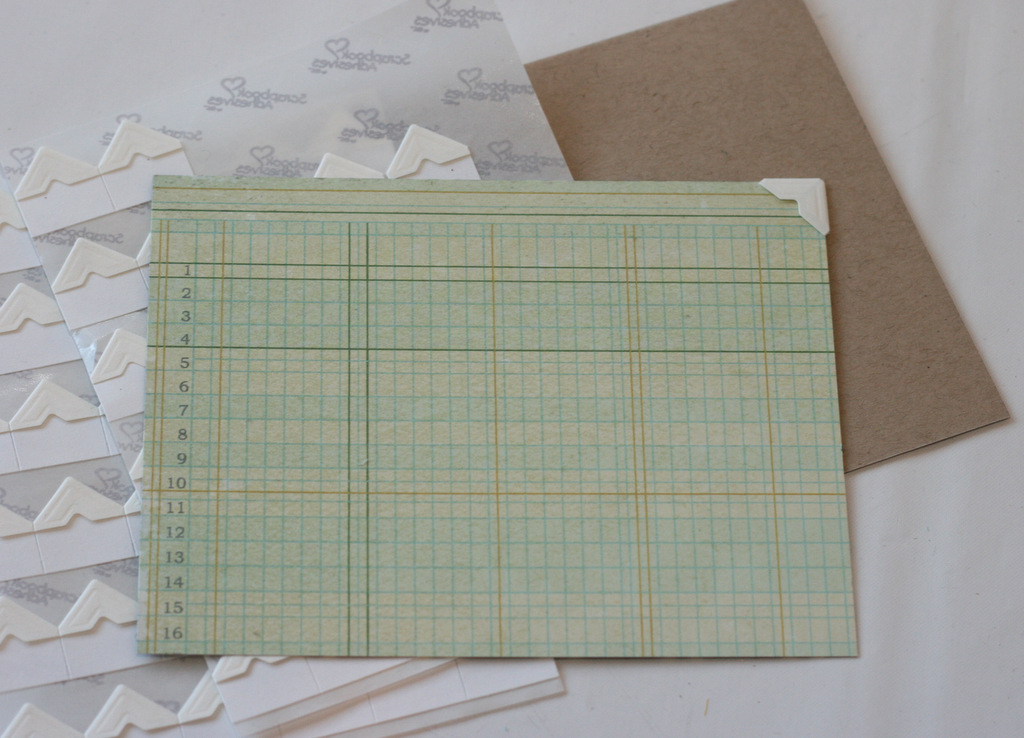
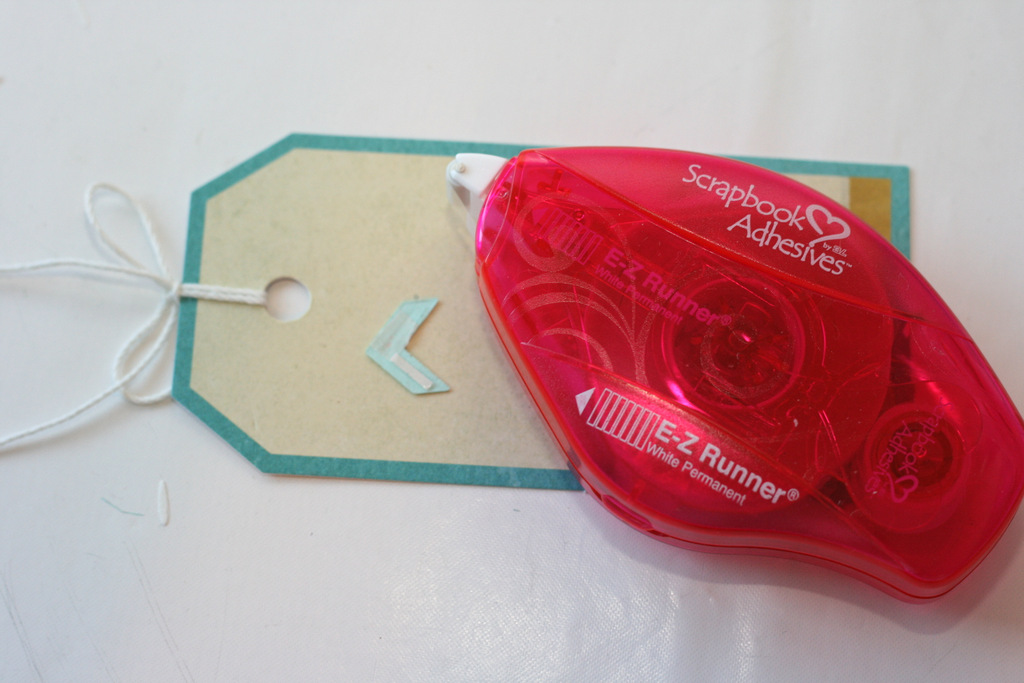
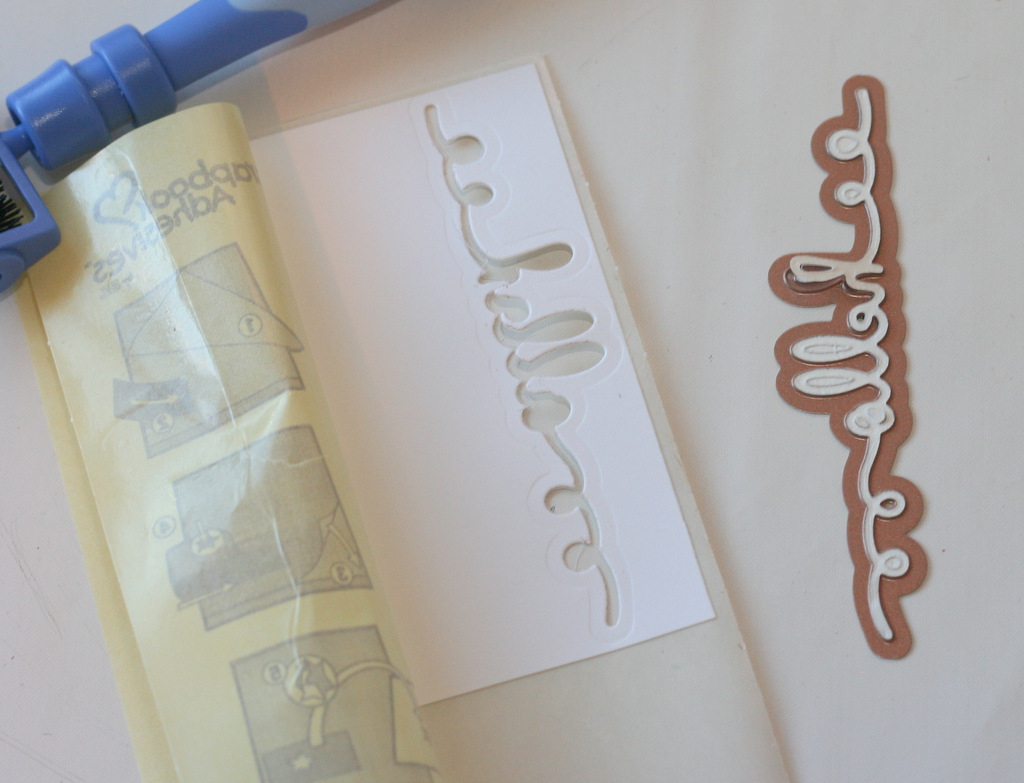
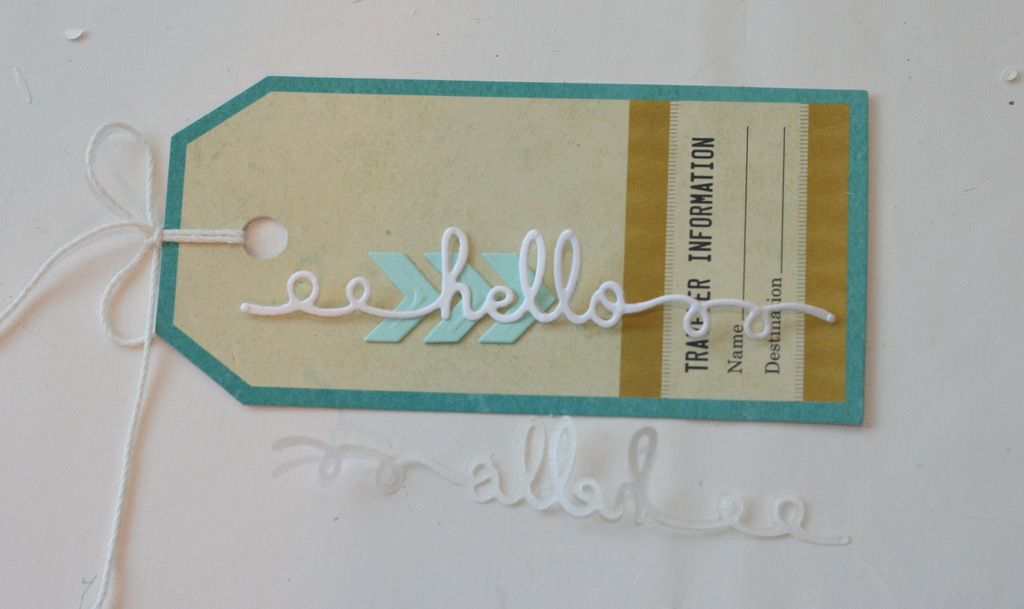
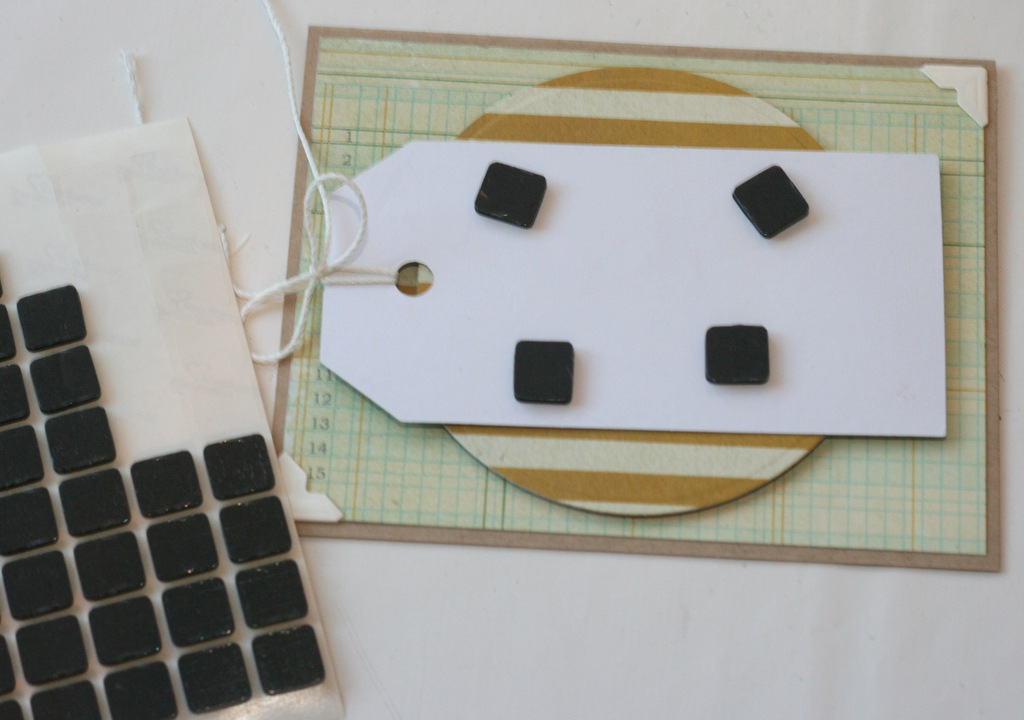
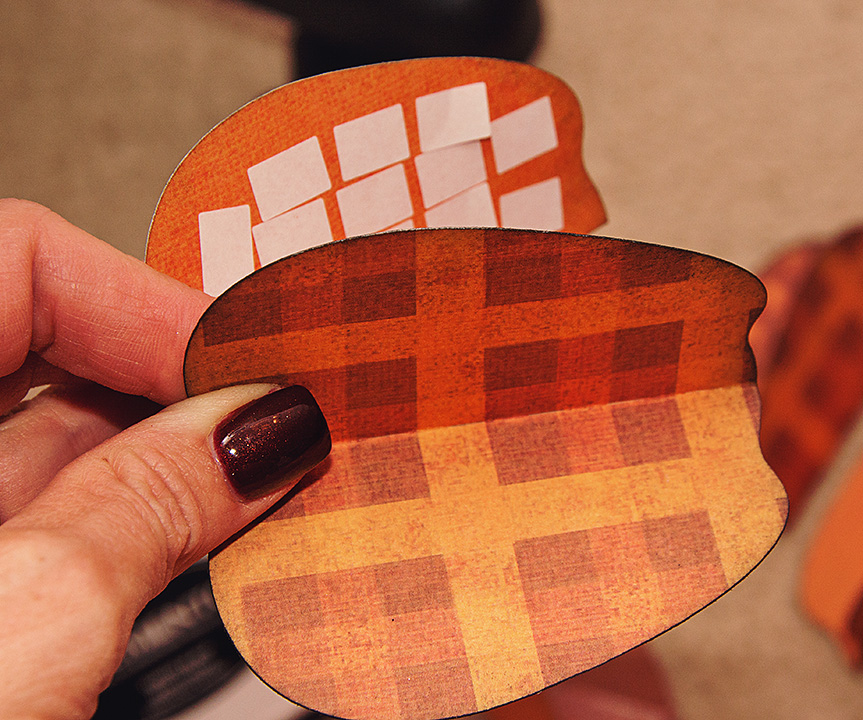
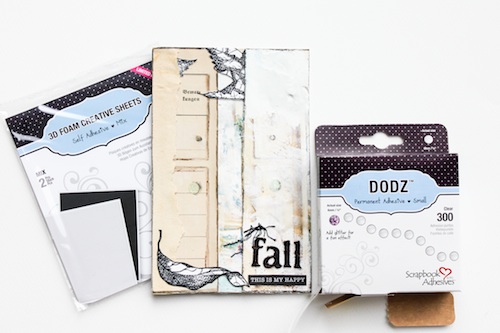
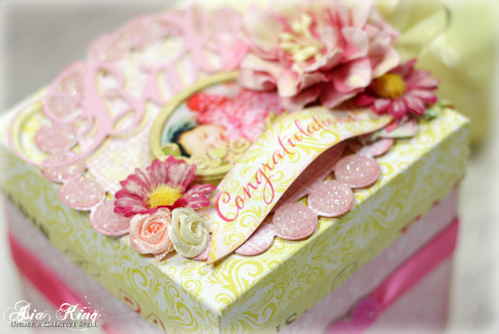
The inside panels of the box were adhered with E-Z Runner® Permanent Strips – Refillable and additional layers mounted over Thin 3D Foam Squares – Mix White. I added some stamping and decorated some smaller pieces with Ivory Creative Photo Corners. I also included a small Keepsake Envelope for the Baby Girl’s photo.
As a ‘centrepiece’ for the base I used this little cupcake – which is actually made of a pair of tiny baby socks. Aren’t these cutest ever? 🙂
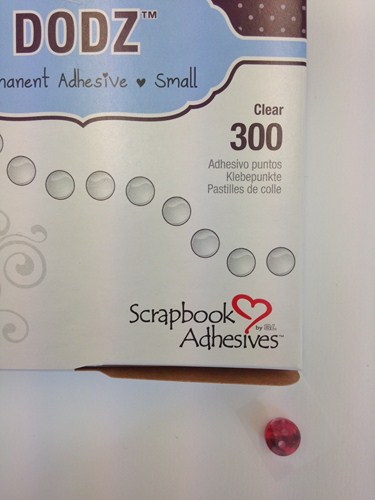
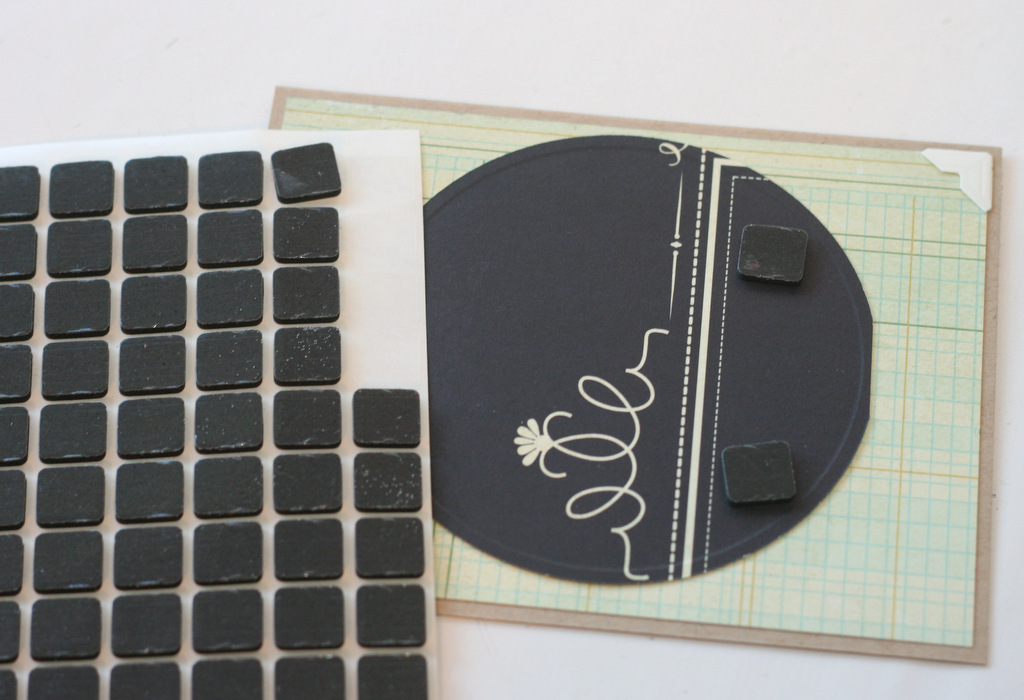
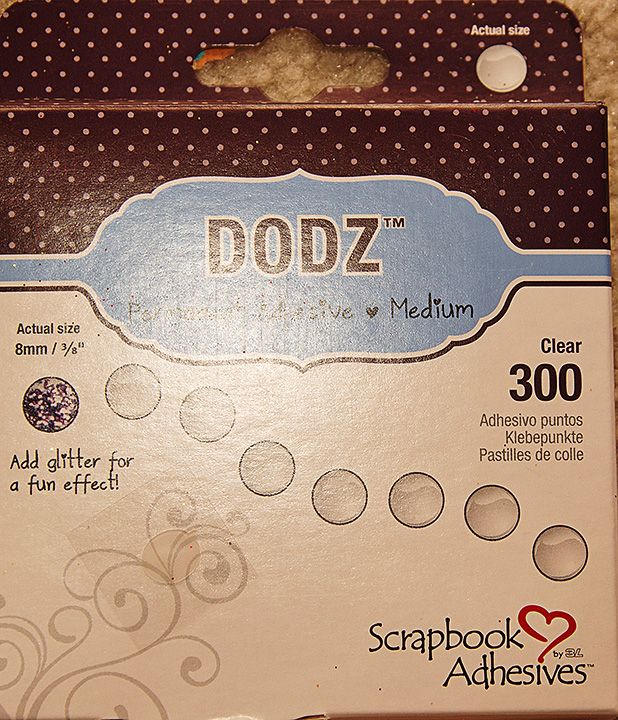
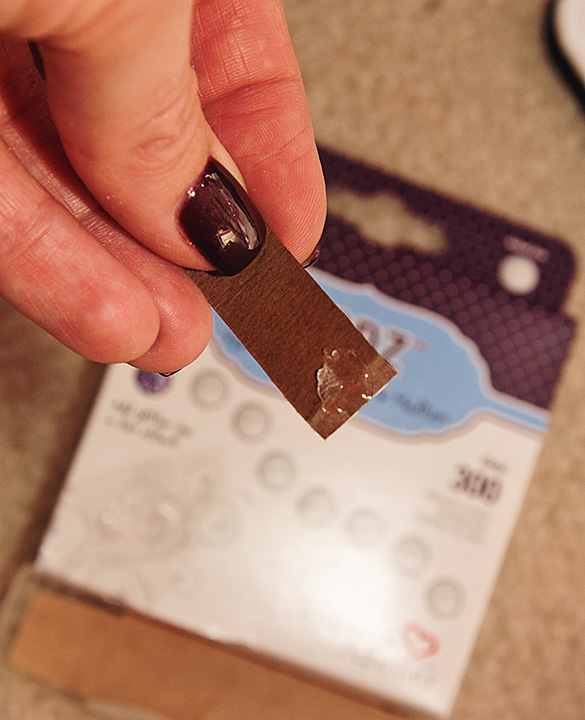
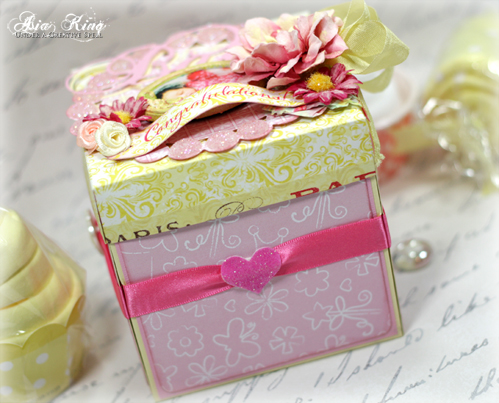
For the lid I used E-Z Runner® Permanent Strips – Refillable to adhere the circle die cut panel and to attach the rest of the elements I used DODZ™ – 3D and DODZ™ – Medium. The outer sides of base are embellished with ribbon and I added some glittered 3D Foam Hearts.
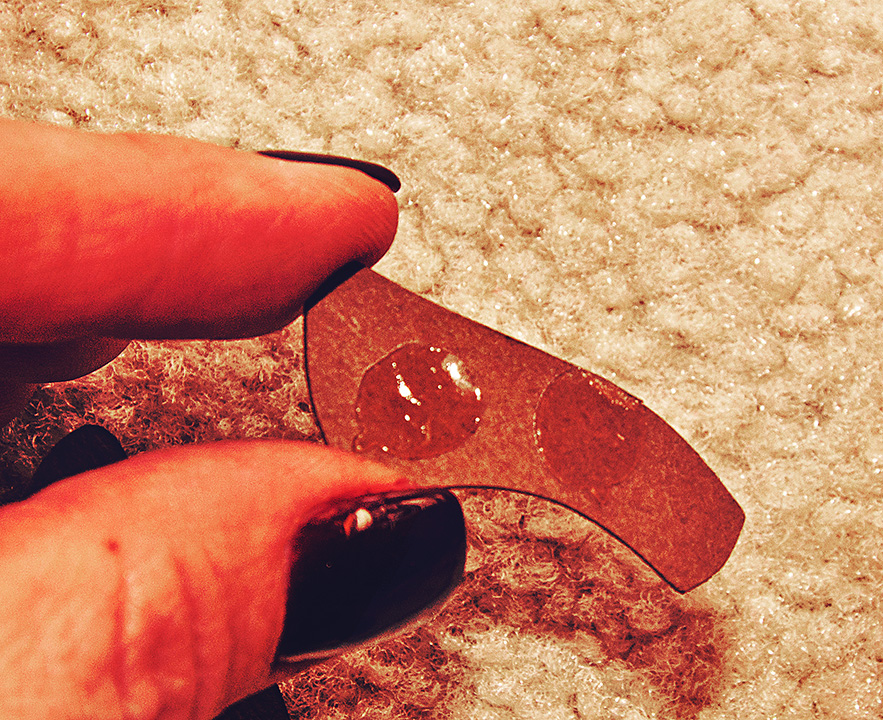
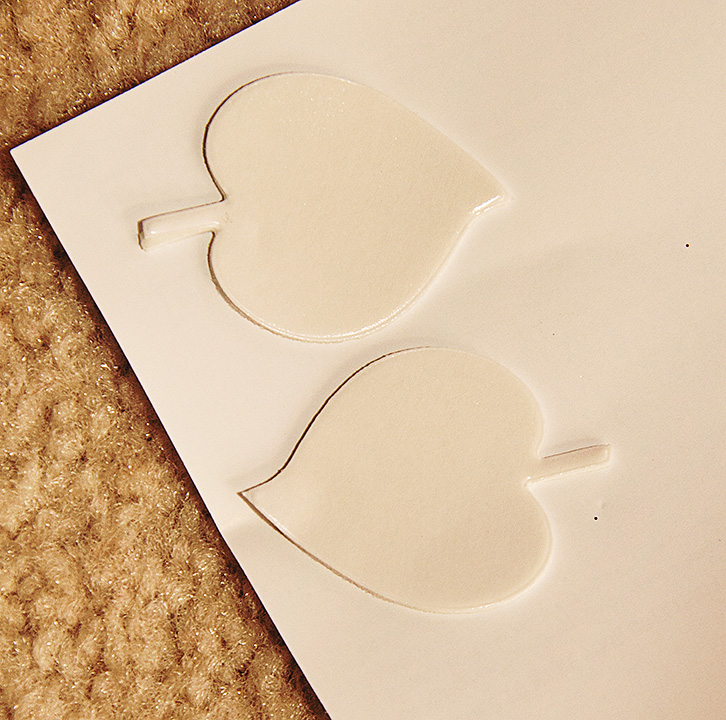
The word ‘Baby’ was die cut twice and I mounted the second layer over DODZ™ – 3D and tiny cut pieces of Thin 3D Foam Squares – Mix White. Adding the second layer slightly off to the side created a faux ‘shadow’, adding a bit more interest.
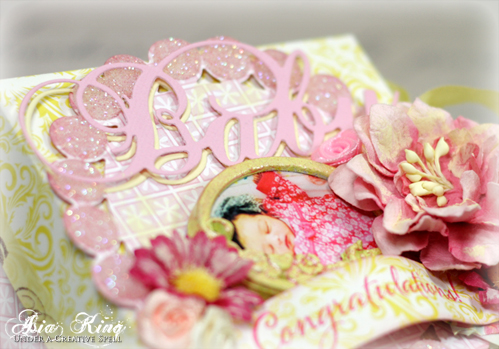
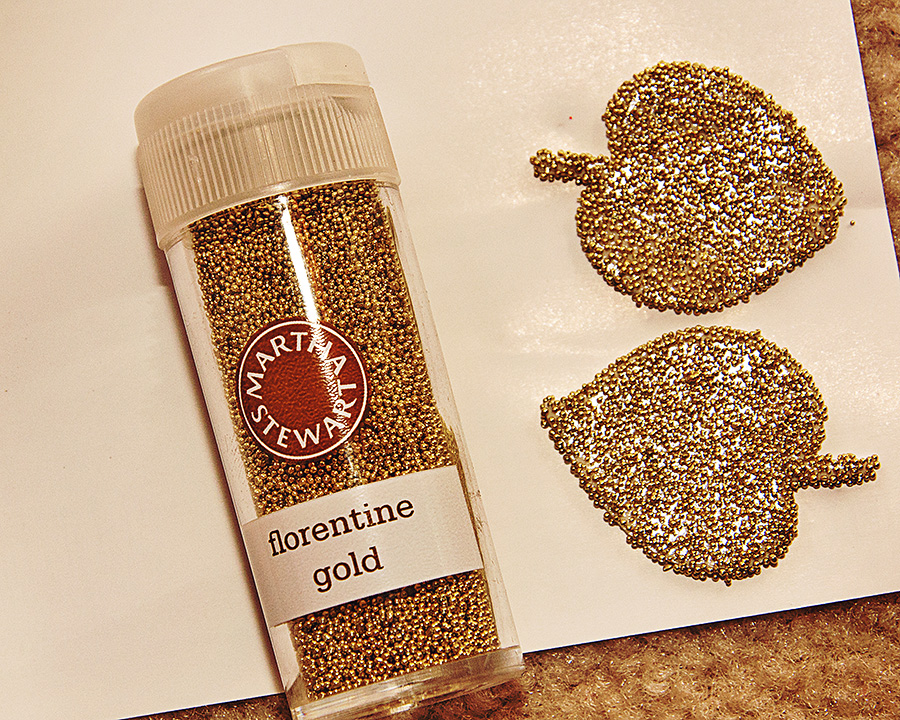
Next I sprinkled some pearl pink glitter over the exposed parts of DODZ™ – 3D. I love how the DODZ™ framed the centre cluster.
Adhesives:
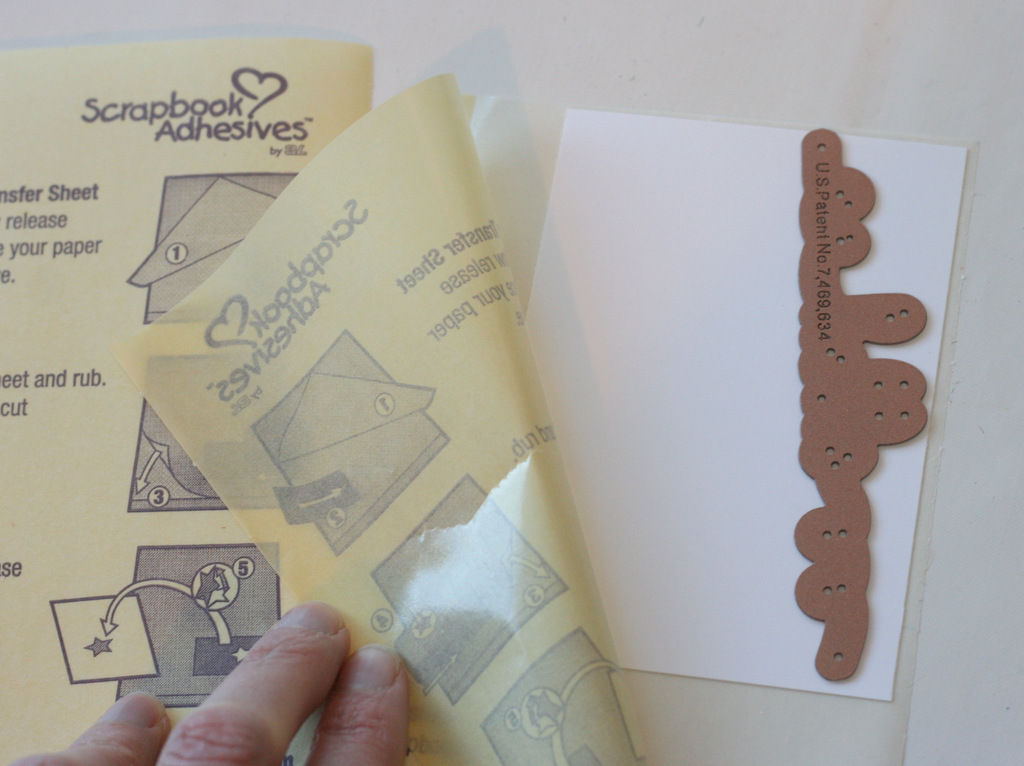
E-Z Runner® Permanent Strips – Refillable, Thin 3D Foam Squares – Mix White, Ivory Creative Photo Corners, DODZ™ – 3D, DODZ™ – Medium, 3D Foam Hearts, Keepsake Envelopes.
Other supplies:
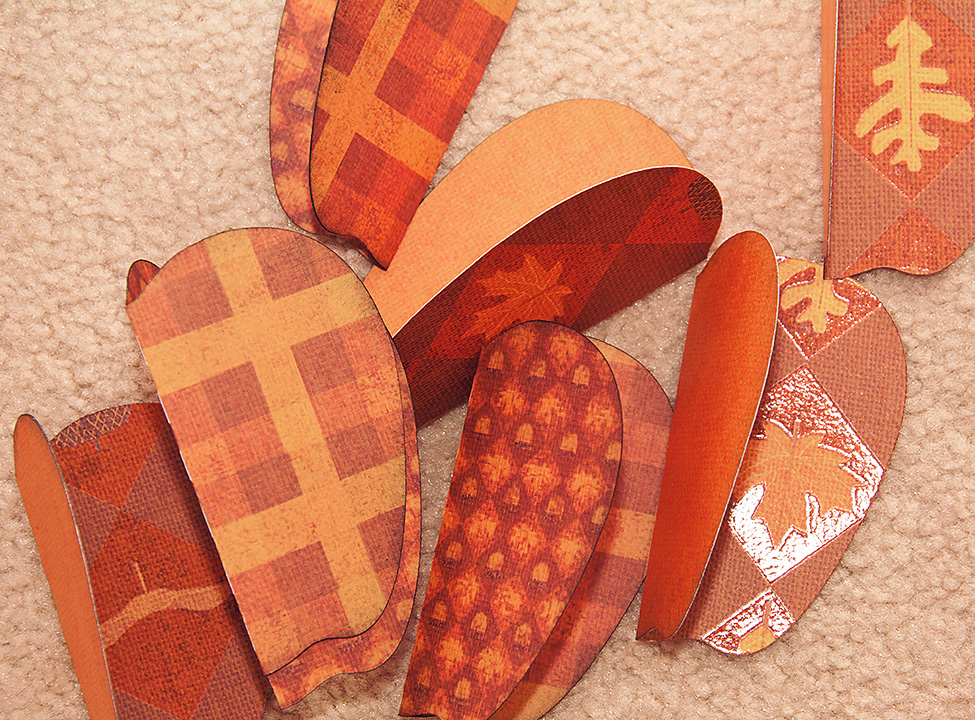
Cardstock – Core’dinations; papers – Echo Park; Little Yellow Bicycle
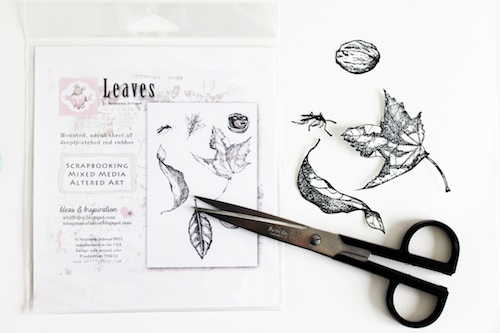
Stamps – Stampendous and Quietfire Design
Glitter – Stampendous; Ribbon – May Arts
Cutting Dies – Spellbinders and Marianne Designs
Well, that’s all from me for now! I hope you enjoyed today’s post :).
Thank you for stopping by today and have a wonderful Sunday!
Big crafty hugs