Welcome to the last day of our Blog Hop with Quietfire Designs! This has been a fabulous week of inspiration! Did you have a chance to see all of the posts? You can start with Tiffany Johnson’s post and scroll through the week, enter on each blog!
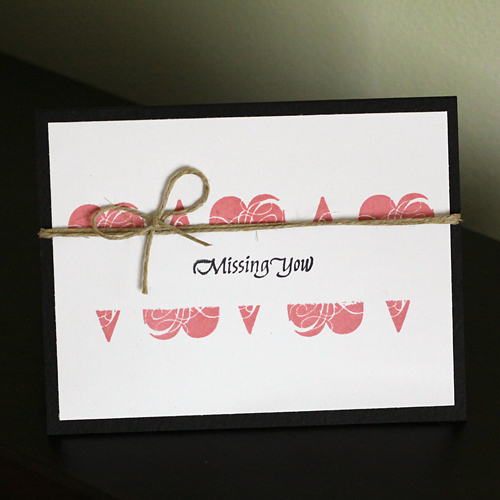
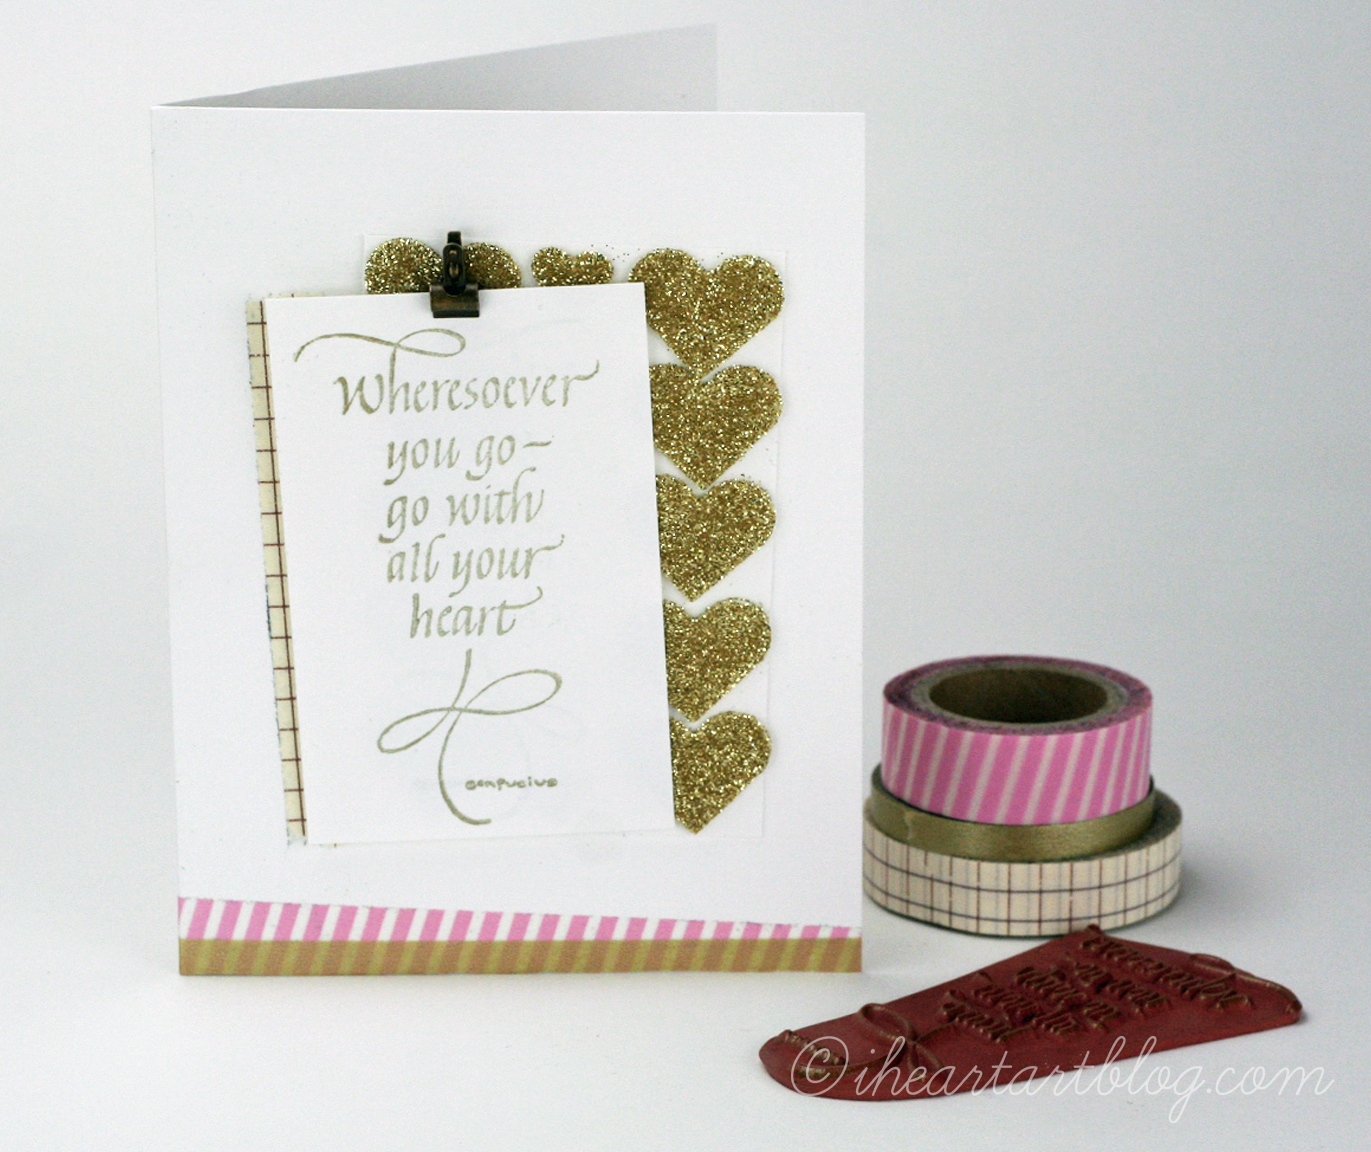
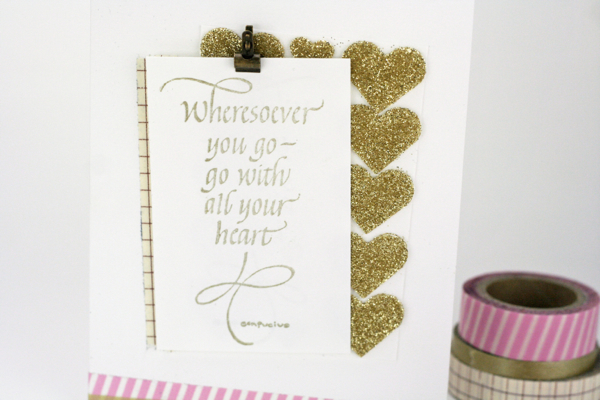
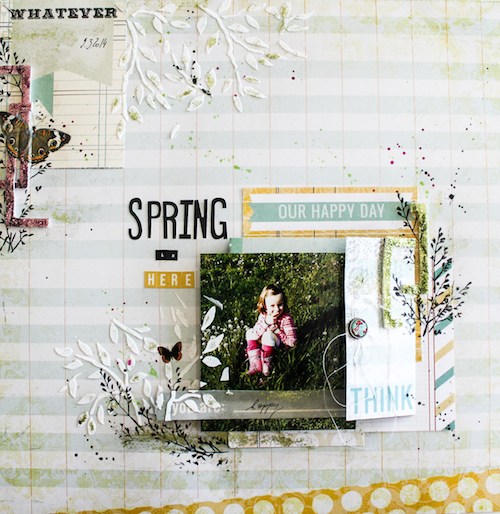
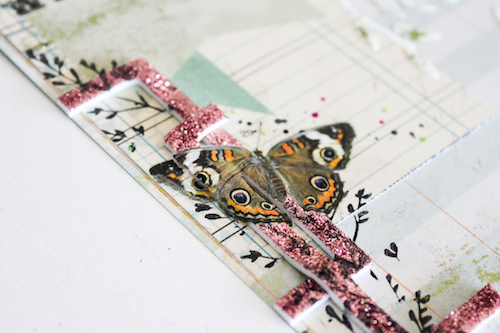
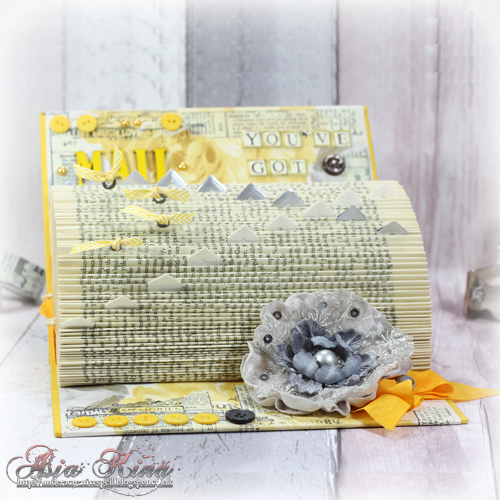
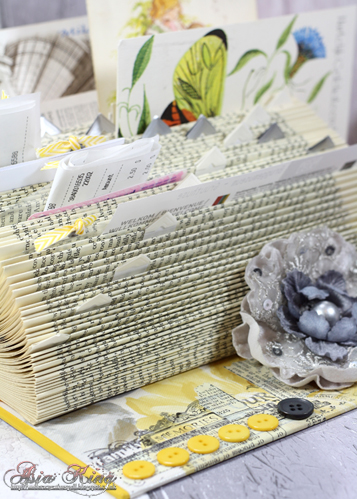
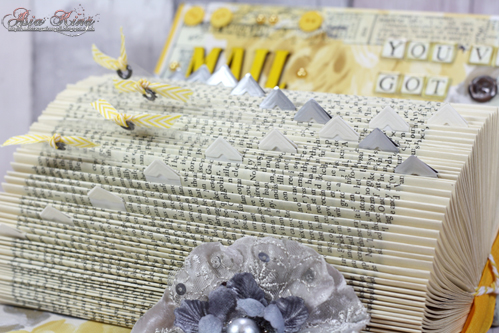
 I took a seemingly holiday themed stamp and used it to ‘delight in the little joys’ of Spring! Here in Chicago the snow is finally melting and the bulbs are peeping out of the ground. I’m counting those as big joys, considering the weather we’ve endured!
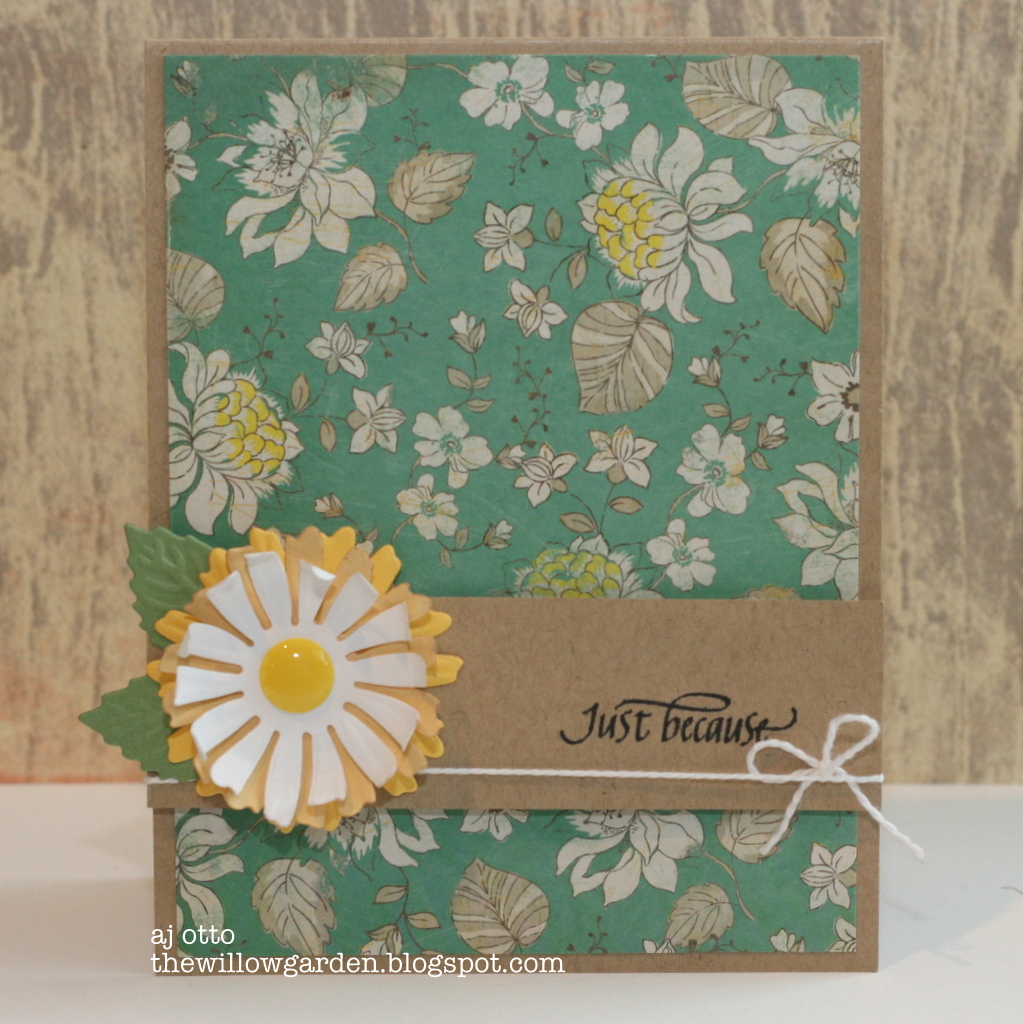
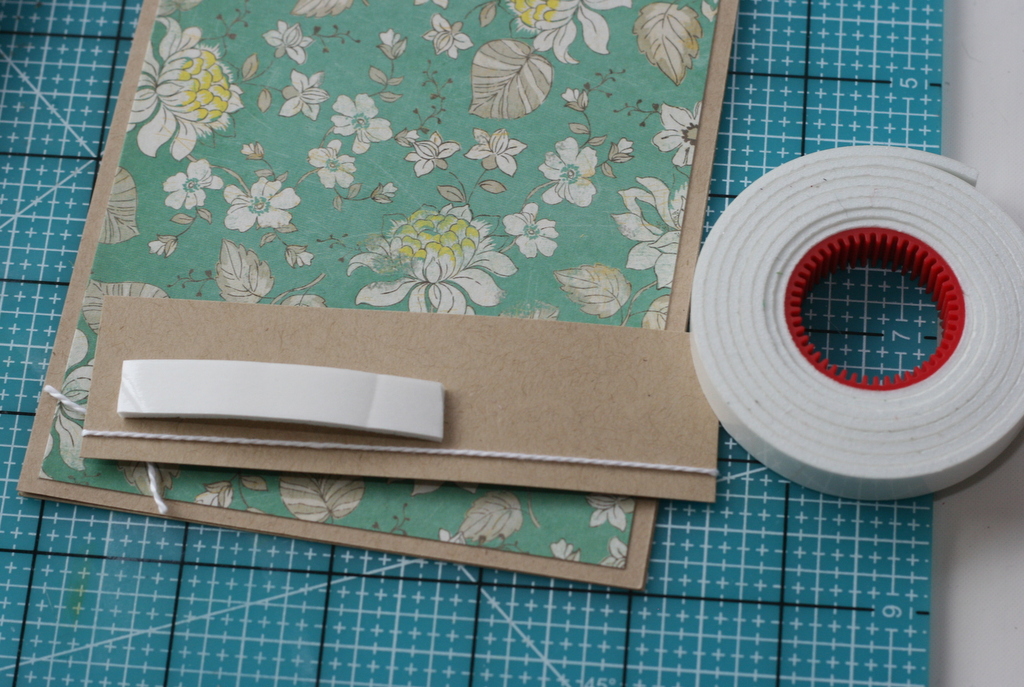
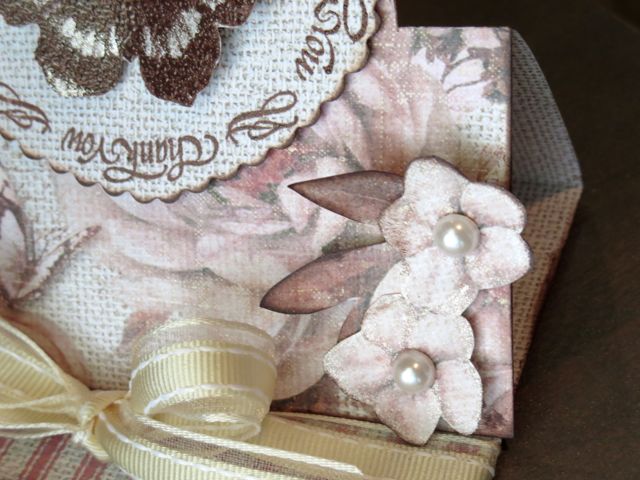
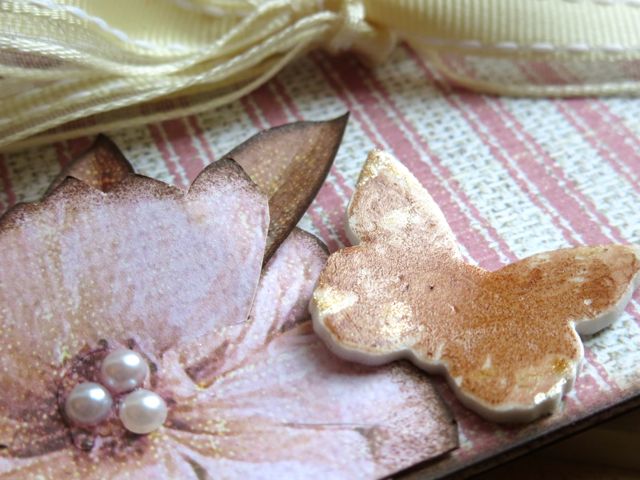
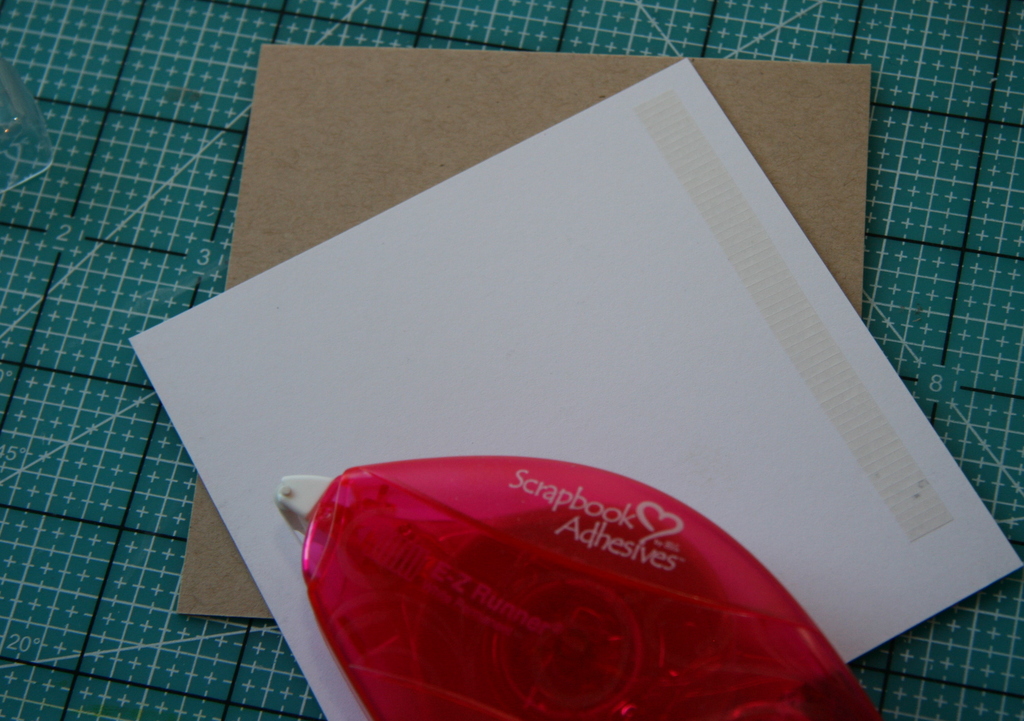
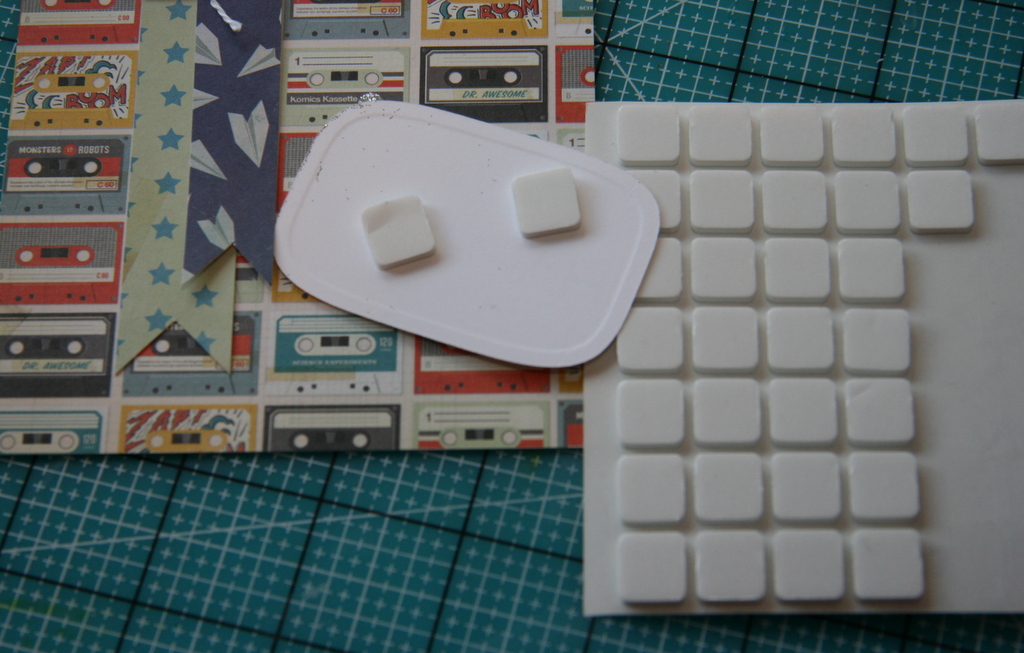
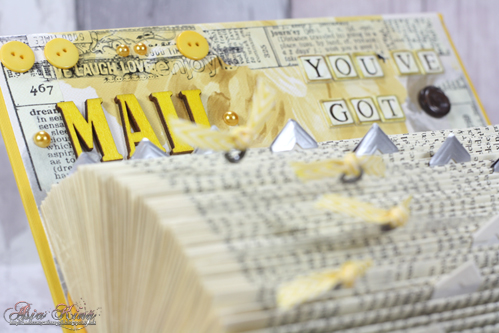
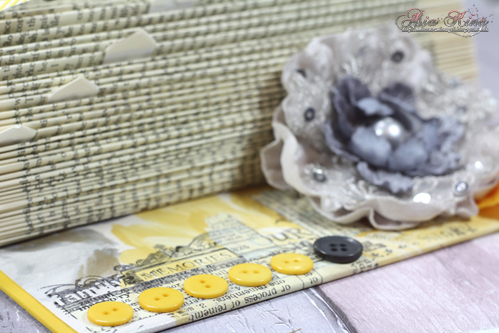
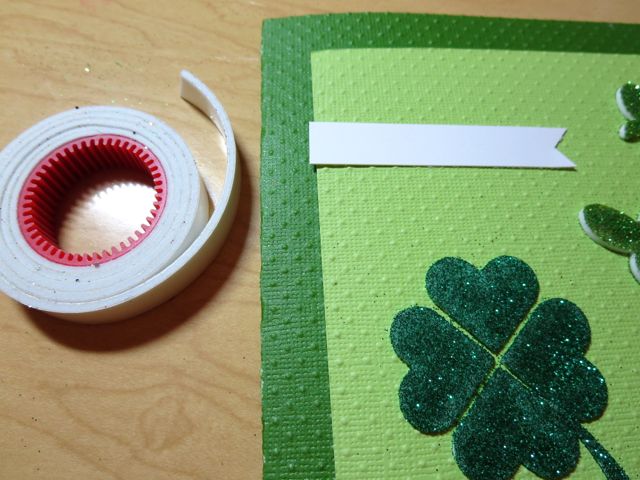
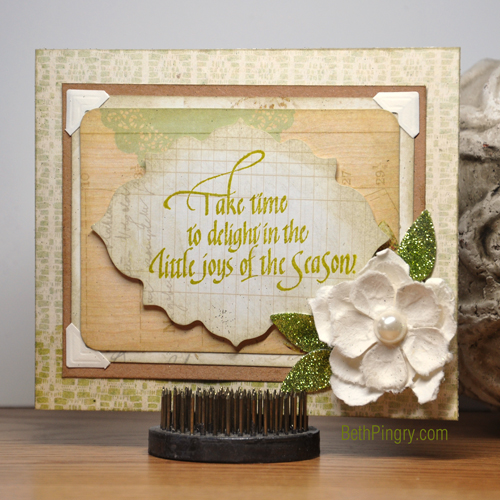
I stamped the image onto a pre-cut piece, then mounted it with 3D Foam Squares onto another pre-cut piece of paper (how’s that for fast and easy?) and mounted it all onto kraft and then more patterned paper with E-Z Runner® Permanent Fine adhesive. I added Creative Photo Corners in Ivory to the corners.
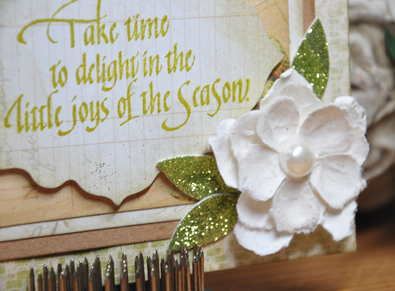
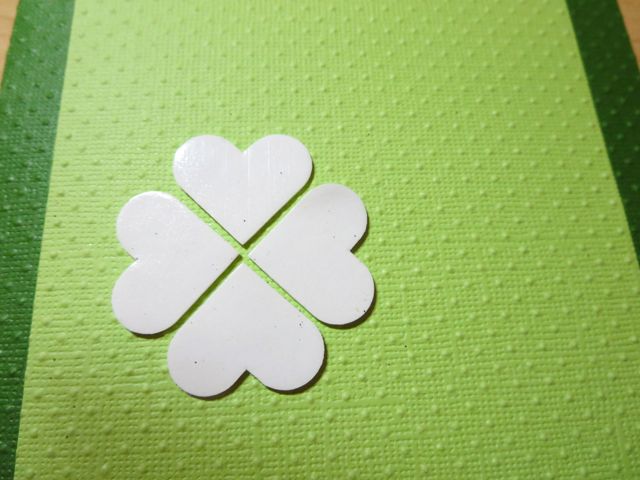
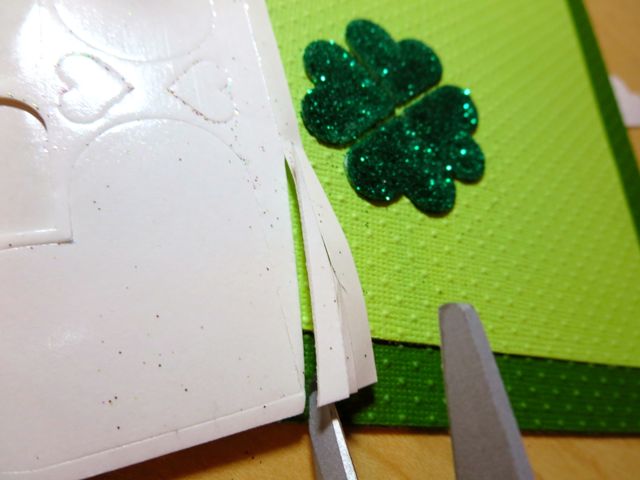
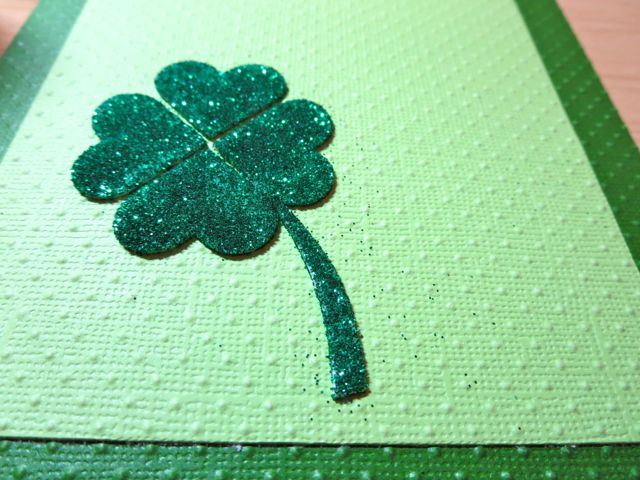
The pre-made flower is adhered with a 3D Foam Square. The leaves are 3D Foam Leaves with glitter, tucked under the flower.
Join us all week for the Blog Hop with Quietfire Designs!
Remember, there is a generous prize package up for grabs this week, worth approximately $60 in Scrapbook Adhesives by 3L® and Quietfire Designs products! To enter you must leave a comment here on our blog. Get additional entries, see below! Then visit Quietfire to see their inspiring projects and enter their giveaway too!
Good Luck, Happy Spring and thanks for stopping by! What is your little joy?
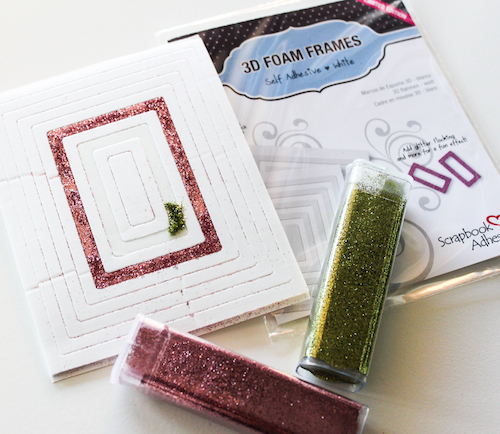
I used these supplies:
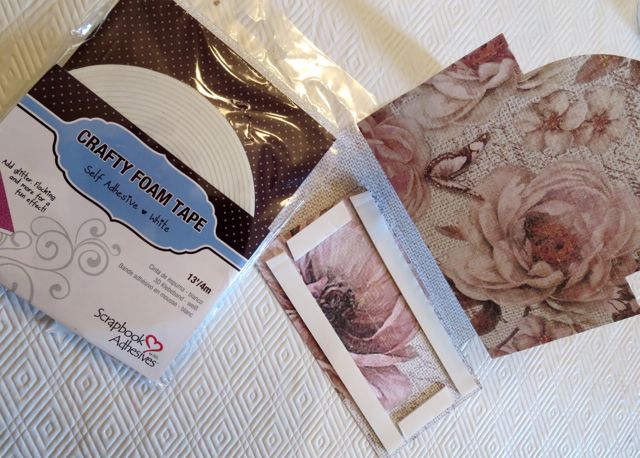
- Scrapbook Adhesives by 3L®: E-Z Runner® Permanent Fine, 3D Foam Leaves, 3D Foam Squares Regular White, Creative Photo Corners Ivory
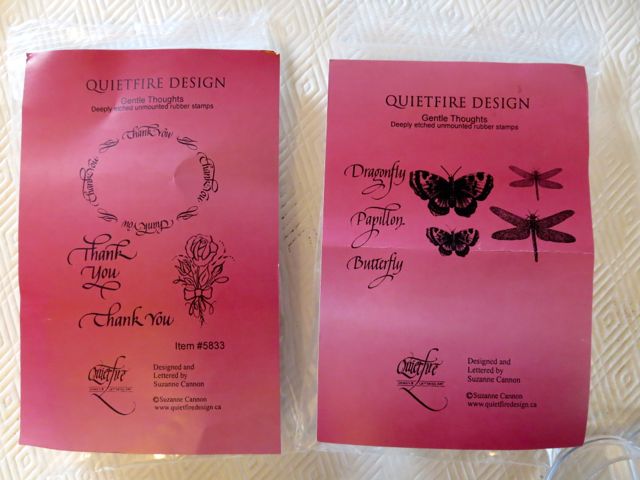
- Quietfire Designs: Take Time to Delight item #6270
- Pink Paislee: Hope Chest Collection papers, die cuts
- Ranger Ink: Distress Ink in Old Paper, Crushed Olive
- Prima Marketing: Innoscence 2 flower
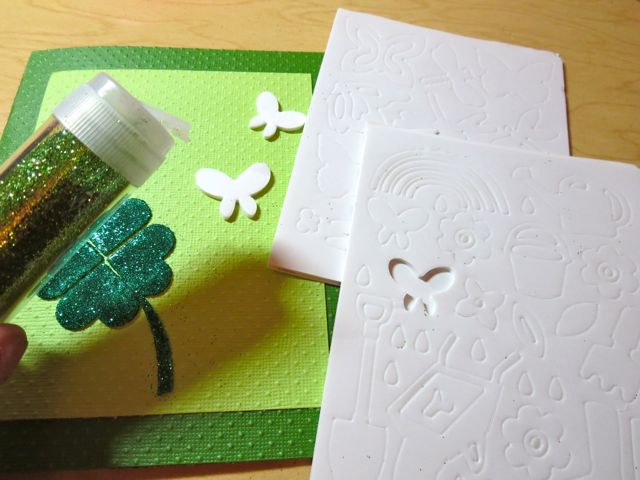
- Clearsnap: Glitter in Peridot
Visit our Website and Blog!
Sign up for our Newsletter so you never miss a contest or giveaway!


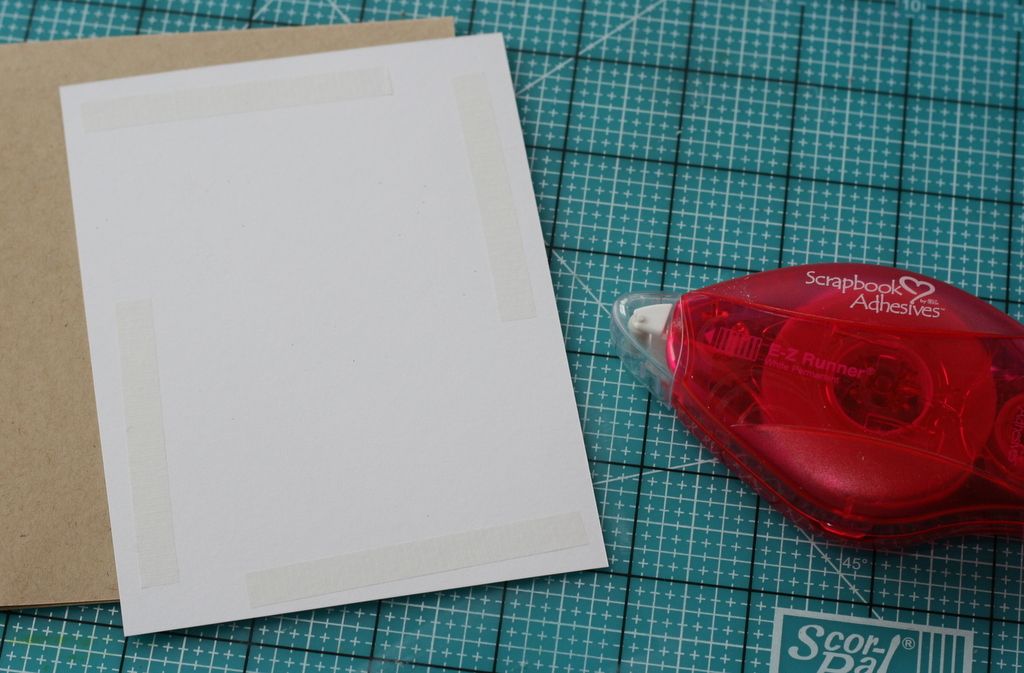
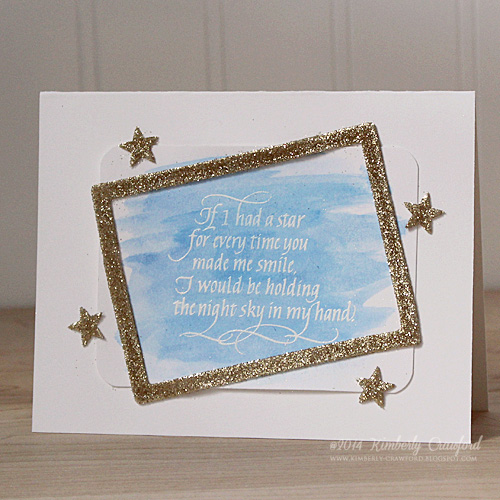
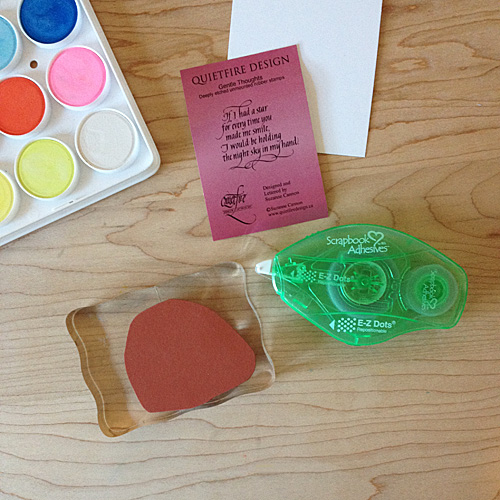
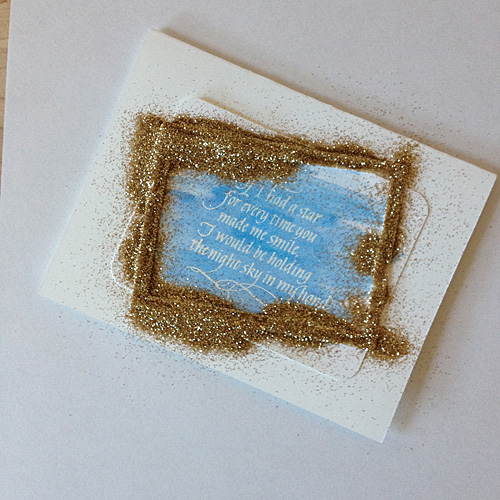
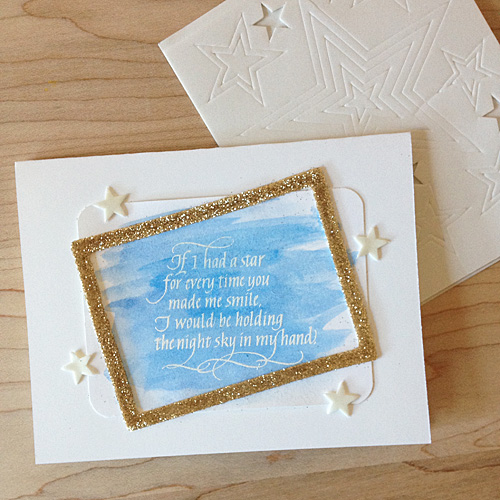
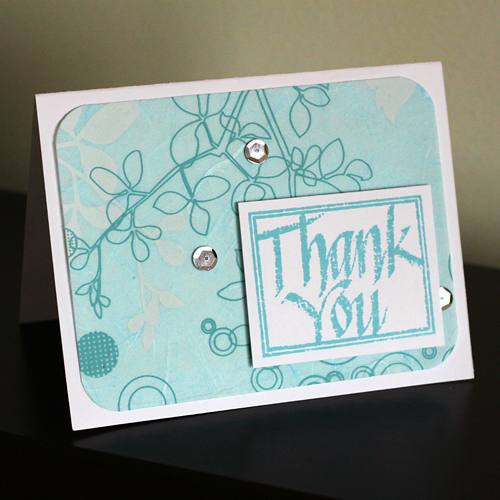 There is a small art supply store near my house and they have a frequently changing inventory of archival quality art papers….all of which are so very pretty. It got me thinking as to how I could incorporate these materials into my cards and scrapbook layouts. Since some of the papers, like the one shown in the project above are translucent, the right adhesive was key! Turns out, the right adhesive was the
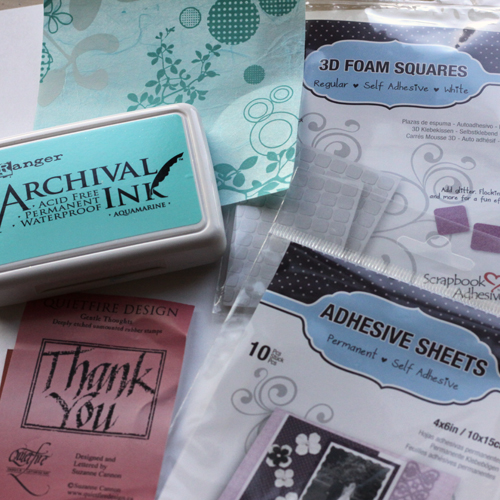
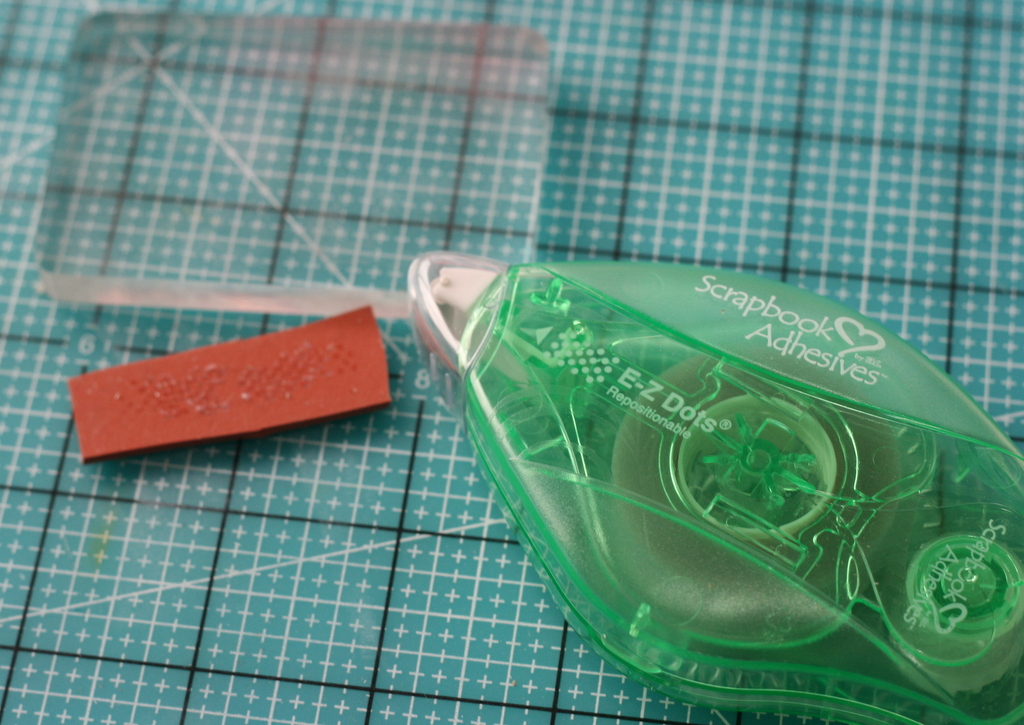
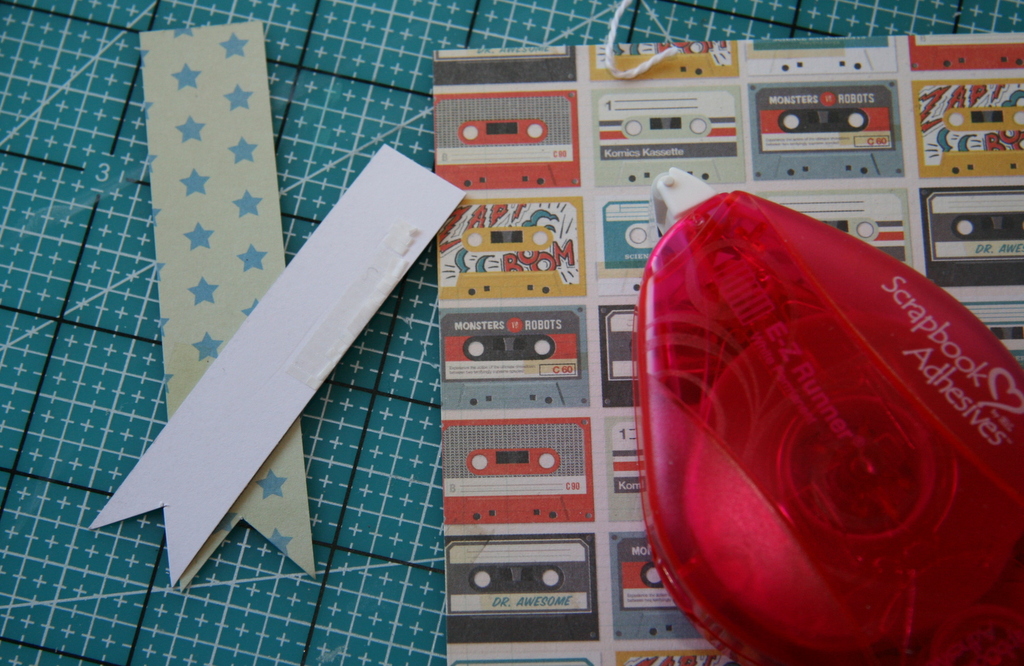
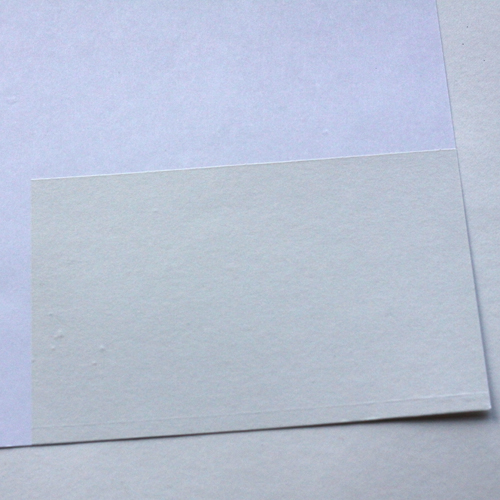 2. Apply an
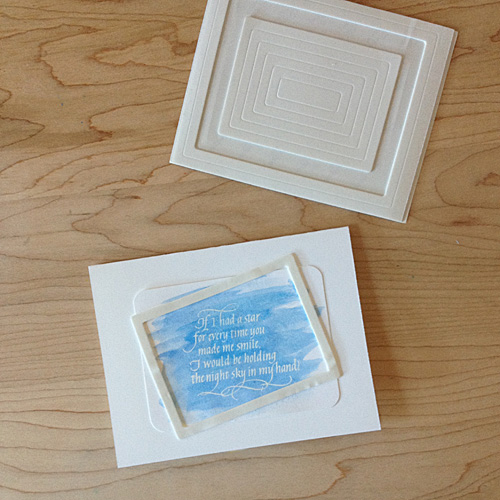
  3. Peel the white backing from the adhesive layer and cover the exposed adhesive with the art paper. Burnish lightly to smooth out any wrinkles.
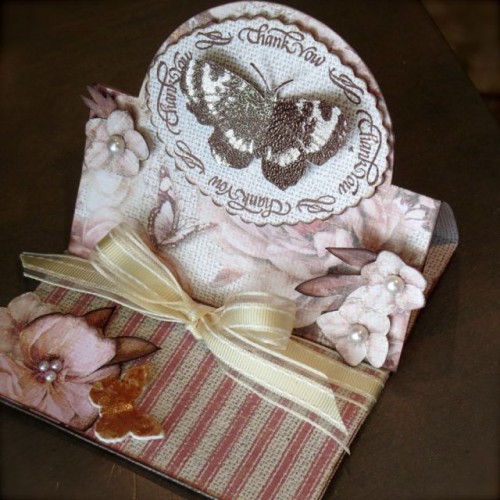
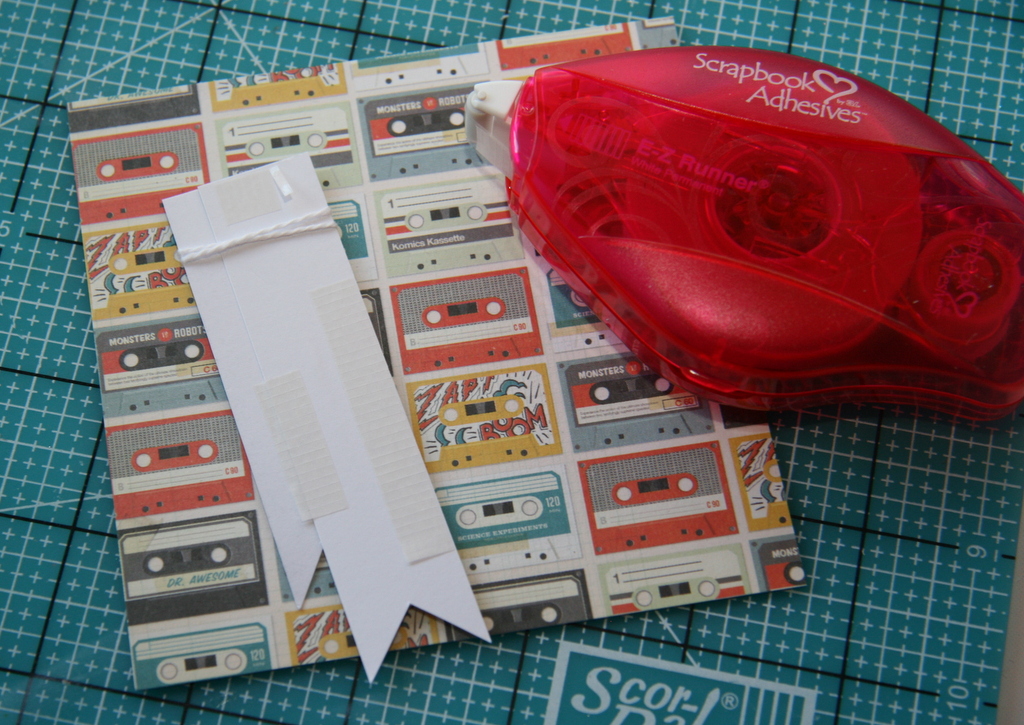
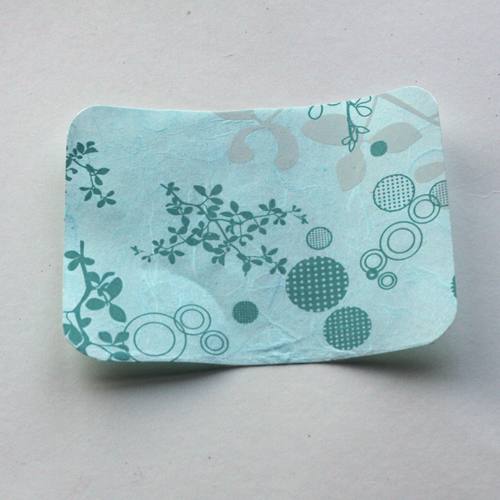 4. Trim to 4.00 x 5.25 inches and round the corners. Adhere to the card base with
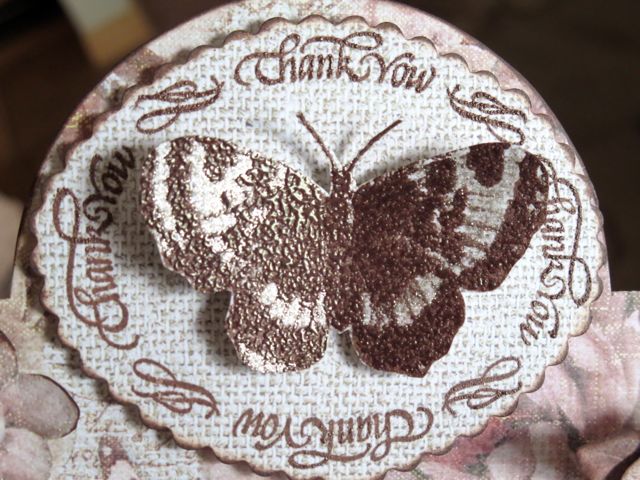
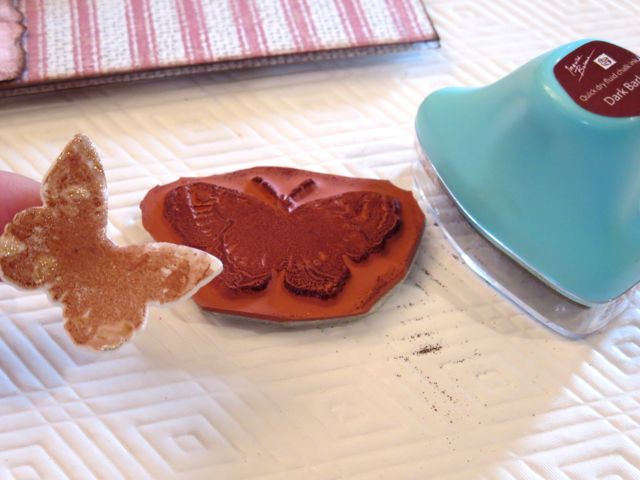
 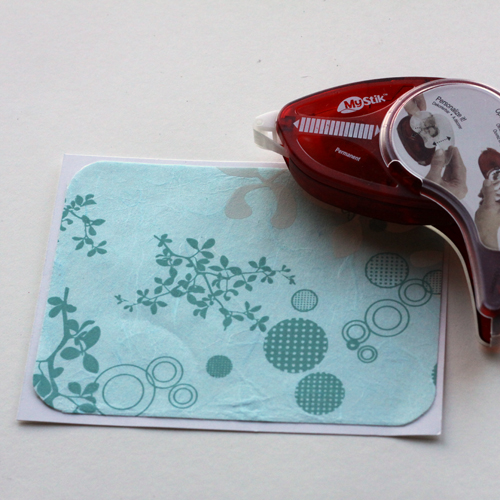 5. Stamp the Quietfire
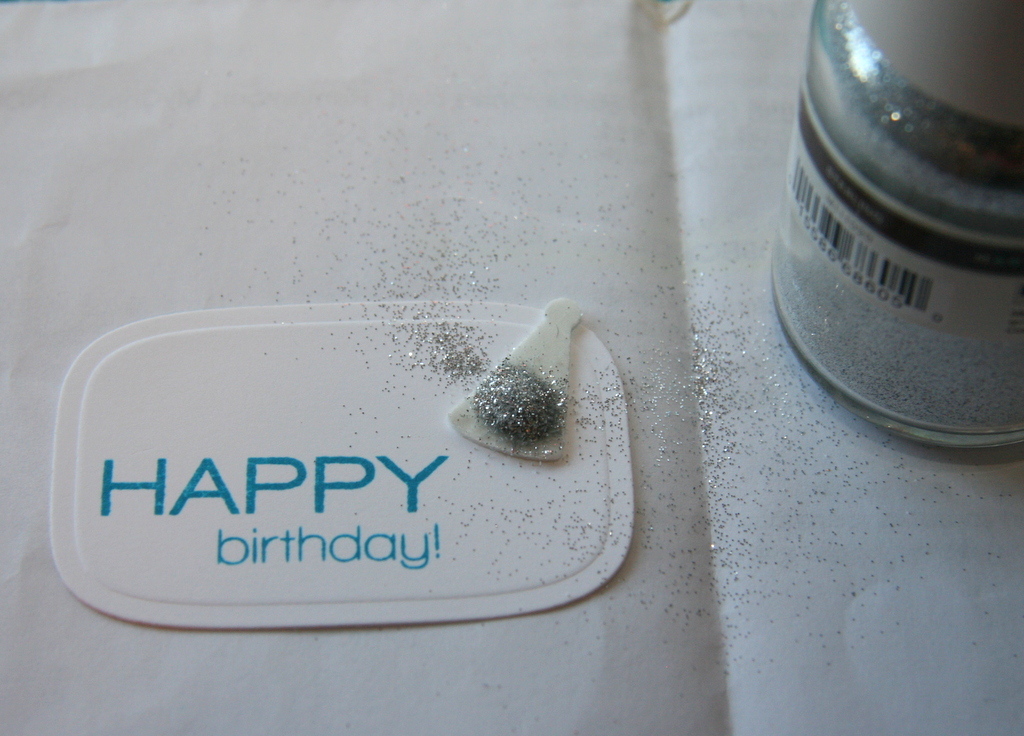
 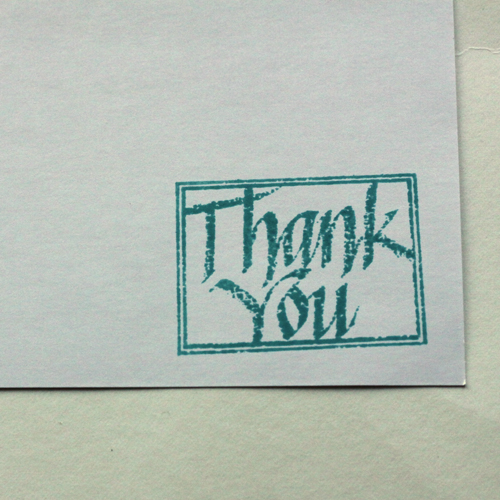 6. Trim, leaving a thin white border and adhere
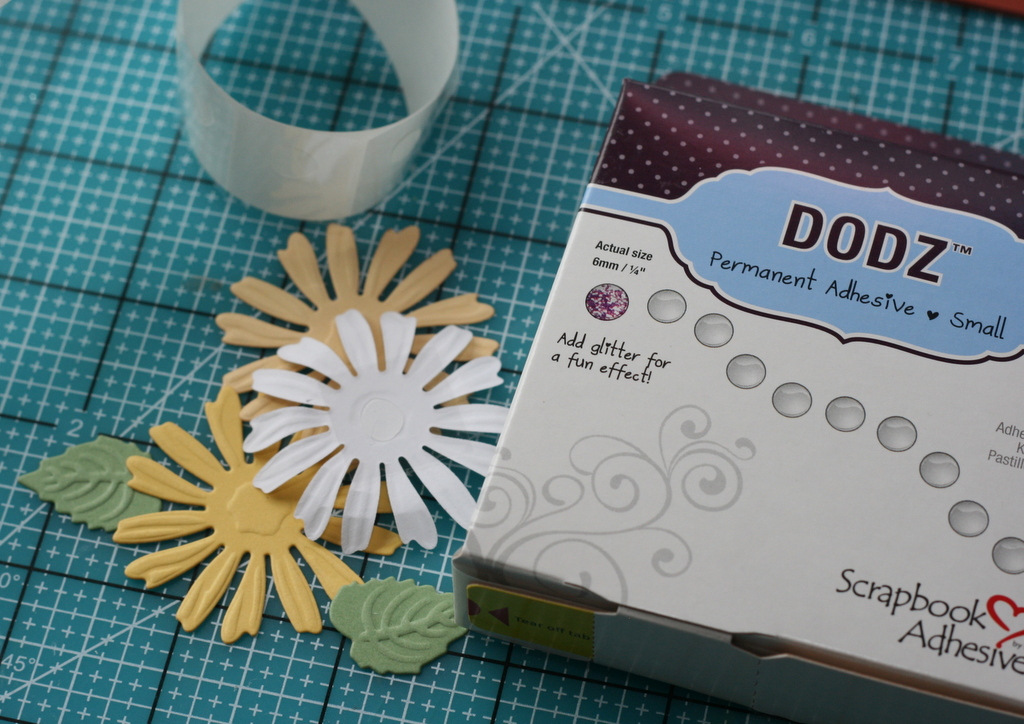
 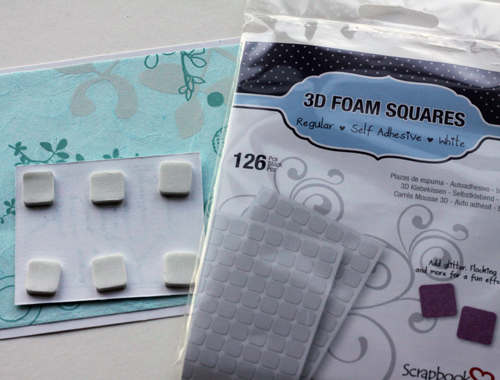 7. Adhere to the card base and embellish with silver sequins. I used the DODZ™ – Small to adhere the sequins.
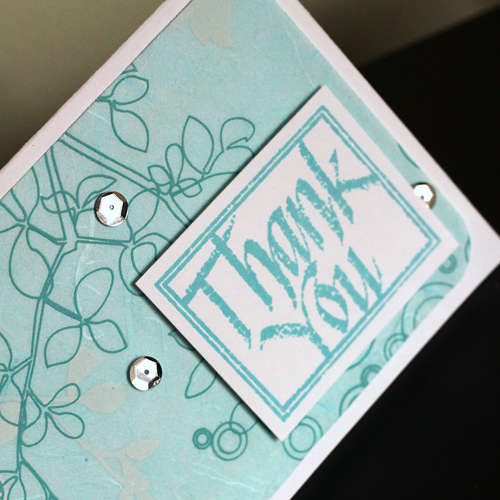 And since I had my