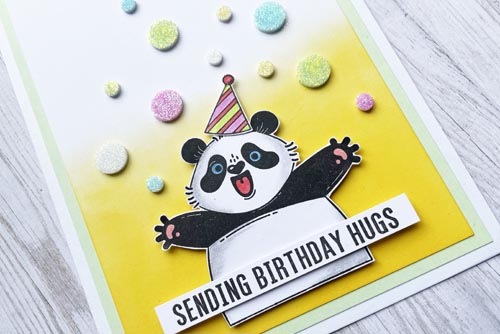
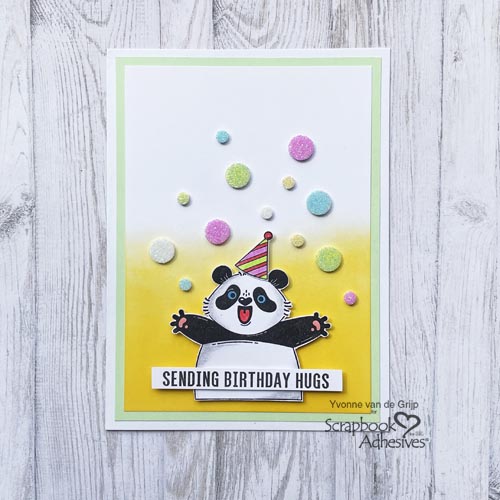
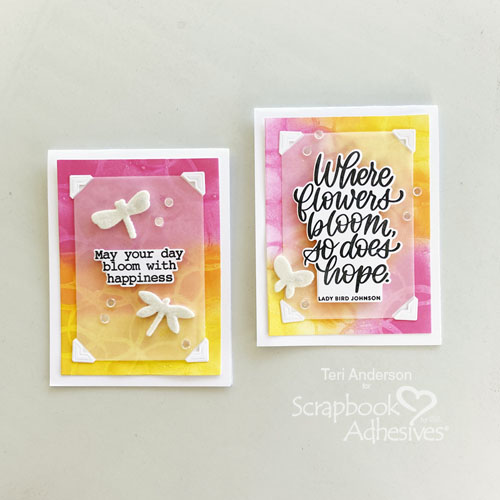
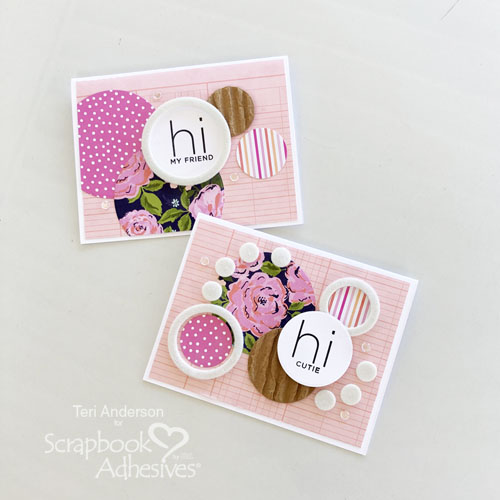
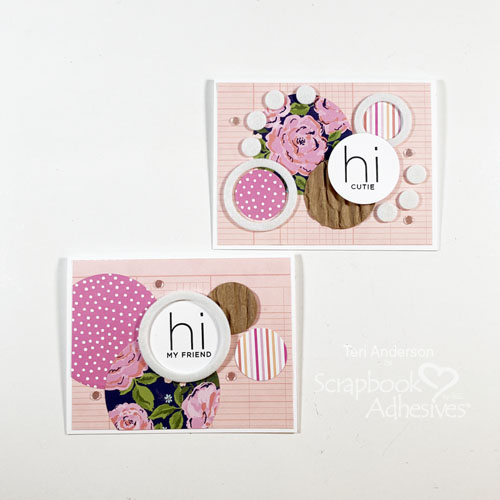
Hi, crafty friends! Want to let your bestie know you are thinking of them? Send them a handmade Friend Circle Card! Teri here to show you how to make two quick and easy cards that will make your friends smile.
Friend Circle Card Panel
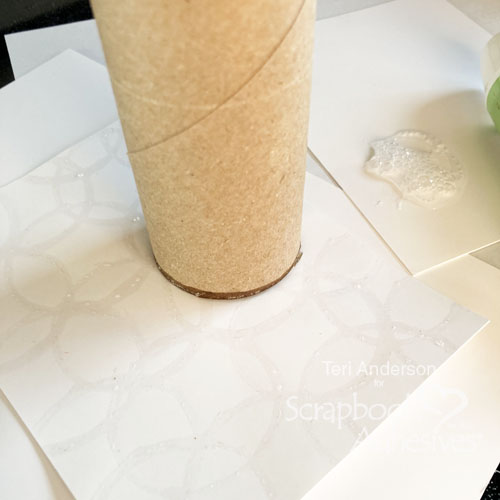
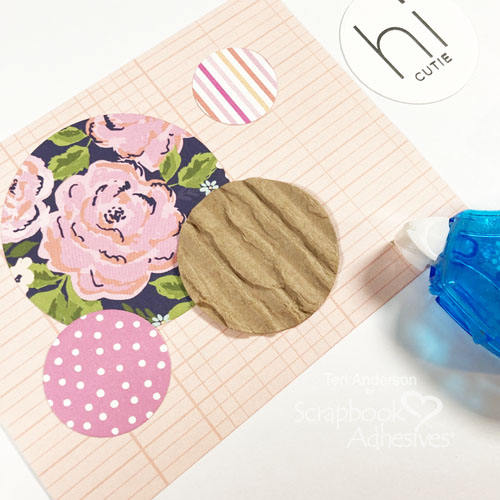
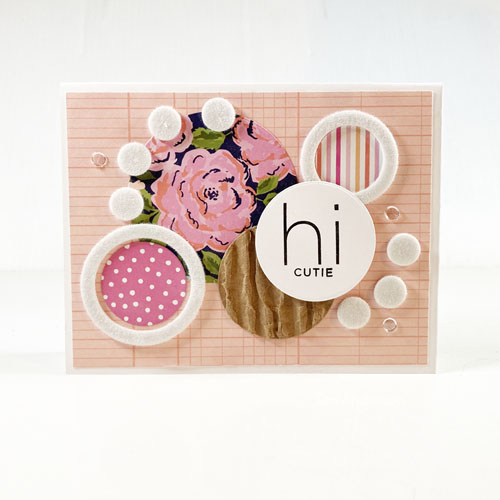
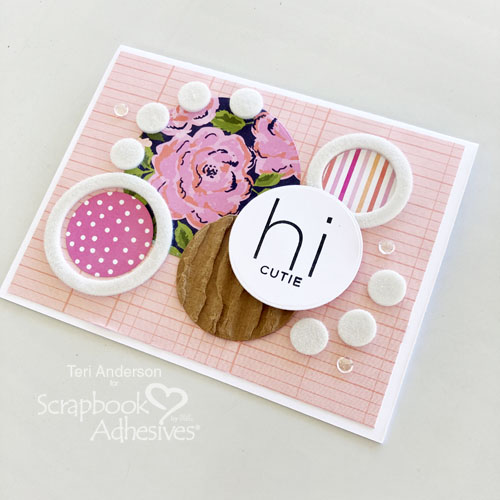
Start by cutting several circles from patterned and any other papers you desire. Adhere them with the E-Z Runner® Petite Permanent Dots Refillable Dispenser onto a patterned paper card panel. Trim any circles that hang off the edge of the panel.
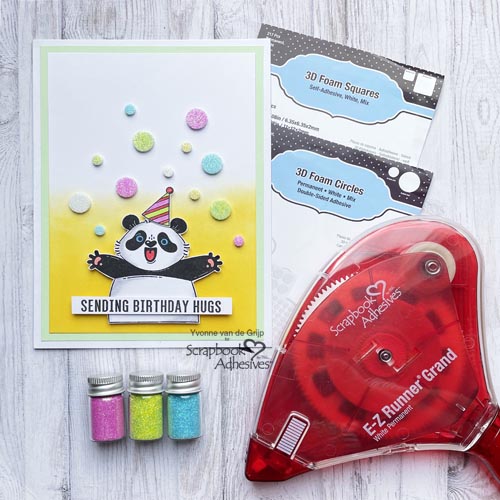
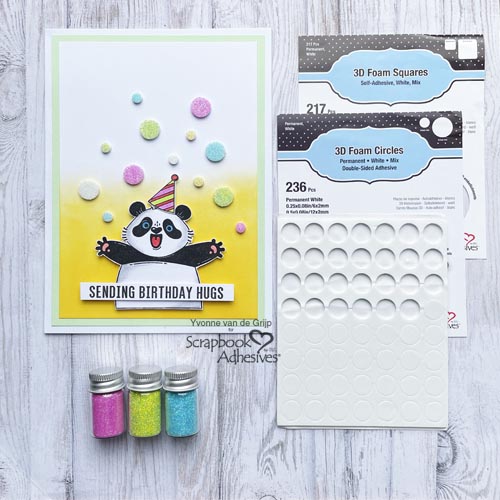
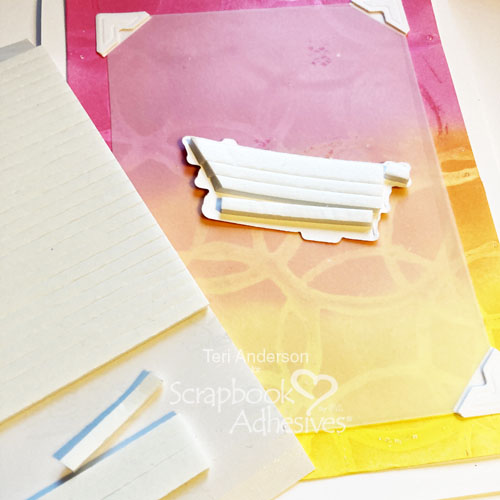
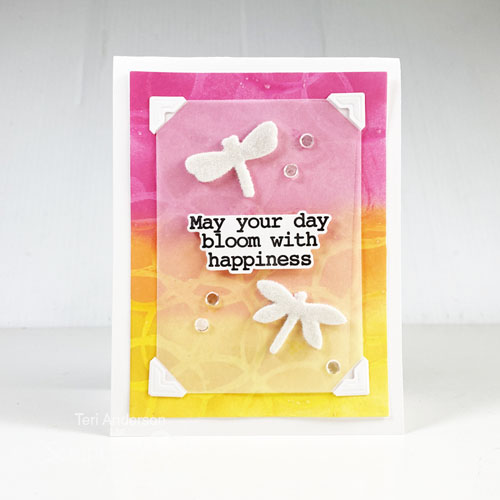
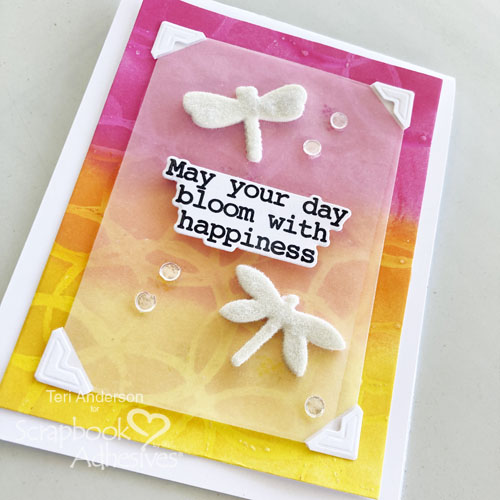
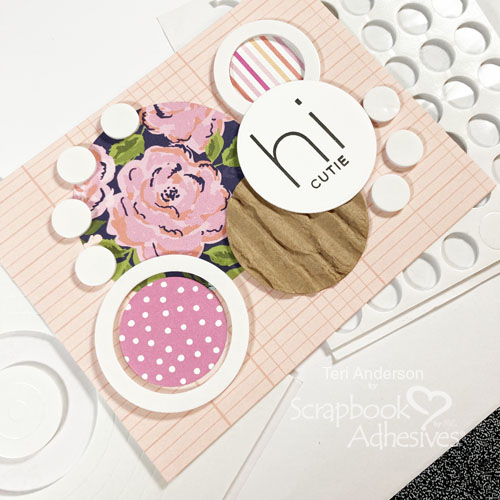
Add some 3D Foam Circles White Mix and 3D Foam Circle Frames White to your circle design. Cut up a strip of the 3D Foam Strip Large in White and put it on the card panel (this is where the sentiment will be placed).
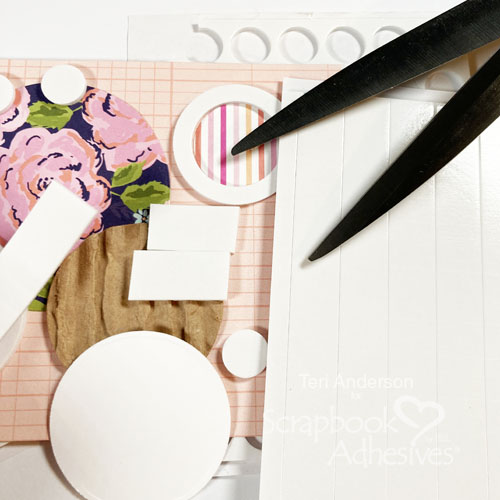
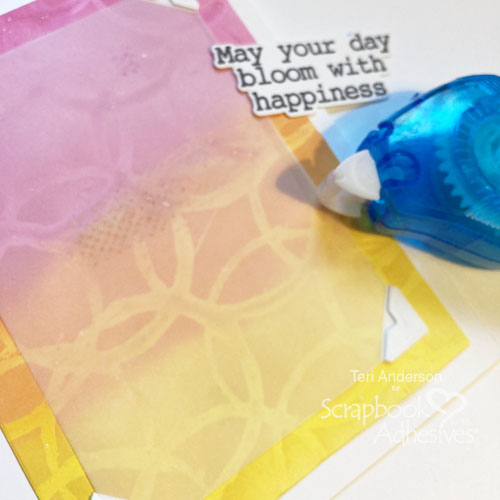
Stamp a sentiment on cardstock. Cut it into a circle. Place the sentiment circle on top of the cut up strips from the 3D Foam Strip Large in White.
Wear Your Adhesive on the Outside with Flock
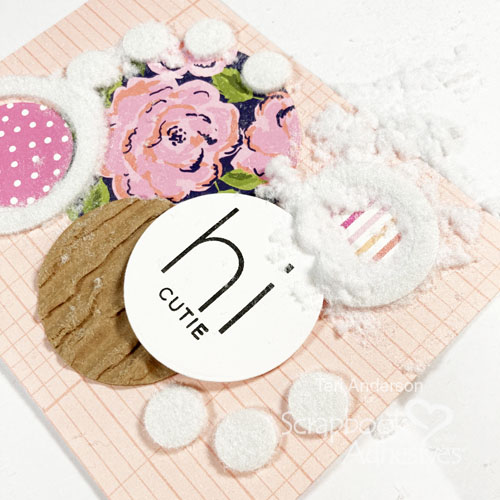
Cover your 3D Foam Circles White Mix and 3D Foam Circle Frames White with flock. Make sure to burnish the flock firmly to them, and tap off the excess. Designer’s Tip: Afterwards, I like to run an anti-static powder tool over them to remove any sticky parts missed.
Adhere your paper panel to a card with the E-Z Runner® Permanent Strips Refillable Dispenser. Finish the card by adding some sequins to it using Adhesive Dots Micro.
Switch Friend Circle Card Design Up
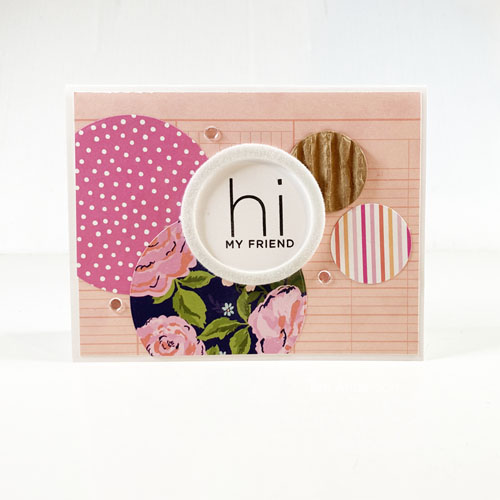
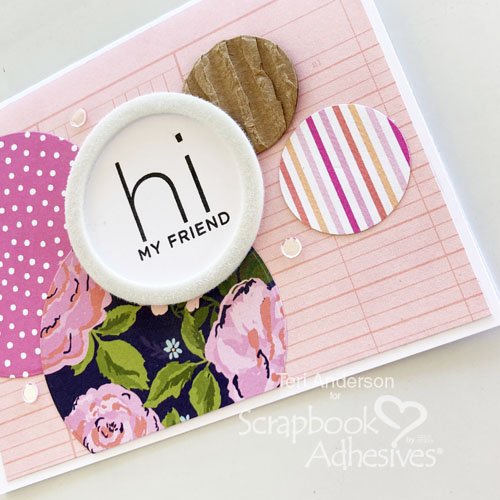
Rather than adding several pieces of foam adhesives to your card, you may want to add just one. An easy way to make your sentiment stand out is by placing a frame from the 3D Foam Circle Frames White around your sentiment.
I hope you are inspired to make cards to send your friends. If you do and share them, let me know so I can check them out!
Happy Creating!
Teri Anderson
Creative Time: 60 mins
Skill Level: Beginner
Materials Needed:
Scrapbook Adhesives by 3L®
3D Foam Strips Large White, 3D Foam Circles White Mix and 3D Foam Circle Frames White
E-Z Runner® Permanent Strips Refillable Dispenser and E-Z Runner® Petite Permanent Dots Refillable Dispenser
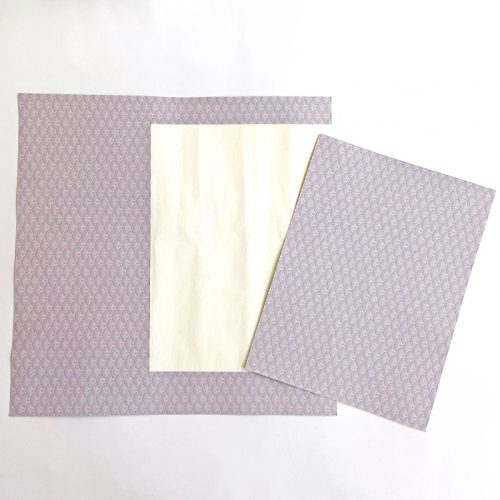
Other: Patterned Paper: Simple Stories (Happy Hearts 6×8 Paper Pad); Stamps: Simon Says Stamp (Clean Line XL Stamp Set); Dies: Hero Arts (Infinity Circles); Ink: Ranger Ink (Black); Sequins: Pretty Pink Posh; Cardstock: Neenah; Flock: Stampendous; Recycled Cardboard
Save to Pinterest!
Visit our Website and Blog!
Sign up for our Newsletter so you never miss a contest or giveaway!