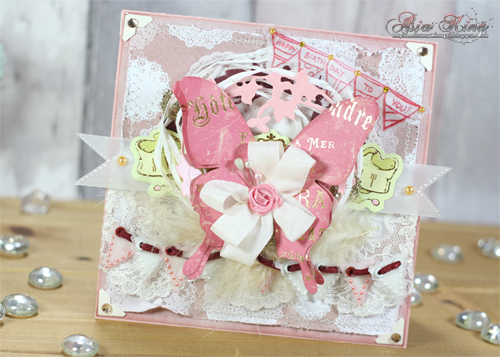
Hello everyone, Asia King here with my first post in 2014! Today I am sending you all some butterfly wishes :).
1. Start by cutting a 6″x6″ panel from cardstock and slightly smaller from a patterned paper. Layer them together and add some machine stitching.
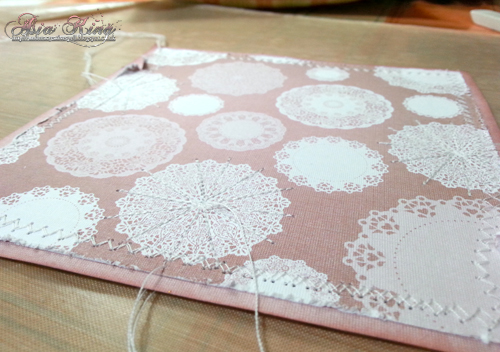
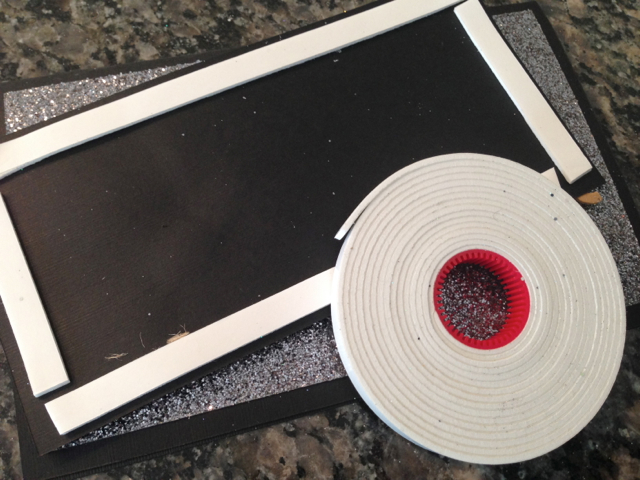
2. Adhere your background panel to 6″x6″ card blank with Crafty Power Tape.
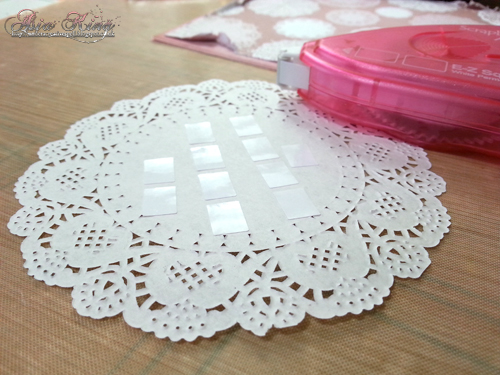
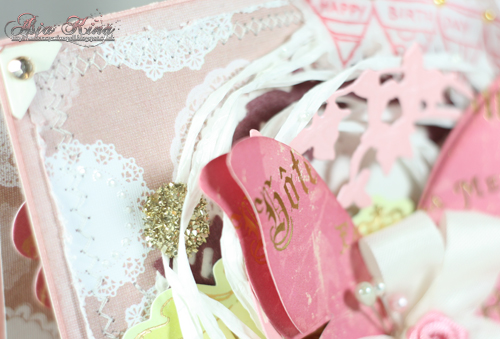
3. Add a paper doily in the centre of your background panel and fix in place using E-Z Squares Dispenser.
4. Die cut decorative wreaths from various papers and cardstock and layer over the doily using E-Z Dots® Permanent.
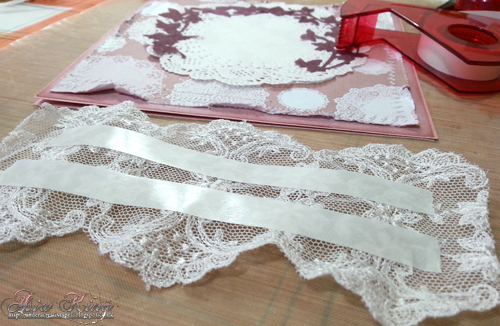
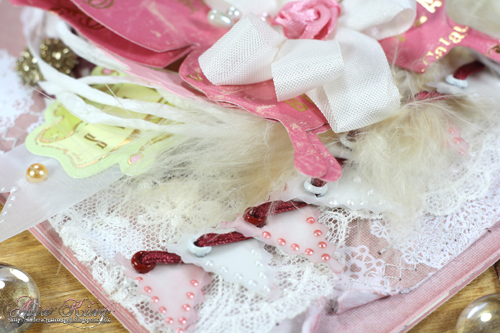
5. Add vintage lace and adhere with Crafty Power Tape.
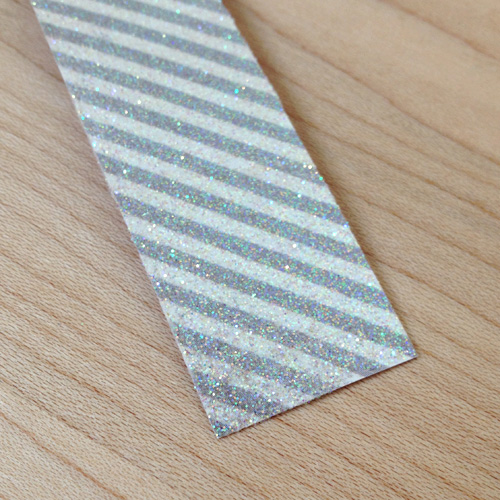
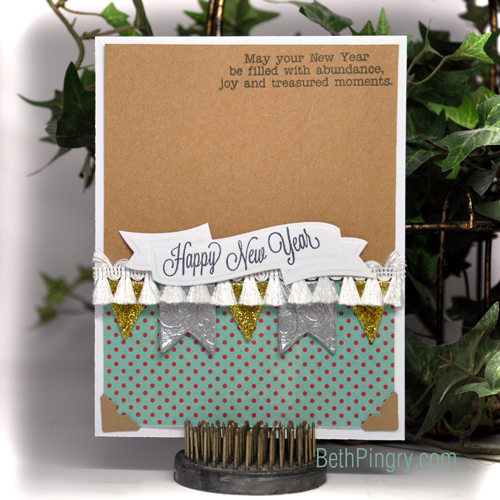
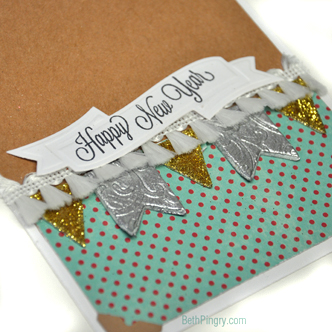
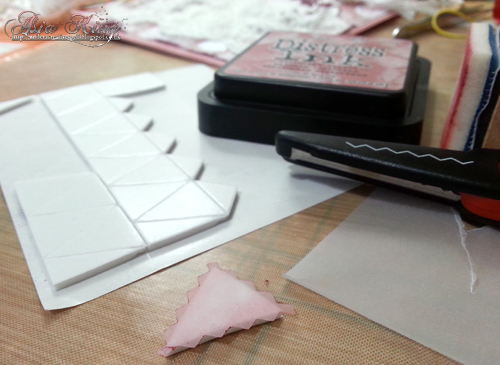
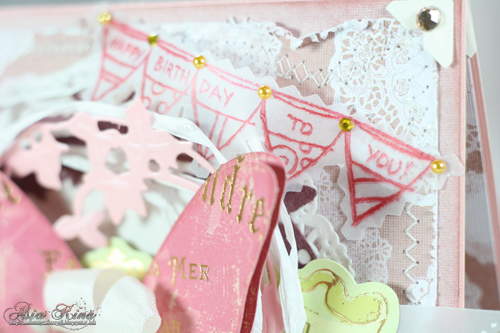
6. Cover 10 triangle 3D Foam Pennants with white vellum and trim around with decorative scissors. Select a few and ink them up with Victorian Velvet distress ink. Add an eyelet to each pennant in the top left corner.
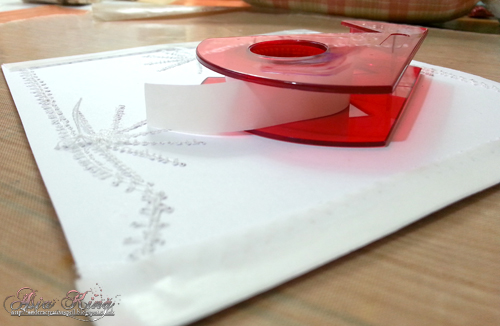
7. Embellish the corners of the background panel with Ivory Creative Photo Corners. Trim any excess adhesive to keep the shape of the corner only.
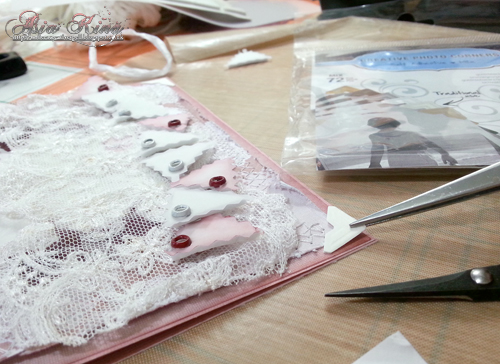
8. Thread a ribbon through the pennants, peel of the backing paper and layer them snugly over the card. Next mount some vellum and decorative die cuts over the centre with Crafty Foam Tape and E-Z Runner® Permanent Strips.
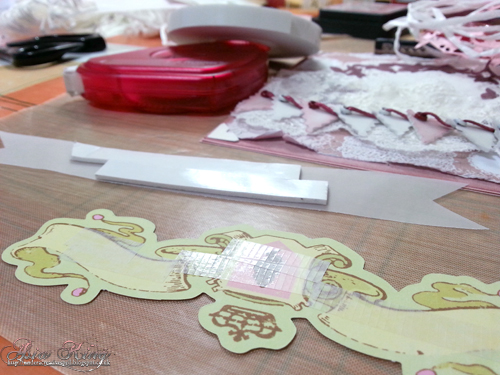
9. Build the rest of the wreath with white raffia and previously cut die cuts. Adhere using DODZ Adhesive Dots 3D, DODZ Adhesive Dots Small and DODZ Adhesive Dots Medium as necessary.
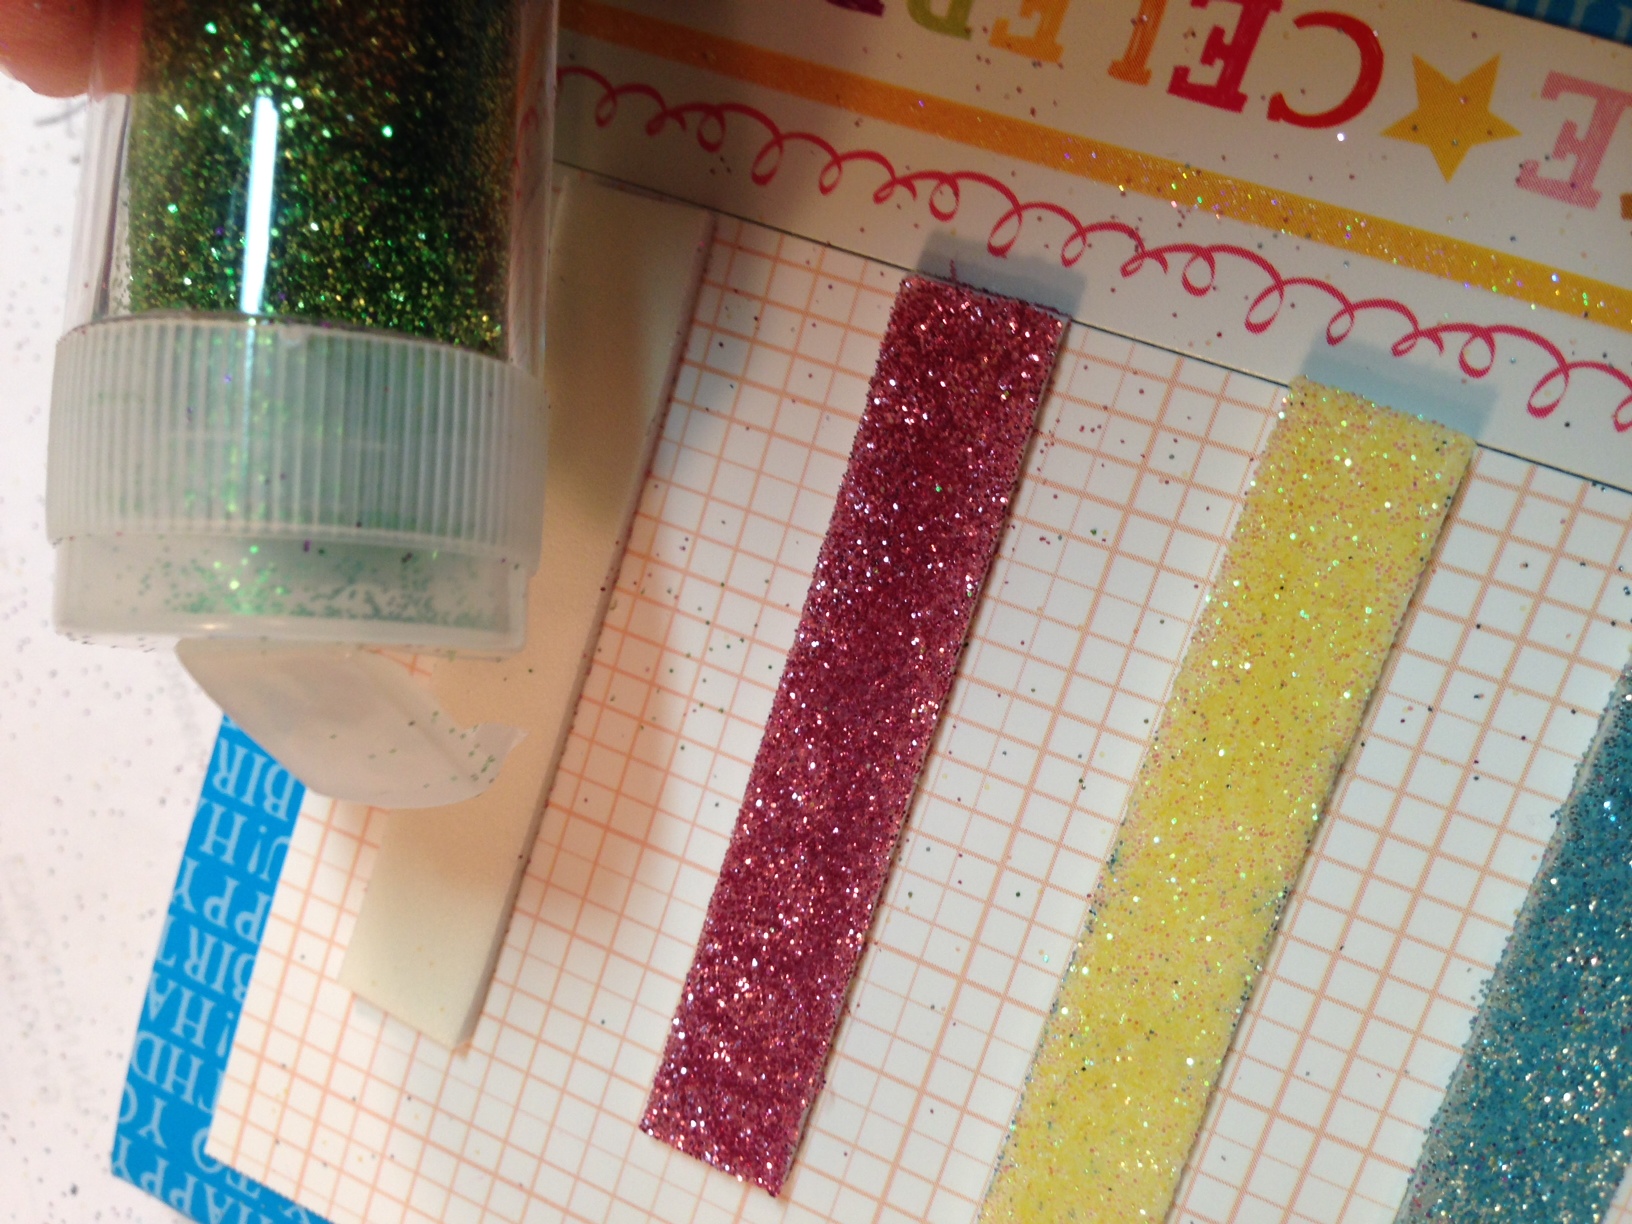
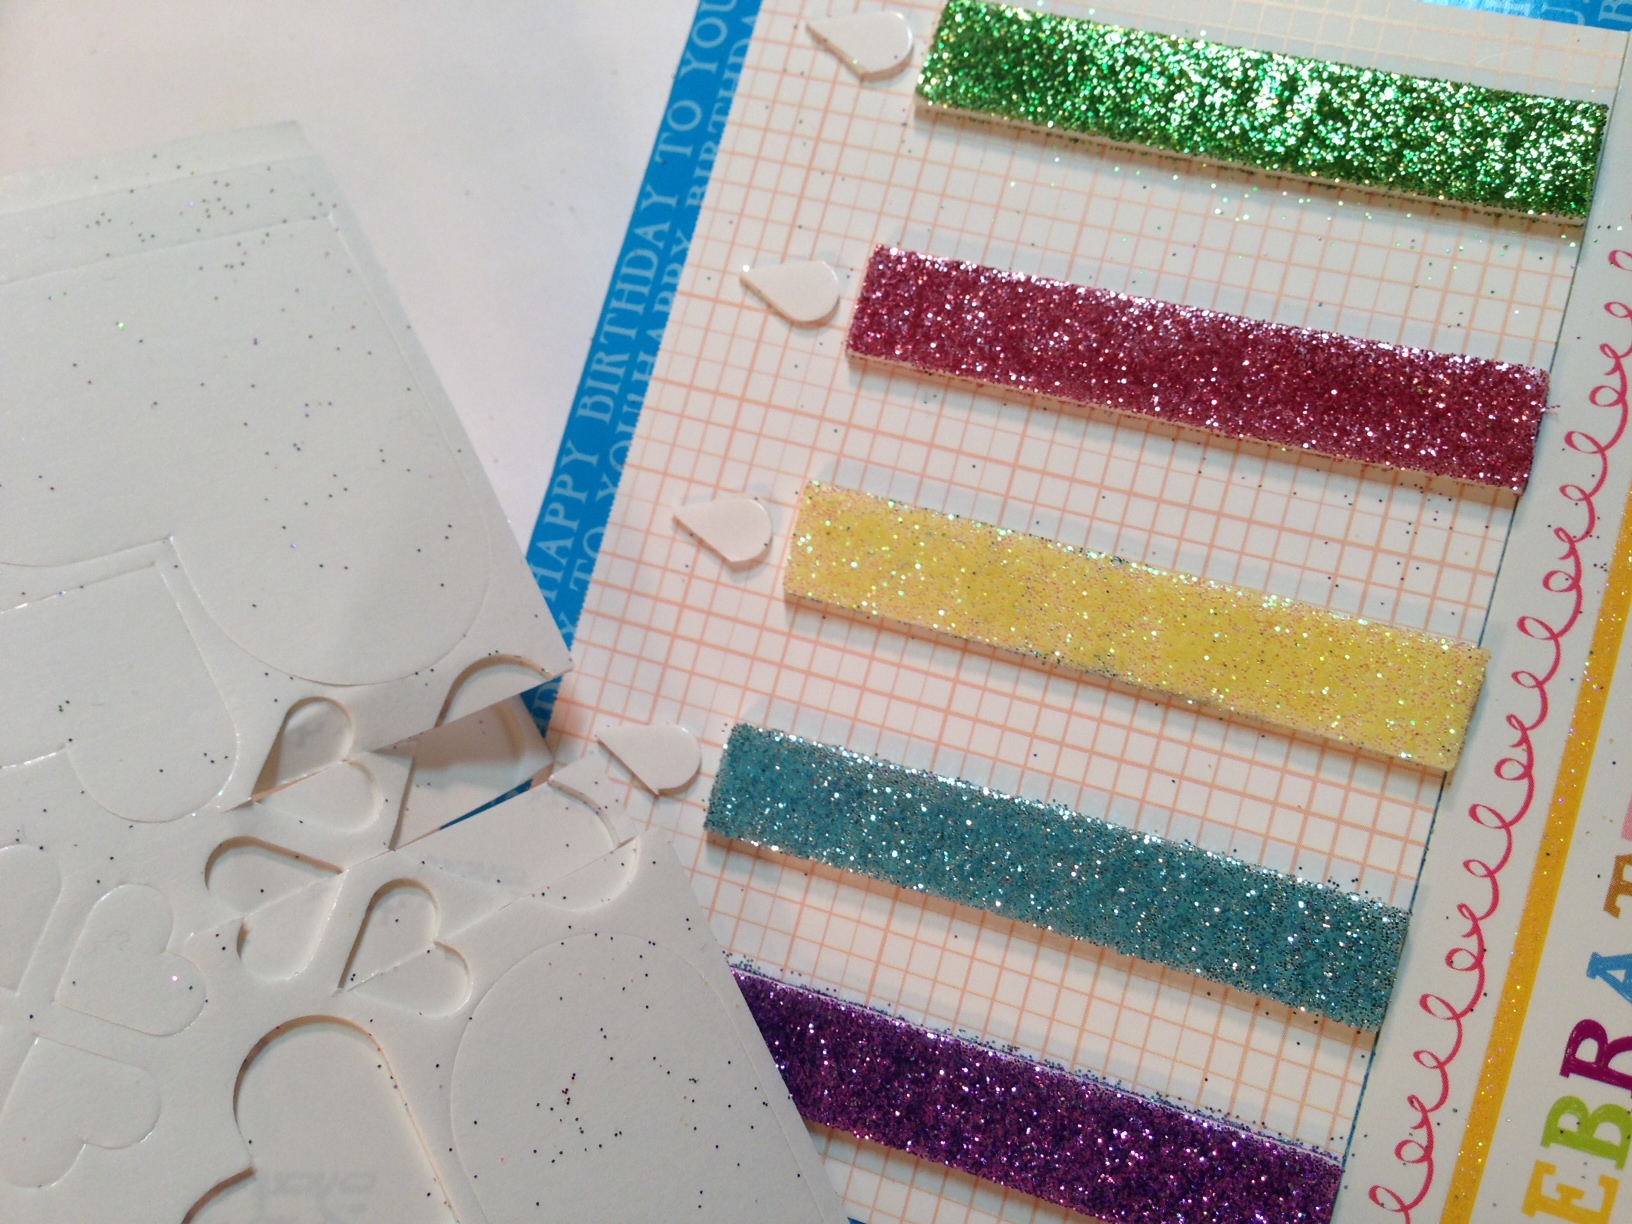
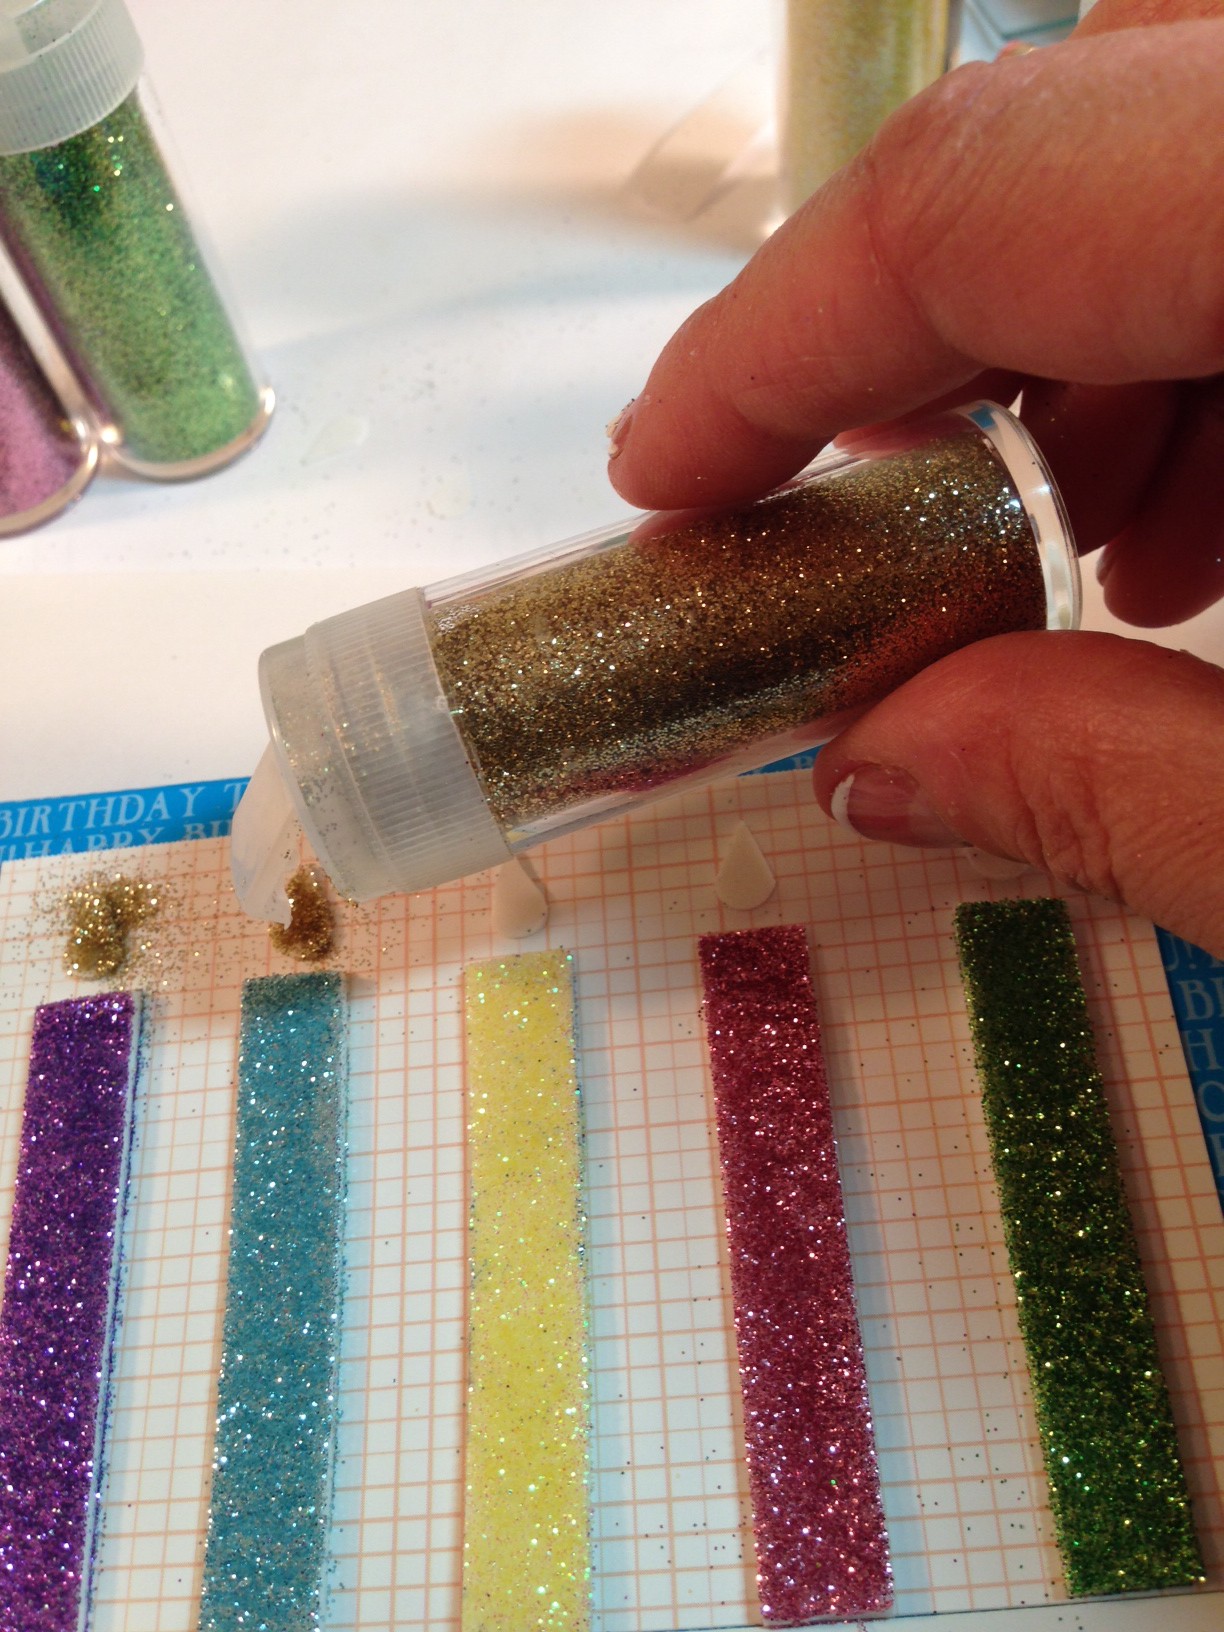
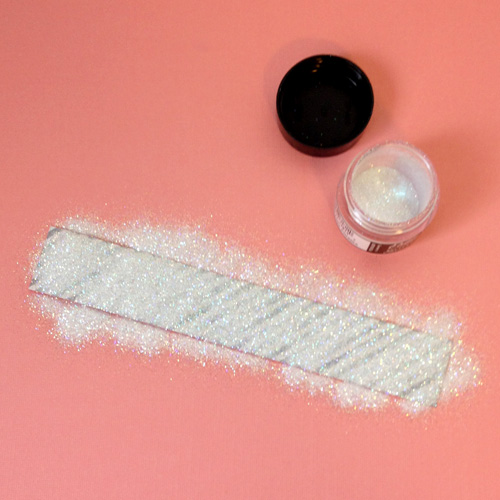
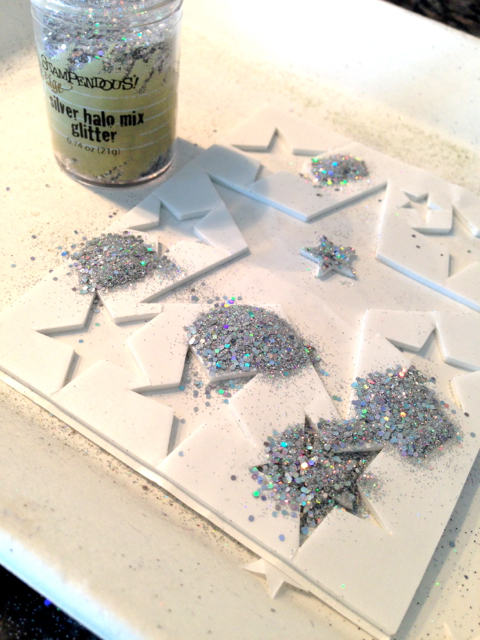
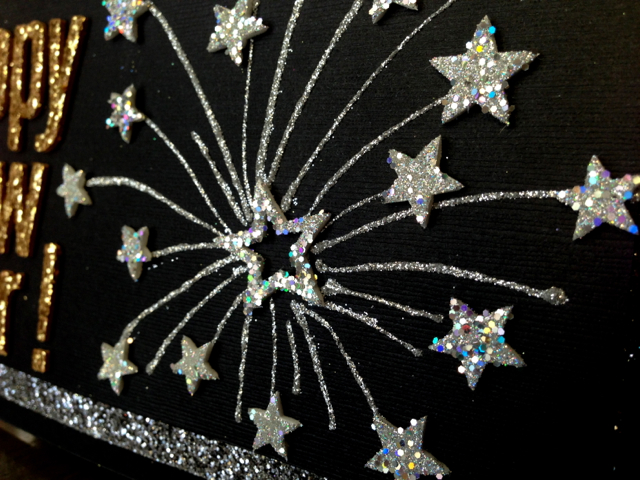
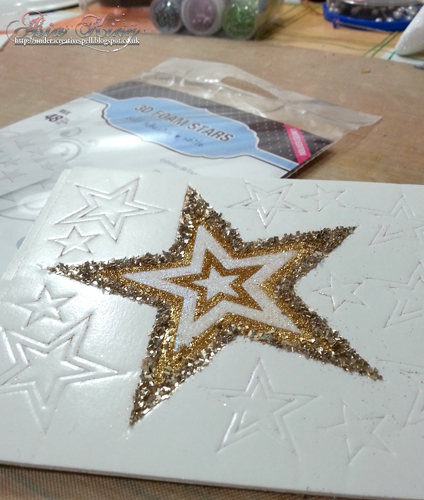
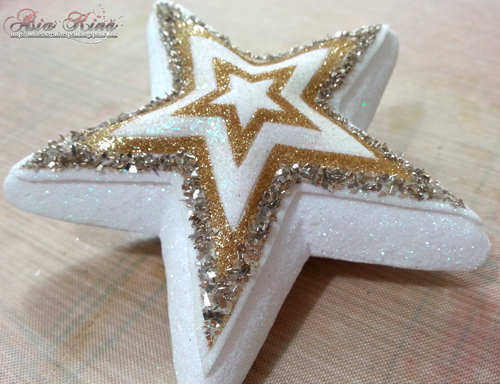
10. Add a few extra DODZ Adhesive Dots 3D and embellish with Stampendous Champagne Glass Glitter.

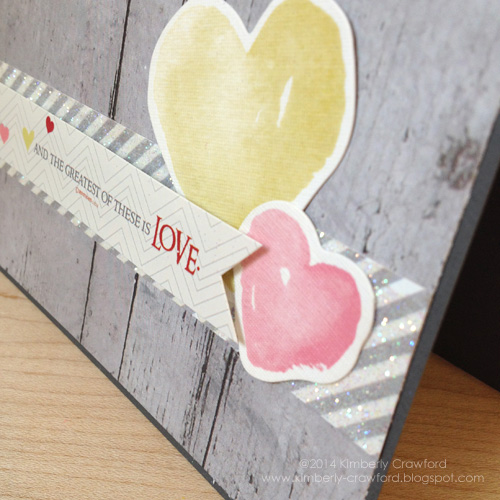
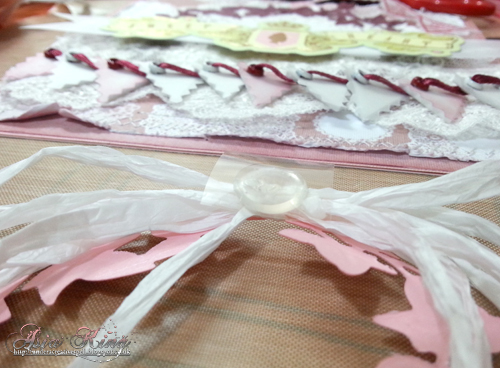
10. Stamp the Stampendous Kiddo Birthday banner onto vellum, cut out and adhere to the card with DODZ. Layer die cut butterfly wings and additional embellishments and adhere with DODZ.
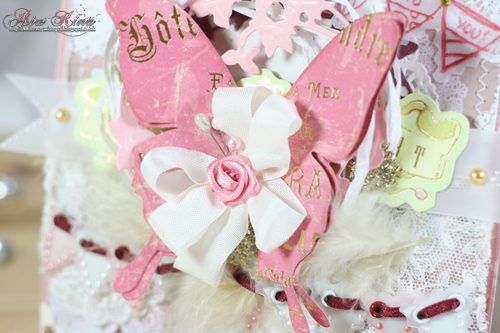
12. Add finishing touches with Liquid Pearls and gems.
Supplies: Crafty Power Tape, E-Z Squares Dispenser, E-Z Dots® Mini Permanent, 3D Foam Pennants, Ivory Creative Photo Corners, Crafty Foam Tape, E-Z Runner® Permanent Strips, DODZ 3D, DODZ Small, DODZ Medium
Other supplies:
Stampendous – glass glitter and banner stamp
Marianne Design – cutting dies
K&Company – die cuts
Papermania – papers
I hope you enjoyed this tutorial. Thanks so much for popping in today!
Big crafty hugs