You are in our US store • Switch to Europe store

Thank You Tag

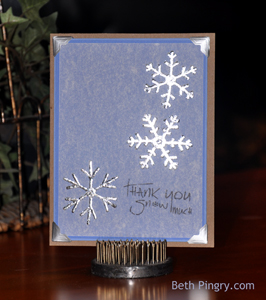
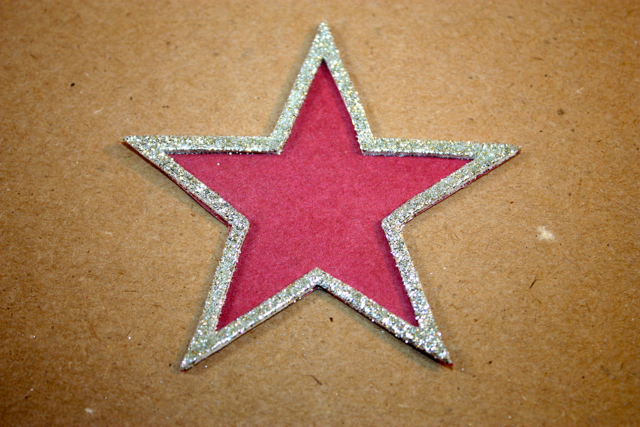
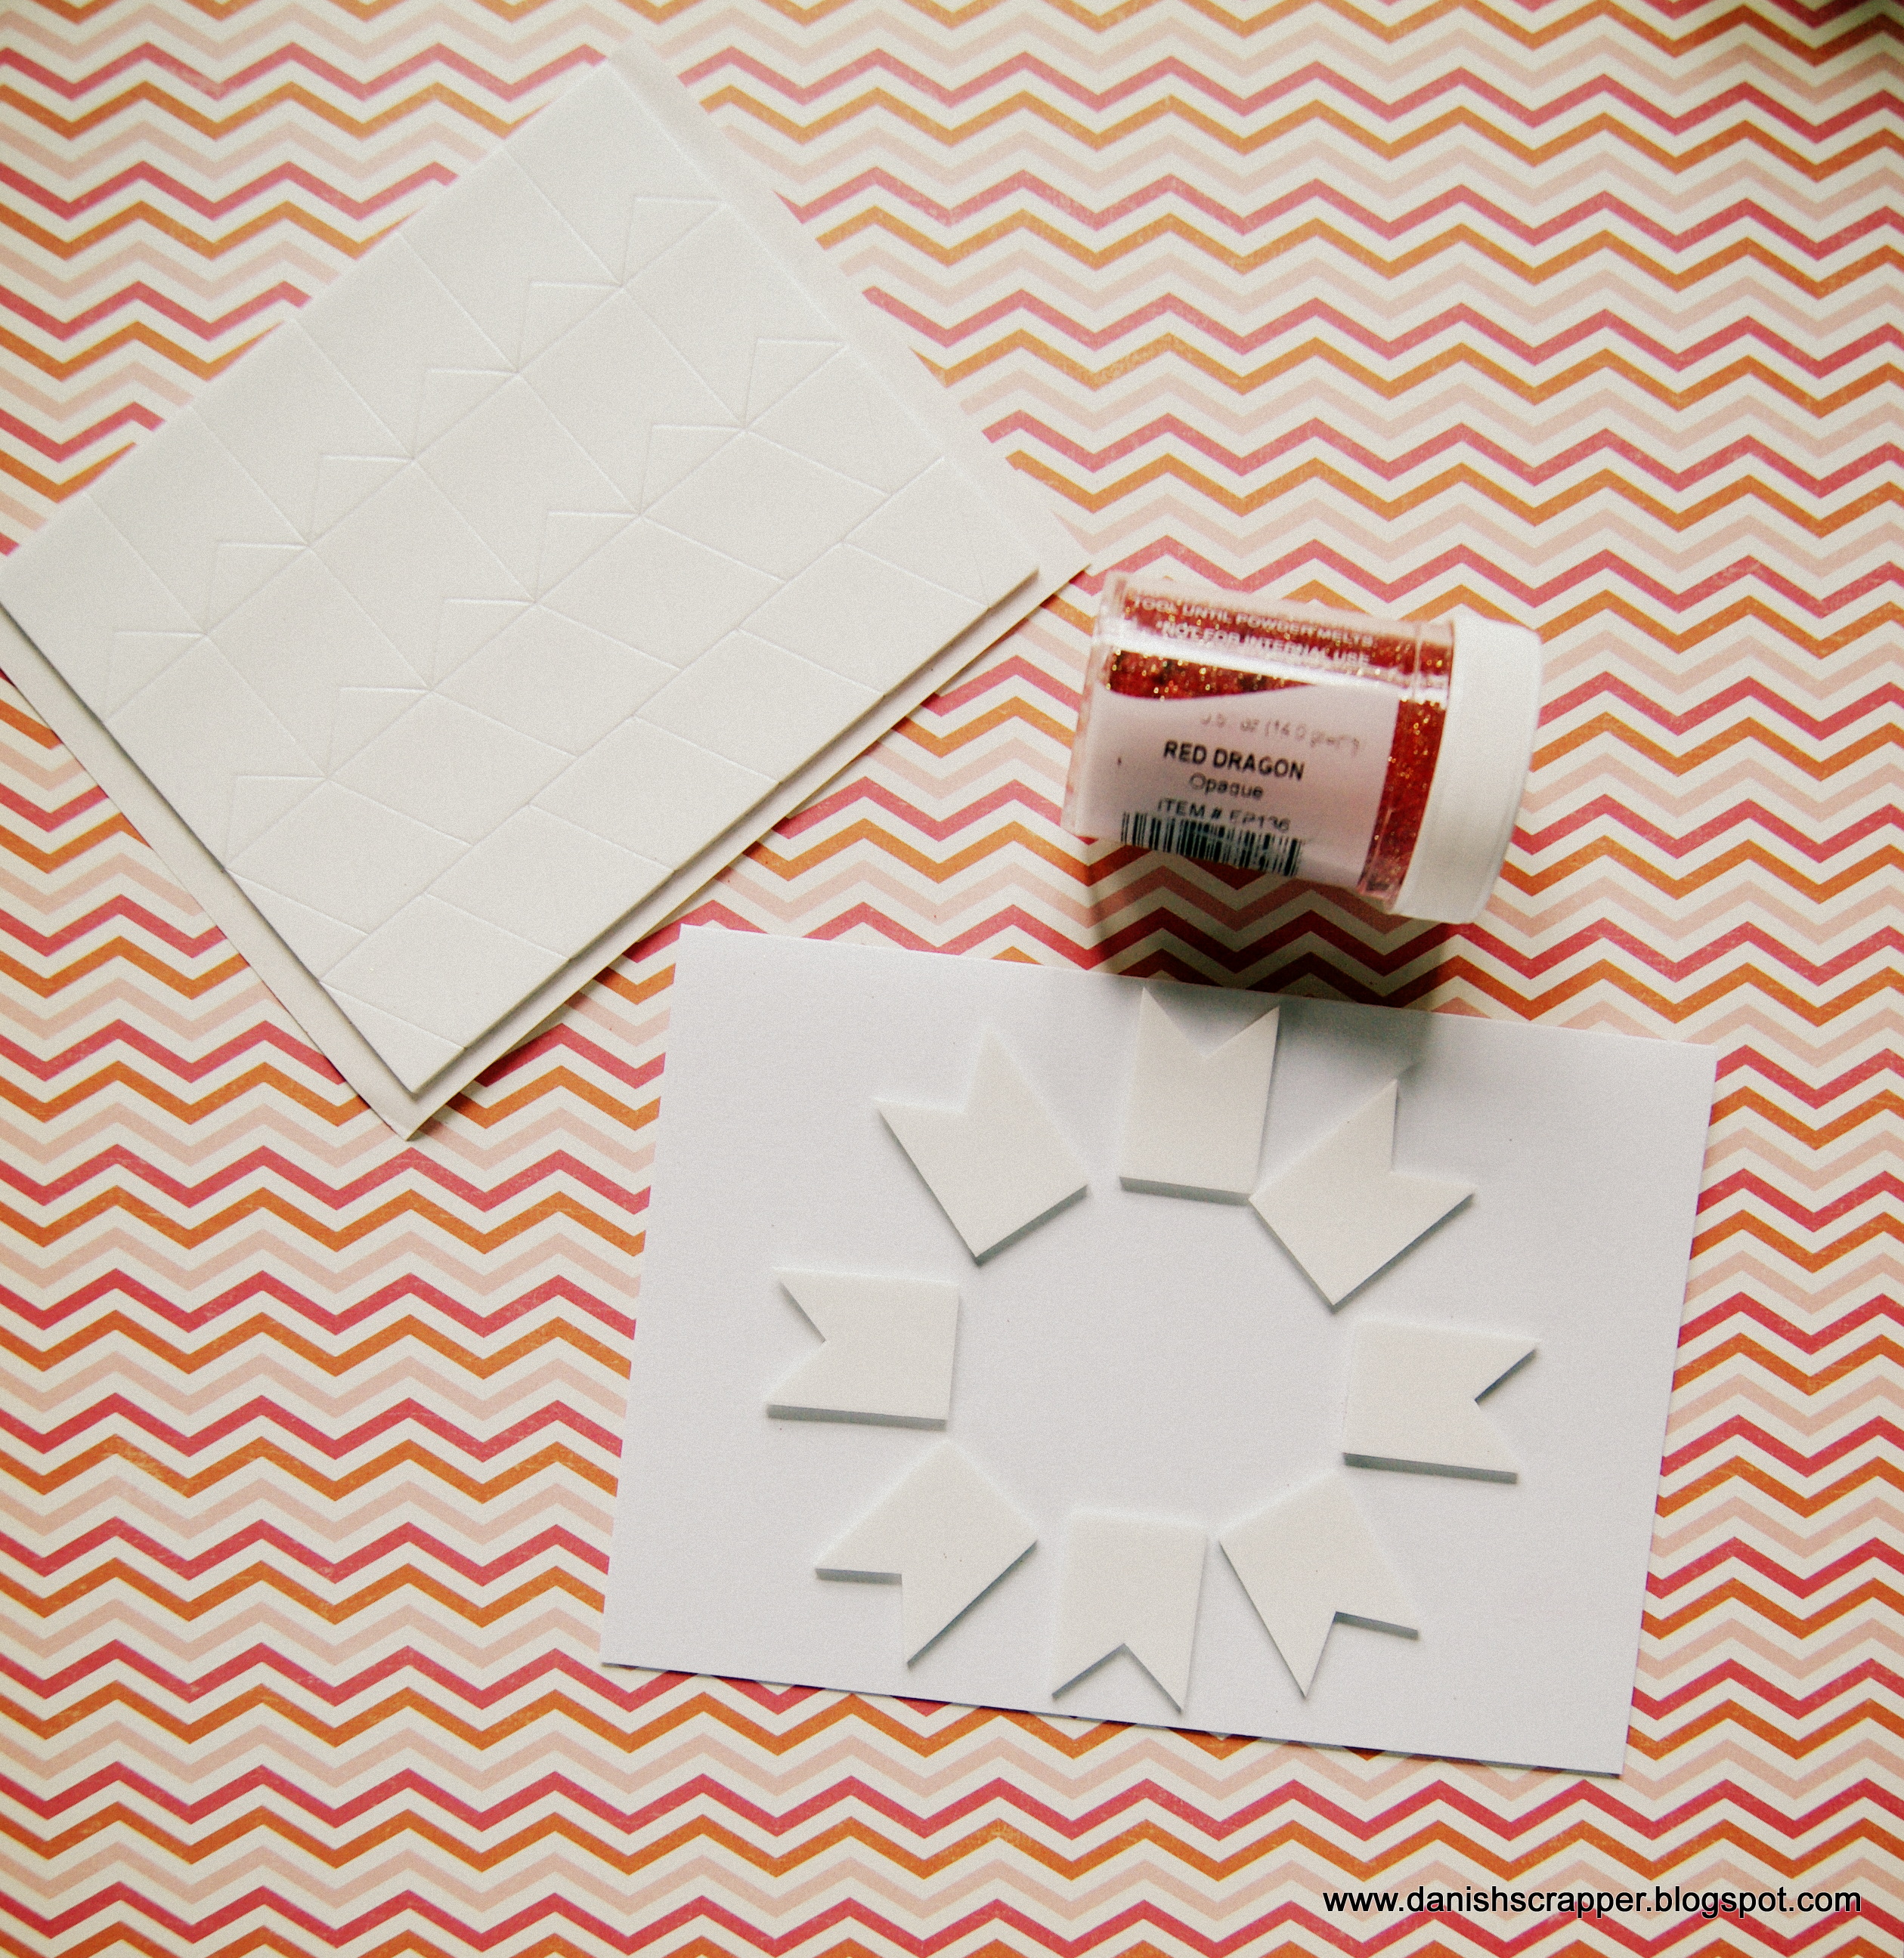
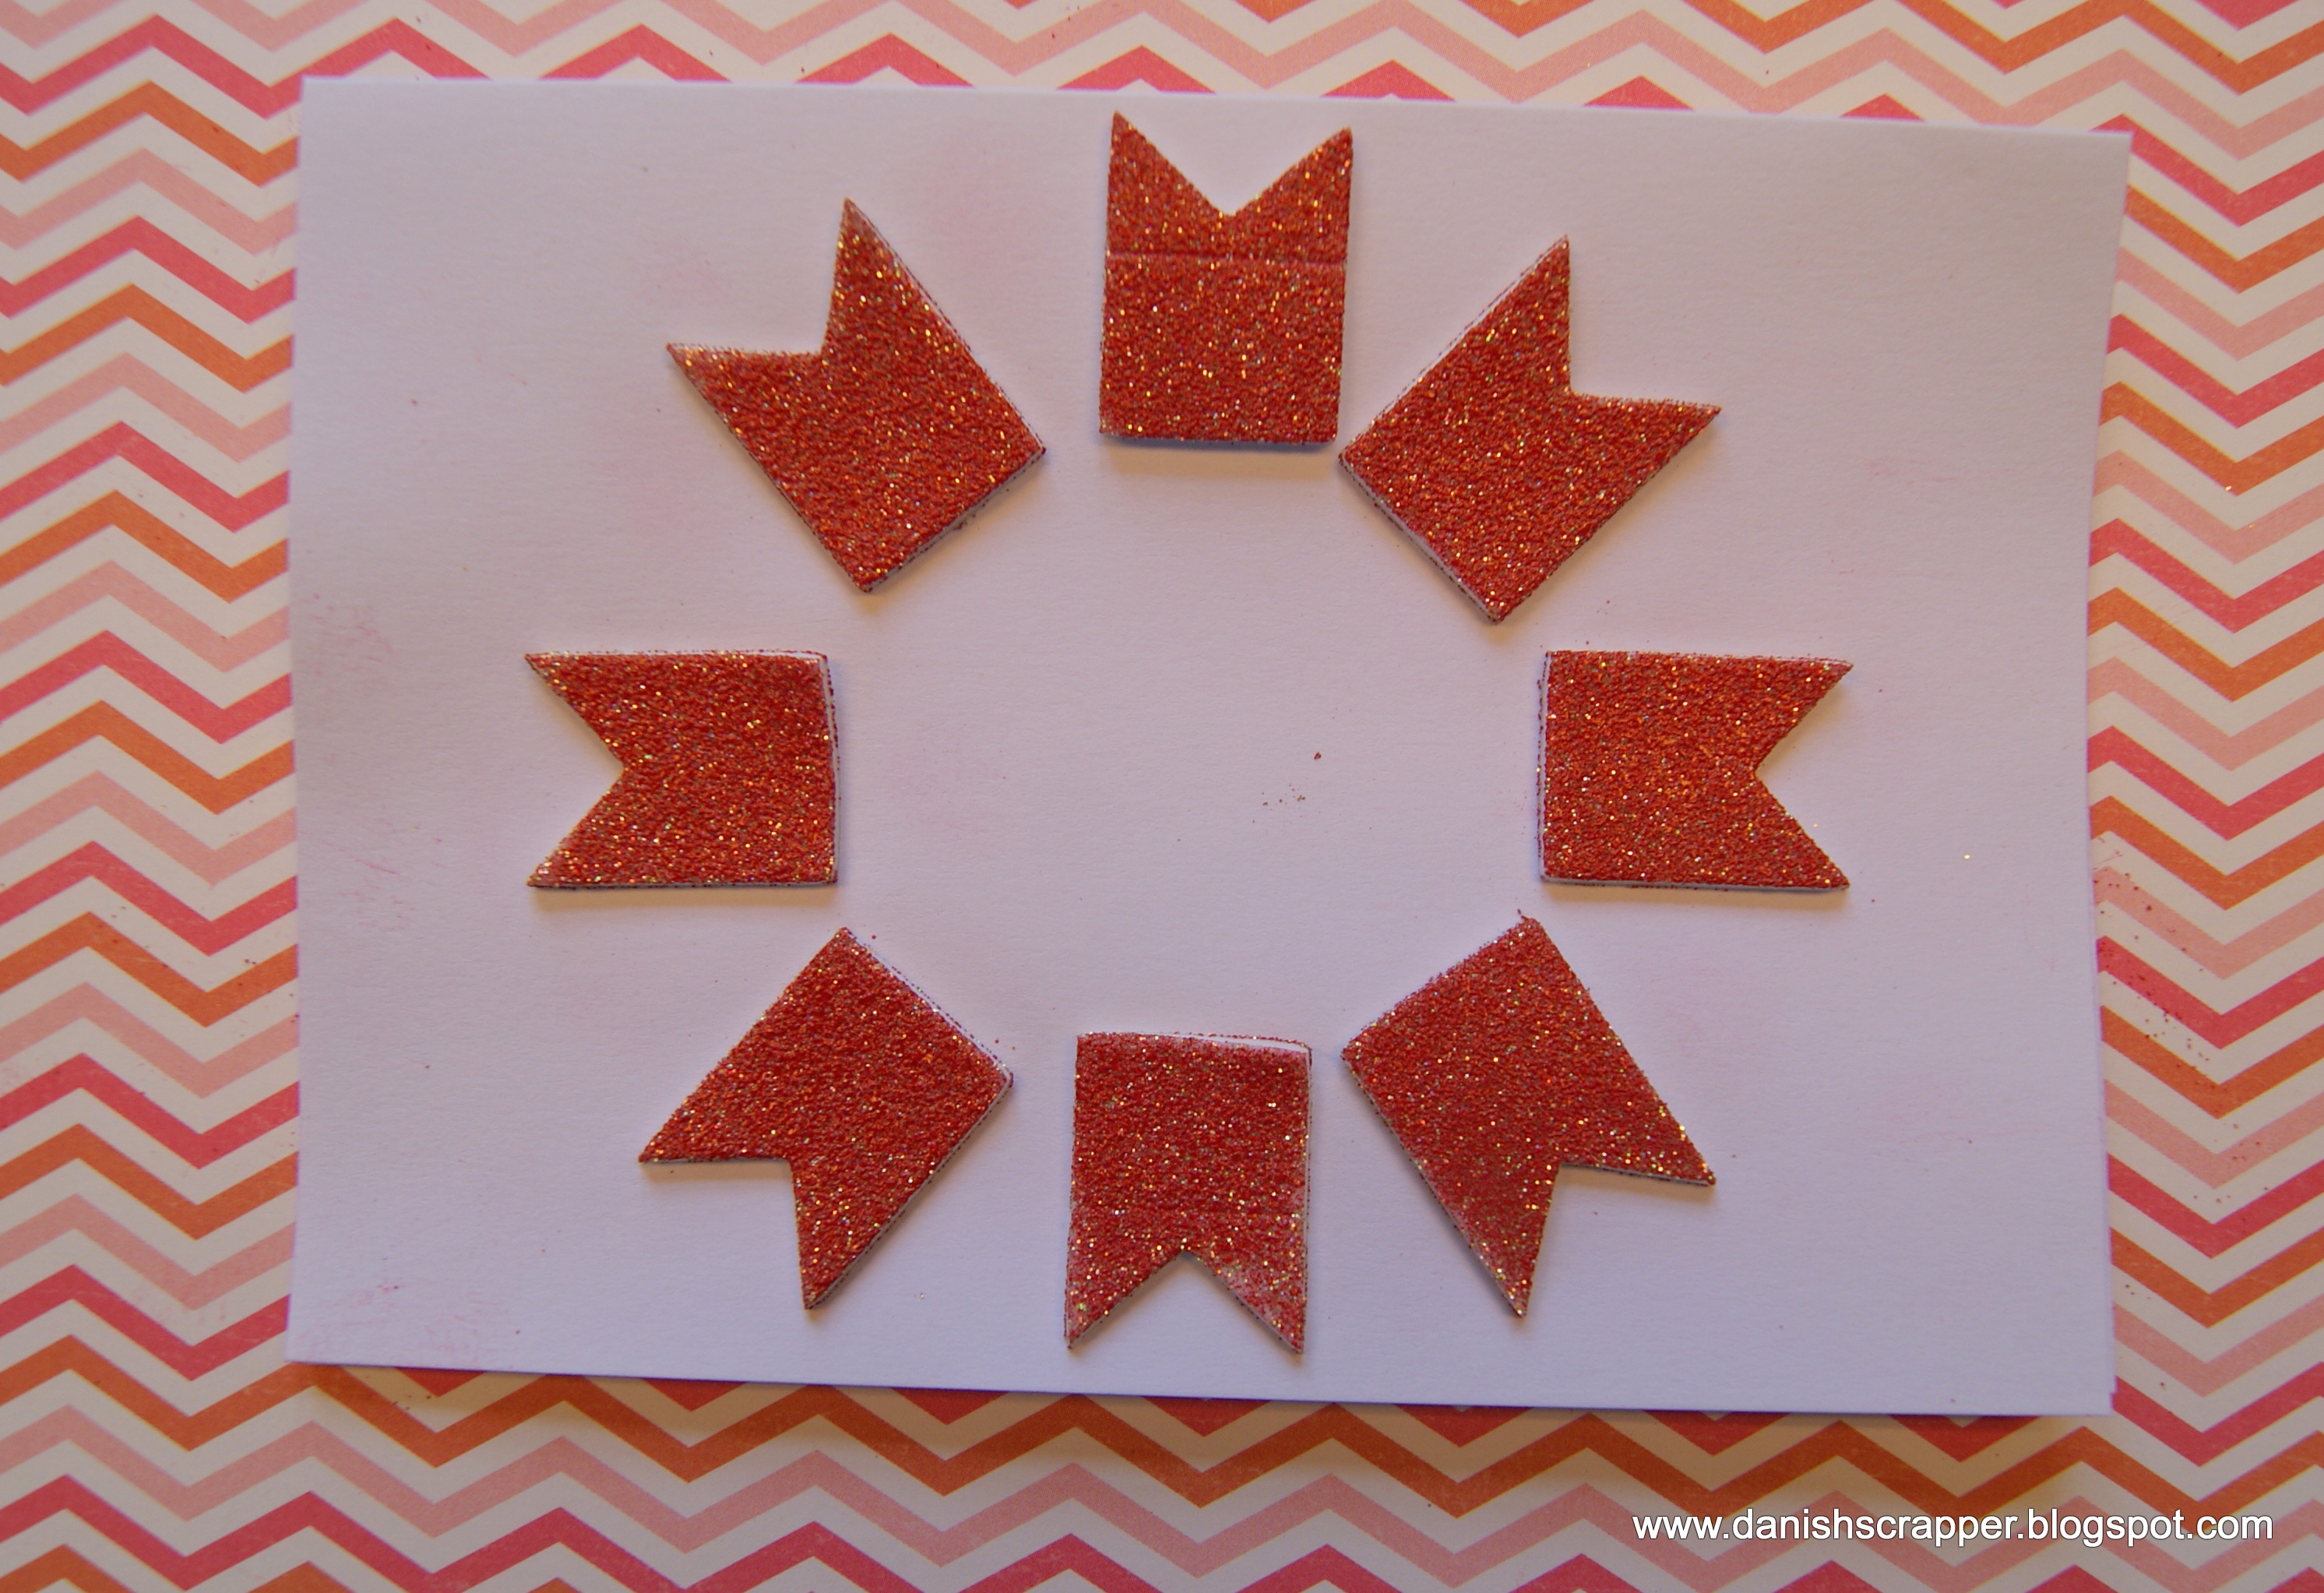
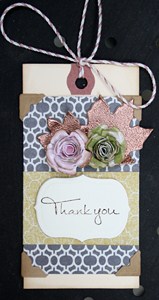
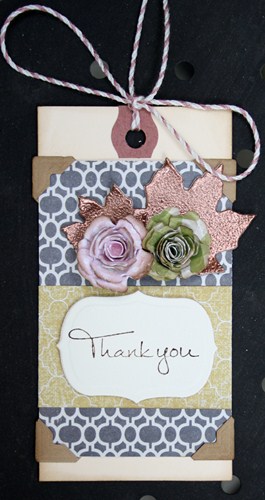
Hello, Christine here today with a pretty tag showing off the brilliant NEW Designer Shapes.  I have used the 3D Foam Leaves – it is a mix of all different shapes of foliage.

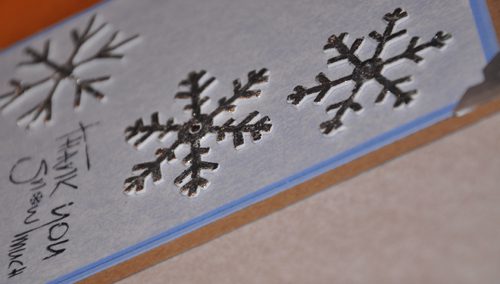
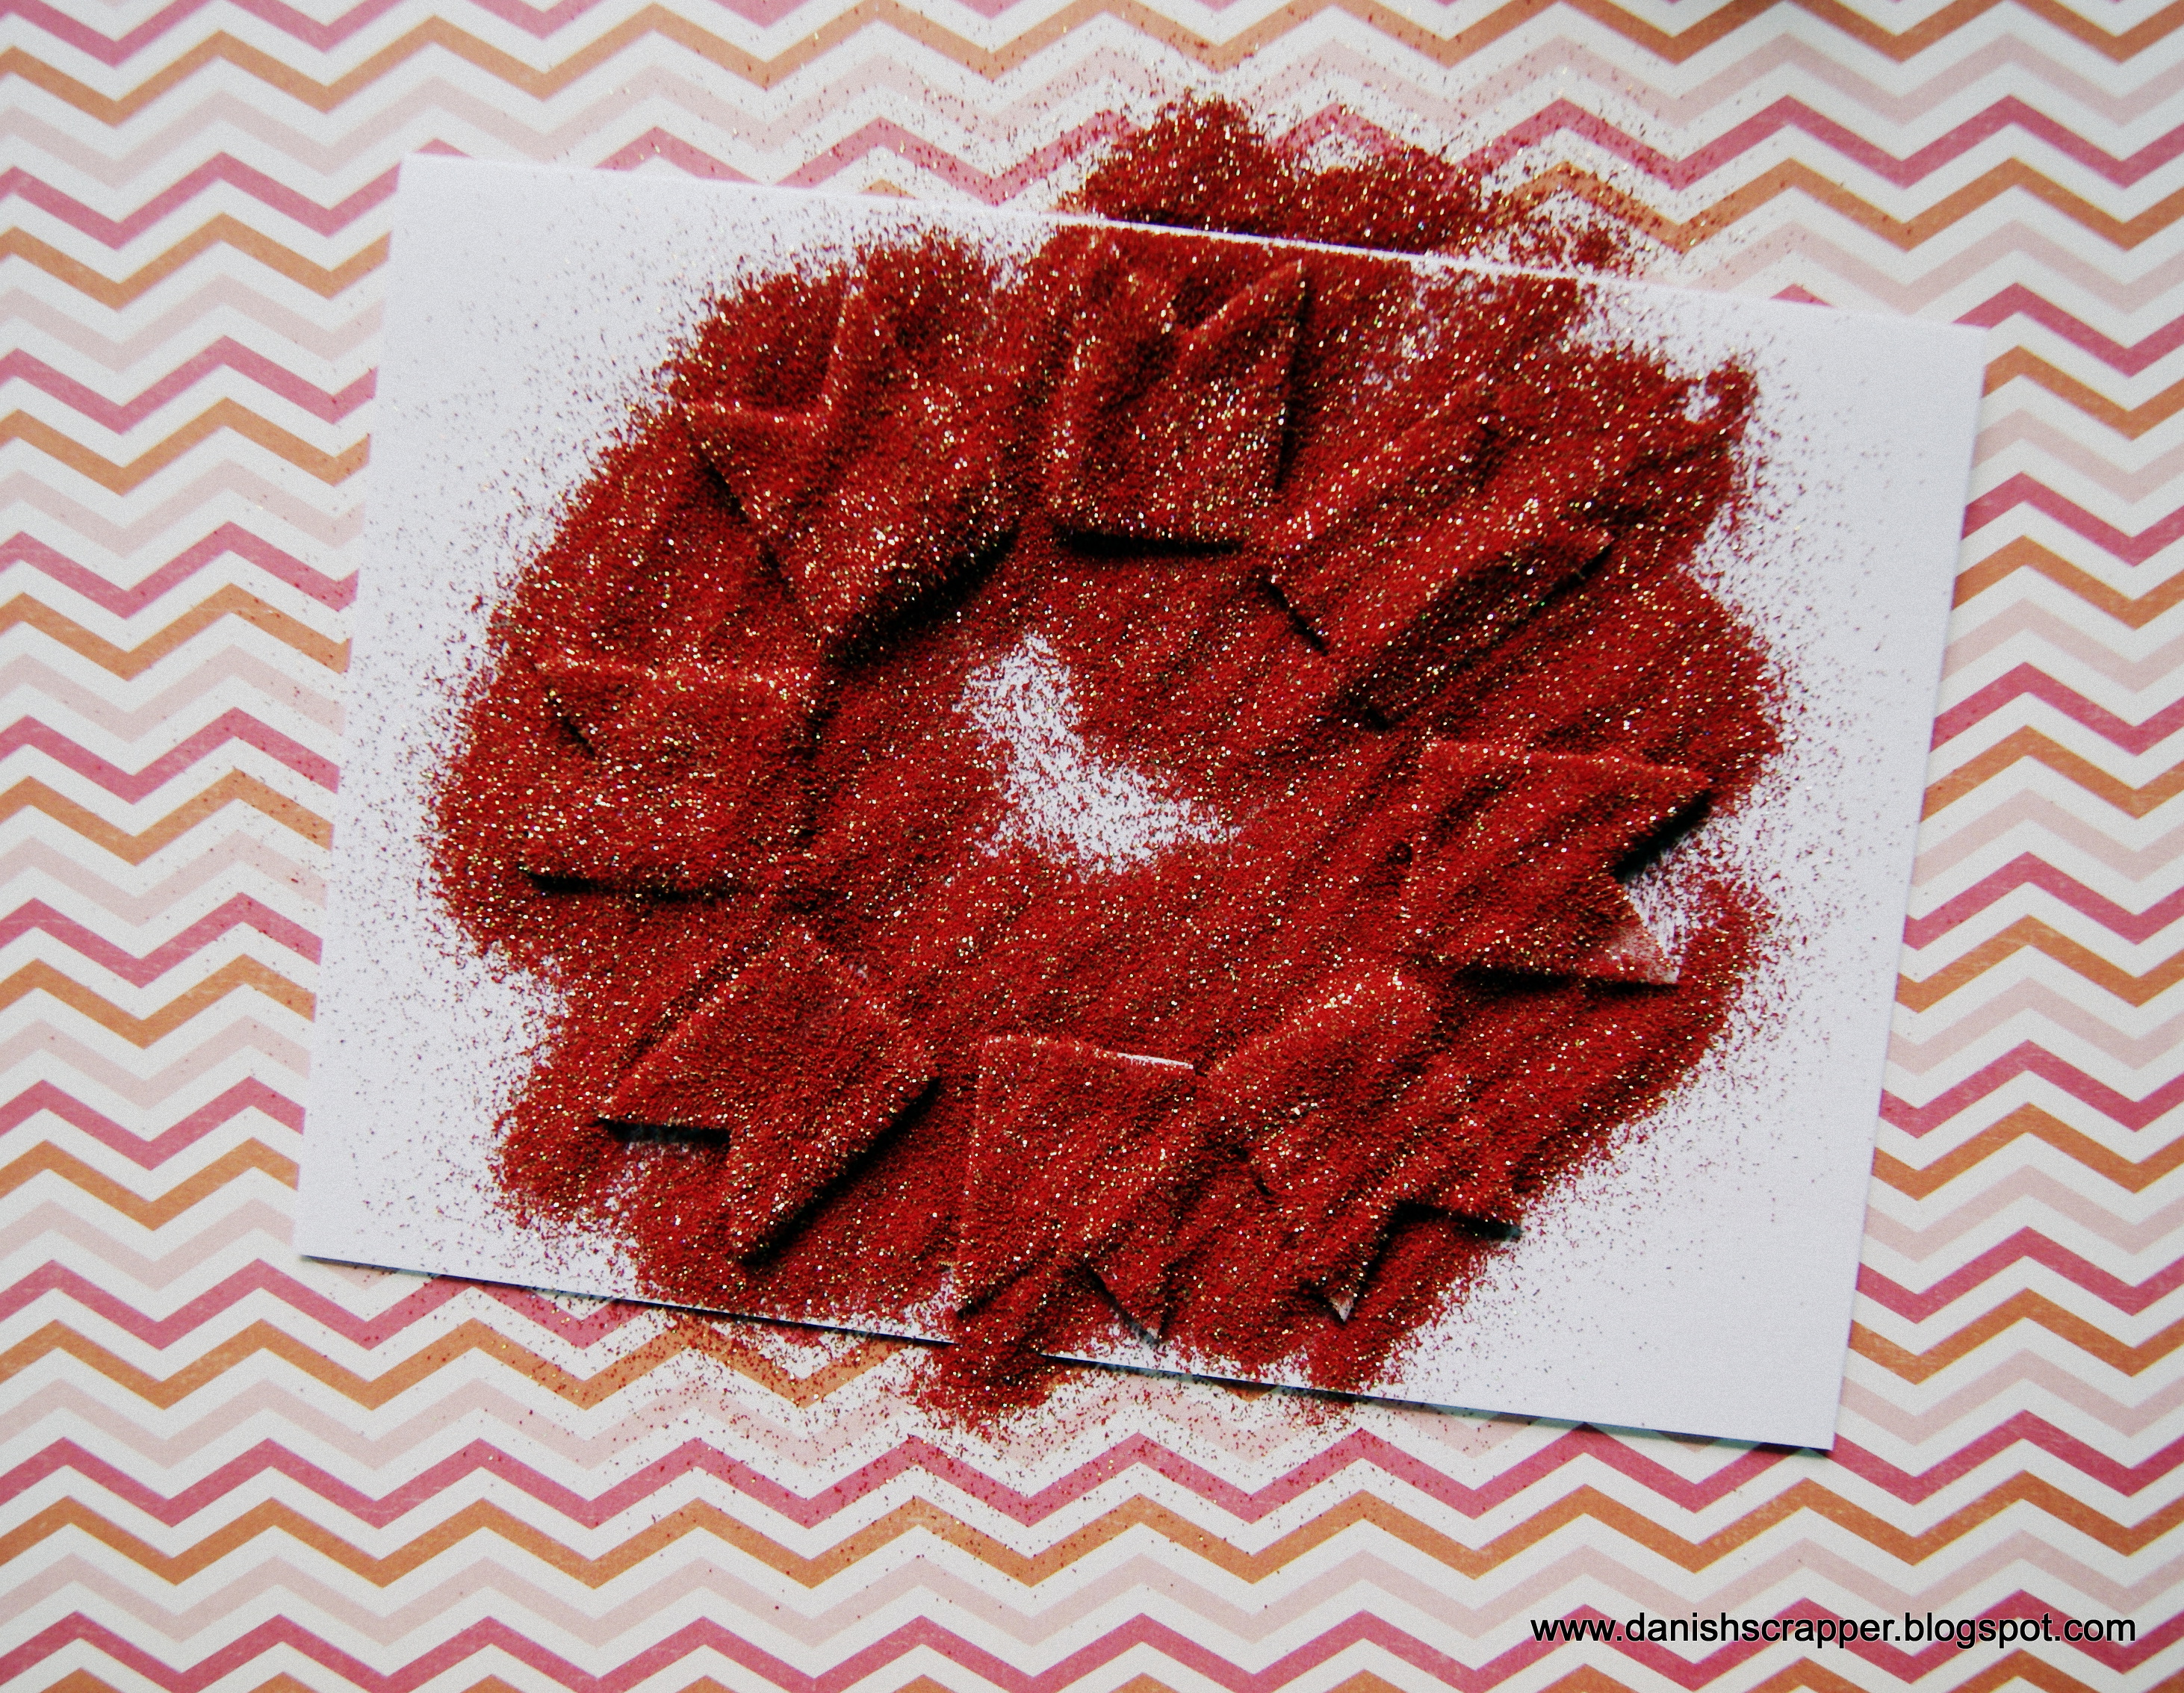
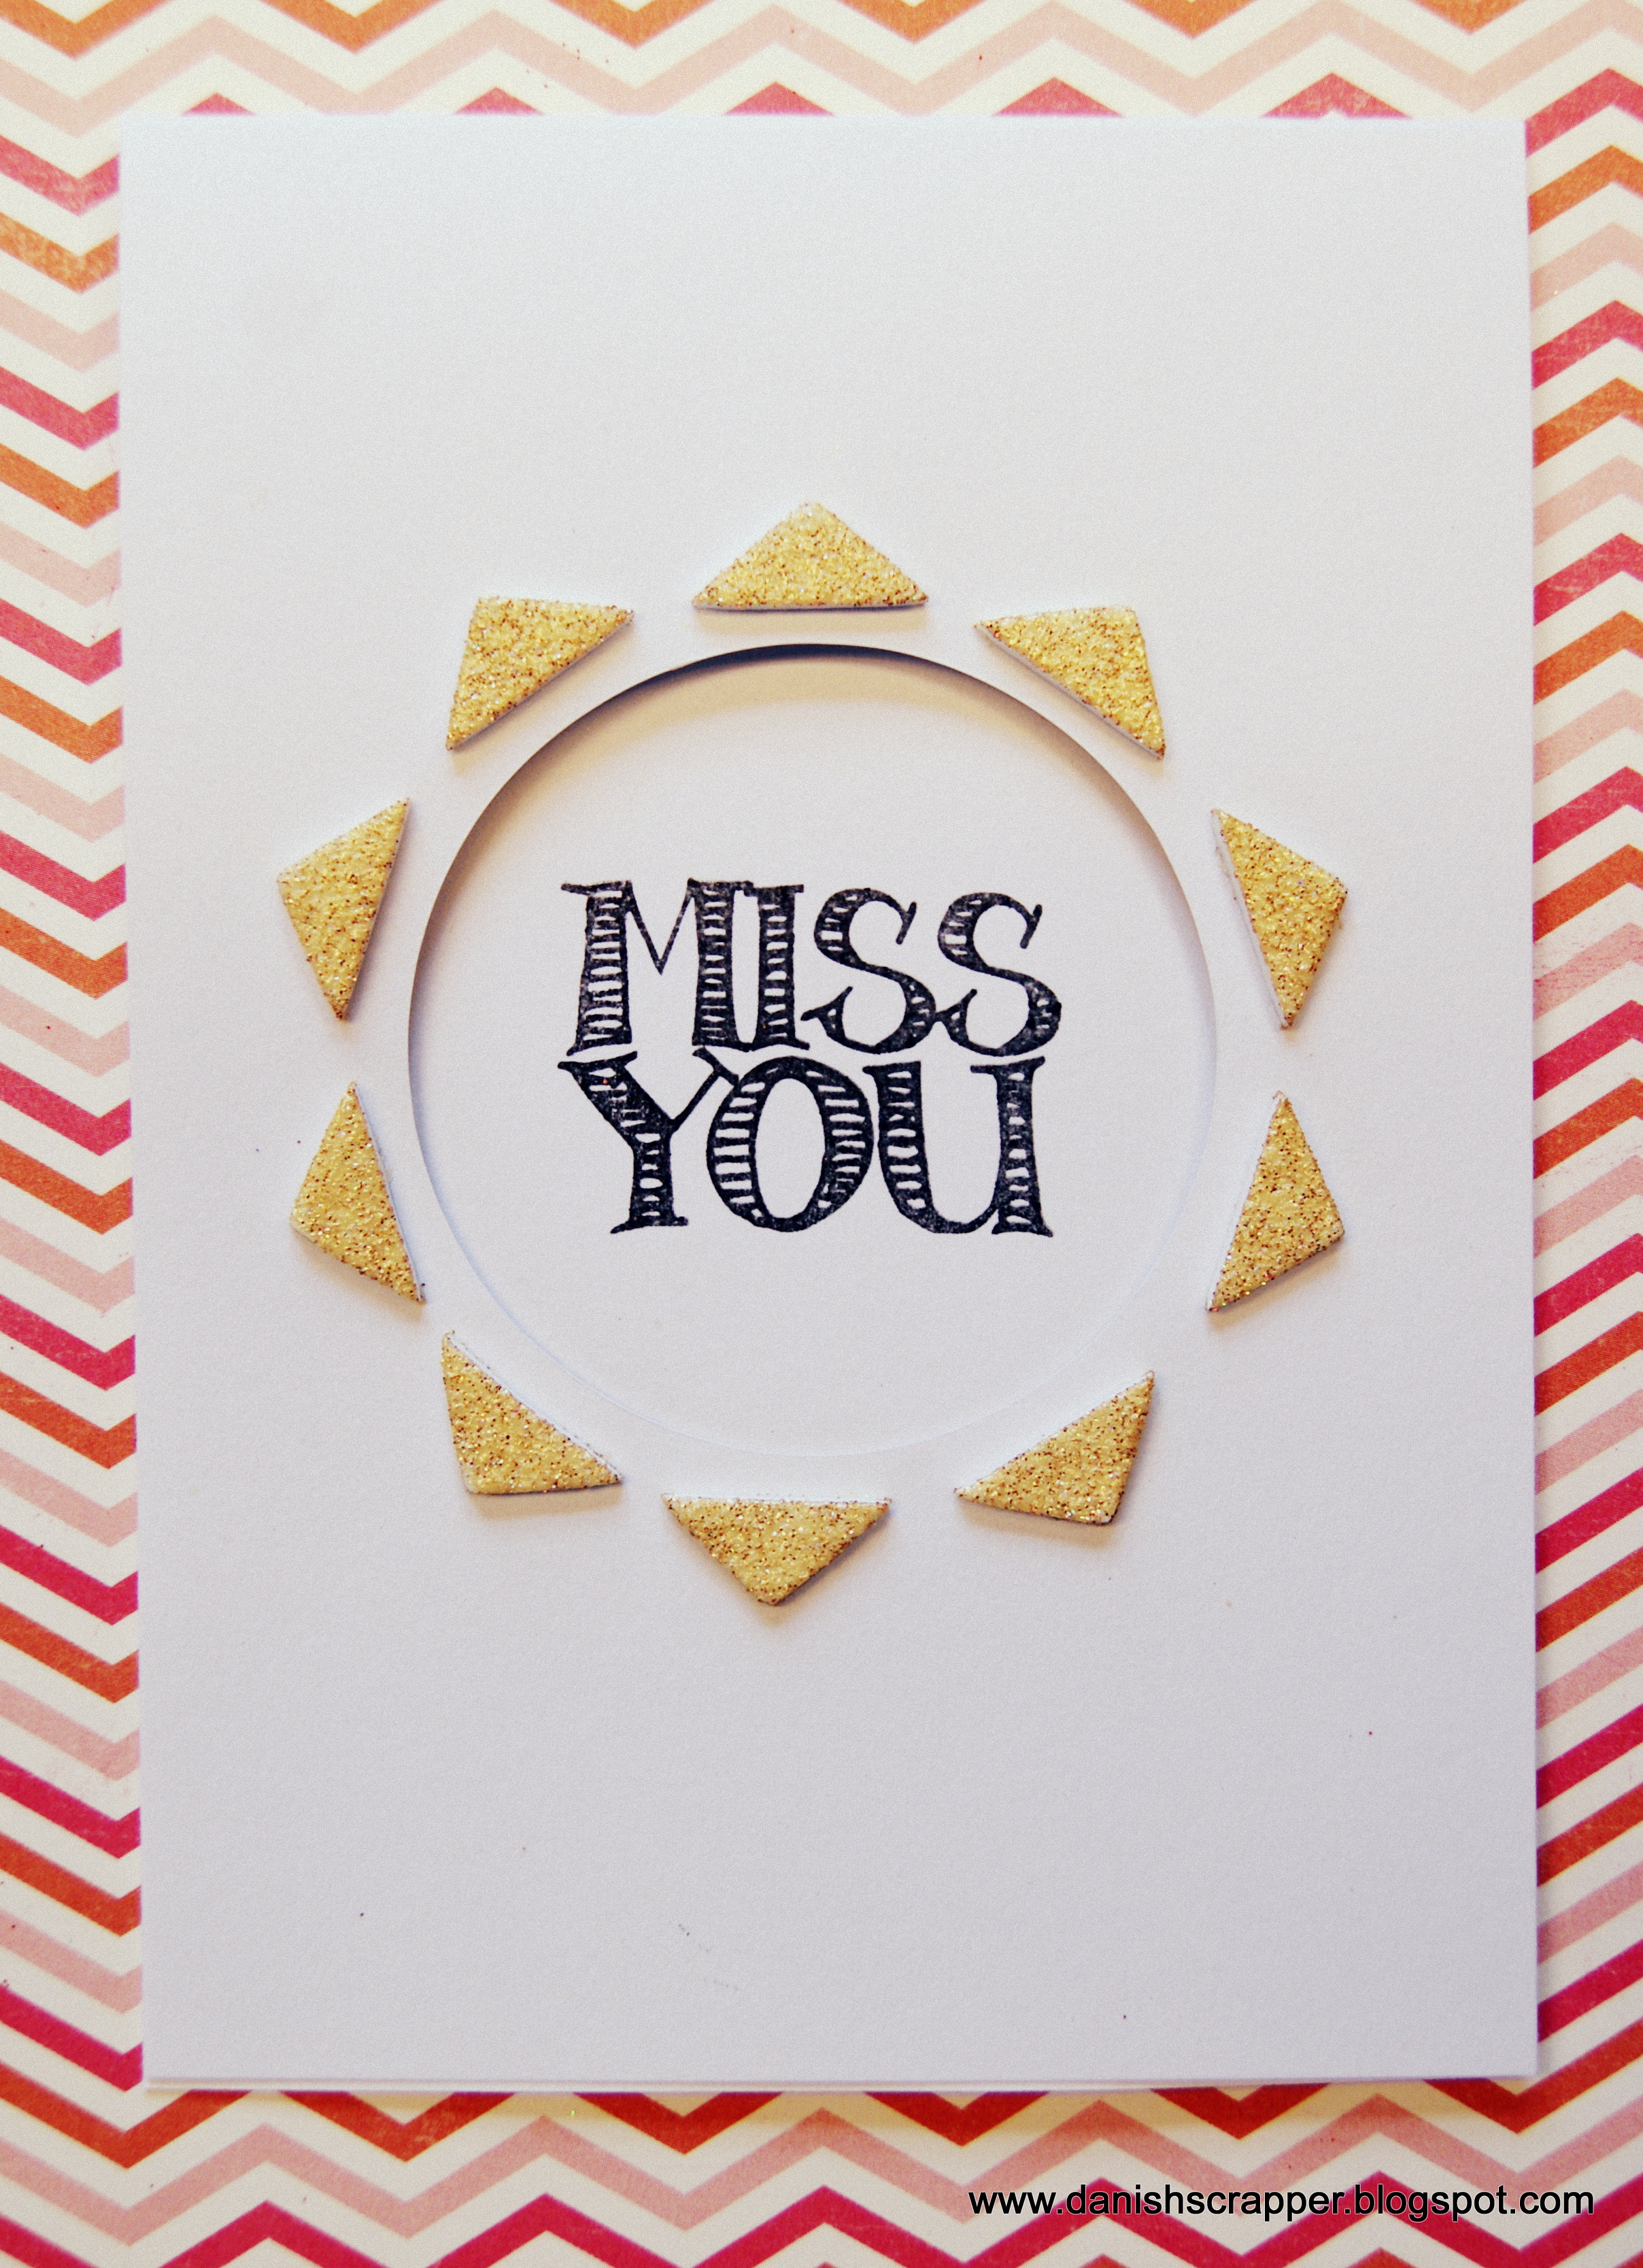
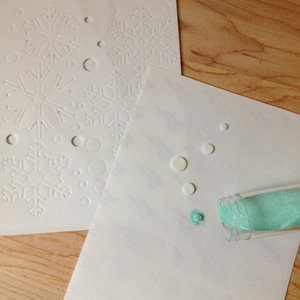
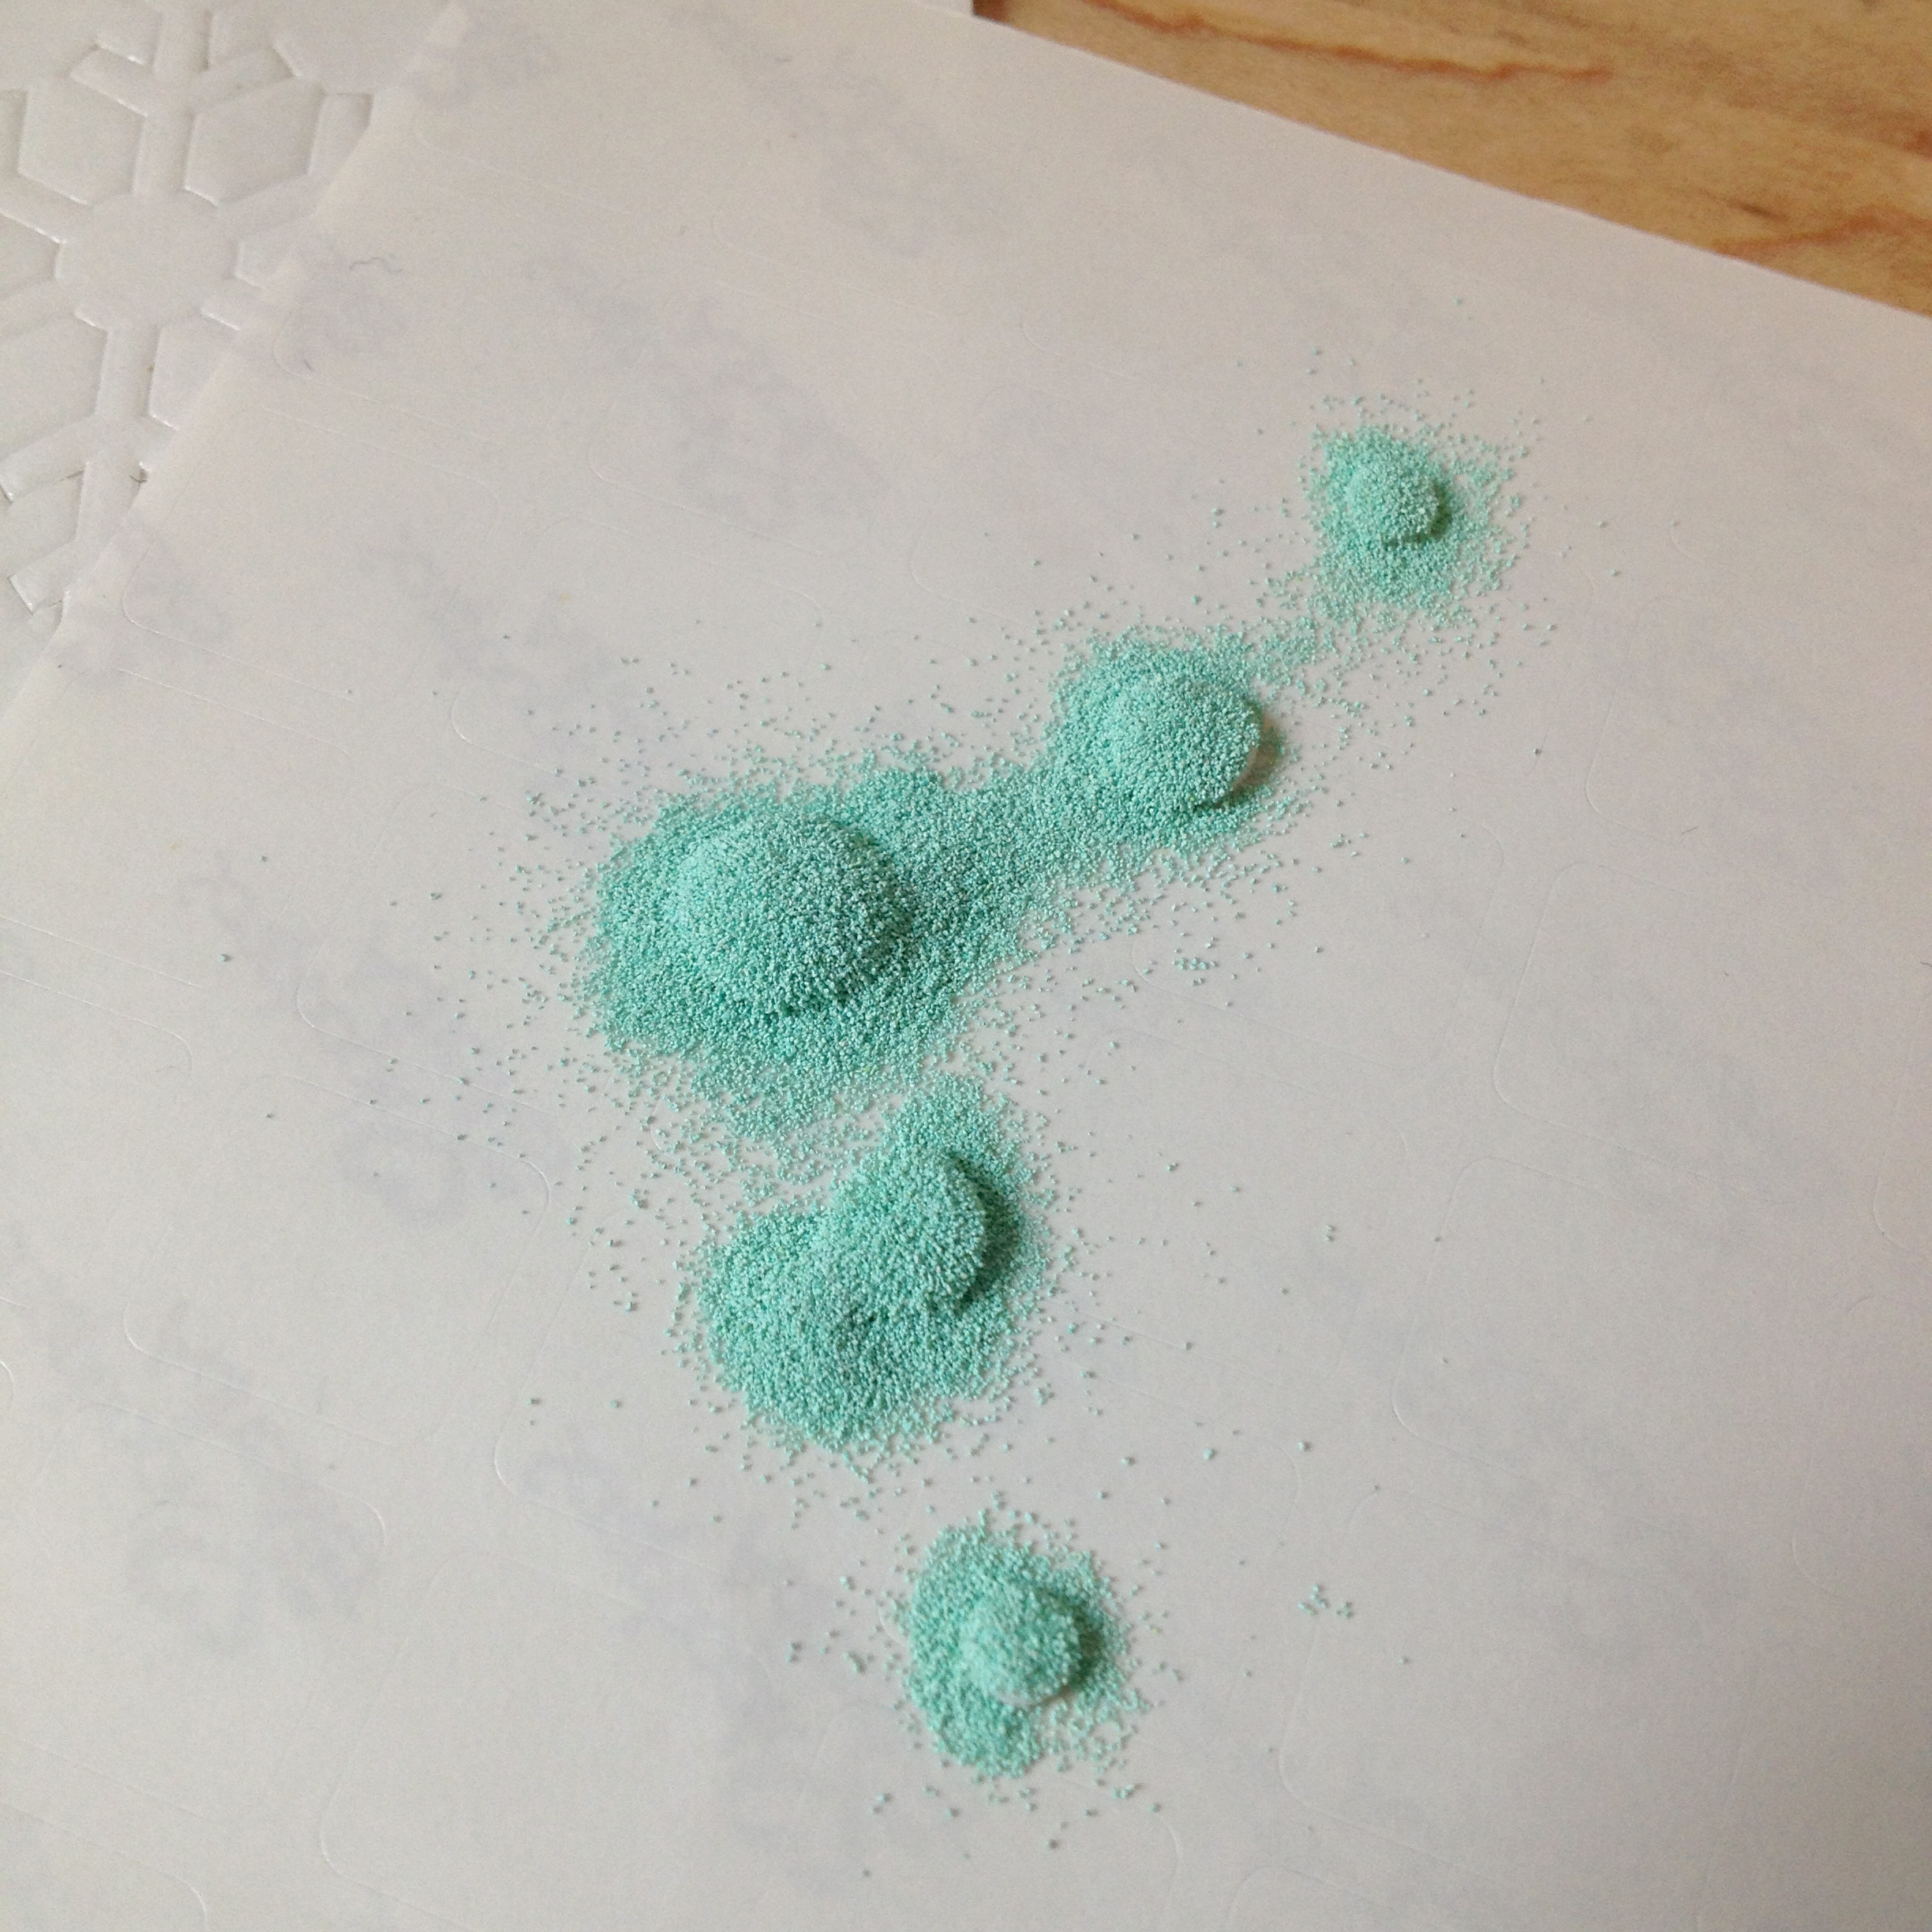
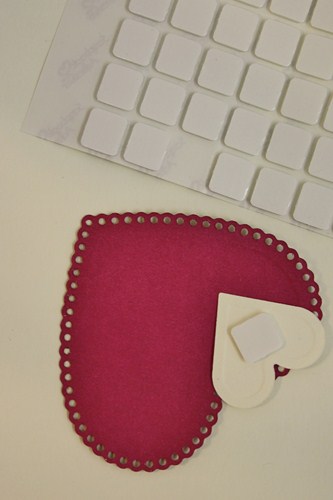
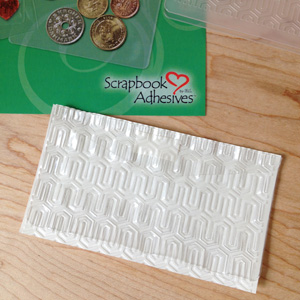
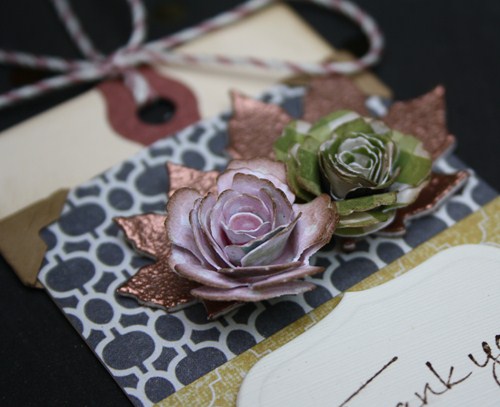
I chose the maple looking leaves, peeled away the adhesive layer, sprinkled with copper embossing powder, shook off the excess and set with a heat gun.  Superb metallic looking leaves in a jiffy!  I teamed them up with Spellbinders® Bitty Blossoms.

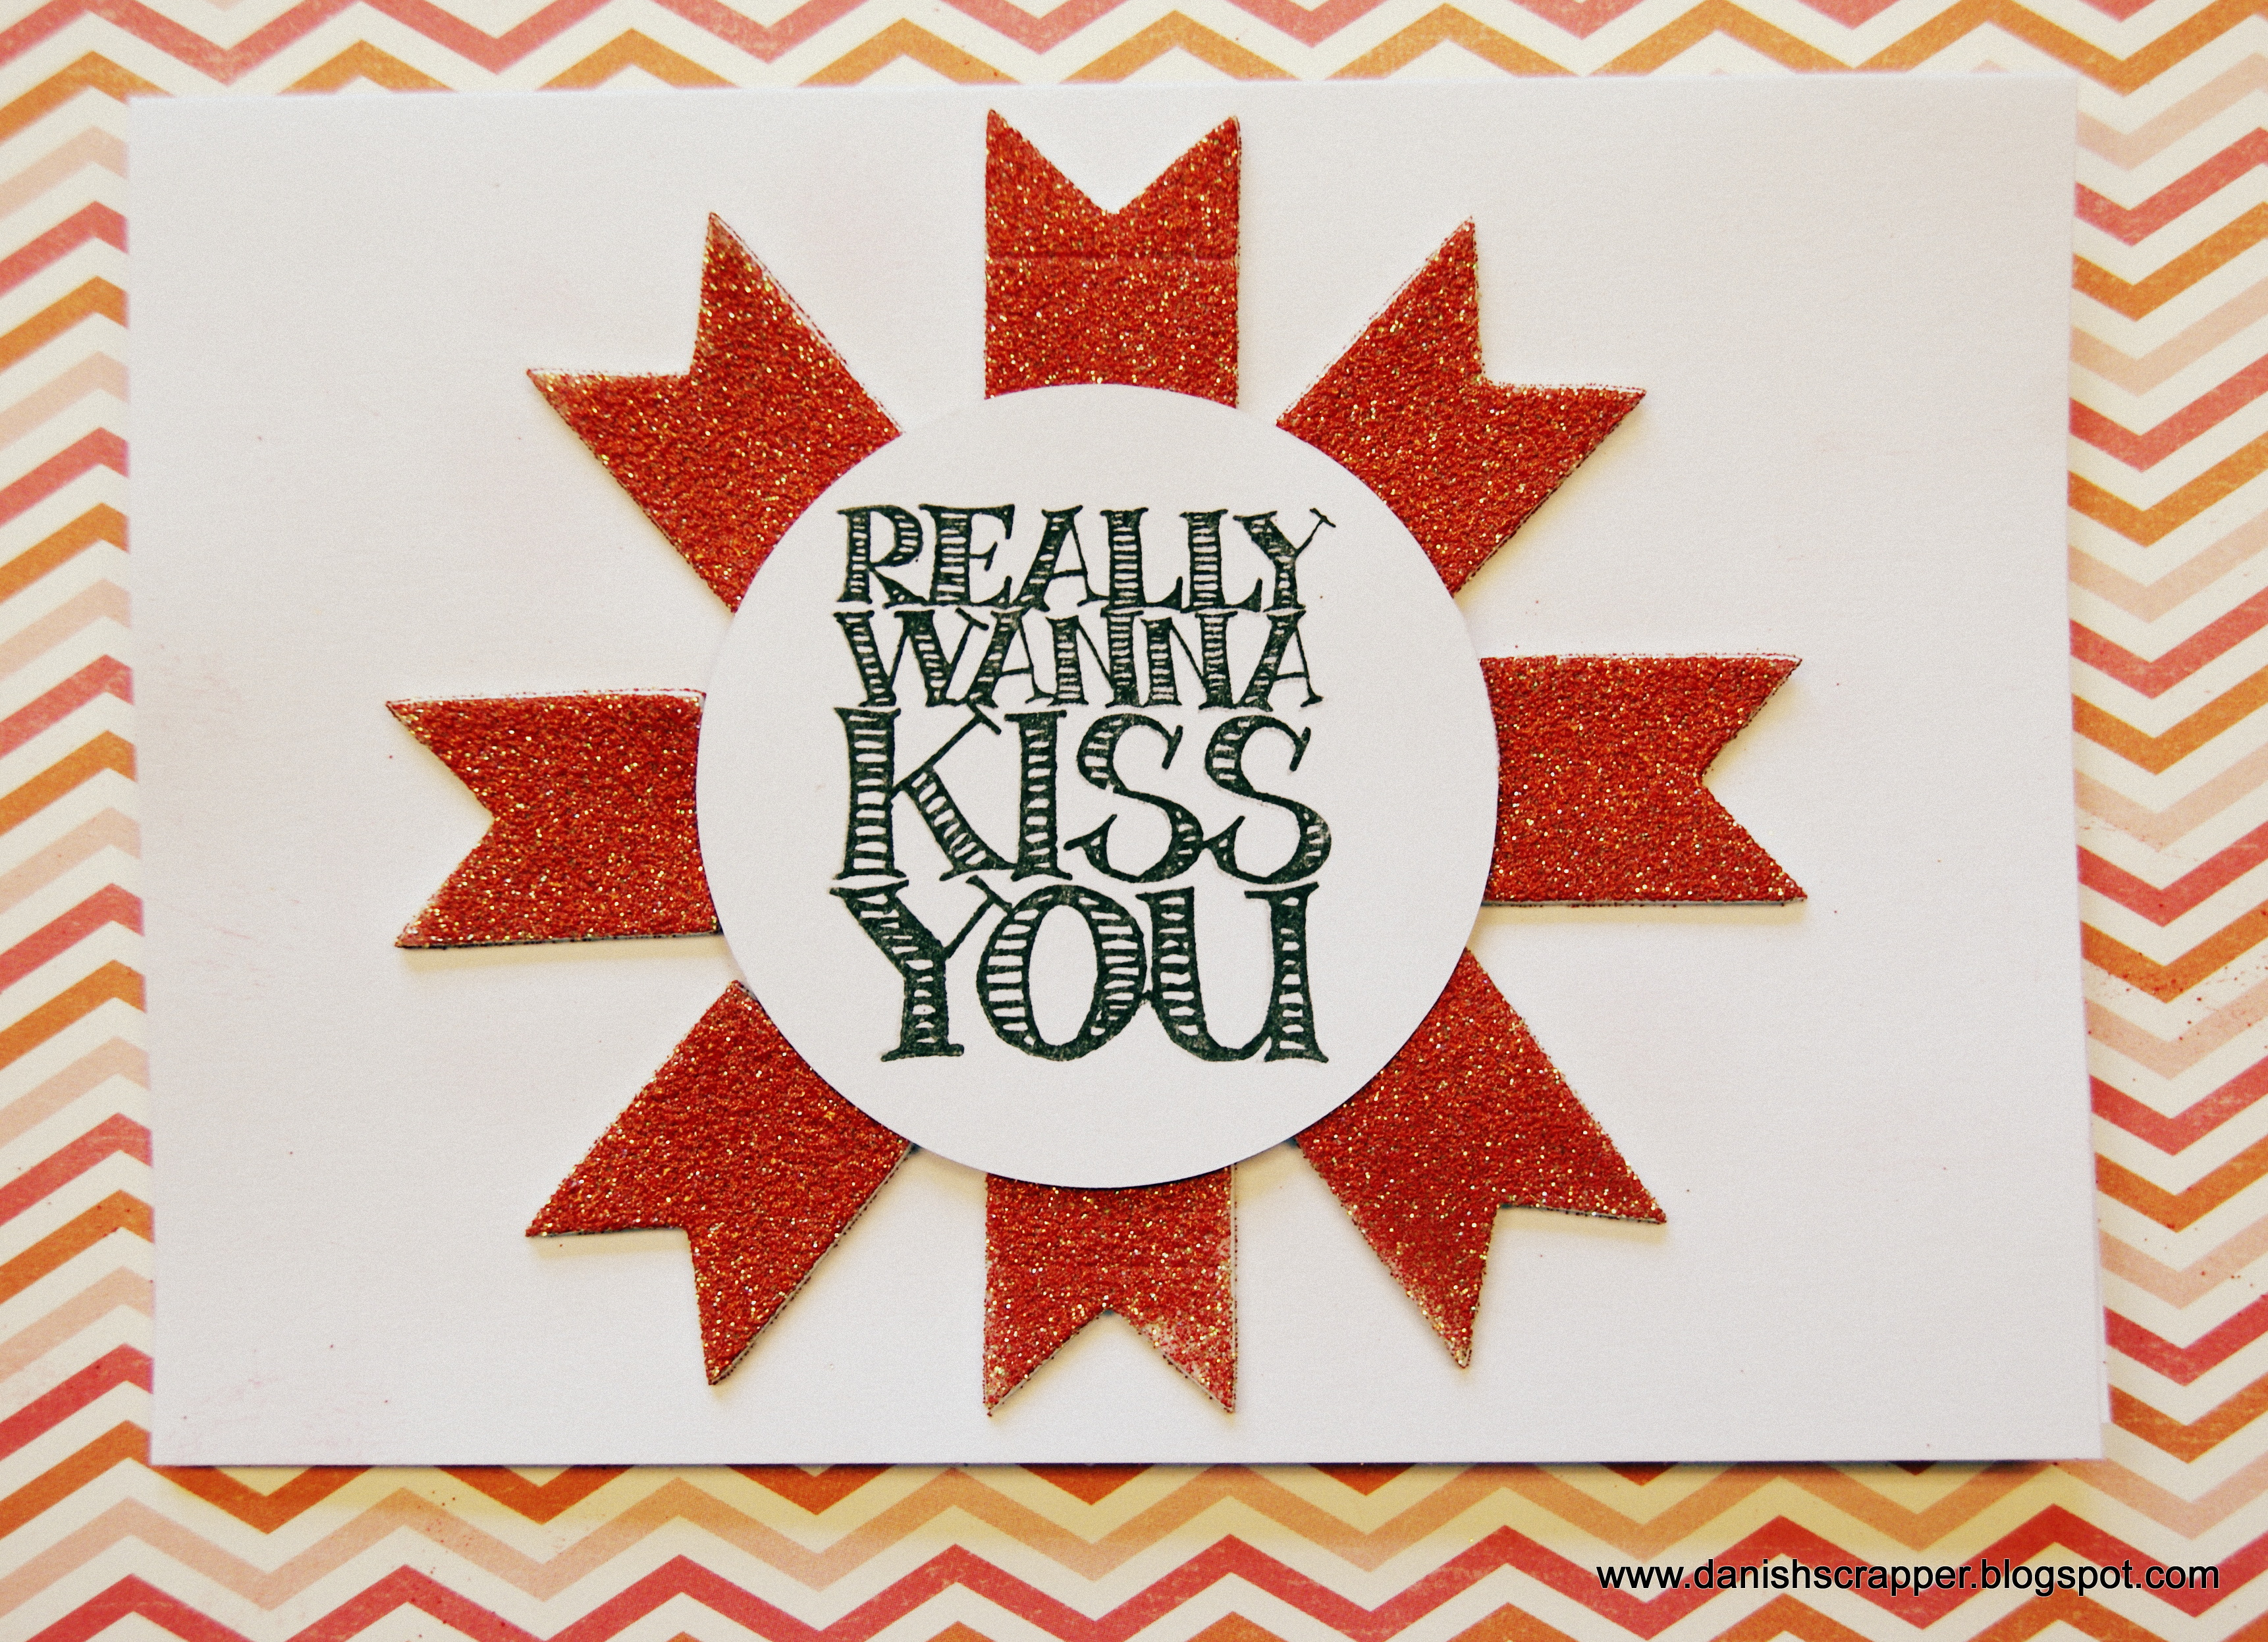
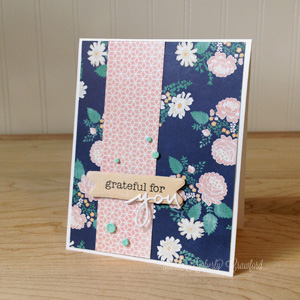
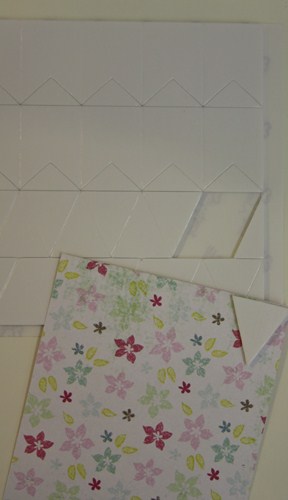
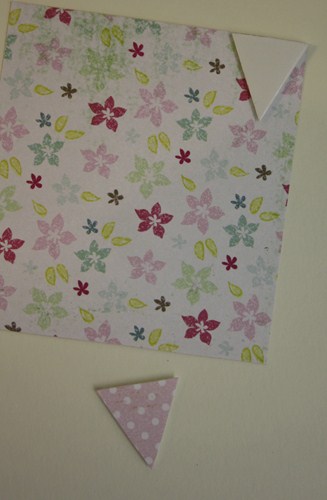
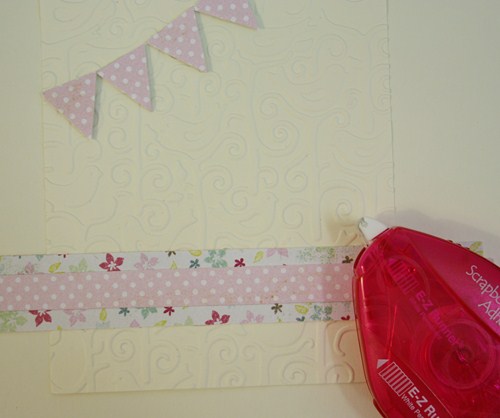
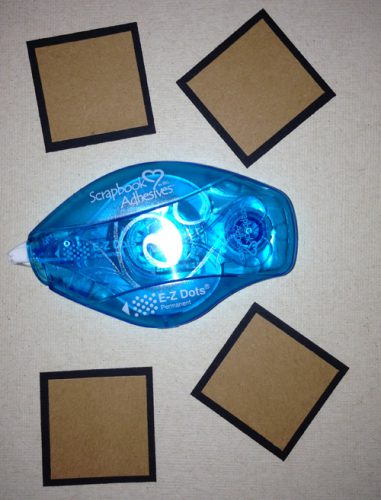
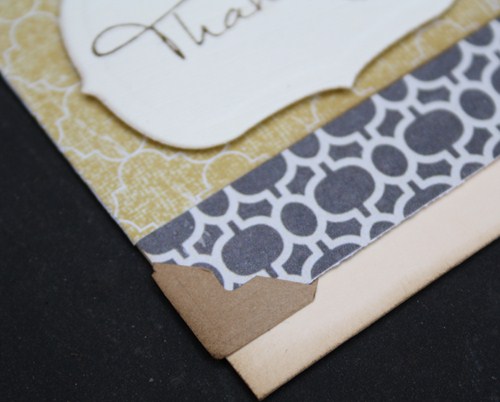
The patterned papers are Pink Paislee – Cottage Farms.  Perfectly and easily adhered with the new E-Z Runner® Permanent Refillable.  I cut/embossed Labels Thirty One for my stamped sentiment.  To the edges of the patterned paper I added Photo Corners Kraft – these are great as you can ink, stamp, distress them and more.

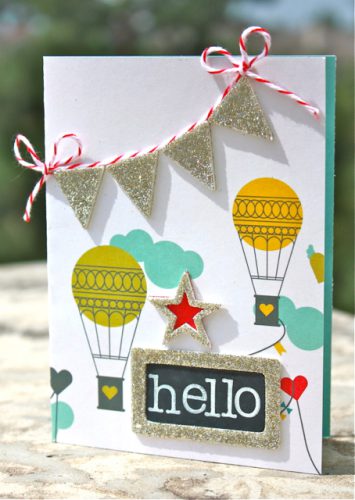
Another picture of the finished tag.  Add some twine or ribbon – perfect to attach to a thank-you gift or bottle of something, perhaps if you are attending a dinner party.

Thank you for joining me today – here is a list of the super sticky products I have used.


Save

Thank You Snow Much Card

I know it’s still September, and it’s not quite cold enough for snow here in Chicago, but as a runner, I am so happy with the recent temperature changes! I’m not ready for snow, but cooler temps are definitely welcome as I train for my first marathon. So lets just settle for 3D Foam Snowflakes, which will be available in October!

This card features 3D Foam Snowflakes embellished with Designer Foil. I layered vellum onto cardstock and adhered with a 4 x 6″ Adhesive Sheet. The other layers were adhered with an E-Z Runner® Permanent Strips Refillable dispenser. I added Silver Photo Corners for a little bit of shine to match the foil. It’s an easy card to create, and the foil is super fun to use on all of our adhesives.

Thanks for stopping by today,

Beth Pingry

Supplies Used:

  • Scrapbook Adhesives by 3L: Adhesive Sheets 4 x 6, E-Z Runner® Permanent Strips Refillable, Silver Photo Corners, 3D Foam Snowflakes
  • A Jillian Vance Design: Snowflake Sentiments stamp
  • Clearsnap: Designer Foil – Silver Fog
  • Imagine Crafts Tsukineko: Stazon Jet Black ink
  • WorldWin Papers: Tempting Tanzanite, Light Tempting Tanzanite Cardstock
  • Vellum, Kraft Cardstock

Save

Save

Back to School Layout

Hello everyone!

It’s Kelly here to share a Back To School layout I designed using the wonderful new 3D Designer Shapes.

I used 4 different Designer Shapes on this layout, and they are all covered with silver glitter.

The 3D Foam Wings and 3D Foam Hearts:

The 3D Foam Frames :

And those black chevrons or arrows?  They are Black Photo Corners, snipped a little bit!

I just love the 3D Foam Stars, which are packaged nesting inside one another so you have all sizes and solids and outlines too!

If you look closely, you can see a glittery border all along the edge of the white text paper layer.  I created that subtle shimmery border with Crafty Power Tape and clear iridescent glitter.

Here’s a step by step of photos where I will now show you how to create these stars.  There are only a few supplies you need:

1.  Place one of the star ‘outlines’ onto some paper or card stock:

2.  Lift off the backing:

3.  Add glitter

4. Rub or ‘burnish’ the glitter onto the sticky foam with your finger.

5.  Brush off excess glitter.

(I used a glitter tray to catch the mess!)

6.  Cut out star, closely to the edges.

And that’s it!  You now have a custom made star embellishment for your project!

The beauty is that you can use any color of paper and glitter!  So “reach for the STARS”….and have some fun with these new Designer Shapes!

Happy Crafting!

Kelly Klapstein  (aka Kelly Creates)

SUPPLIES:

Fancy Pants Designs papers and button

Stampin’ Up! ink and stamps

Graphic 45 Alphabet stamp set

EK Success Glitter/tray/brush

Westcott scissors

Save

Easy Peasy Cards

October is the month where you’ll have to run to your local scrapbook store and ask for the new Designer Shapes from Scrapbook Adhesives by 3L 🙂

Until then, let me give you some ideas for some easy cards.

I cut some white cardstock, found one of my favorite embossing powders and the 3D Foam Pennants Designer Shapes.

Very easy – right 🙂

And two more “look-a-like” cards:

Have fun creating today.

Iben

Products used:

Designer Shapes from Scrapbook Adhesives by 3L – New shapes will be in store Oct 2013

White cardstock

Embossing powder from Stampendous

Stamp set from Impression Obsession

Save

Save

Creating Faux Enamel Dots with 3D Foam Designer Shapes

Hi! Kimberly here and I have a confession. I love enamel dots. I collect enamel dots. I hoard enamel dots. And I STILL do not have all the colors I “need.” Leave it up to Scrapbook Adhesives by 3L to have a product to help my addiction!

As I was looking at my sheets of the the Designer Shapes, I noticed all these 3D Foam circles, perfectly sized like enamel dots! I knew they could be heat embossed, so off I went to experiment.

I started by placing the foam circles onto a left-over backing piece from 3D Foam Squares. (Keep those backing sheets, I use them ALL the time!) Then I generously poured embossing powder over the top of each foam circle. The excess was tapped off and returned to its container. Heat emboss each foam circle. The surface won’t be entirely smooth, and how textured they will be depends on the type and color of embossing powder you choose. But it worked! I love them!

What do you think? Will you give it a try?

thanks for stopping by!

Kimberly Crawford

Supplies: Adhesives-Scrapbook Adhesives by 3L (E-Z Runner® Strips Permanent Refillable, E-Z Dots® Permanent Refillable, 3D Foam Squares White Small), Patterned paper-Carta Bella (Hello Again 6×6), Stamps-Technique Tuesday (I Give Thanks), Dies-Technique Tuesday (Banners, Say It Love You), Embossing Powder-Stampendous! (Wintergreen), Ink-Tsukineko (Memento; Tuxedo Black)

Save

Happy Birthday Card with 3D Foam Stars

Hello everyone! It’s Angela today sharing a fun, bright birthday card I created using the NEW 3D Stars from the Designer Shapes Collection and Adhesive Sheets 4×6”.

Happy Birthday Card with 3D Foam Stars by Angela Ploegman

The background was created by applying an Adhesive Sheet to a 4×6 inch piece of card stock. Crumple some tissue paper (this was party paper with some sparkle already on the tissue paper!), and then re-smooth. Remove the backing from the Adhesive Sheet on the card stock and apply the tissue paper. Gently smooth and trim to size. Love the sparkly textured background this technique creates!

To embellish the 3D Foam Stars, I removed the top backing layer and applied dark grey glitter to the exposed adhesive. After tapping off the excess, I removed the 3D Foam Stars from the backing and applied to the card base.

The E-Z Runner – Permanent Strips Refillable dispenser holds the whole card together and a little Crafty Power Tape on the back of the decorative paper straws hold them neatly in place!

Here’s a detail shot:

Happy Birthday Card with 3D Foam Stars by Angela Ploegman

Super easy, super fun! Thanks for checking out my crafty creation today!

Angela

Other supplies: Bazzill Basics Paper Card stock, Paper Smooches Word Salad Sentiment Stamp, Ranger Archival black Ink, Queen & Co. Stylish Stix Paper Straws, Martha Stewart for EK Success Graphite glitter, Misc. tissue paper and eyelash trim.

Save

Smile Card

Hello, Christine here today with a cute card featuring all the things I like, bunting, hearts and flowers.  The bunting is super special as it is made using the NEW 3D Foam Designer Shapes.  These will be arriving very soon and I can’t wait to show you them all.

This is the bunting set – there is assorted shapes, I chose the traditional triangular for my card.  They are high density and double sided high-tack.

Simply placed my shape on patterned paper and cut around. Instant adhesive bunting!

The background of my card is an M-Bossabilities™ folder – Tweets and Twigs.  The pretty paper is My Mind’s Eye – Cut and Paste collection.  Adhering my elements is simple using E-Z Runner® Permanent Strips Refilliable.

My other decorative elements – Lace Heart, Spiral Blossom Three (cut from felt) and Classic Heart are affixed with 3D Foam Squares – Regular.

My finished card – applying the bunting over twine is simple and effective.

A close up photo.

The very cute bunting!

Thank you for joining me today.

Save

You’re My Star Card

Hi, it’s Beth today, with a card featuring our new 3D Foam Stars. Let me show you how easy this is to make.

You Are My Star card by Beth Pingry

First, I peeled three 3D Foam Stars from the full sheet, and placed them on a separate piece of backing paper (when I finish a sheet of 3D Foam, I keep the empty sheets for just this purpose!), and peeled off the top layer of the outer star, then added glitter.BethPingry-stars2

Next, I used the tip of my craft knife to carefully lift the liner off the center star, and added a different color of glitter. Be sure to tap off the excess between colors!

I cut four squares of kraft paper, 1.5 x 1.5″, then matted them with 1.75 x 1.75″ black cardstock, adhered with E-Z Dots® Permanent Refillable adhesive.

BethPingry-Stars4

I transferred the stars to the matted squares with a craft knife. Then I stamped the sentiment on the last square, and added them all to the card front with 3D Foam Squares Black Regular size.

We call this Wear Your Adhesive on the Outside, where you utilize the adhesive as an embellishment instead hiding it between the layers of your projects. Its fun, easy and you can do it with all of our products!

Thanks for coming by today! Look for the all the new 3D Foam Designer Shapes starting in October!

Beth Pingry

Supplies:

  • Scrapbook Adhesives by 3L: 3D Foam Stars, 3D Foam Squares Black Regular, E-Z Dots Permanent Refillable
  • Waltzingmouse Stamps- Seasons of Love Tags
  • Tsukineko Imagine Crafts – Memento Tuxedo Black ink
  • Clearsnap Glitter – Emerald City, Sparkling Amethyst
  • WorldWin Papers – Treasures, Oatmeal
  • Black and Kraft cardstock

Save

Save

A Shapely Card with 3D Foam Shapes

Hello everyone!

It’s Kelly here with a fun card!

Introducing…. 3D Foam Pennant Banners, 3D Foam Stars and 3D Foam Frames!

I simply added silver glitter to all 3D Foam Shapes to make them shine.


Happy Crafting!

Kelly Klapstein (aka Kelly Creates)

Supplies:

  • Fancy Pants Designs papers
  • Divine Twine
  • Graphic 45 Alphabet Stamps
  • Clearsnap Ink
  • Stampendous Glitter

Save

Save

Save

Save

Embossing Clear Keepsake Envelopes

Hello! Kimberly here with a fun discovery I made a few days ago. I love happy paper crafting accidents, don’t you? This one all started with a pile of embossing folders on my table and a package of Keepsake Envelopes from Scrapbook Adhesives by 3L®.

The Keepsake Envelopes come in a pack of 10, in assorted sizes. The cool part about them, aside from being a great way to store items, is that they are self adhesive! You can see the white backing, protecting the adhesive, in the photo above. The adhesive is clear, so once the backing is removed, it will not be seen on your project.

Simply place the Keepsake Envelope inside your embossing folder. (I used the one measuring 2 1/8″ x 4 /18.”) I placed the envelope flap closed, to keep the embossed pattern the same, in case I chose to close it. Pass this through your manual die cutting machine, per your manufacturer’s instructions for embossing with folders.

Once you remove the Keepsake Envelope, it will look like this. Even the backing gets embossed, but it does not cause a problem.

I used my Keepsake Envelope on this card. It holds a tag with the Eiffel Tower and other various Paris ephemera. Someday I will visit Paris, but until then, I will continue to dream!

Here is a closer look at the embossed texture. Its pretty cool!

Thanks for stopping by!

Kimberly Crawford

Supplies: Adhesives-Scrapbook Adhesives by 3L (Keepsake Envelopes, E-Z Runner®Permanent Strips Refillable), Cardstock-Avery Elle, Embossing Folder-Lifestyle Crafts (Sequence), All others-October Afternoon (Travel Girl)

Save

Save