Hello Friends, Asia King here :). I am so excited to be back with my second project!
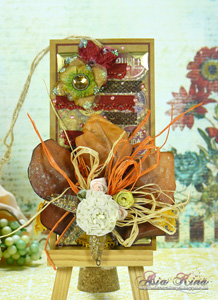
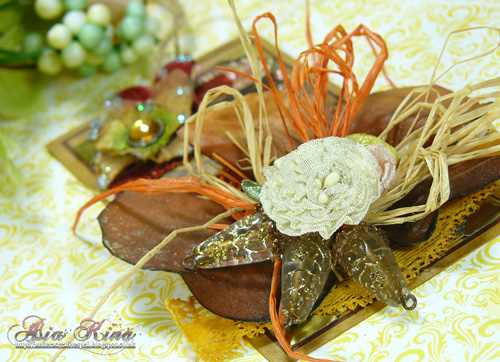
Today I would like to share a short tutorial for an autumnal tag and also show you a very fun way to use the adhesive to create your own cute embellishments. I’ve made some sparkly acorns to adorn my autumnal flower spray. Autumn (or Fall, if you prefer) is just round the corner in the UK so I wanted to capture the feel of the changing season.
OK, let’s start with the acorns!
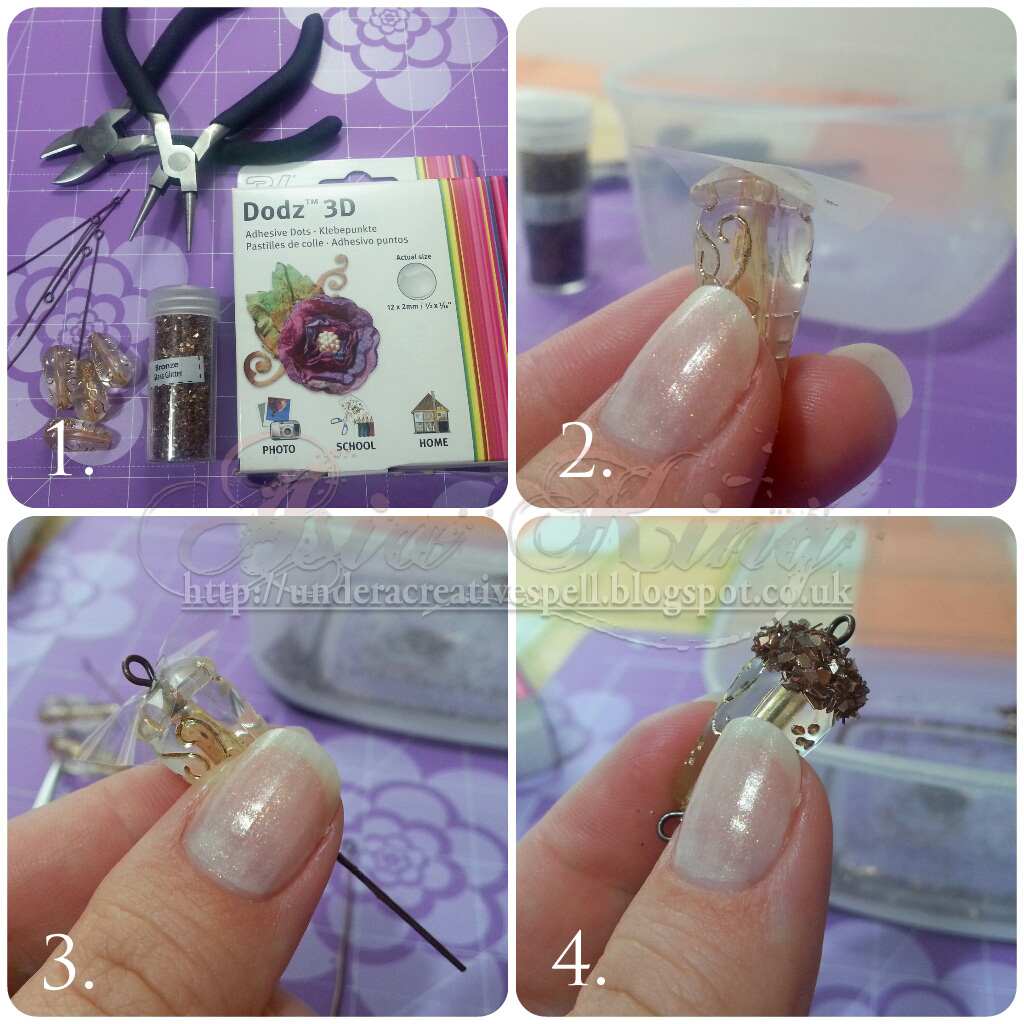
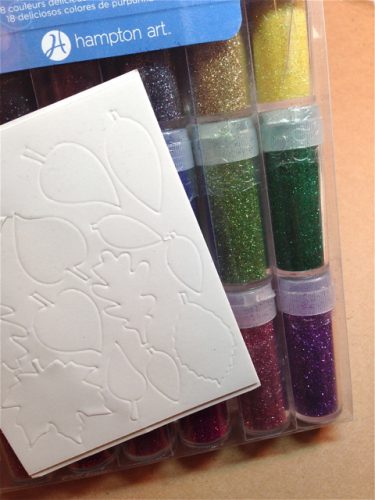
1. You will need glass oval beads, jewelry pins and pliers, Stampendous Bronze Crushed Glass Glitter and DODZ™ – 3D.
2. First adhere your DODZ™ 3D to the top of the bead. Keep the clear protective sheet in place for now. Gently tap this dimensional dot around to form a nice acorn ‘hat’.
3. Thread the jewelry pin through the protective sheet and the inside of the bead. Cut the excess wire off and finish the end with a loop using the pliers.
4. Gently pull the the protective sheet over the top of the pin. Cover the adhesive with Bronze glitter. Et voilà, your sparkly acorn is ready!
5. For the tag you will need: an old kraft label (my came with my new jeans), Scrapbook Adhesives by 3L as listed in the steps below, patterned paper (I used Lost and Found by Tim Holtz), Stampendous Cinnamon Micro Glitter, ribbon/lace, flowers and embellishments.
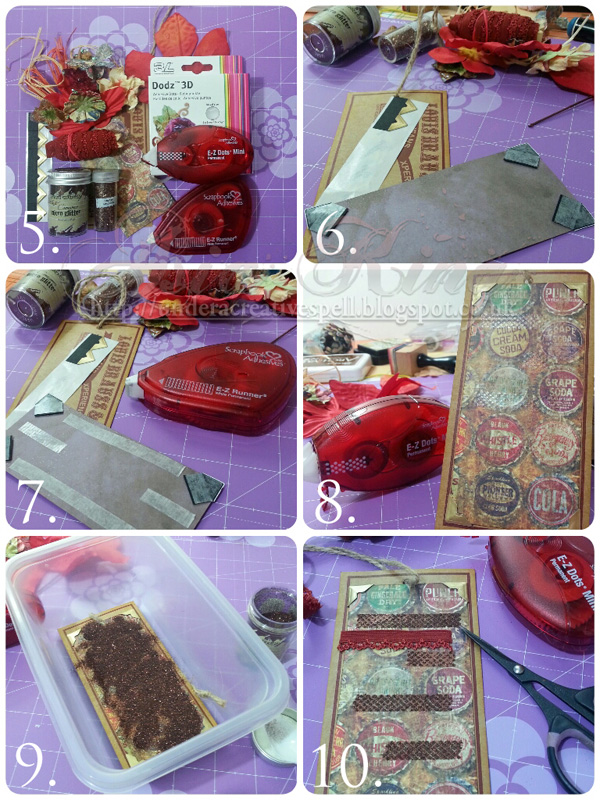
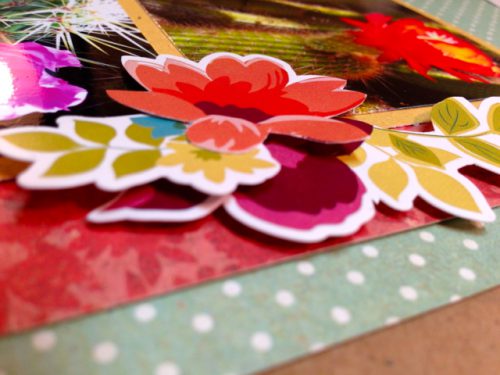
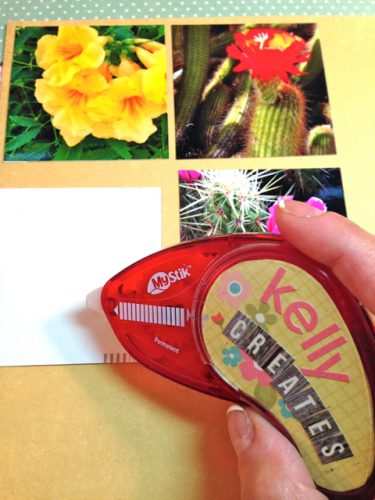
6. Cut a rectangle from your chosen paper, slightly smaller than the tag. Mount it with Gold Photo Corners.
7. Add more adhesive using E-Z Runner®. Adhere the panel to the tag base.
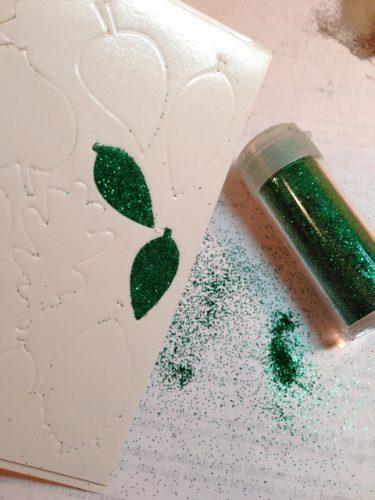
8. Run a few short strips with E-Z Dots® Mini Permanent over the patterned paper.
9. Cover the sticky dots with Cinnamon Glitter.
10 & 11. Add a few more strips with adhesive and adorn with ribbon and lace.
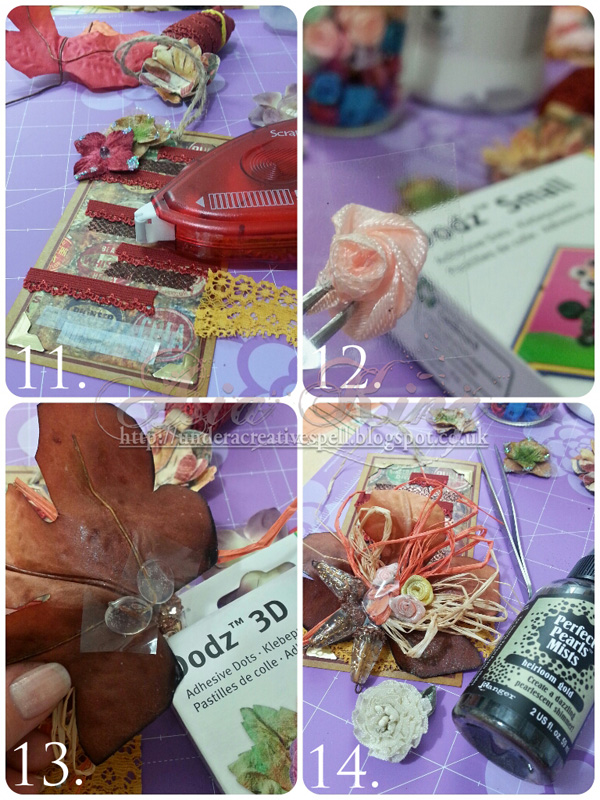
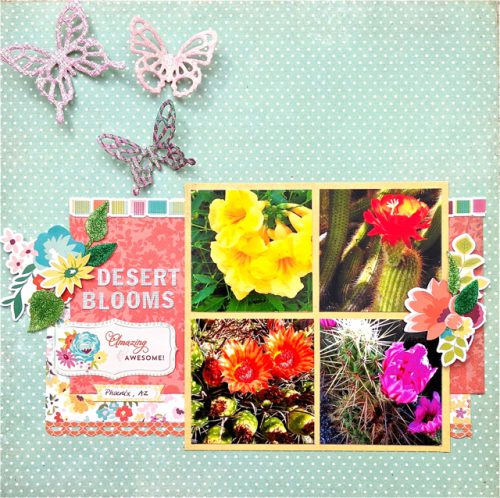
12. Add DODZ™ – Small to the back of your fabric flowers and raffia ribbon and attach to the main leaf embellishment. Thread some raffia through the acorn loops to secure them.
13. Adhere one larger flower to the centre of your arrangement and finally secure your flower spray to the tag with DODZ™ – 3D. Add additional flowers to the top of the tag.
14. Finish the tag with a light spray of Heirloom Gold Perfect Pearls Mist for a vintage autumnal sparkle.
I hope you enjoyed this tutorial and I would love to know how you use your DODZ to create DIY embellishments!
Have a lovely crafty weekend!
Additional supplies:
Flowers – Petaloo and Maya Road
Big crafty hugs
Save
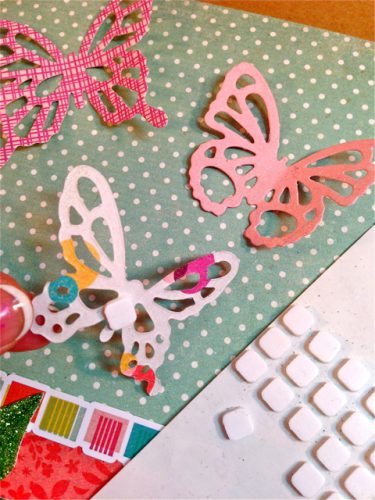
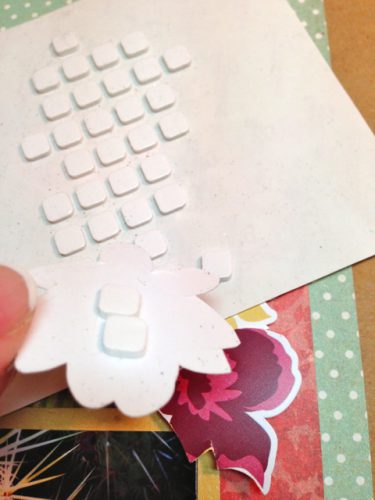
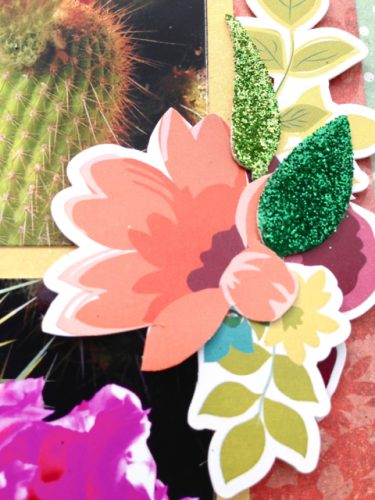
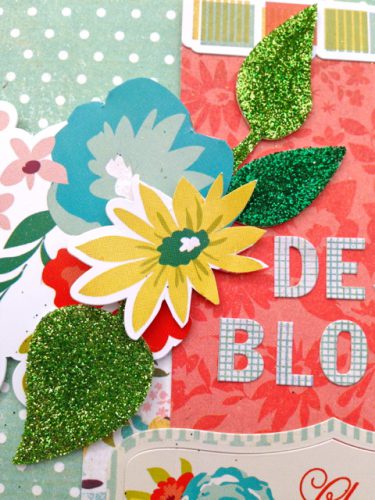
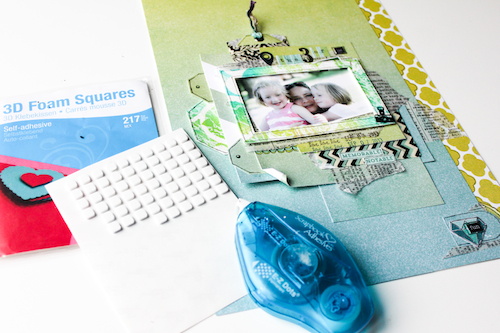
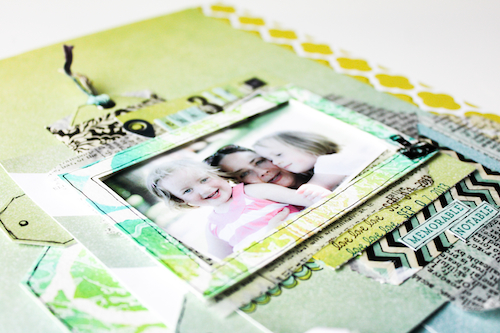
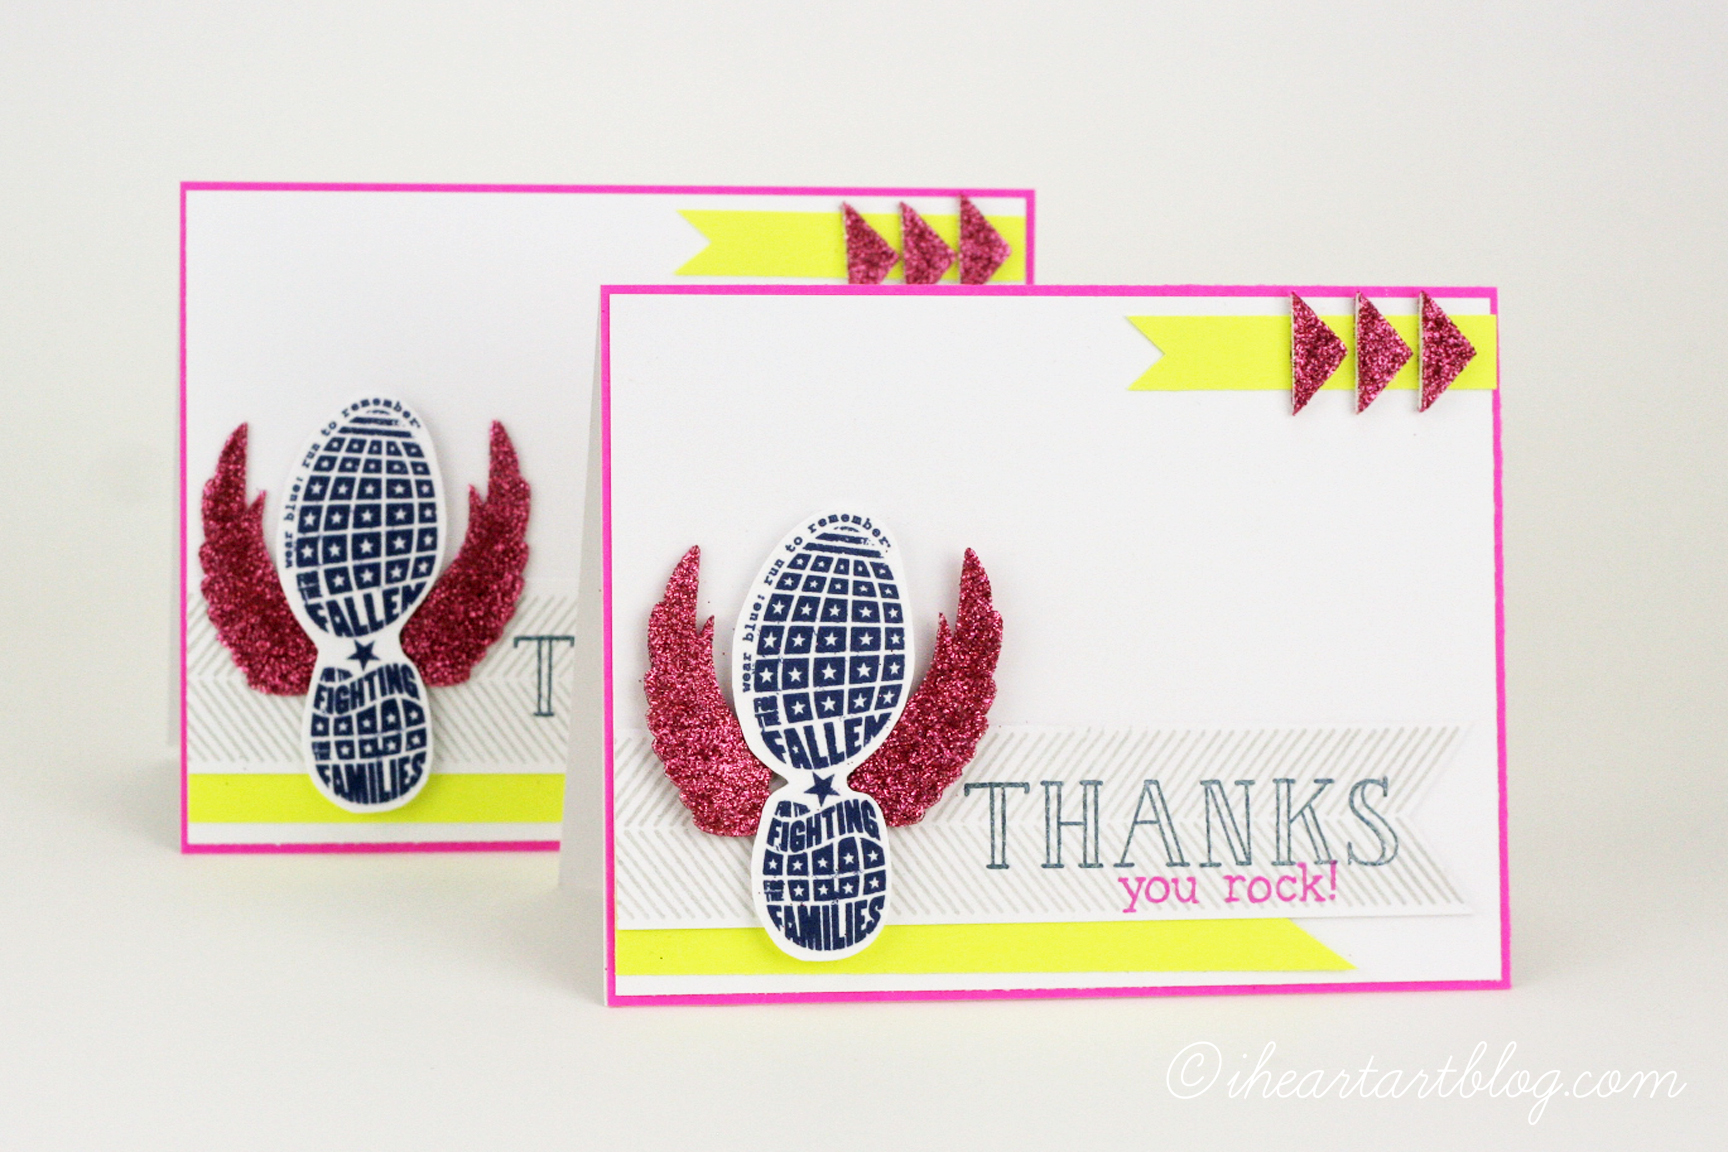 Hello Blogosphere! It’s Tiffany here with another Video Tutorial! If your weather has been anything like the weather I’ve had in the Pacific Northwest, then you’ll love this bright Thank You card using the NEW Designer Shapes! Learn how to Wear Your Adhesive on the Outside too 🙂
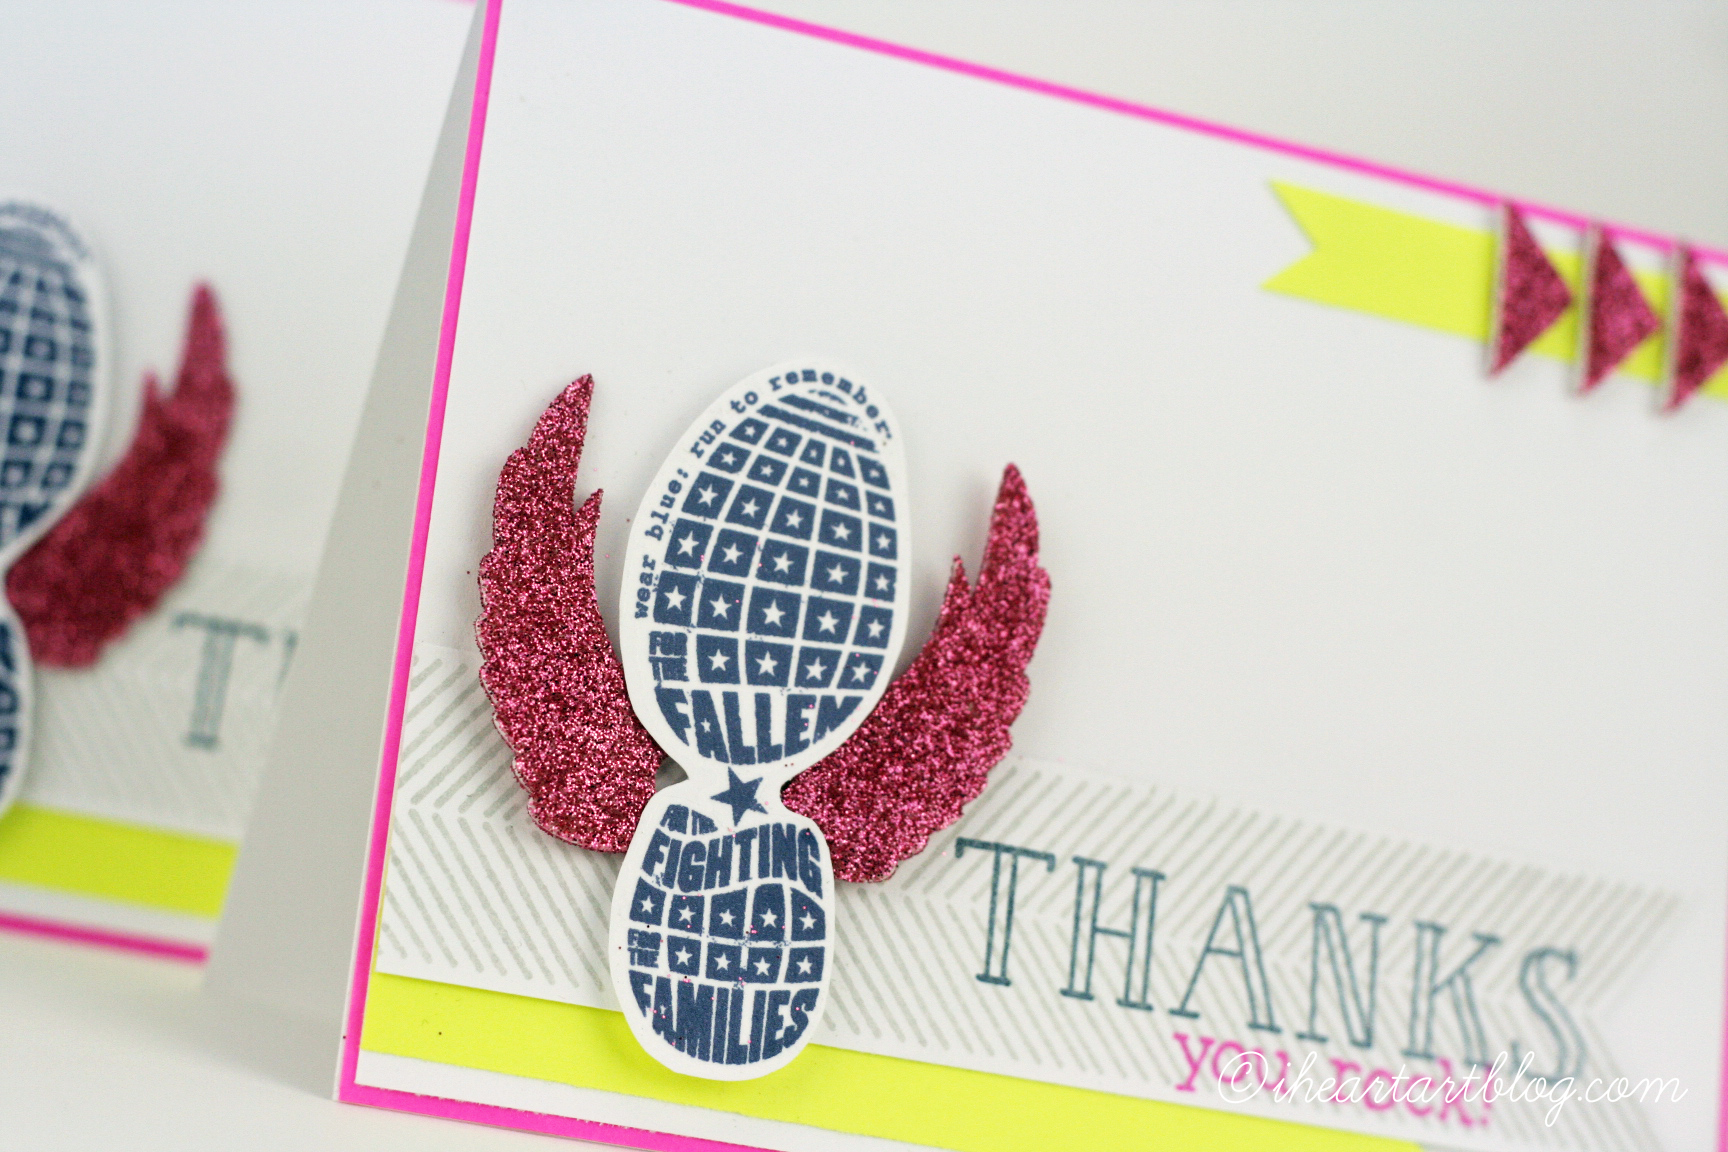 And, how fun are the little triangles from the 3D Foam Pennants!?
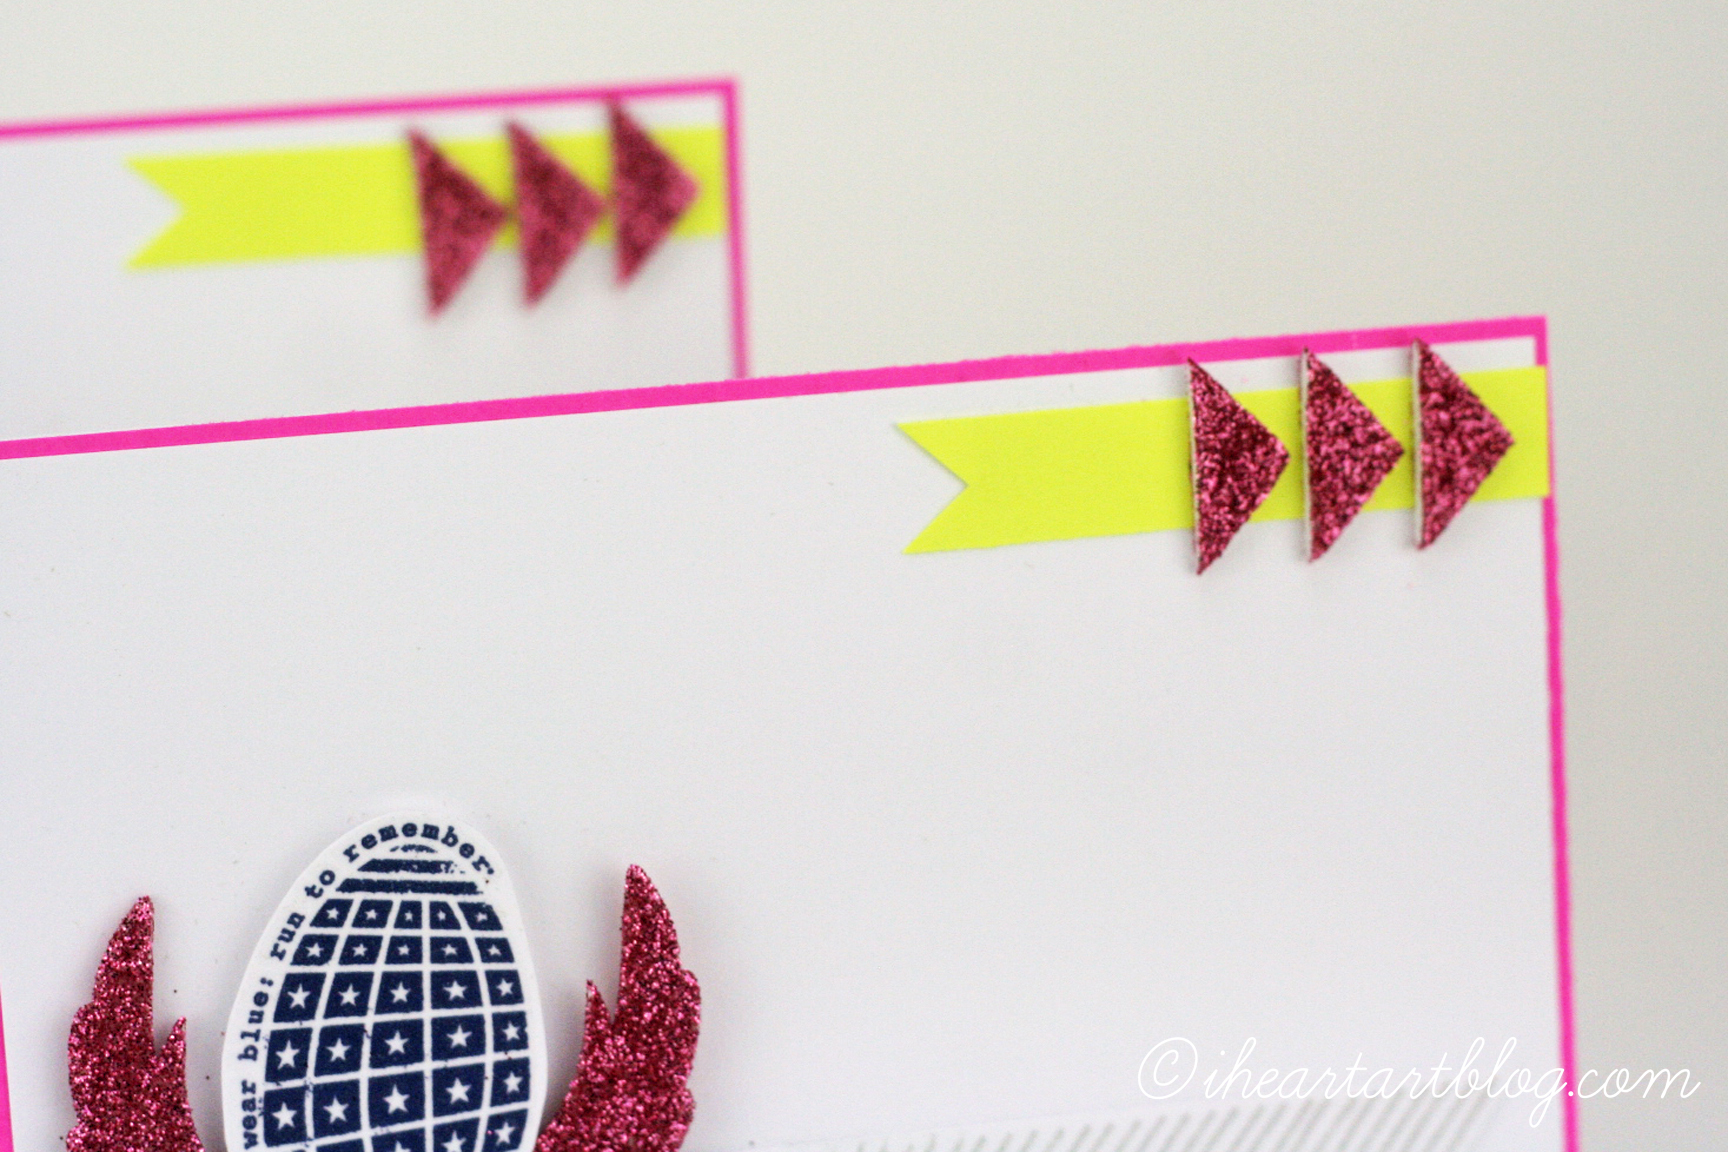 Here are the Scrapbook Adhesives by 3L products I used: