Hi There! Shell Carman here today. Welcome to day 5 of our Stampendous Blog Hop!
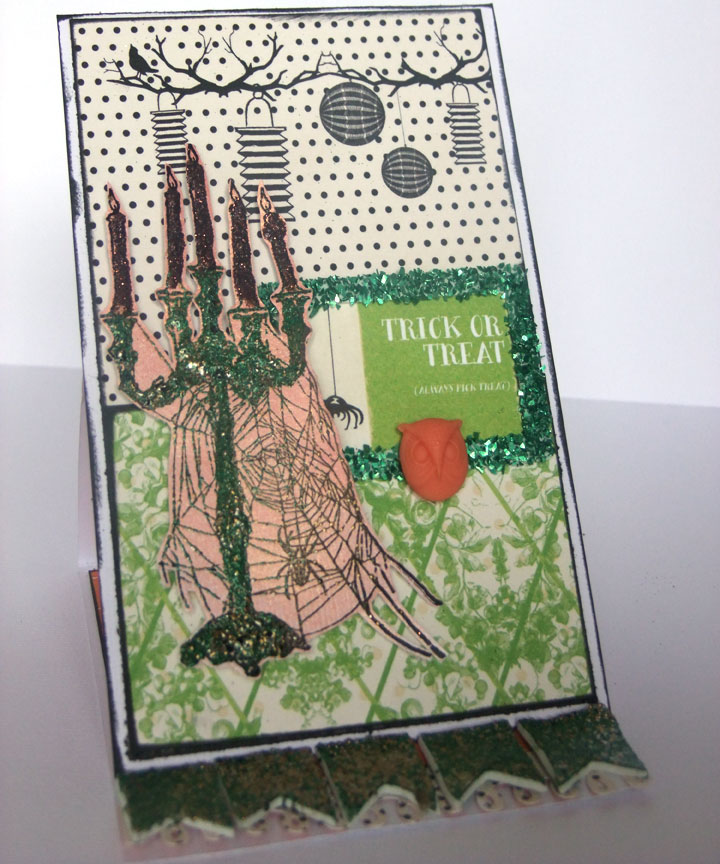
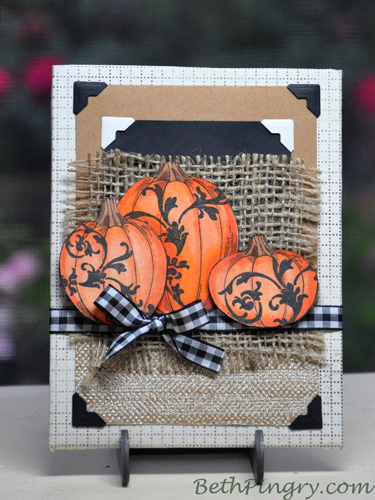
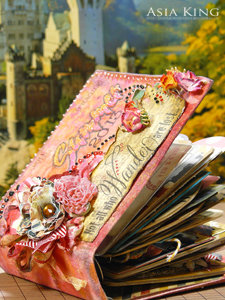
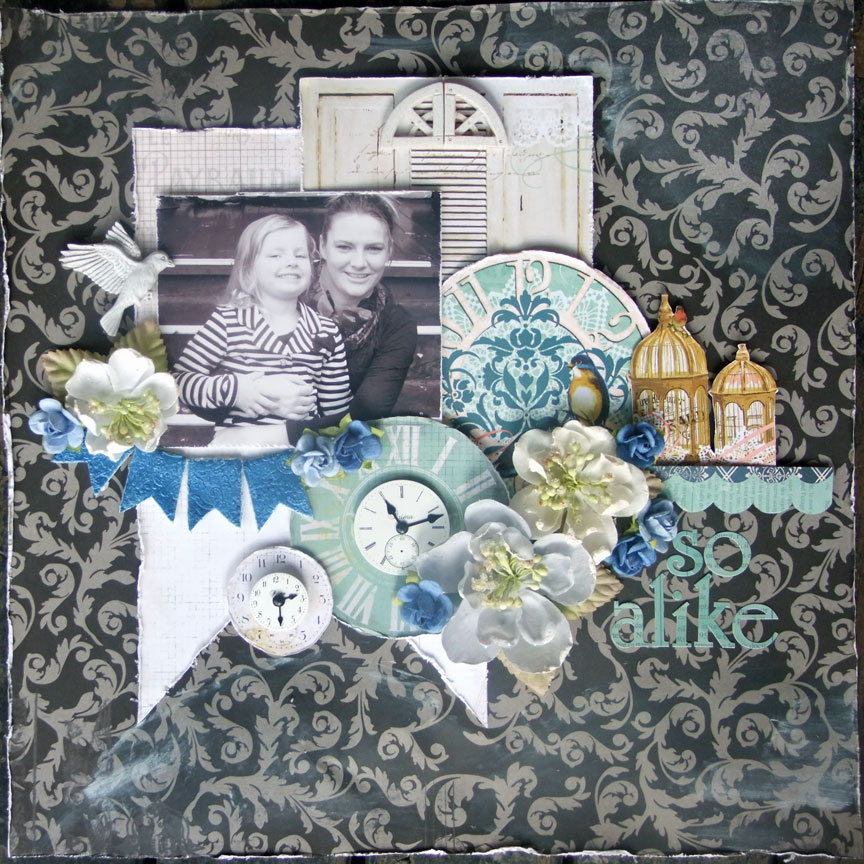
I have used the Cling Candelabra giving it an awesome spooky, vintage flavour with the gorgeous Encrusted Jewel Kit in Green. I have used the Aged Hunter Embossing Enamel on the Candelabra stand then Mahogany Tinsel Embossing Powder on the candle sticks.
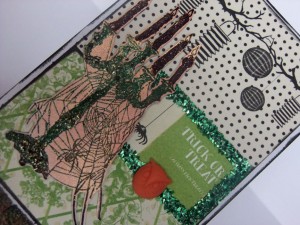
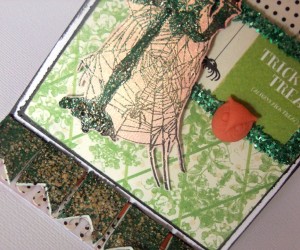
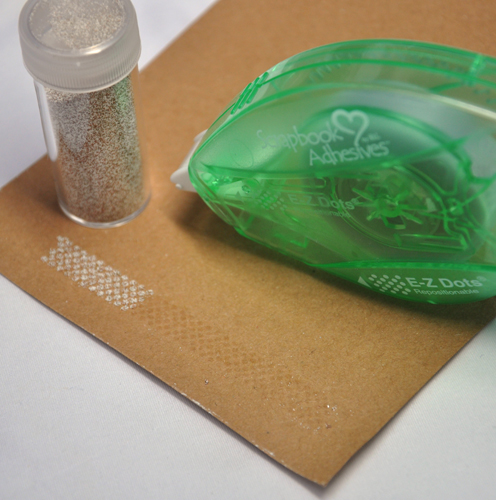
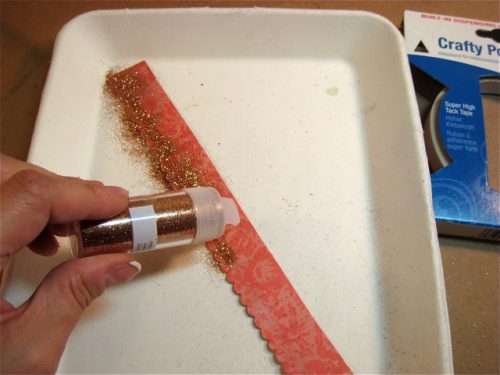
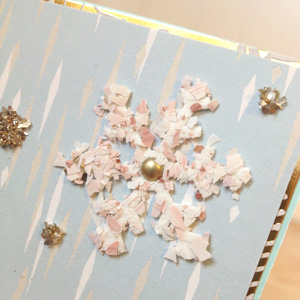
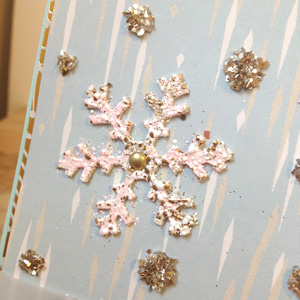
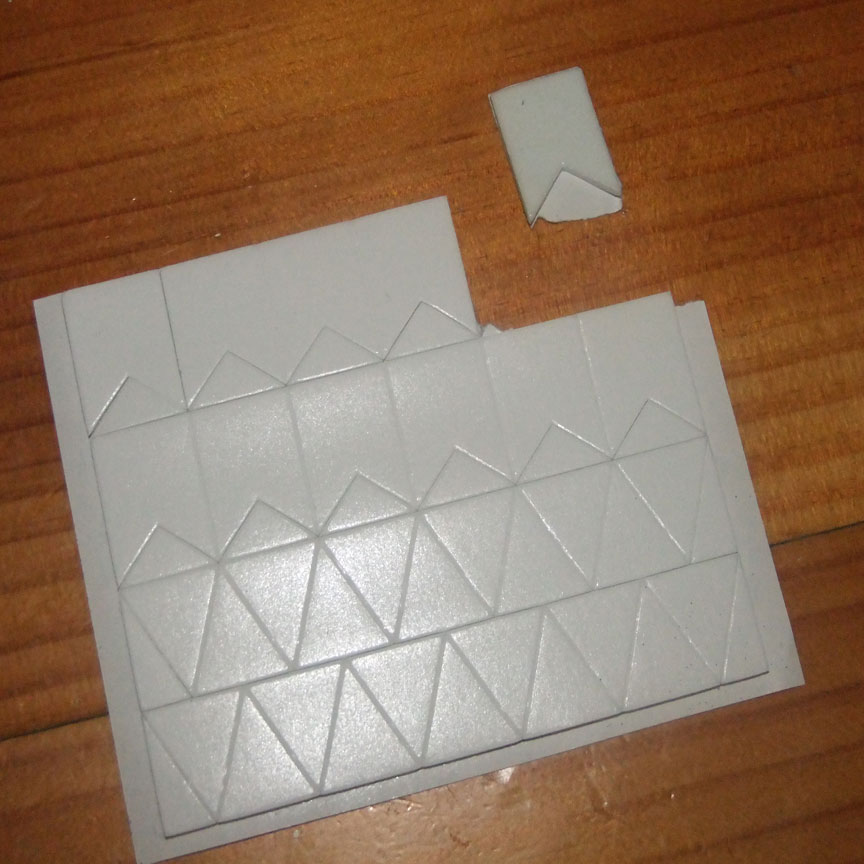
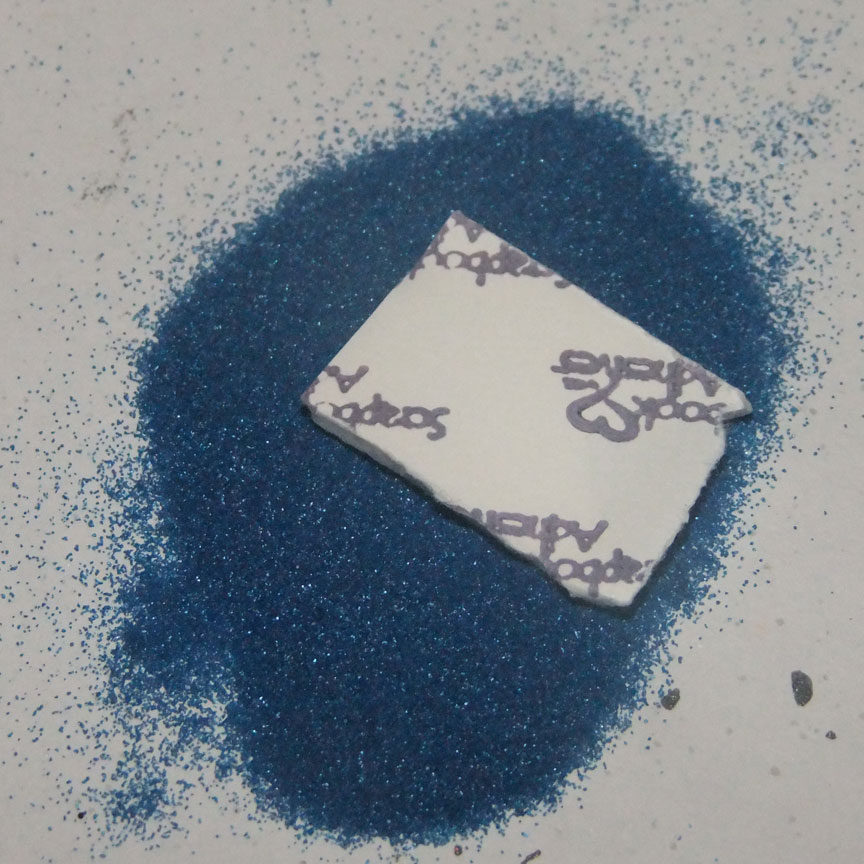
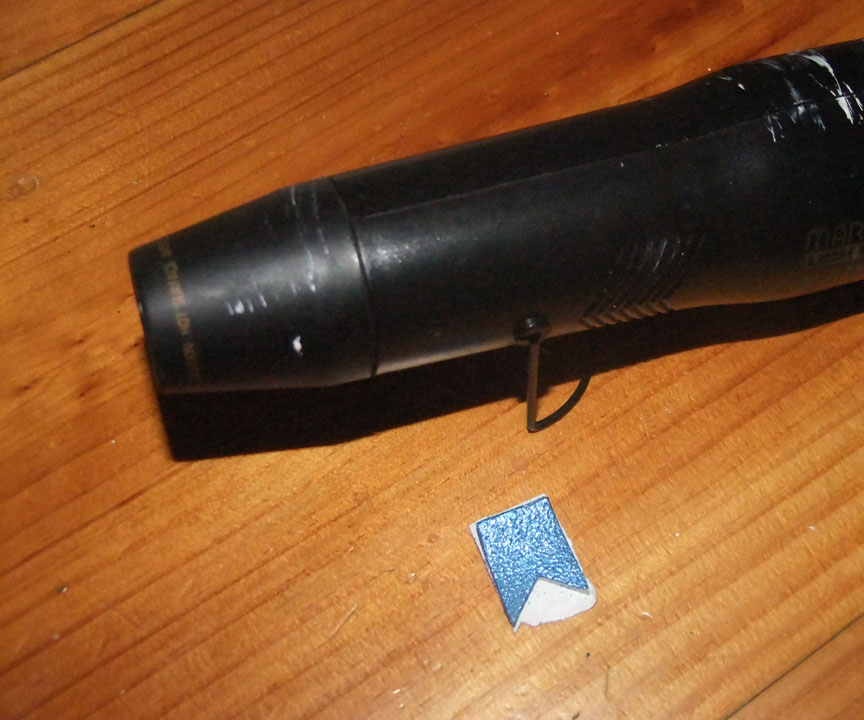
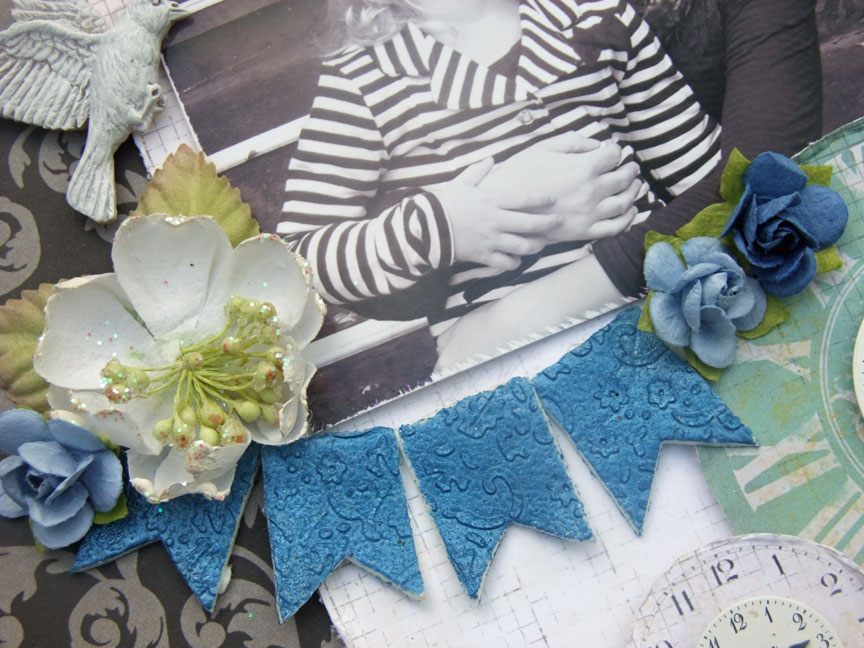
To decorate the 3D Foam Frame I covered it with Green glass glitter from the kit. I also decorated the 3D Foam Pennants with the Aged Hunter Embossing Enamel. I love how this turned out. It almost looks like melted gold!


Visit all of week’s Blog Hop posts from here!
Asia King on Day 1
Stampendous Impressions!
Asia King
Jamie Martin
Janelle Stollfus
Krissy Fossmeyer
Kristine Reynolds
Lea Kimmel
Rhea Weigand
Suzanne Czosek
Tenia Renee Nelson
Tobi Crawford
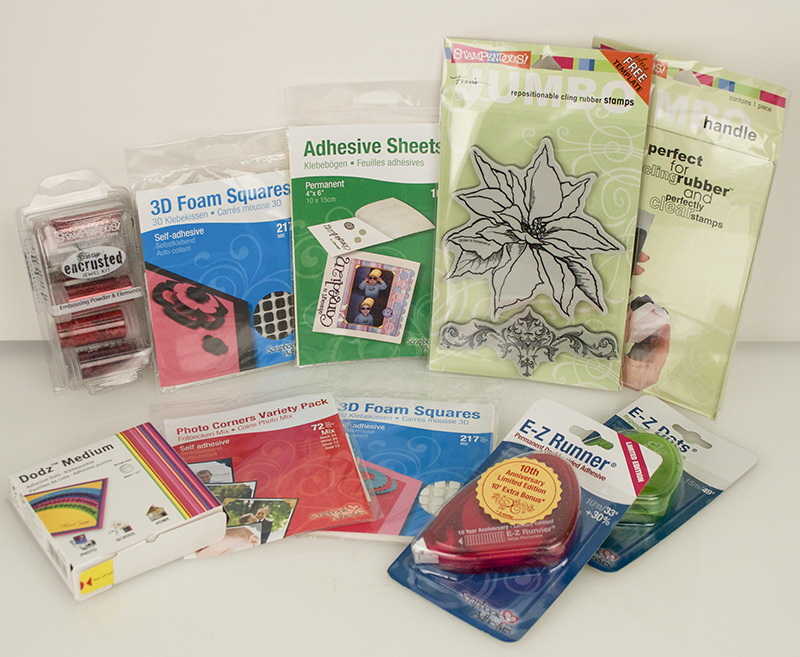
Other Products Used
Stampendous Cling Candelabra Stamp
Stampendous Encrusted Jewel Green Kit
Websters Pages Once Upon A Halloween 6X6 paperpad
Websters Pages Once Upon A Halloween Silhouette
Mixed Media Inx Color Box Black
Heidi Swapp Color Shine Spritz Georgia Peach
Kaisercraft Cardstock Coconut
Visit our Website and Blog!
Sign up for our Newsletter so you never miss a contest or giveaway!