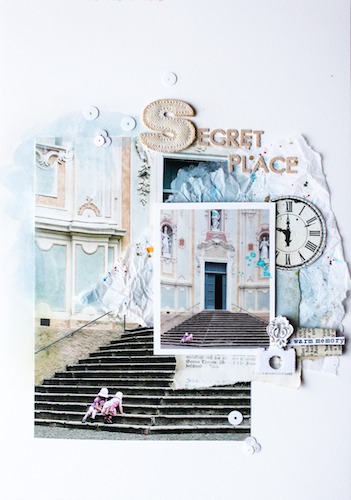
Hi there, it’s Stephanie here today with a layout made with a memory from our holiday in Italy.
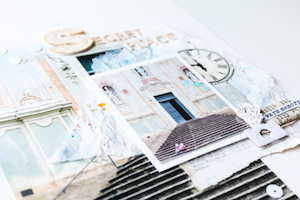
I was inspired by the old church on the photo an added a little bit of mixed media techniques.
I made a step by step tutorial for this, you can follow the process.
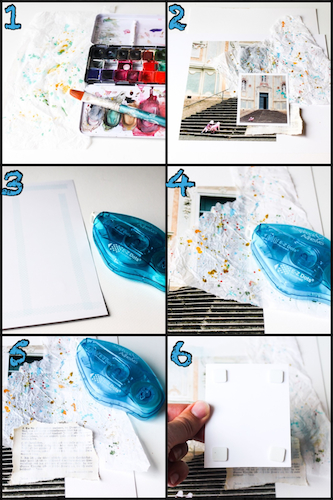
1 – My first step was to sprinkle with watercolor paint on tissue paper. I have always wanted to try this for a layout.
2 – Preparing my photos and paper. I decided to use two photos with the same motif but in different sizes.
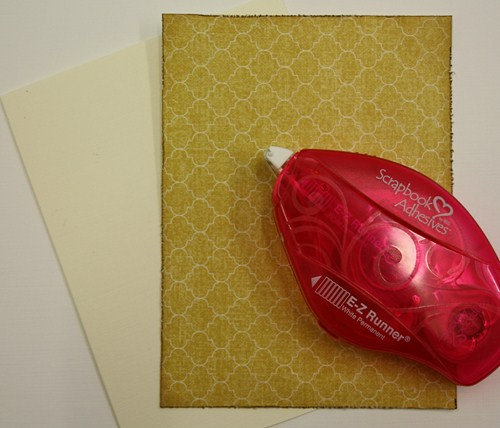
3 – Adhering the bigger photo with the E-Z Dots Permanent refillable dispenser.
4 – Sticking on the tissue paper with the E-Z Dots Permanent refillable dispenser.
5 – Sticking on a piece of book page with the E-Z Dots Permanent refillable dispenser.
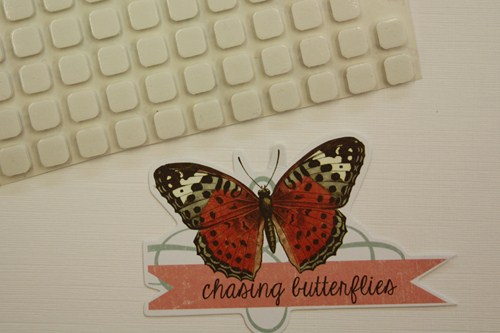
6 – Fixing the photo with 3D Foam Squares.
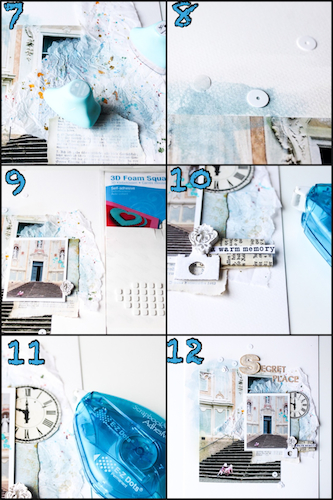
7 – Blending with the Chalk Edgers from Ingvild Bolme.
8 – Adhering some Sequins by using the DODZ ADhesive Dots Small
9 – Sticking on a little embellishment with the 3D Foam Squares Small White
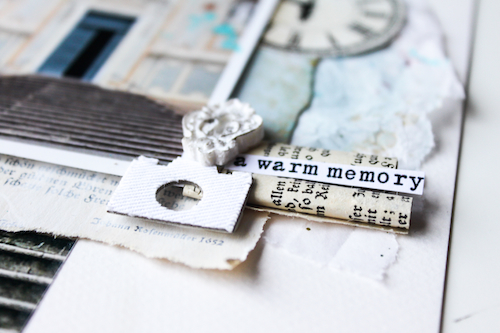
10 – Under the sticker of the camera (Studio Calico) is a 3D Foam Squares Small White added to push it in the front. Paper rolls, sticker and a little quote are adhering with the E-Z Dots Permanent Refillable dispenser
11 – Sticking on a Prima clock (from the back of a packing) with the E-Z Dots Permanent refillable dispenser
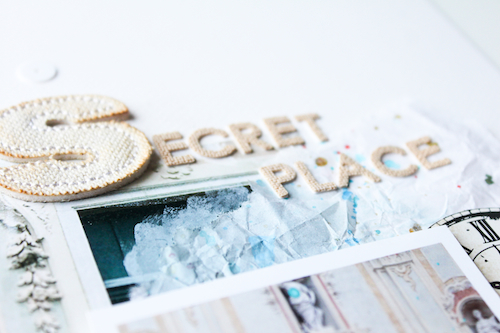
12 – Finishing the layout with my title by using some alpha stickers and a alpha “S” from Donna Downey by adhering it with the E-Z Dots Permanent refillable dispenser.
Thanks for visiting! I wish you a nice day!
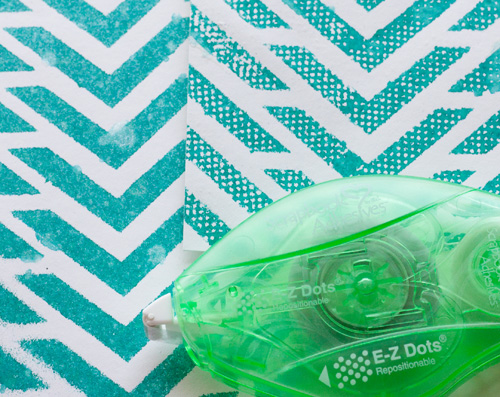
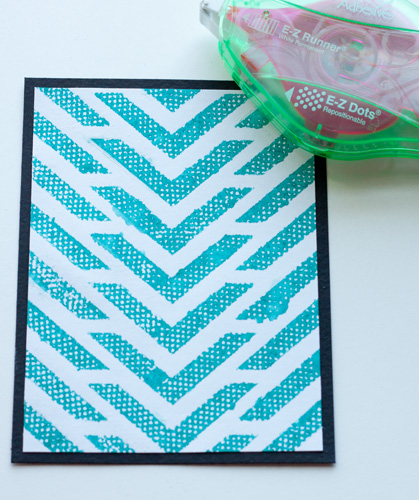
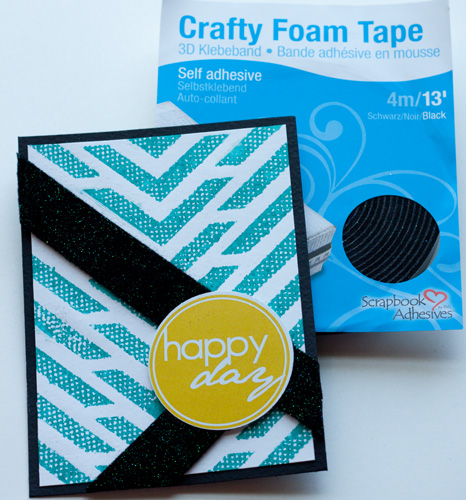
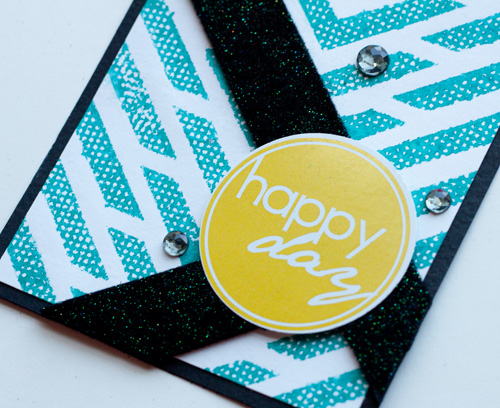
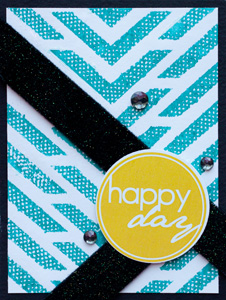 Happy Day Card – Repositionable Adhesive Resist Technique
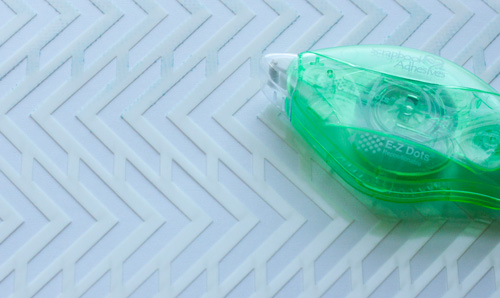
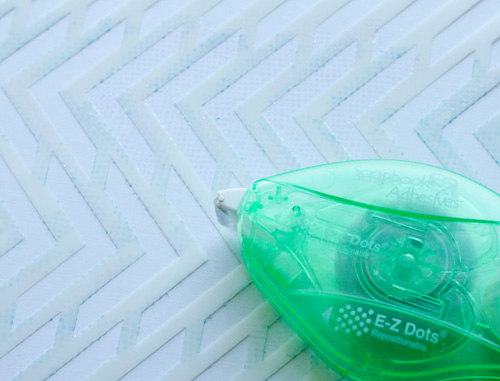
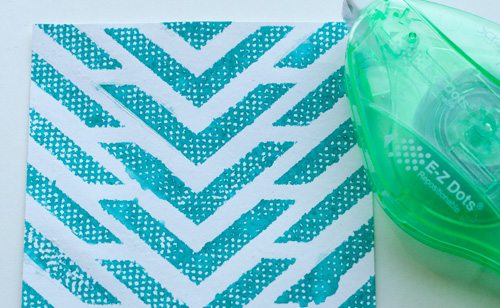

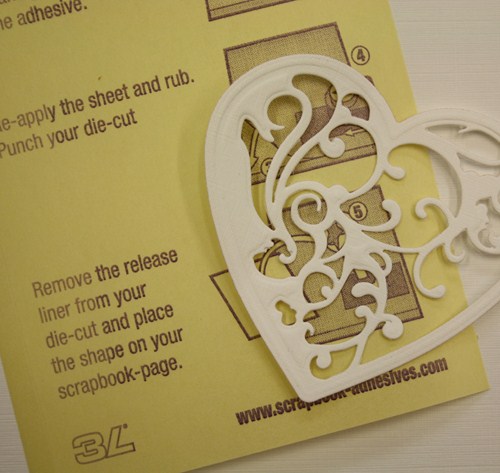
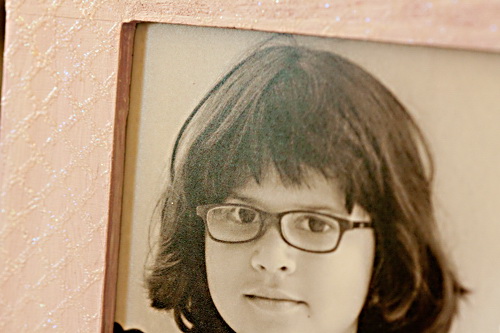
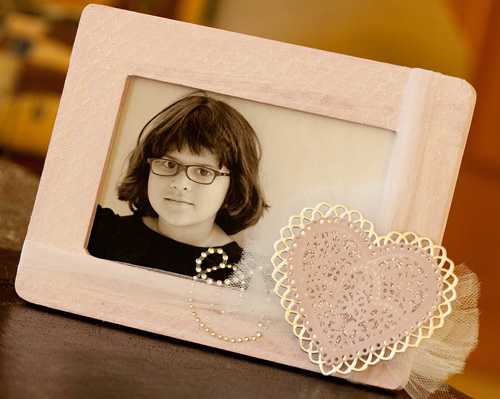
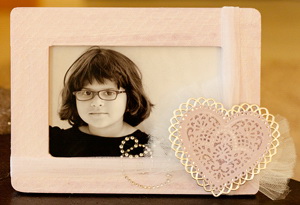 The Adhesive Sheets were used in two ways. I first used the Basic Lattice die with a repeatable pattern to die cut the Adhesive Sheet directly. I applied the Adhesive Sheet to the painted frame and then applied a glittered embossing powder and heat embossed it. This created a subtle raised pattern with a touch of sparkle.
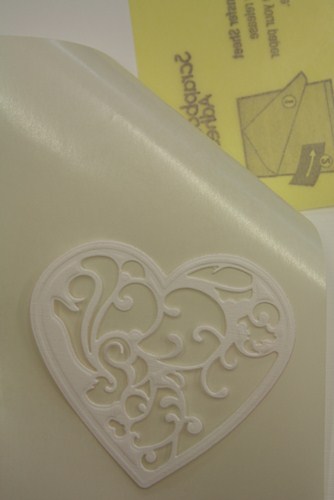
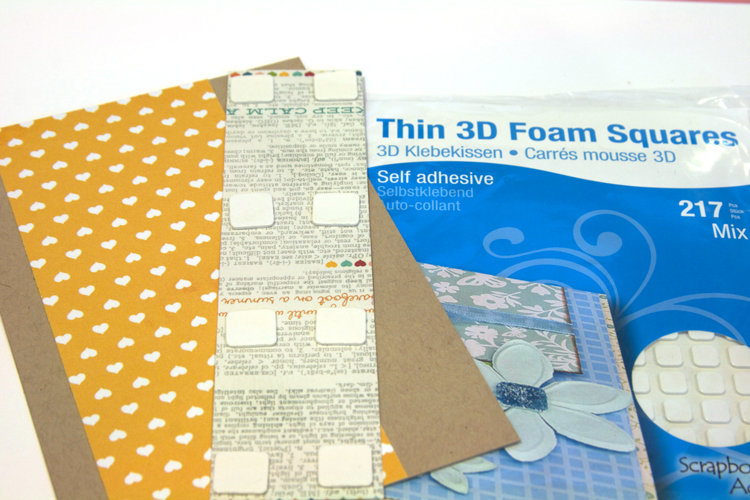
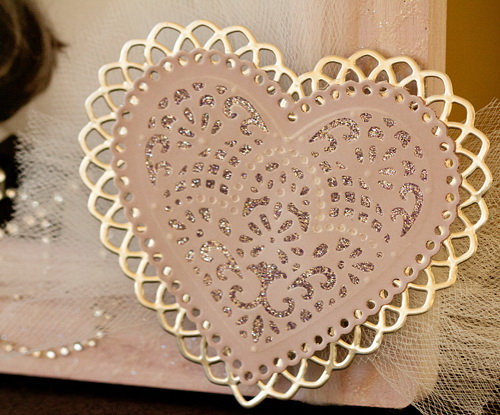 The 3D Foam Squares White Regular were stacked 3 high and adhered directly to the frame. The heart embellishment was then adhered to the 3D Foam Squares. This allowed the 3D Foam Squares placement to be exact and prevented the heart embellishment from being adhered to the tulle.
 Thanks for stopping by today…hope you enjoyed the project I shared!