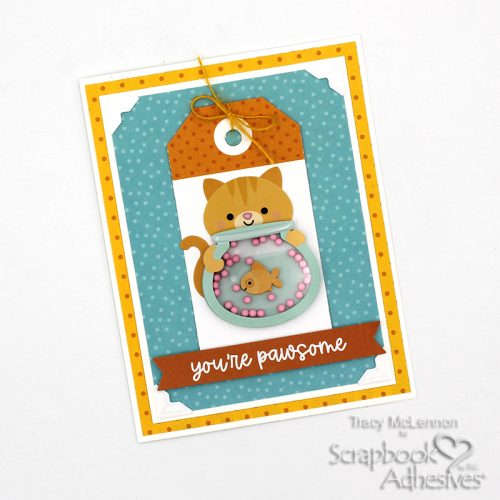
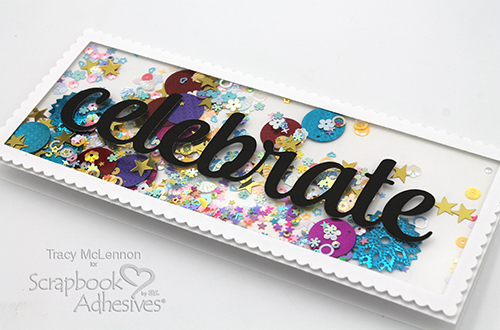
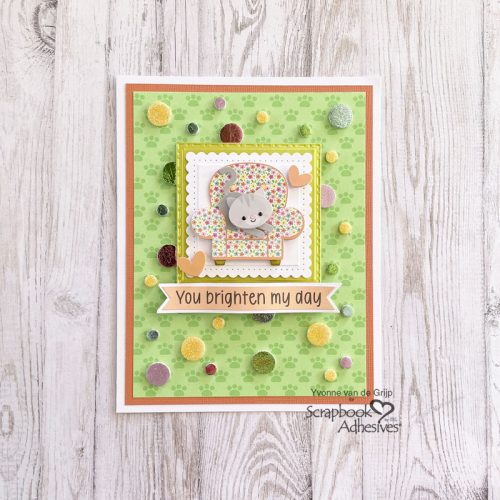
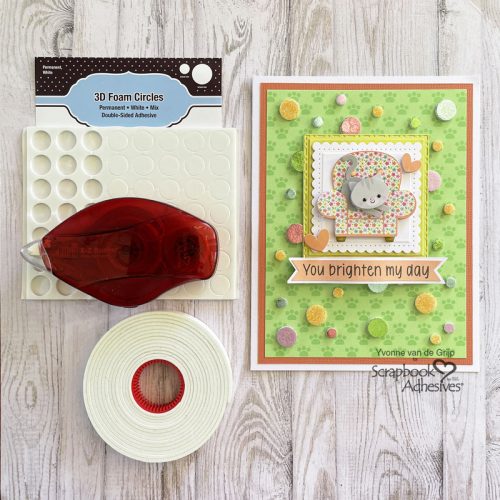
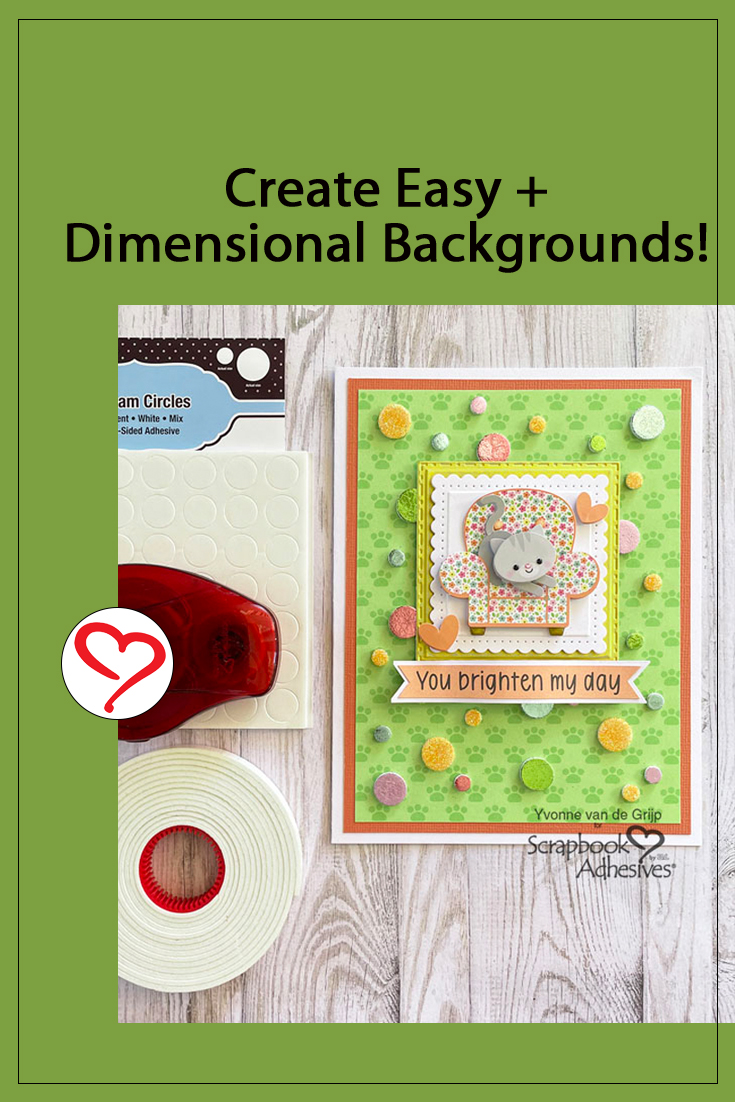
Hi everyone, Yvonne here with a super cute Dotted Kitten Card. With the technique called Wear Your Adhesive on the Outside, it’s so easy to embellish your card with adhesives.
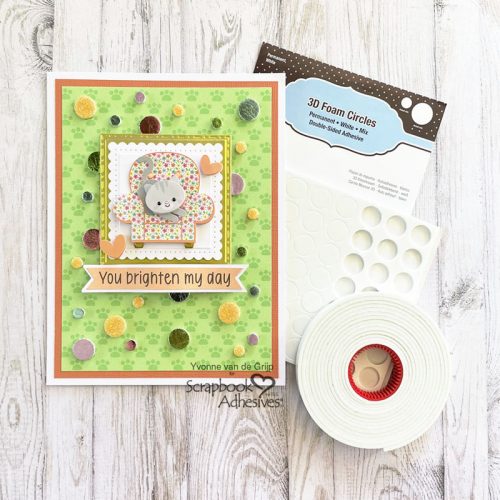
I would love you to join me in making this easy-to-create cute kitten card. Shall we get started?
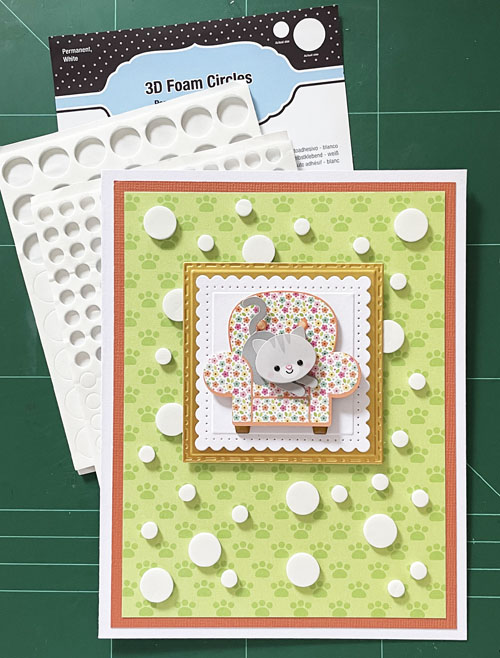
Dotted Kitten Card Base
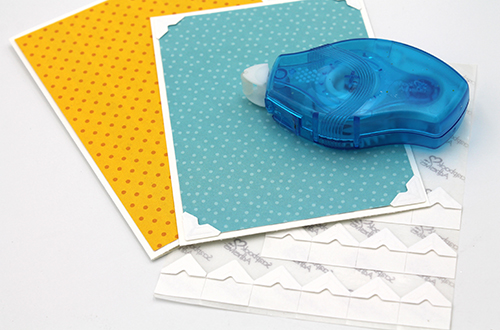
Trim a piece of patterned paper to a rectangular size and mat on a salmon-colored card panel using the E-Z Runner® Permanent Strips Refillable Dispenser. Next, adhere the matted panel to a white card base using the same adhesive.
Stacked Squares
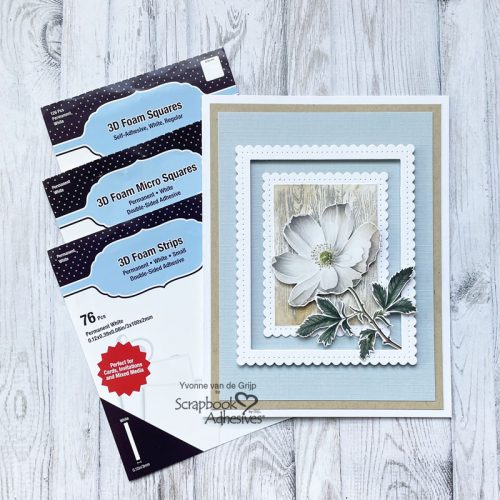
Die-cut and emboss a stitched square from a brushed gold cardstock. With a slightly smaller scalloped square die, I die-cut from a piece of white cardstock. Mat the white square to the golden square with Crafty Foam Tape White. Next, adhere to the card front using Crafty Foam Tape White.
Working with Crafty Foam Tape White adds such a lovely dimensional effect to your card. For more interest, adhere a dimensional kitten sticker onto the Dotted Kitten Card.
Wear Your Adhesive on the Outside with 3D Foam Circles
Now it’s time to use the Wear Your Adhesive on the Outside technique. To add Metallic details to the Dotted Kitten card, I adhered 3D Foam Circles White Mix onto the card and left the liner on.
Some of the circles are halfway tucked under the golden die-cut square. Now carefully remove a few of the circles and sprinkle orange glitter upon them. Then rub the glitter over the 3D Foam Circles White Mix for secure adhering.
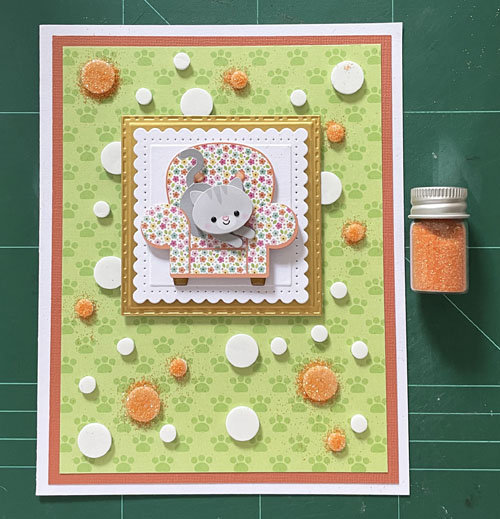
Remove more of the liners from the 3D Foam Circles White Mix and rub some Metallic Transfer Foil Sheets Pastel Colors over these 3D Foam Circles White Mix. Make sure that the colored side of the foil is facing up!
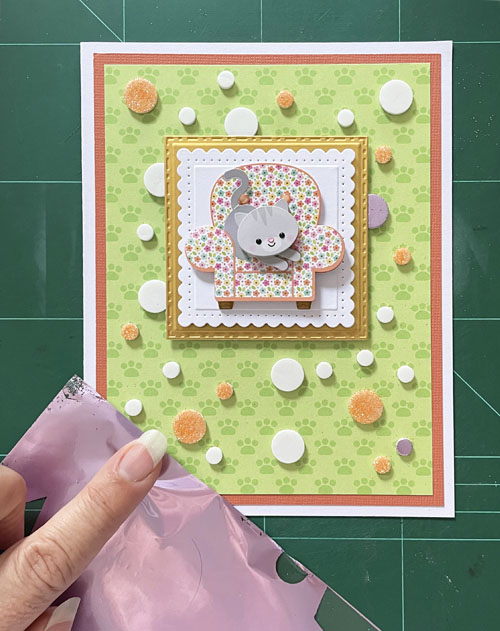
Now repeat with several other colors from the Metallic Transfer Foil Sheets Pastel Colors.
Finishing Touch
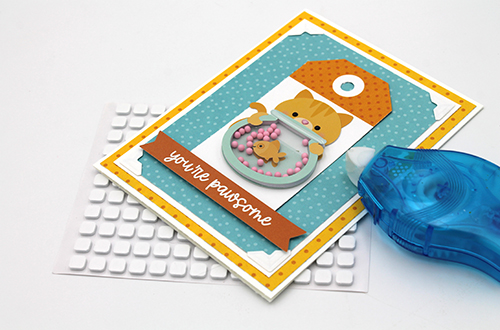
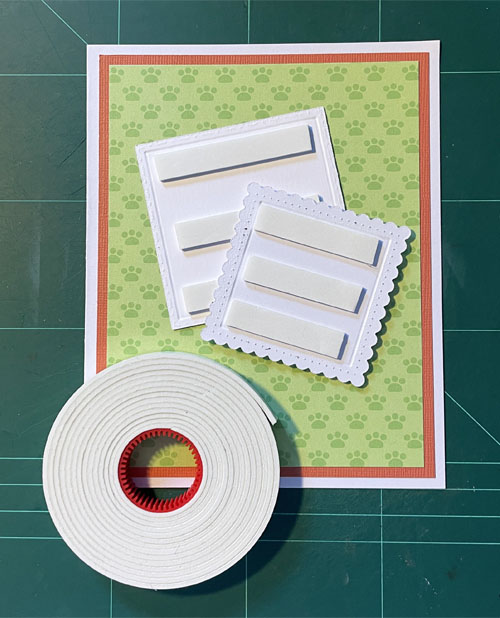
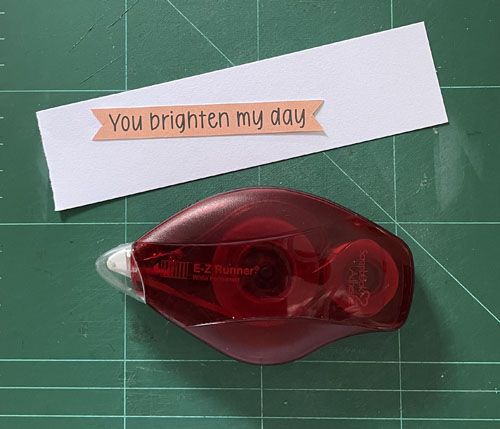
Cut a sentiment banner from the patterned paper and adhere it to a slightly larger white banner using the E-Z Runner® Permanent Strips Refillable Dispenser.
Then to add a wavy effect to the banner, adhere Crafty Foam Tape White as shown in the picture below.
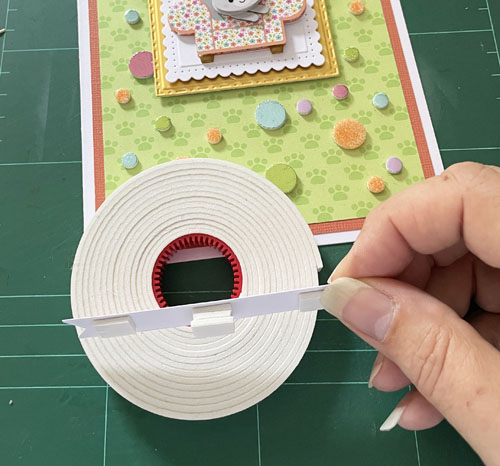
On both ends, place a layer of Crafty Foam Tape White, and in the middle stack three layers of the same Crafty Foam Tape White. Finally adhere some heart stickers onto the card.

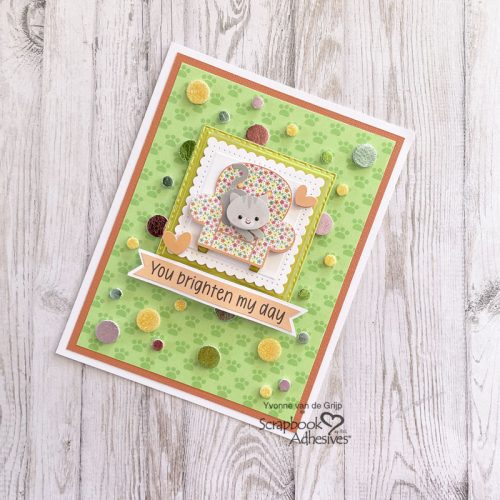
Voilá your Dotted Kitten Card is ready! I hope you enjoyed this tutorial and wish you happy crafting!
Creative Time: 35 minutes
Skill Level: Beginner
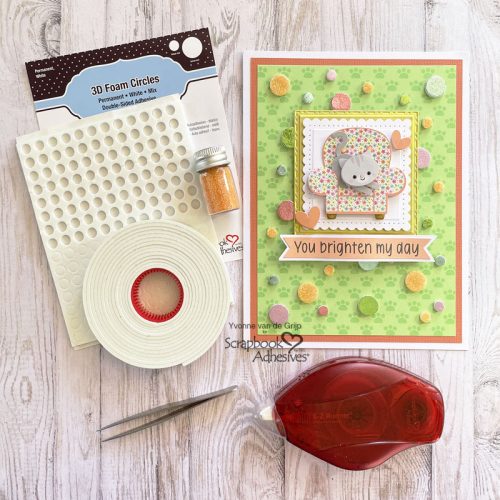
Materials needed:
Scrapbook Adhesives by 3L®
E-Z Runner® Permanent Strips Refillable Dispenser
Metallic Transfer Foil Sheets Pastel Colors
Other
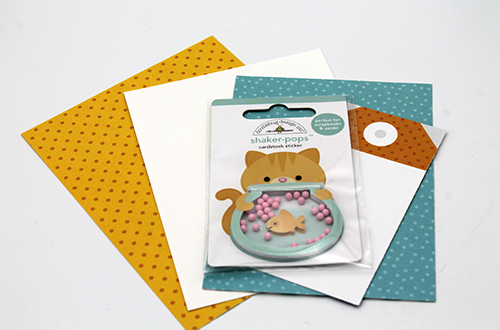
Etched Dies and Die-Cutting and Embossing Machine (Spellbinders Paper Arts®: Platinum 6 Machine; Fancy Edged Squares); Cardstock (White, Dark Salmon, Gold); Patterned Paper, sentiment, Sticker (Doodle Bug Design inc.™: Pretty Kitty™: paw-sitively purr-fect, pretty plaid, cozy kitty); Glitter (Orange); Scissors; Craft Knife; Paper Trimmer; Tweezers
Save to Pinterest!
Visit our Website and Blog!
Sign up for our Newsletter so you never miss a contest or giveaway!