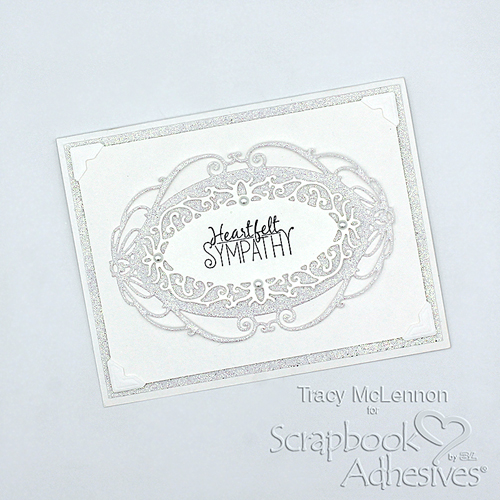
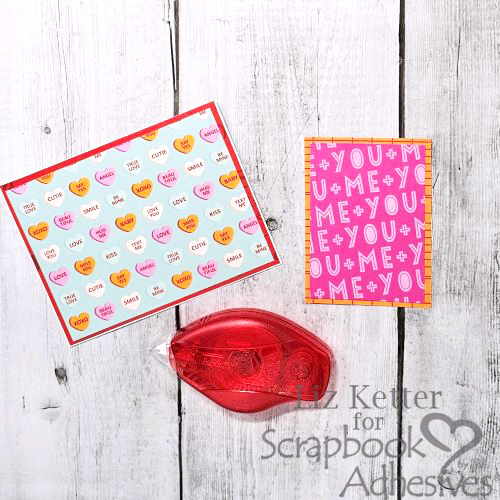
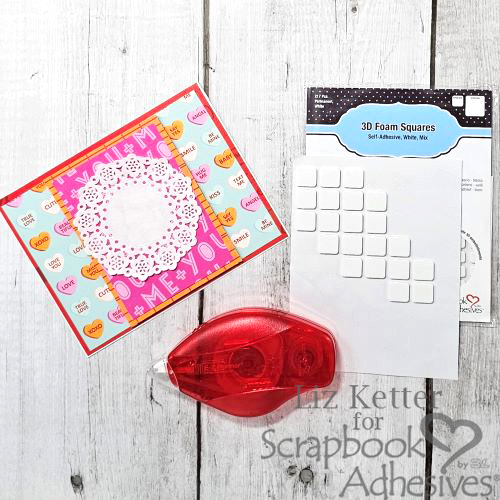
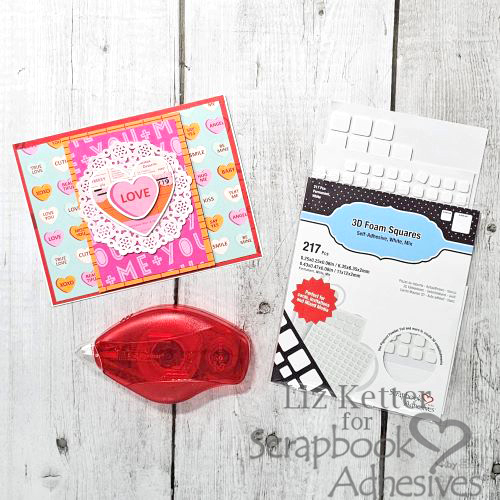
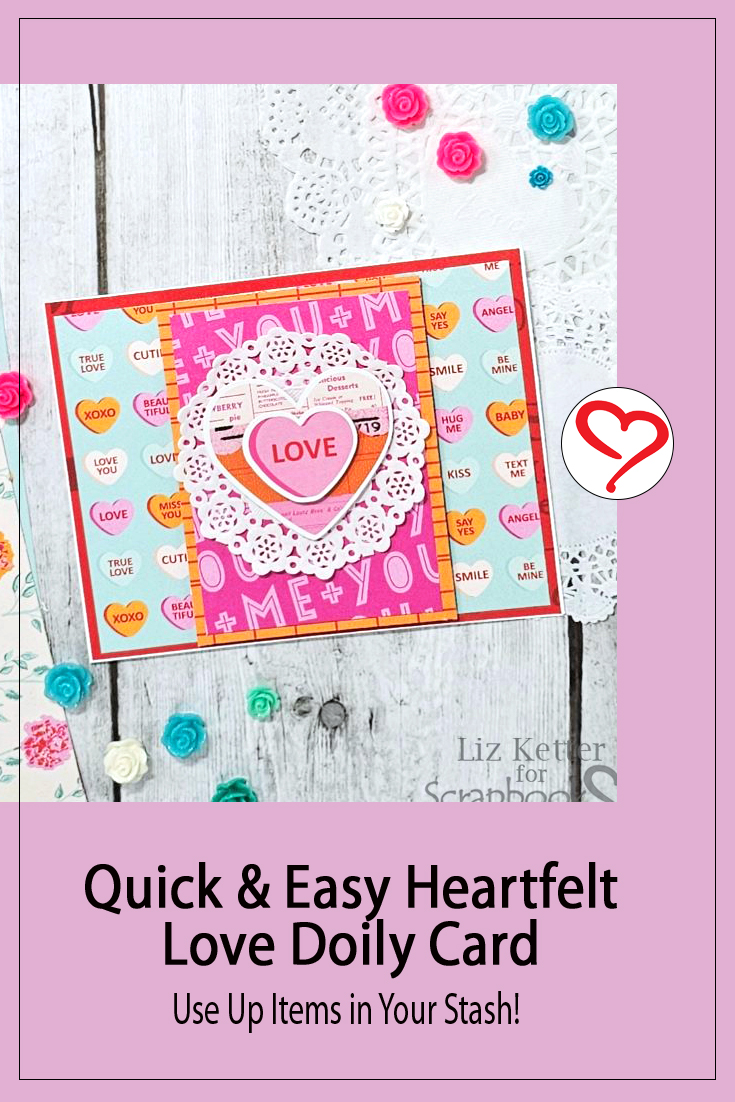
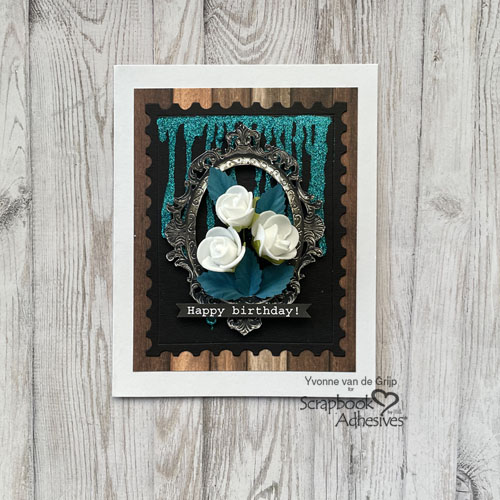
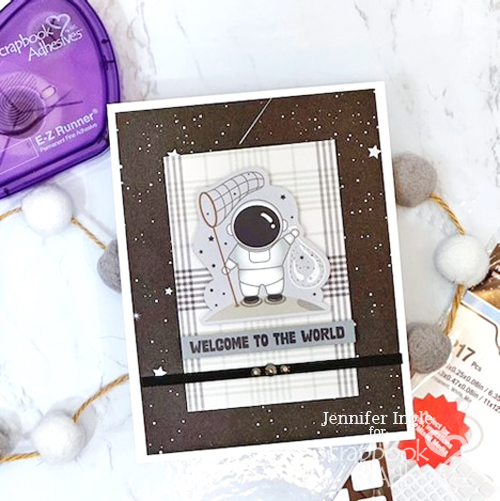
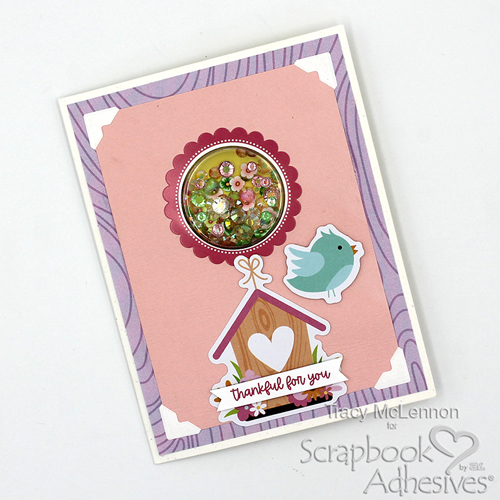
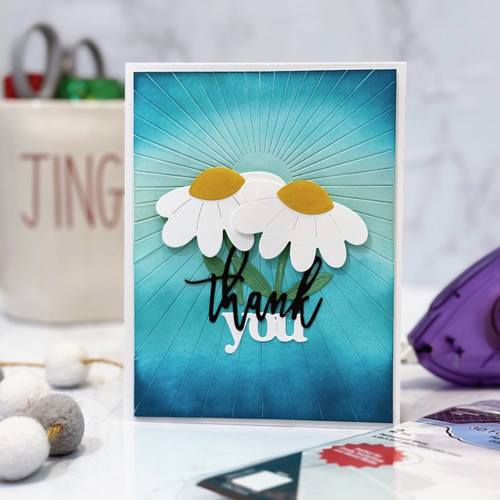
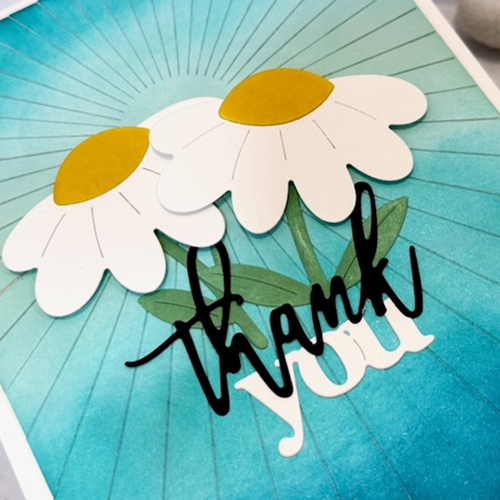
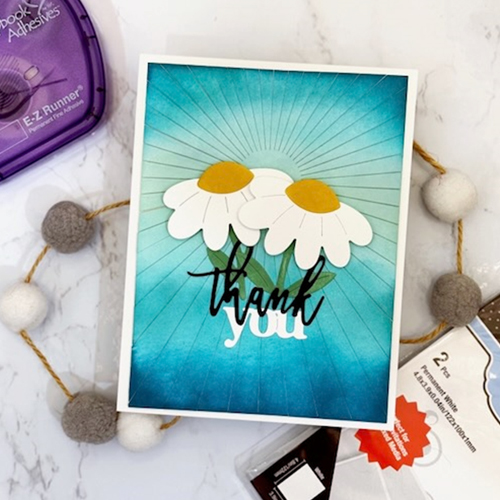
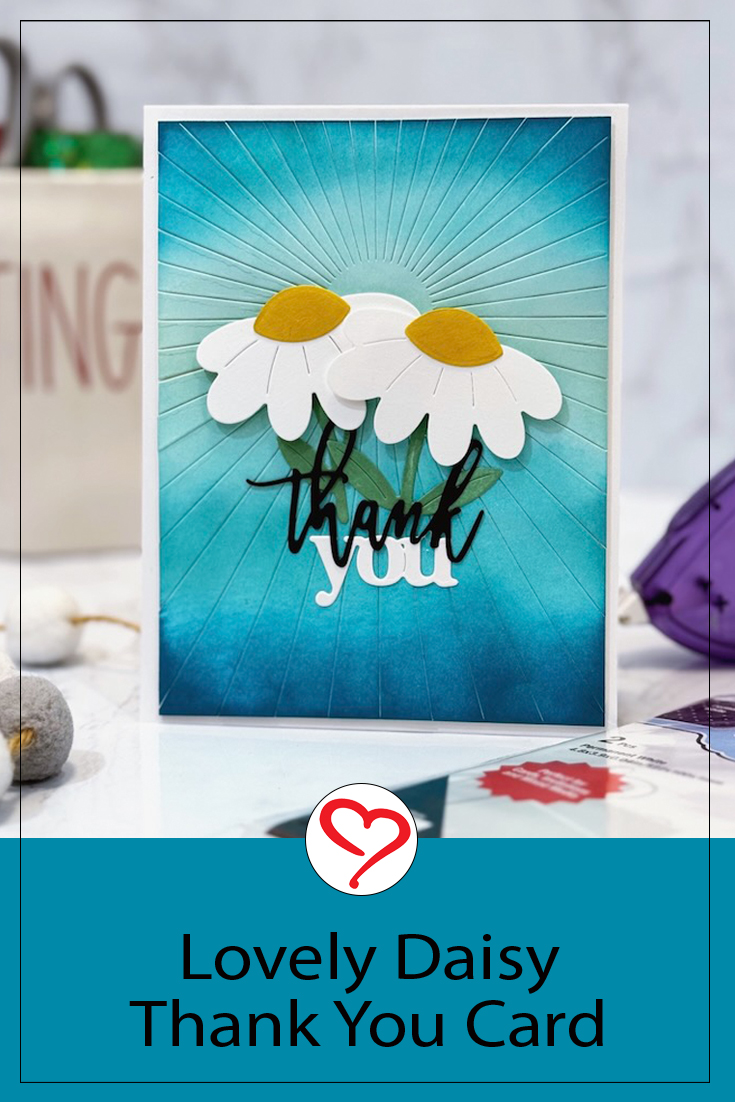
Hello, and welcome to the Scrapbook Adhesives by 3L blog! This is Jingle here with you today and I have a super fun Daisy Thank You Card that packs a lot of punch to share!
Daisy Thank You Background
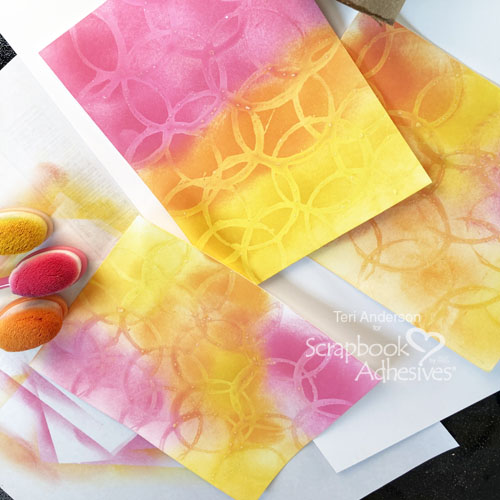
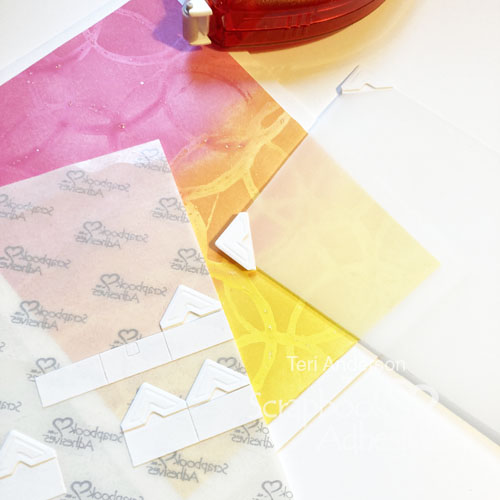
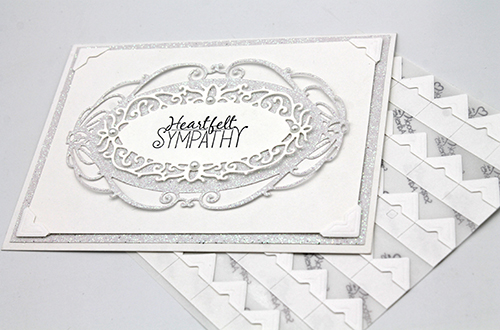
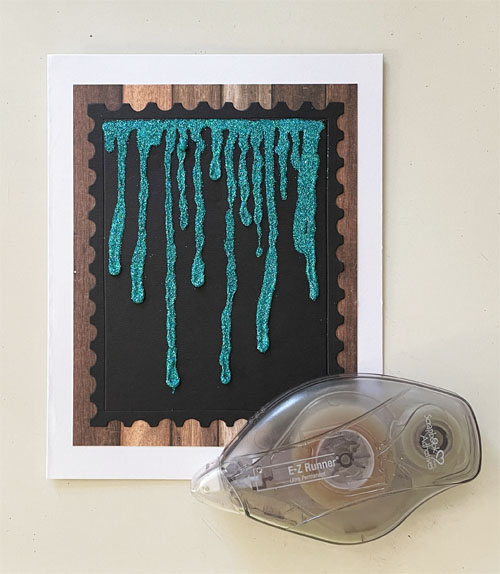
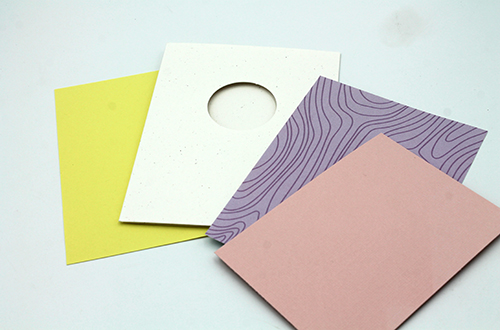
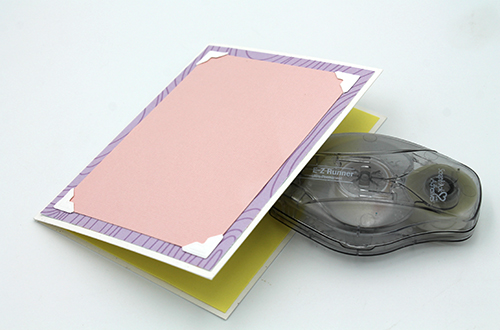
In creating this design, I ink blended on a cardstock panel and then die-cut it for added texture. Diecutting it made it a bit tricky to adhere, but I knew just the right adhesive to make it work brilliantly! I chose the Adhesive Sheets 4 x 6in. to cover the entire background panel with adhesive. Then I carefully adhered it to my card base. It worked perfectly!
Die-Cut Elements
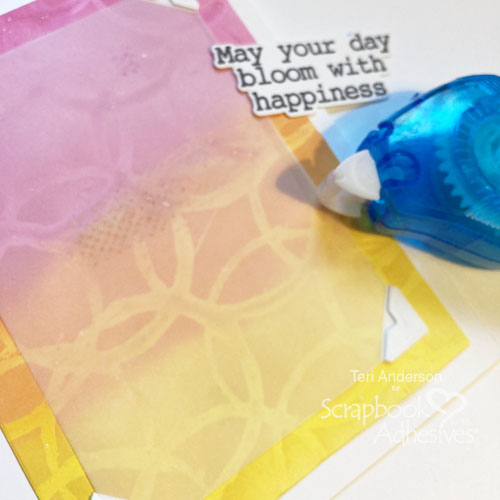
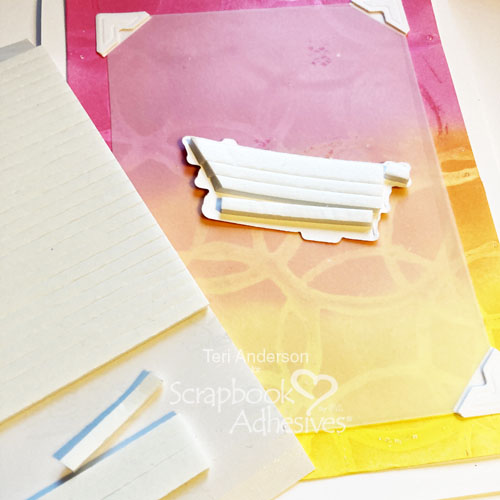
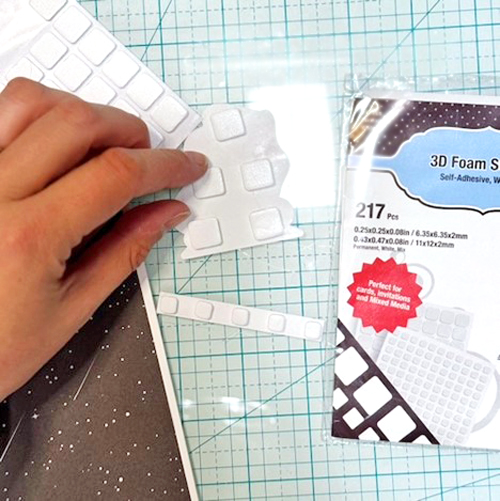
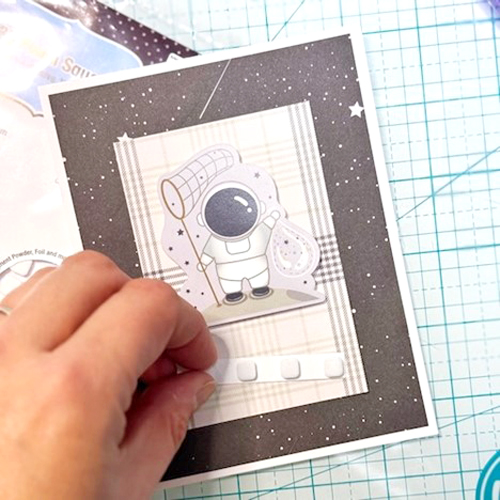
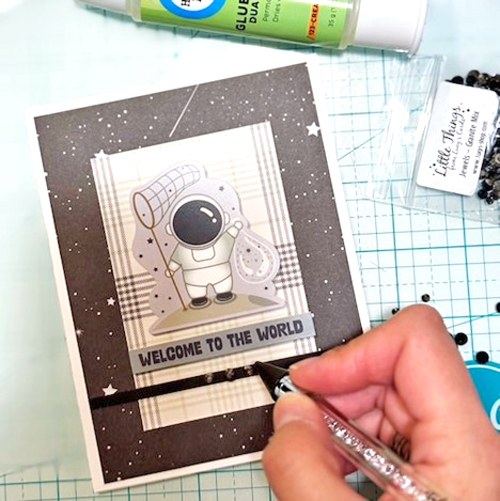
After I inked my stems, adhere them to the card front with the E-Z Runner® Permanent Fine Adhesive Dispenser. Next, I used the same to layer the sentiment over the stems. Finally, I used the 3D Foam Creative Sheets Small White to adhere the flowers to give them some extra dimension. These sheets can be cut easily with non-stick scissors, punch or die-cutting for a custom shape.
This was such a fun Daisy Thank You Card to create and it came together so easily using these fantastic products!
Thanks for stopping by!
Jennifer Ingle (aka Jingle)
Creative Time: 40 mins
Skill Level: Intermediate
Materials Needed:
Scrapbook Adhesives by 3L®
E-Z Runner® Permanent Fine Adhesive Dispenser
3D Foam Creative Sheets Small White
Other: Craft Dies: Waffle Flower Crafts (Sweet Daisy Dies, Print and Script Thank You, and Sunburst Panel); Inks: Concord & 9th; White + Black Cardstock
Click Preferred Retailers List
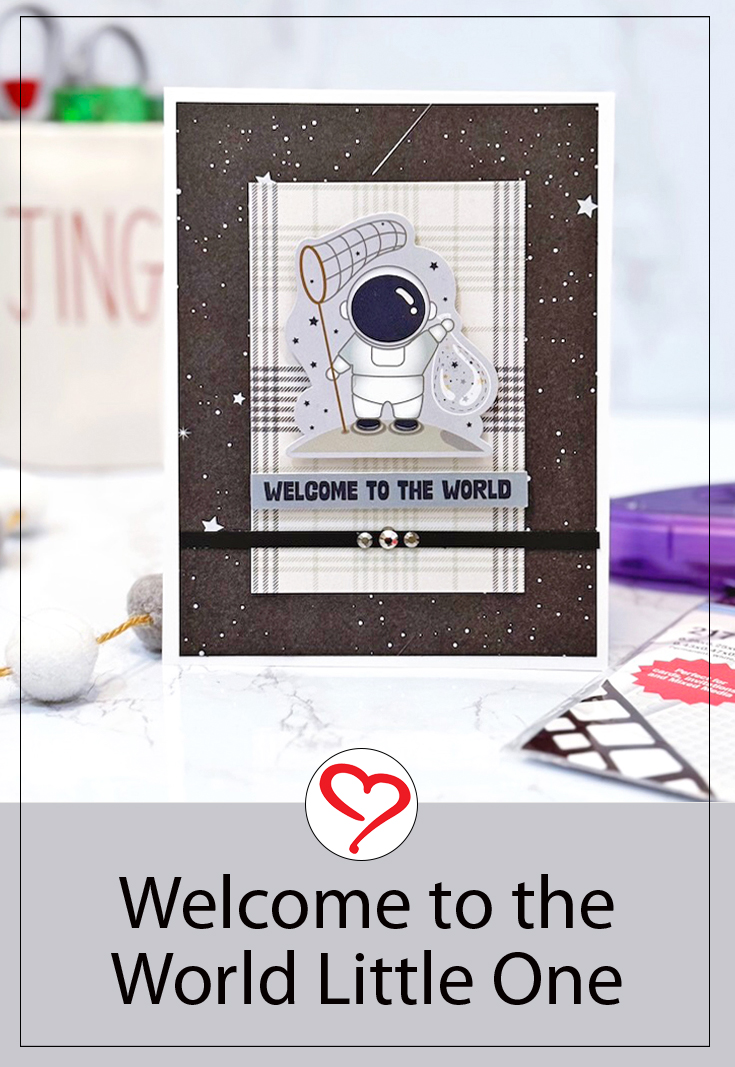
Save to Pinterest!
Visit our Website and Blog!
Sign up for our Newsletter so you never miss a contest or giveaway!