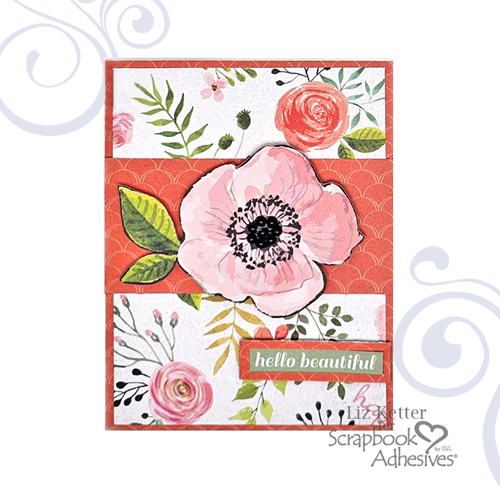
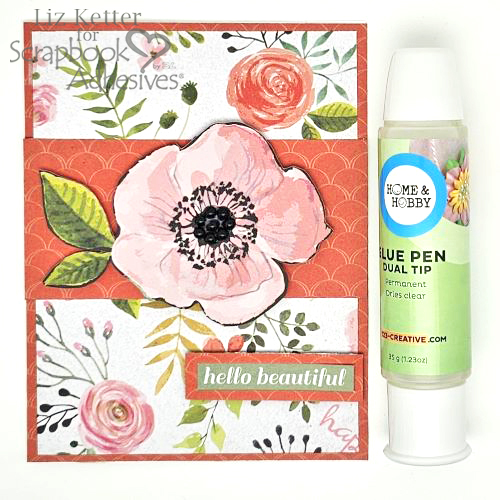
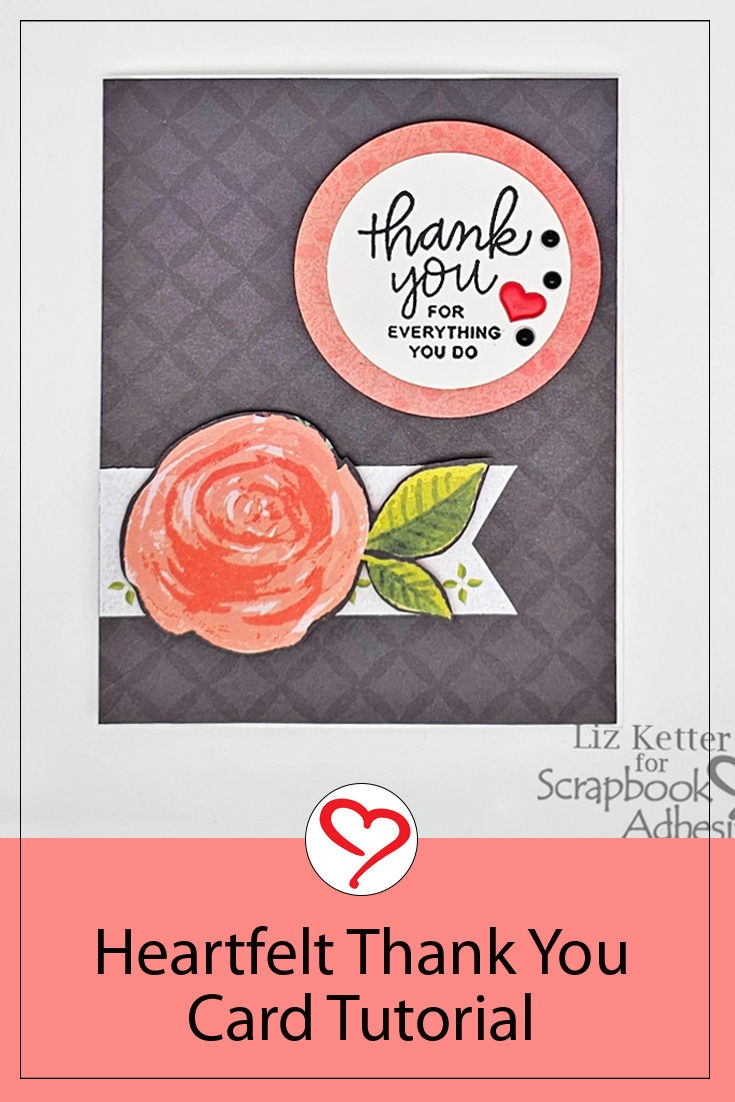
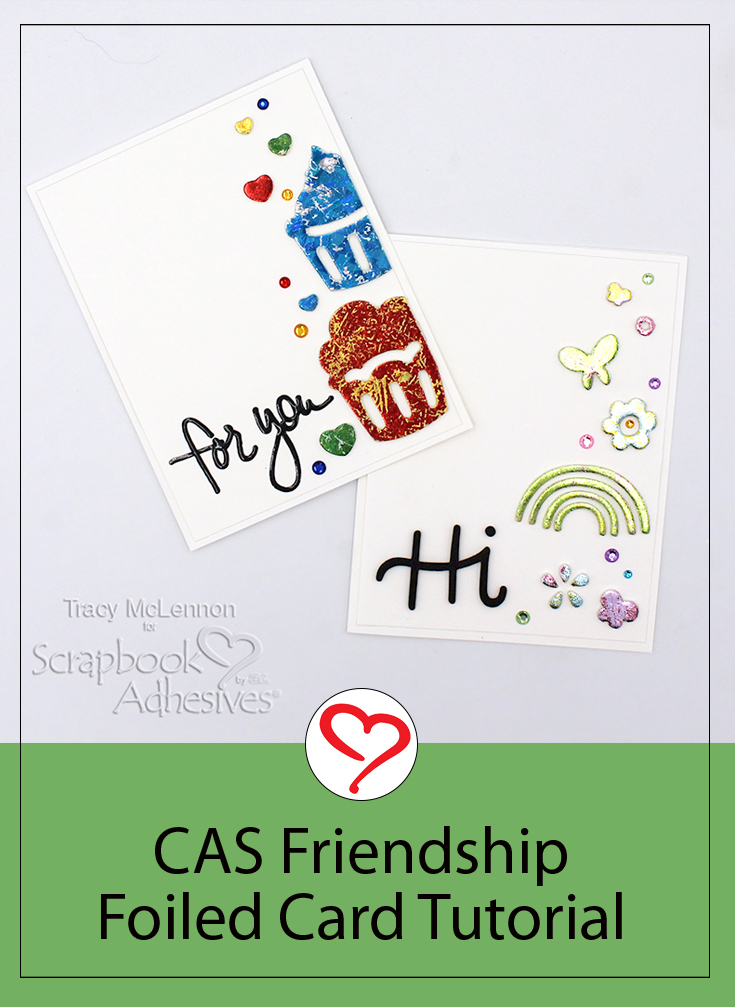
Hello crafty friends! Tracy here, and today I have a quick and easy little project, CAS Friendship Foiled Card, to share. Each of these simple foiled cards can be created in about 15 minutes. Here are all of the details.
Let’s Get Started!
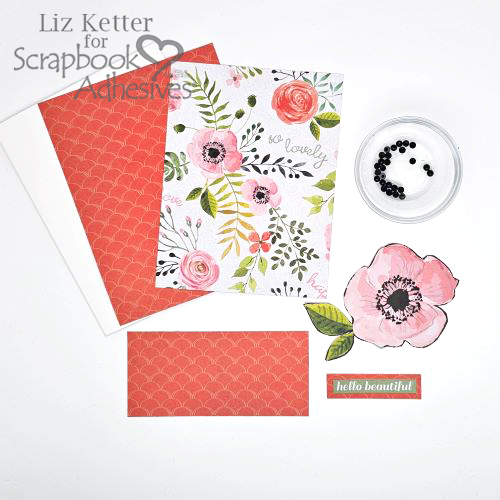
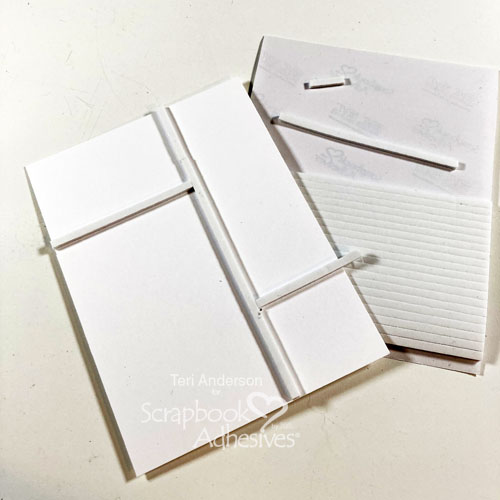
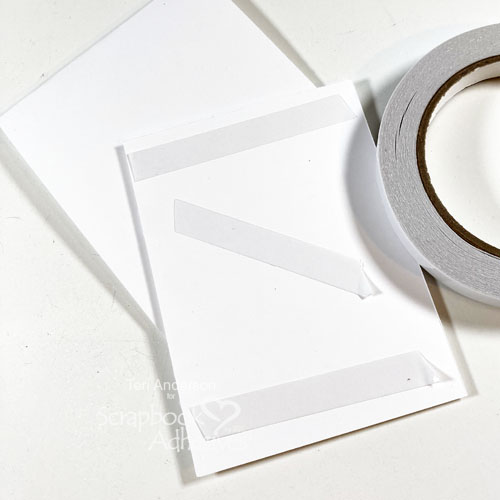
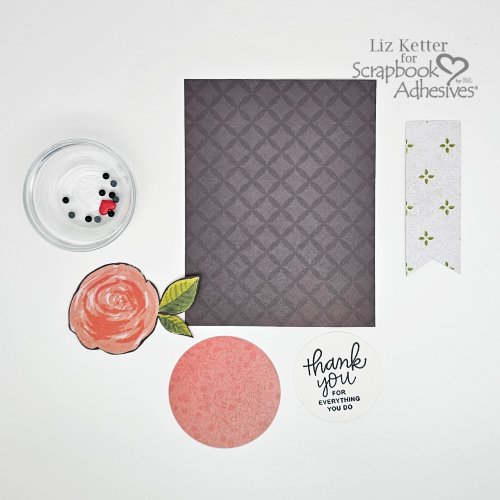
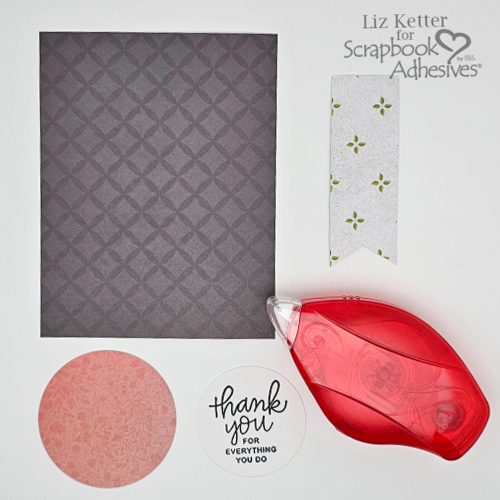
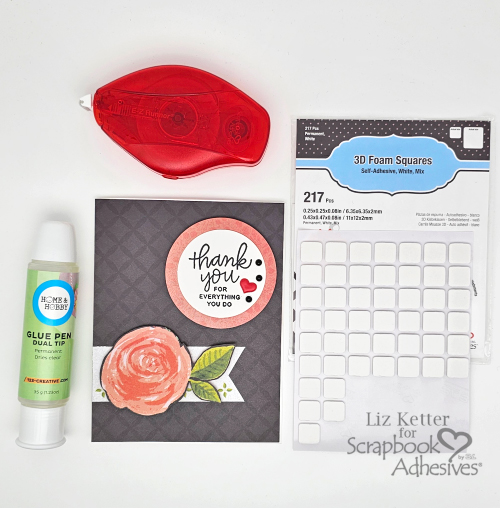
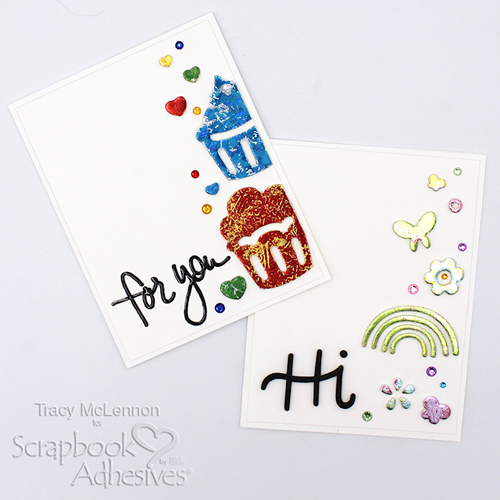
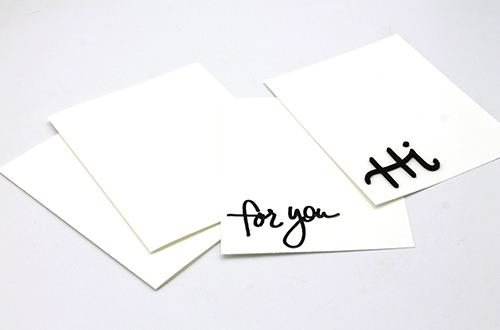
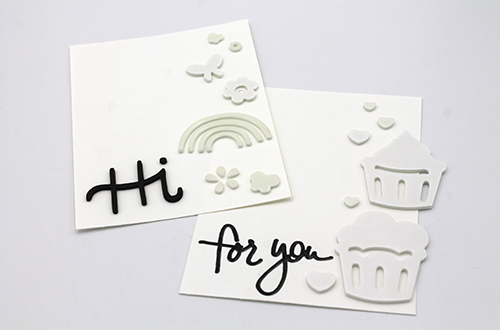
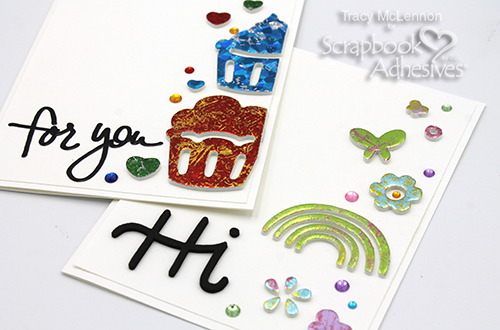
Start the project by cutting a card front and card base using white cardstock. Choose and adhere the sticker words for each card front.
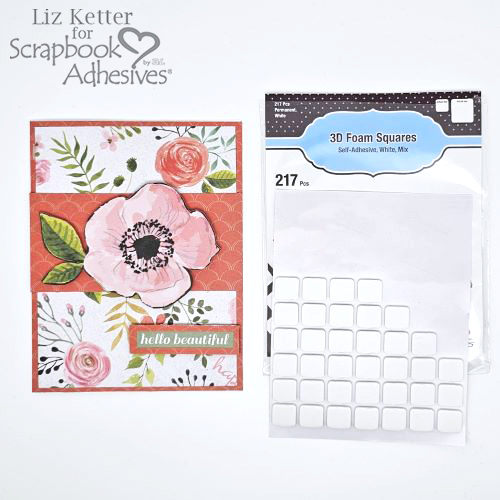
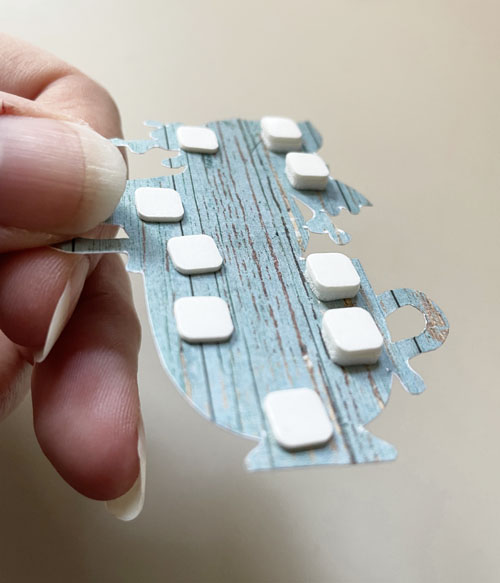
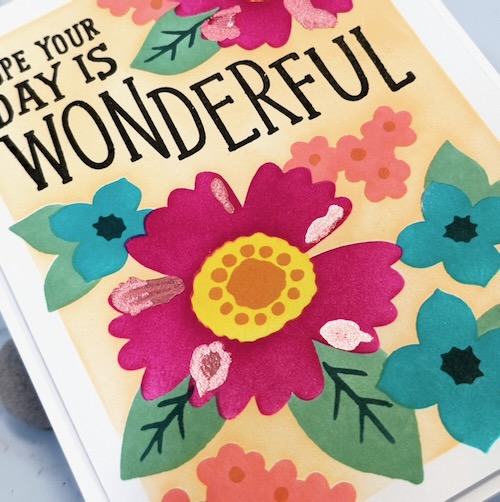
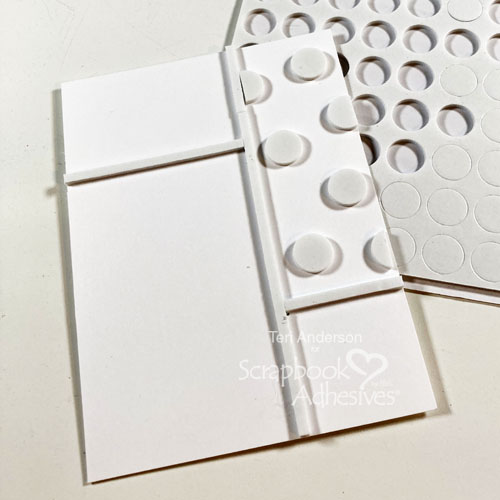
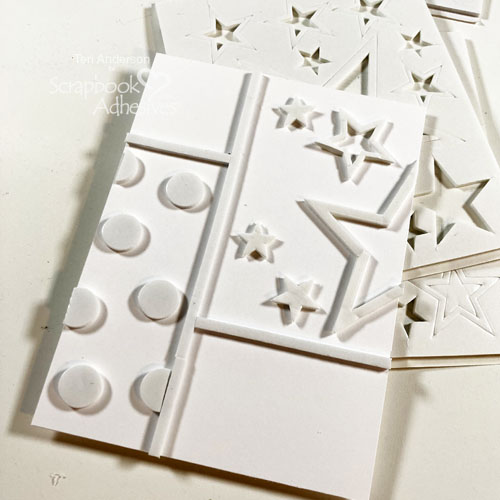
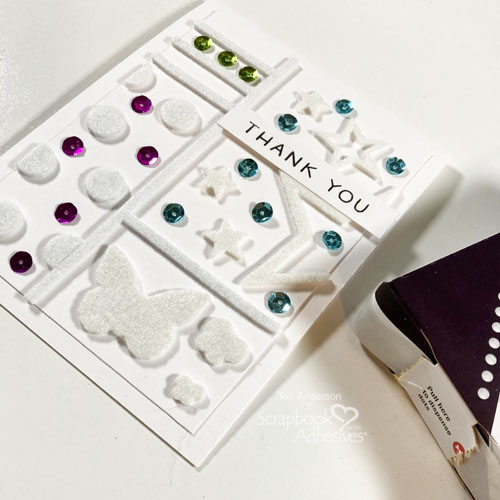
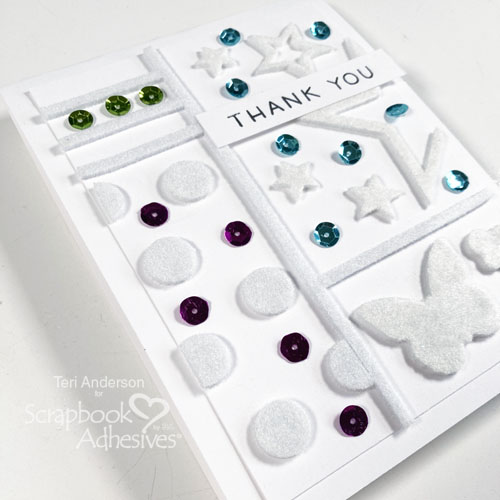
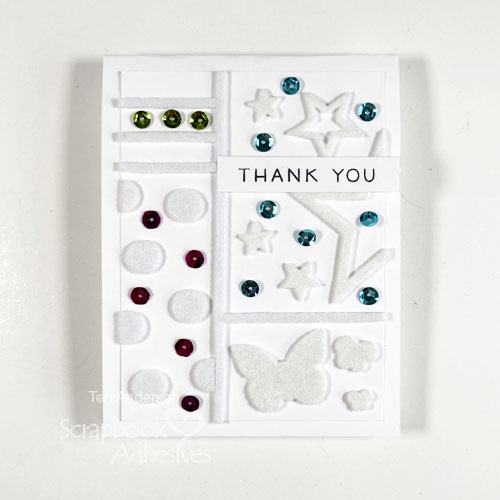
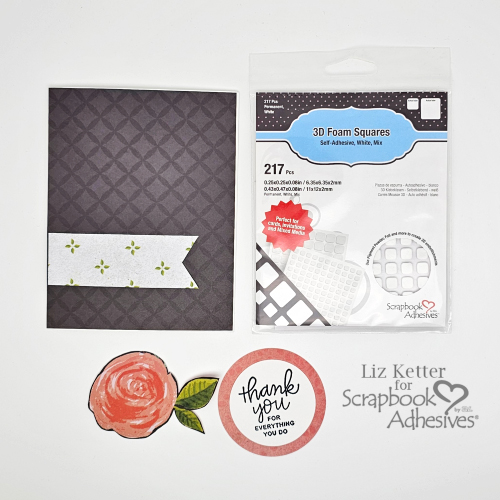
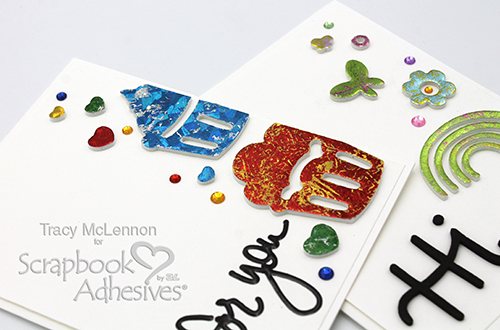
The next step is to add 3D Foam Shapes to each card front. I added 3D Foam Garden Shapes and 3D Foam Butterflies to the “Hi” card and the 3D Foam Cupcakes to the “For You” card.
Wear Your Adhesive on the Outside with Distressed Foil Sheets
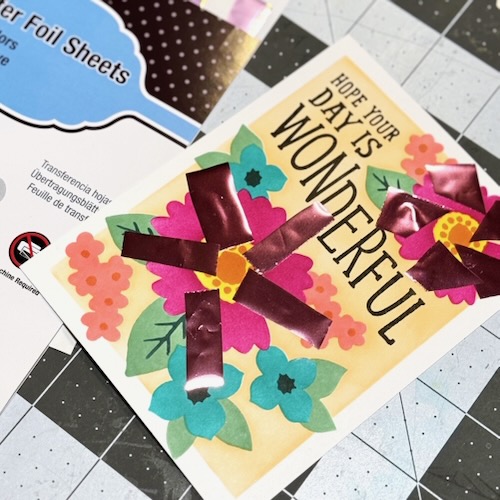
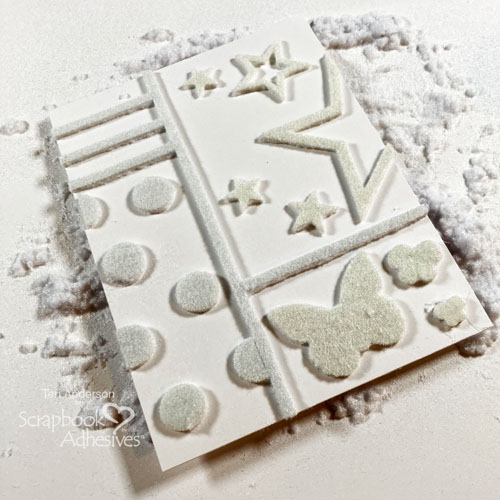
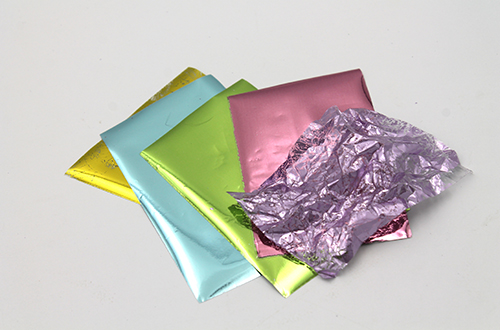
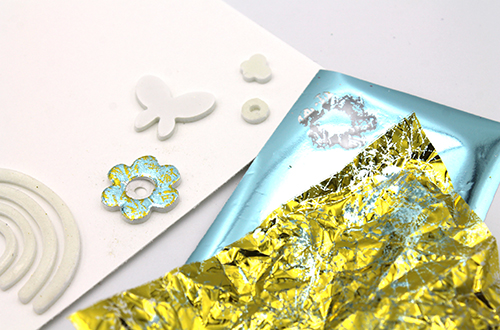
Cut small pieces of foil from the Metallic Transfer Foil Sheets Pastel Colors. Crumple some of the pieces, and keep some of the foil pieces flat.
Pat the crumpled foil onto the foam shape first (make sure the color side is facing you). This will not fully cover the shape. To fill in the remaining areas, foil with a flat sheet of solid color foil (color side up). This creates a marbled look and adds interest to these CAS Friendship Foiled Cards.
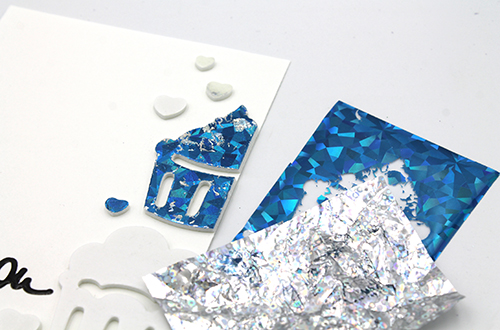
For the “For You” card, I used the Metallic Transfer Foil Sheets Celebrate Colors using the same marbling steps above.
Assemble the Cards
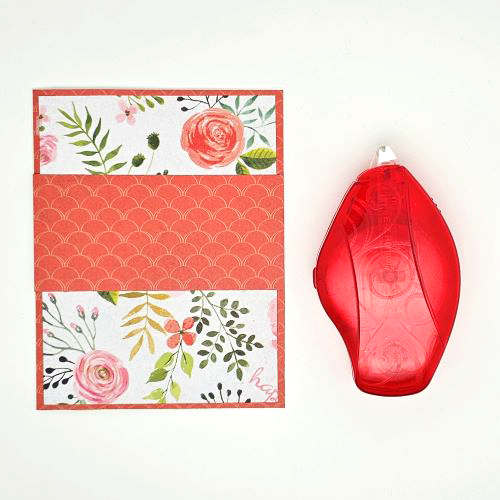
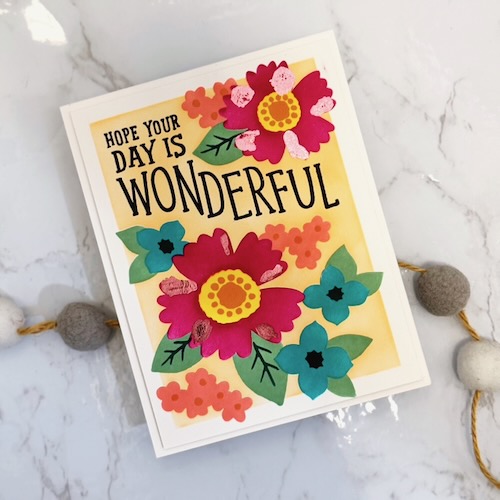
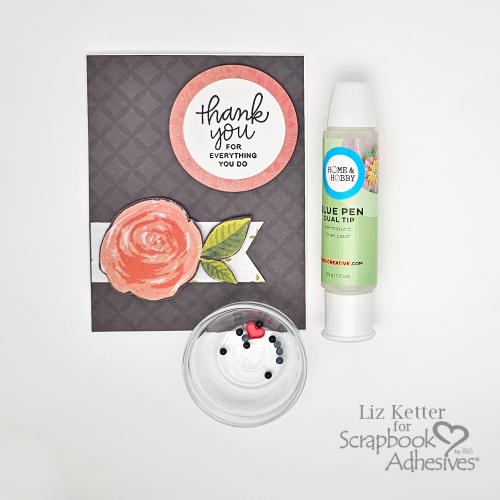
Cover all the remaining foam shapes on both cards. Then adhere the card fronts to the Easy Foiled Card bases using E-Z Runner® Petite Permanent Dots Refillable Dispenser.

Add a final touch to each card using coordinating gems for that perfect amount of sparkle.
Thanks so much for stopping by!
Tracy
Scrapbook Adhesives by 3L®
Metallic Transfer Foil Sheets Celebrate Colors
Metallic Transfer Foil Sheets Pastel Colors
3D Foam Garden Shapes, 3D Foam Butterflies and 3D Foam Cupcakes
E-Z Runner® Petite Permanent Dots Refillable Dispenser
Other: White Cardstock; Gems; Sticker Words
Save to Pinterest!
Visit our Website and Blog!
Sign up for our Newsletter so you never miss a contest or giveaway!