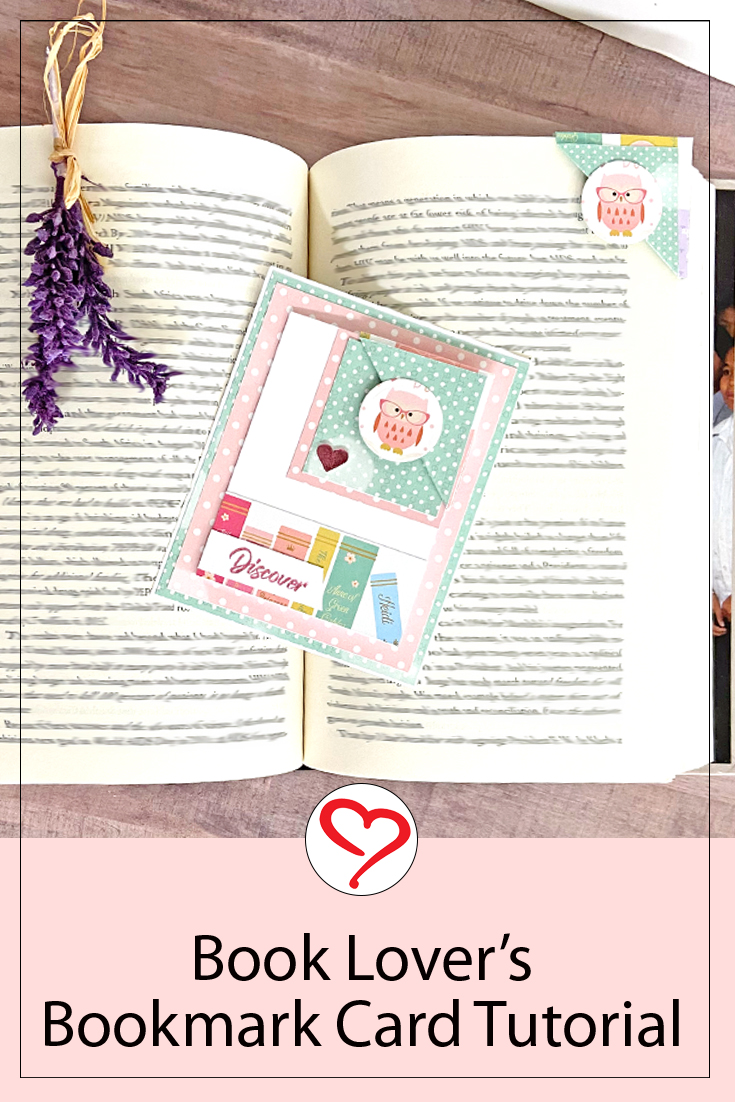
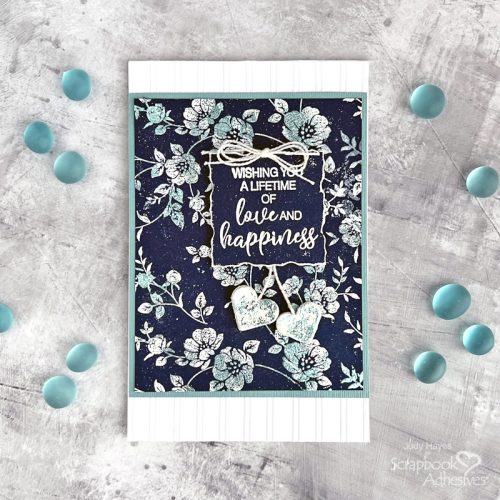
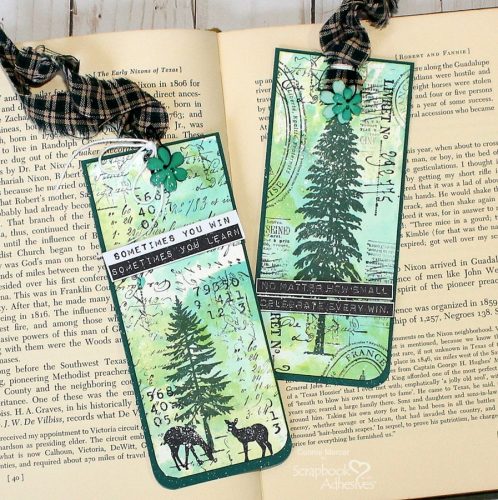
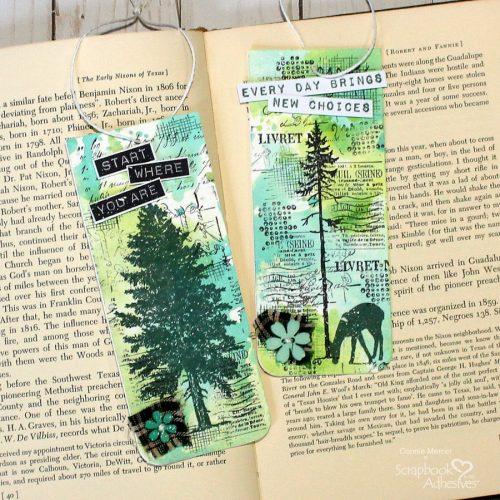
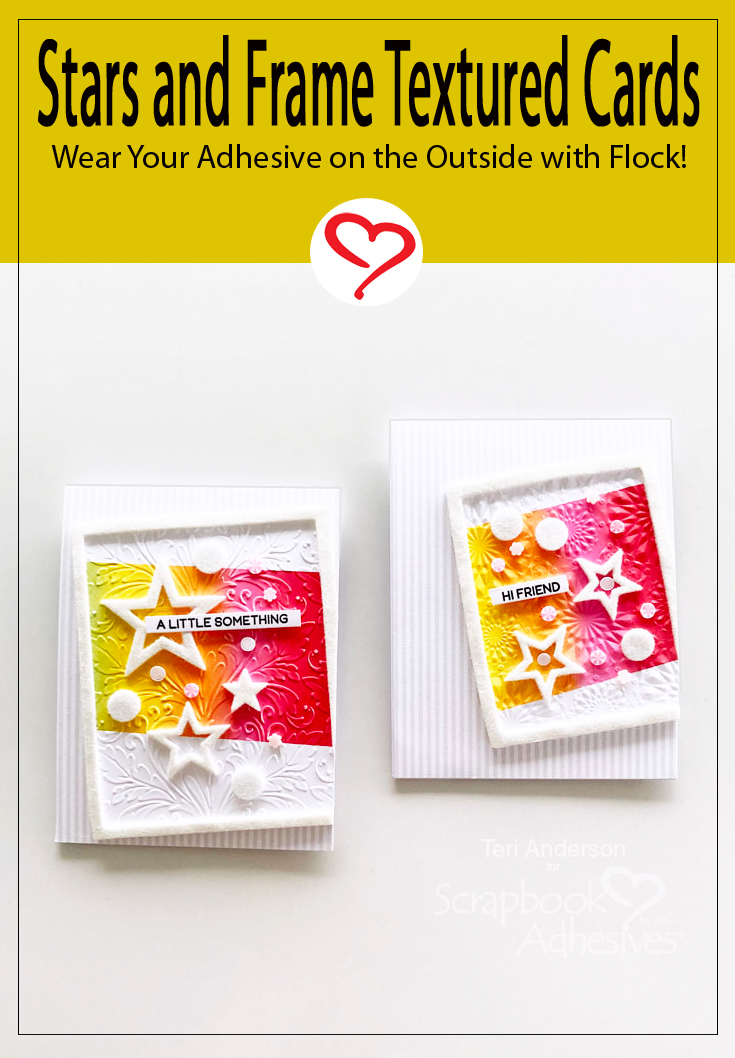
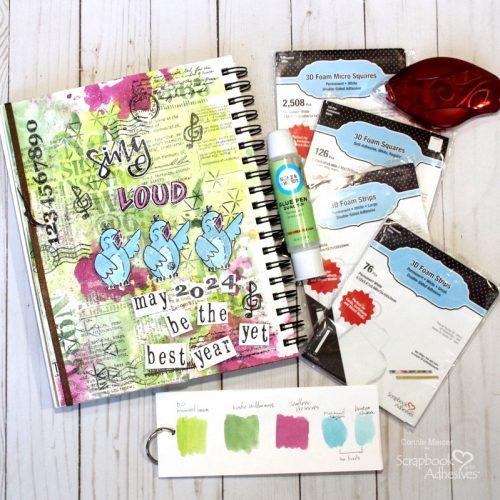
Hi, Connie here bringing in the New Year with a 2024 Art Journal page. I’m using 3D Foam Adhesives for that dimension that we all love to add to our projects. Art journal pages are no exception! They make everything look better.
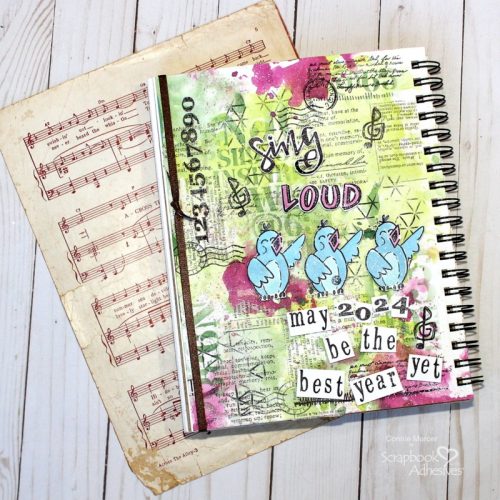
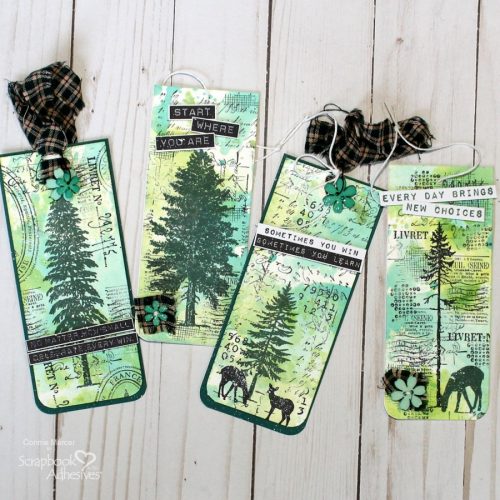
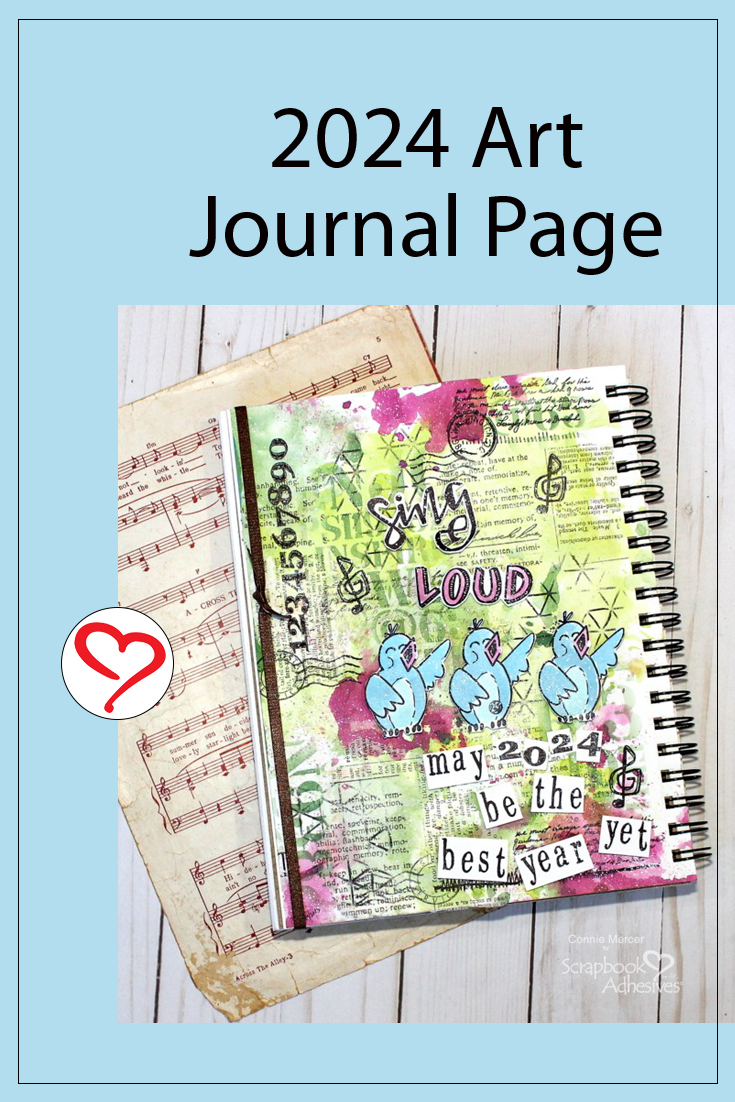
Starting my art journal page with the idea (for lack of a better word) that 2024 will be the Best Year yet. Believing that it will be that for all, I have my bird friends singing it loud.
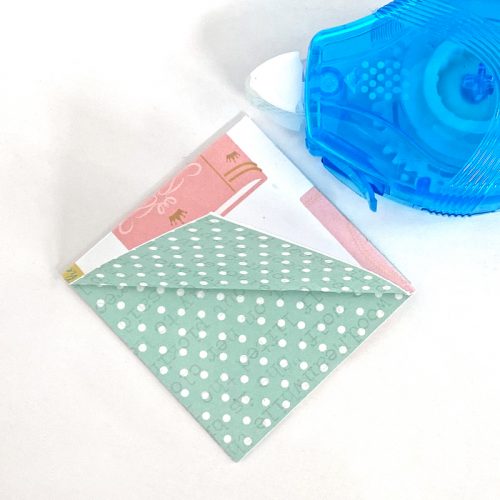
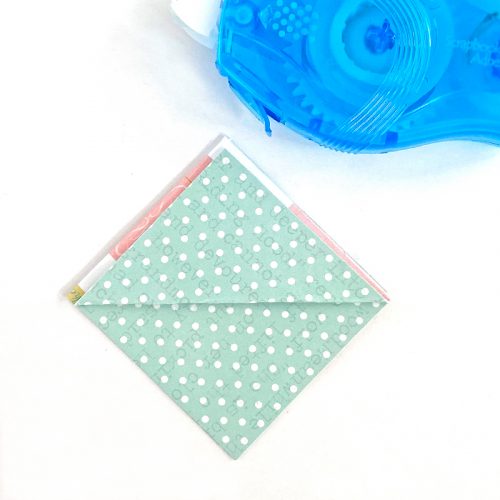
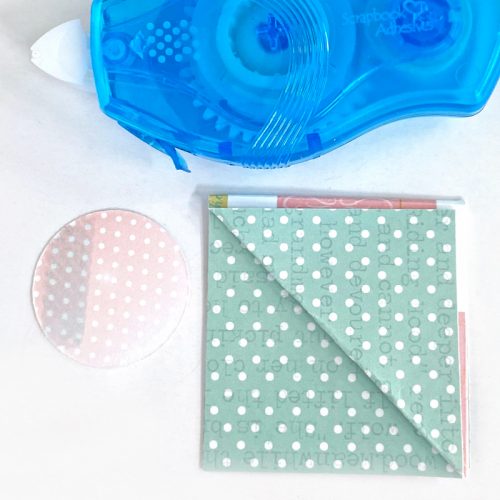
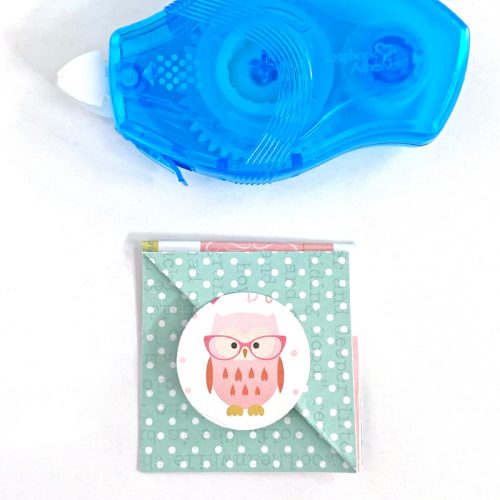
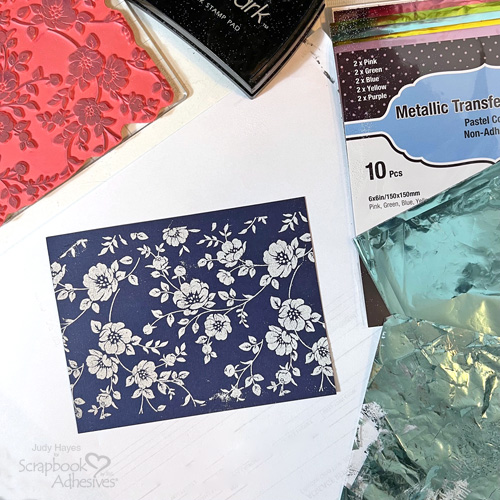
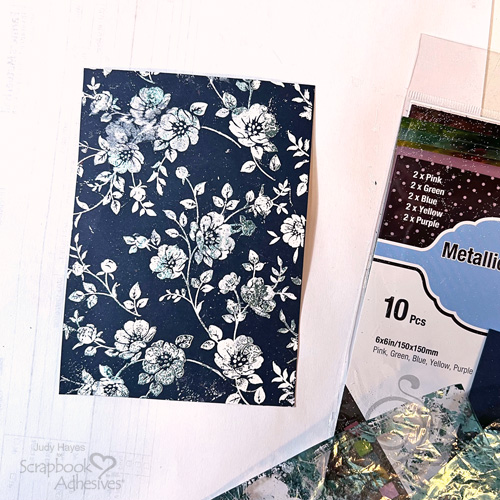
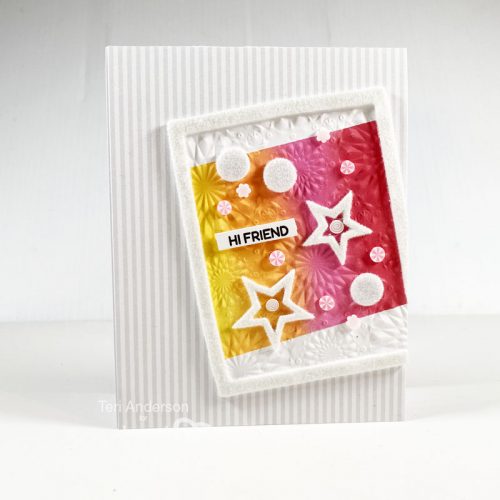
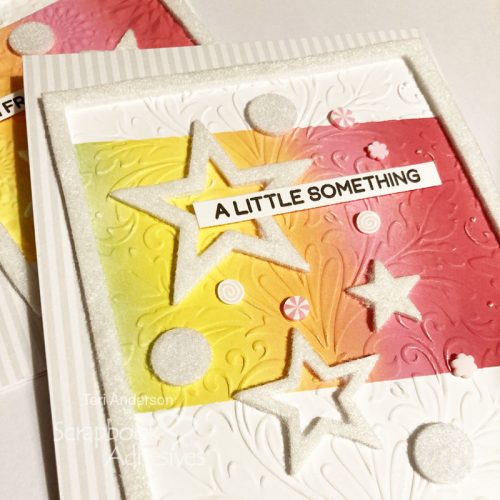
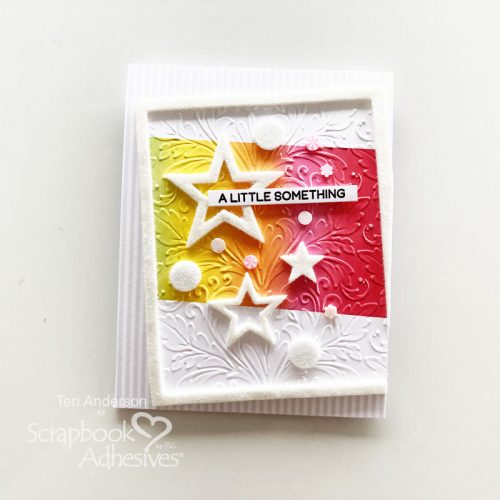
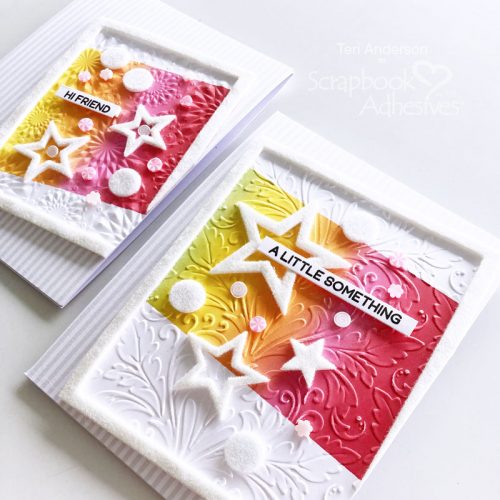
The 2024 Art Journal Page Background
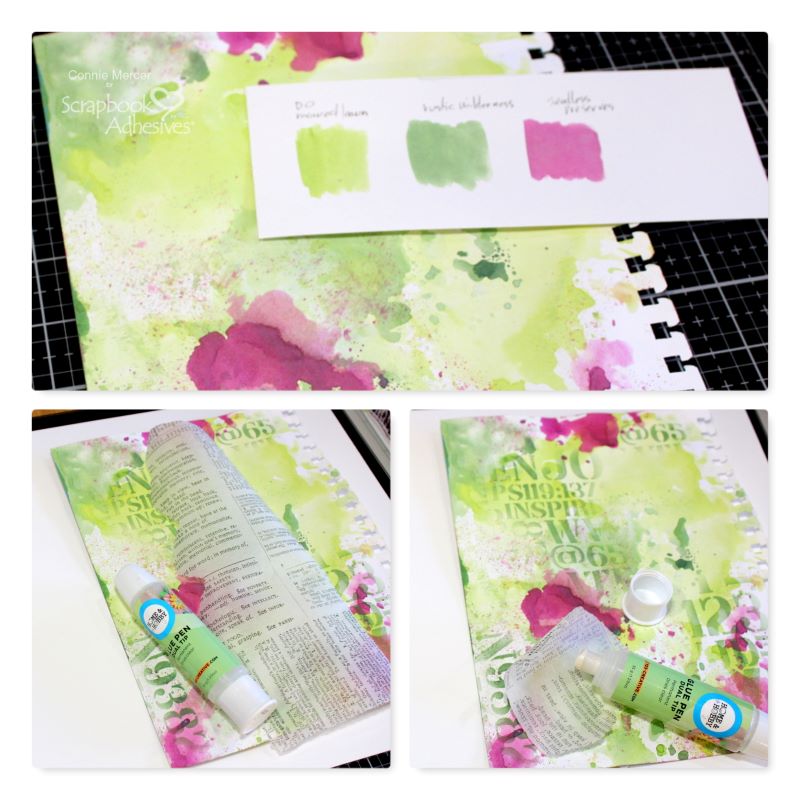
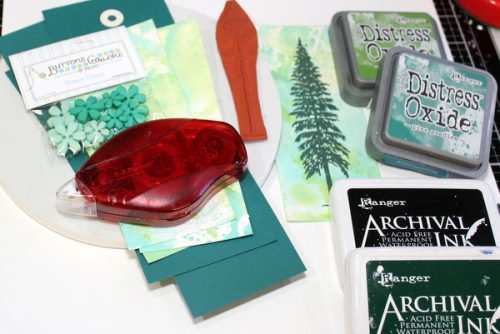
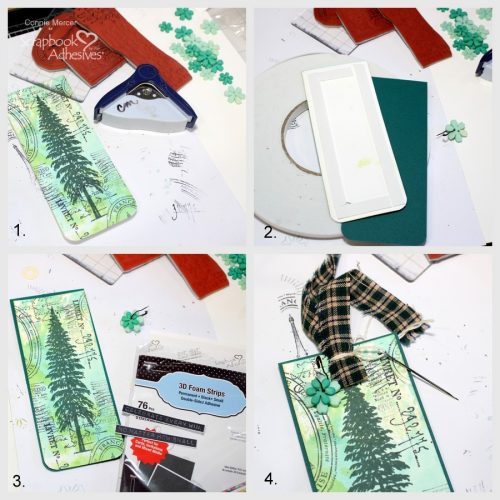
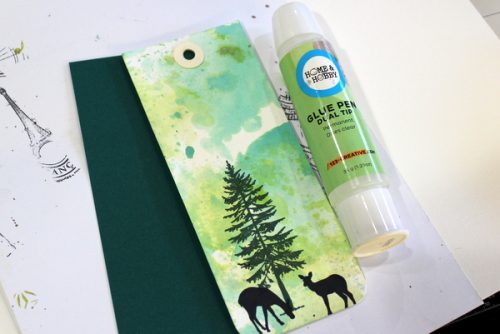
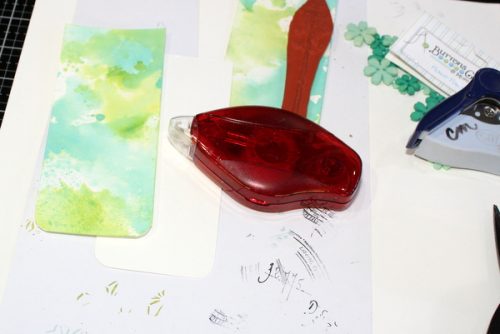
- 1. Select your ink colors, I’m using Distress Oxide ink. Water the ink down and dab the paper into the ink. Dry after each layer. Repeat the process for your desired look.
2. For a more distressed look, add tissue paper with text on it.
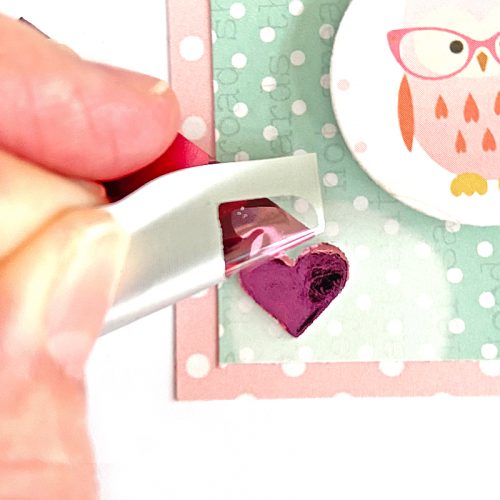
3. Use the large tip of the Dual Tip Glue Pen to apply on the tissue paper. Then with the background stamps, randomly place them in areas of the page. Go crazy!!! This is the fun part!
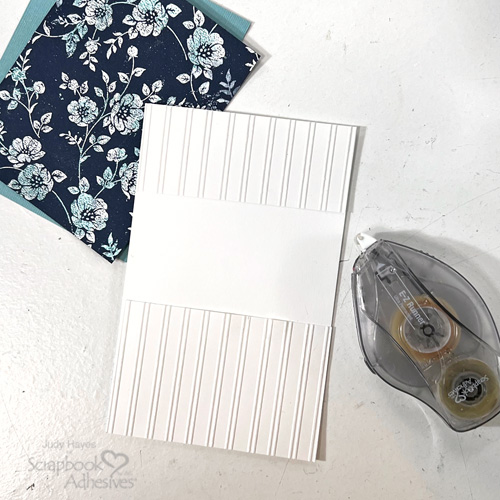
Adding the Elements
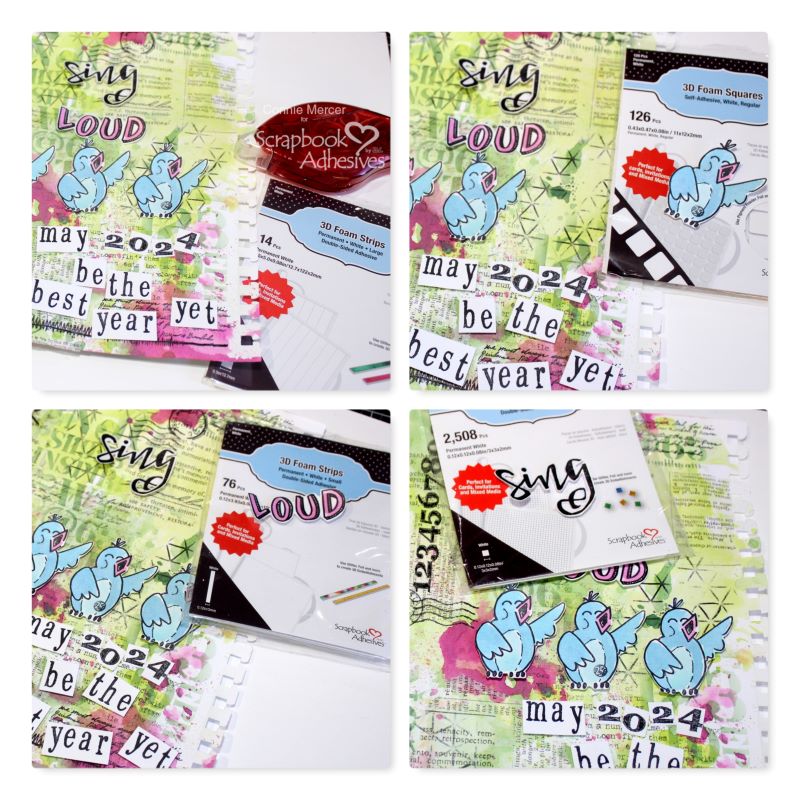
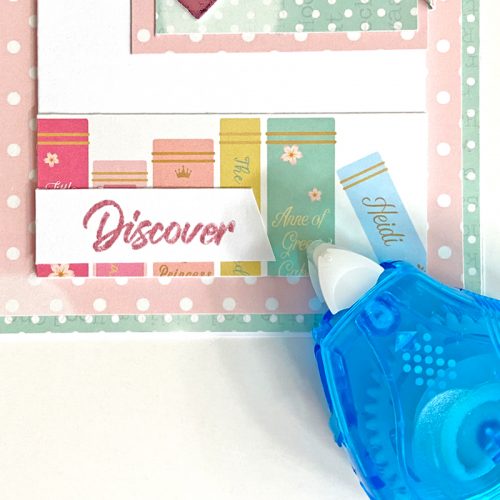
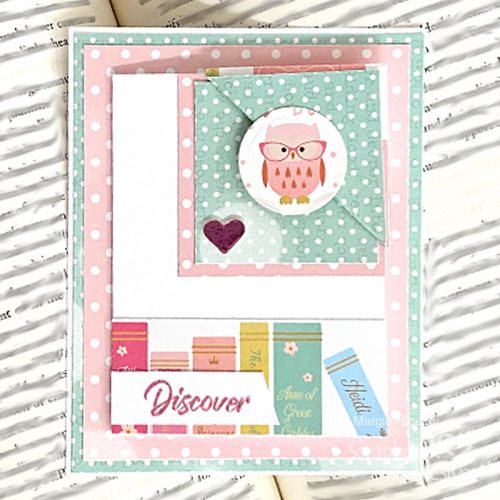
- 1. Stamp, trim, and color the elements to accent the page. Apply 3D Foam Strips Large behind the words, and for the numbers, use the E-Z Runner® Permanent Strips Refillable Dispenser.
2. The three singing birds are adhered with 3D Foam Squares White Mix.
3. The word LOUD is secured with the 3D Foam Strips. They fit so perfectly!!
4. Lastly, the word SING is adhered with the 3D Foam Squares Micro White. To complete the page, I added some stamping and speckled the page using white acrylic paint.

Thanks for stopping by! I hope you will make a 2024 art journal page and have FUN with it throughout the year!
Connie Mercer
Creative Time: 60 mins
Skill Level: Intermediate
Materials Needed:
Scrapbook Adhesives by 3L®
3D Foam Strips and 3D Foam Strips Large
3D Foam Squares Micro White and 3D Foam Squares White Mix
E-Z Runner® Permanent Strips Refillable Dispenser
HomeHobby™ by 3L
Dual Tip Glue Pen
Other: Ink: Ranger Ink (Distress Oxide); Stamps and Stencil: Sweet n’ Sassy; Stamp Positioner: My Sweet Petunia (MISTI 12″)
Save to Pinterest!
Visit our Website and Blog!
Sign up for our Newsletter so you never miss a contest or giveaway!