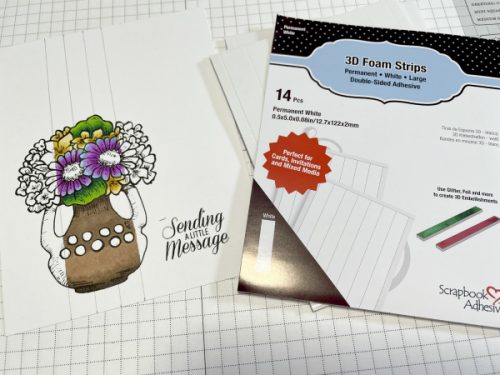
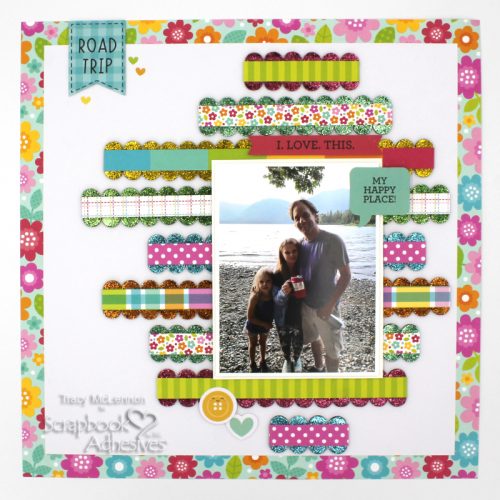
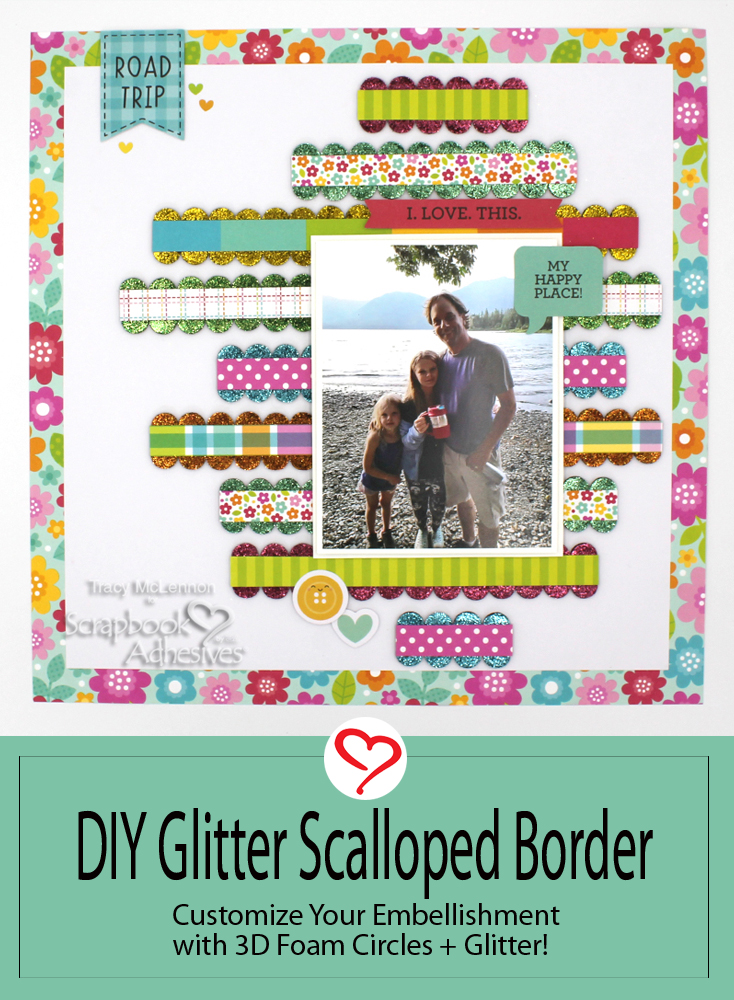
Hello crafty friends! Tracy here, and today I have a tutorial to share on how I created these fun and sparkly DIY Glitter Scalloped Borders. Here are all of the cute and crafty details.
Let’s Get Started
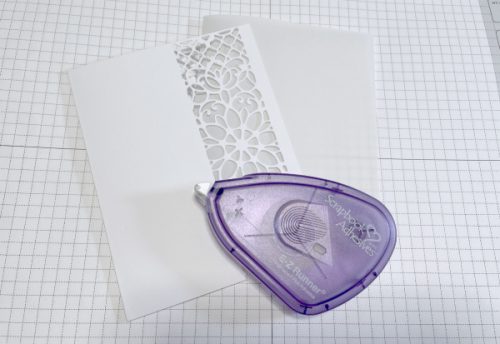
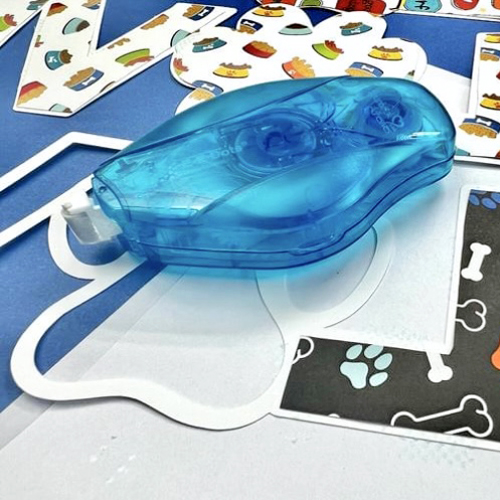
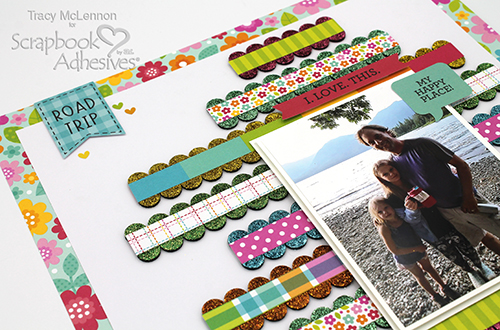
First I picked out a nice bright patterned paper as your 12×12 background. Then cut a piece of white cardstock to 11.25×11.25. Adhere these 2 layers together using the E-Z Runner® Grand Refillable Dispenser.
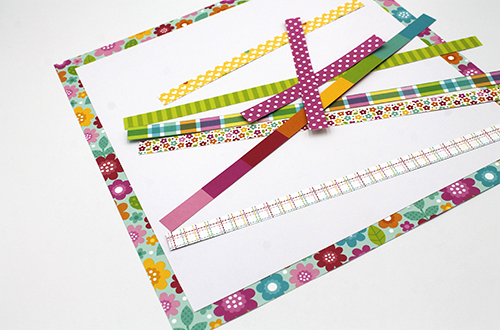
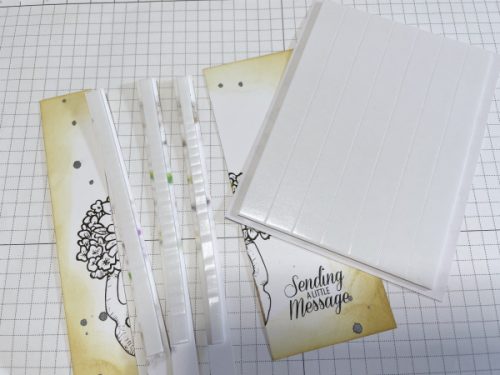
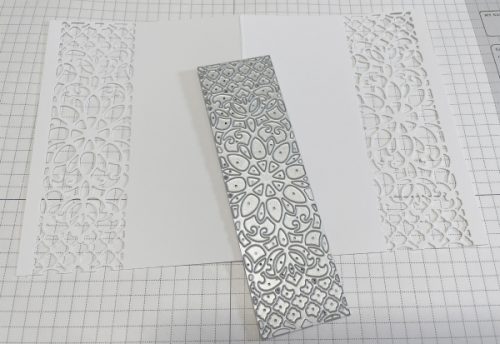
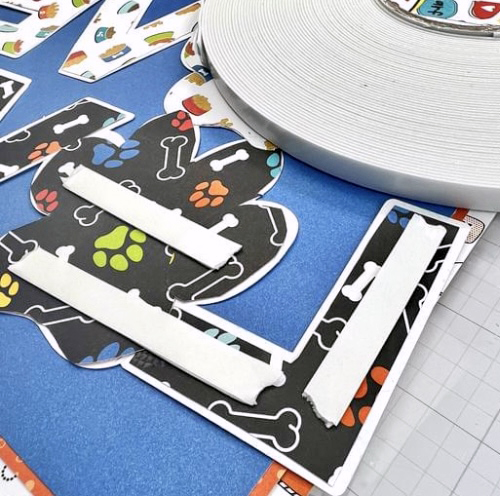
The next step in creating the DIY Glitter Scalloped Border is to cut the patterned paper strips. I cut strips of patterns that are 0.5″ wide. The lengths can vary, as you’ll be trimming those to suit the layout in the next step.

If you look closely you will see that I traced the photo I was using for the layout onto the white cardstock background. This will act as a guide for your DIY Glitter Scalloped Borders. I then cut the patterned strips to different lengths to suit the placement of the photo.
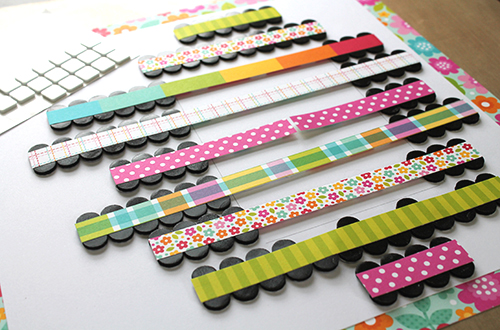
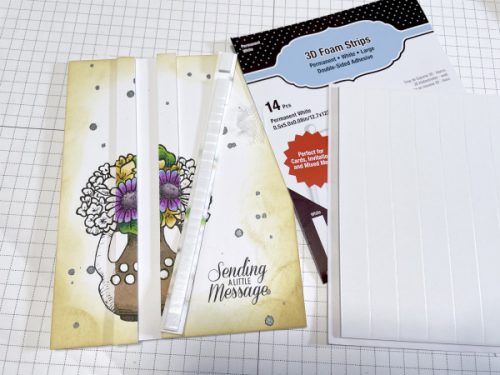
Next I added the larger (0.5″) 3D Foam Circles Black Mix circles to either side of the DIY Glitter Scalloped Border strips. You’ll notice I didn’t bother adding them to where the photo will be, Just a few in behind to keep the middles from sagging.
Let’s Add Glitter!
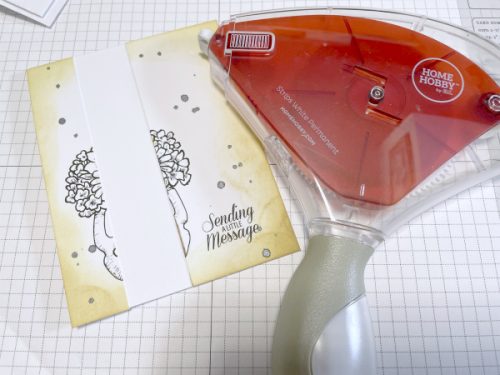
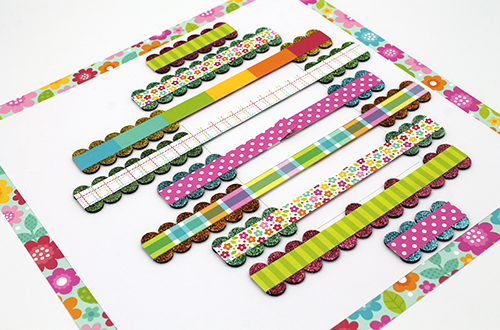
I chose ultra fine glitter from my stash that coordinated with these bright and fun patterned papers. I added different colors of glitter to most of the DIY Glitter Scalloped Border strips. Now the strips can be adhered to the layout.
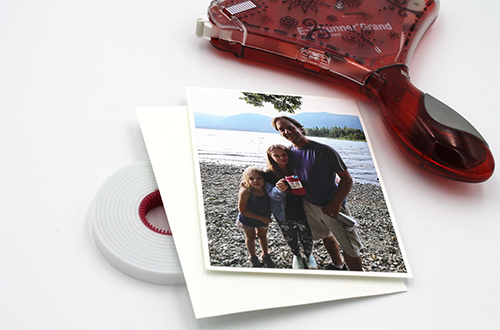
Mat the photo in white cardstock using the E-Z Runner® Grand Refillable Dispenser. Then add a second mat of white cardstock using Crafty Foam Tape White. Add the matted photo to the layout also using Crafty Foam Tape White.
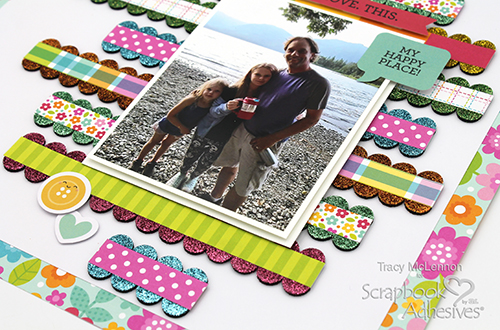
The final touches come by adding a few coordinating embellishments around the layout using Thin 3D Foam Squares White Mix.
Thanks so much for stopping by!
Tracy
Creative Time: 60 Minutes
Skill Level: Intermediate
Materials Needed
Scrapbook Adhesives by 3L®
Crafty Foam Tape White
E-Z Runner® Grand Refillable Dispenser
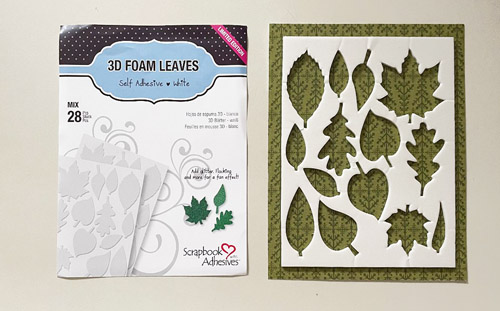
3D Foam Circles Black Mix
Thin 3D Foam Squares White Mix
Other
Doodlebug Designs- Cut & Crafty Collection, Ultra Fine Glitters, Cardstock- White
Save to Pinterest!
Visit our Website and Blog!
Sign up for our Newsletter so you never miss a contest or giveaway!