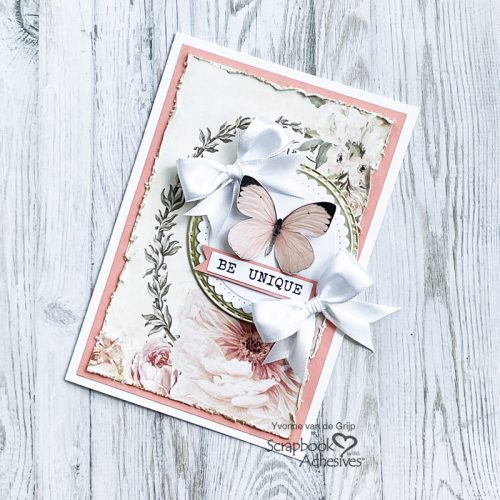
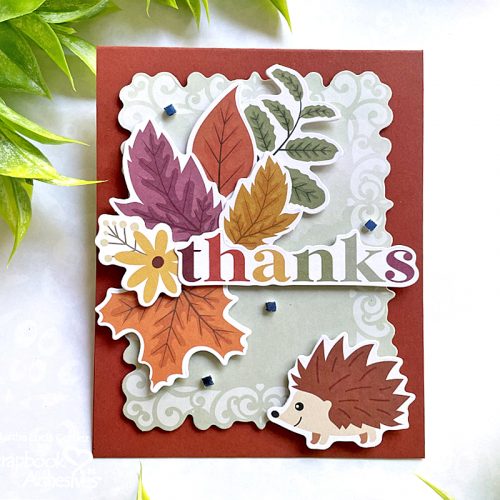
Hi, all! Do you love all things Fall-related? Teri here to show you how to make a Fall-inspired Thanks Leaf Card!
This card finds inspiration from the colors of the season, plus it has a Fall leaf on it! Let’s get started!
Create an Inky Background for the Thanks Leaf Card
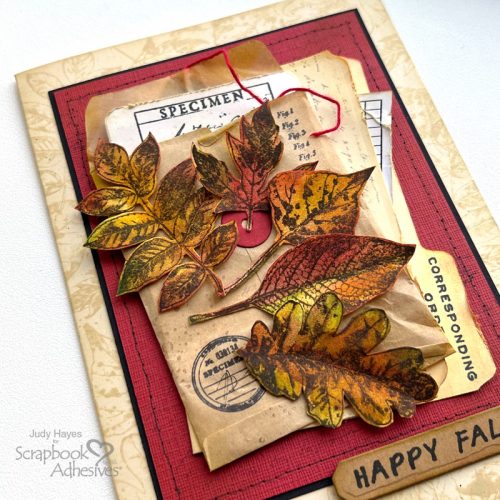
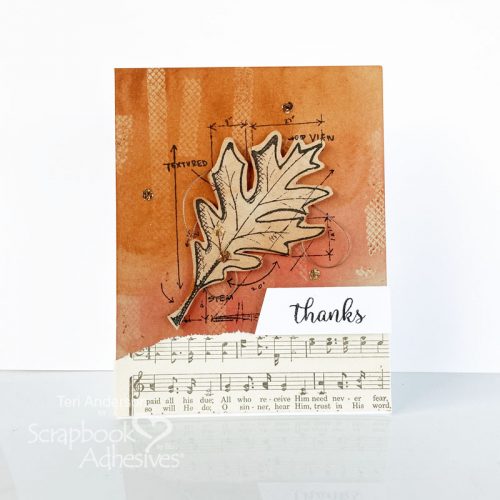
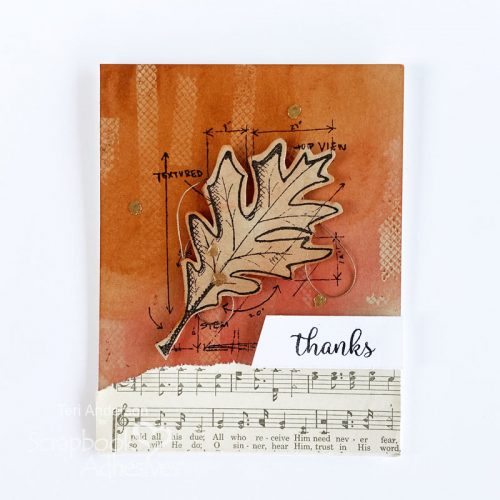
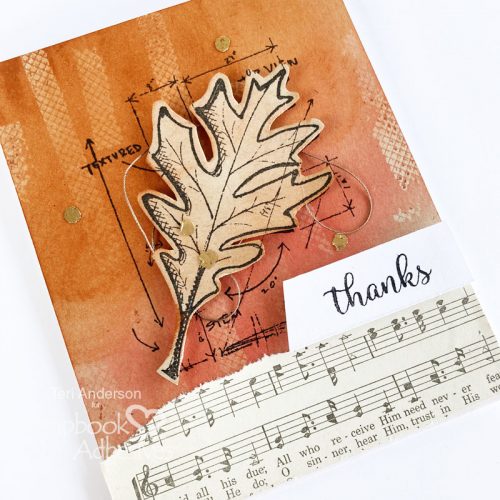
Begin by applying some lines of permanent dots onto a panel of kraft cardstock. Then blend orange and red inks onto the panel over the adhesive!
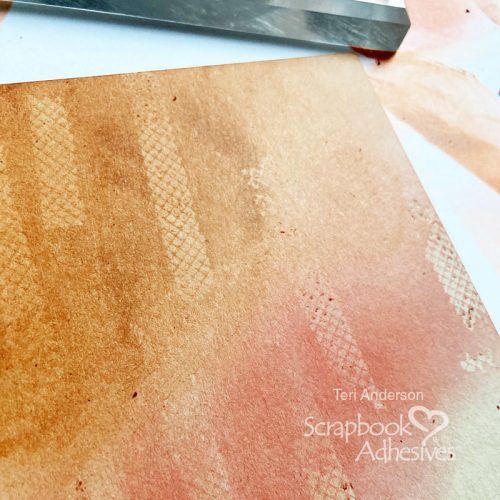
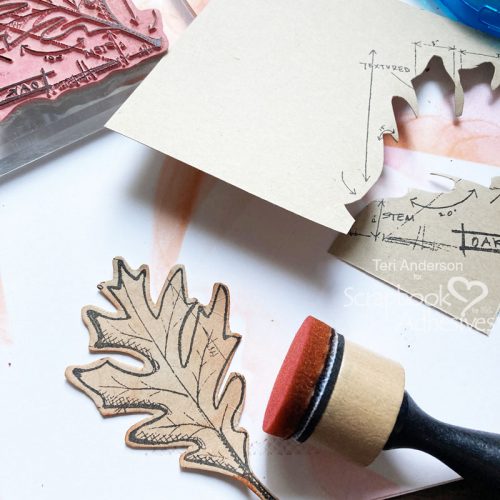
Use your fingers to remove the adhesive and you’ll end up with a fun pattern in your ink! Set the panel aside and pull out a second panel of kraft cardstock. Stamp a leafy background stamp on it. Cut the leaf from the background. Lightly apply some ink onto the leaf.
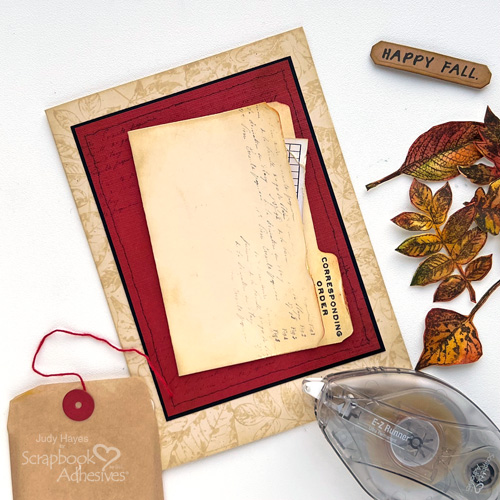
Take your inked panel and stamp the same leafy background onto it. Add a portion of an old book page to the bottom of your panel, and mount the panel onto a card base.
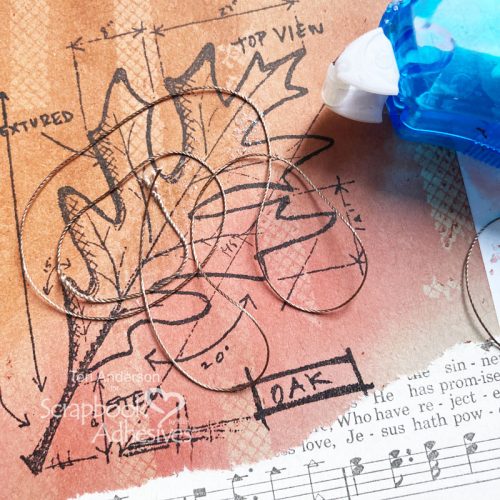
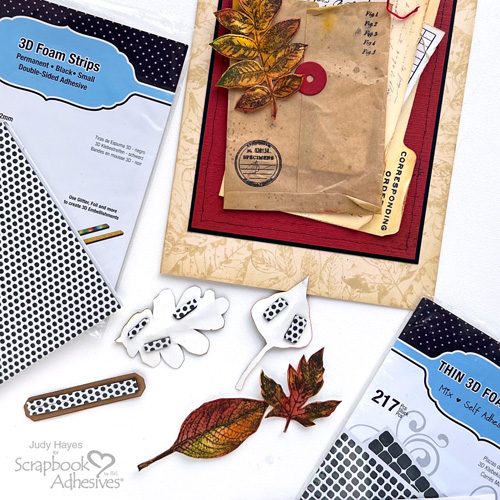
Randomly apply adhesive onto your inked panel where the leaf is. Add thread to the panel.
Apply some adhesive dots onto your inked panel, as well as on your fussy cut leaf. Burnish gold or copper foil onto them.
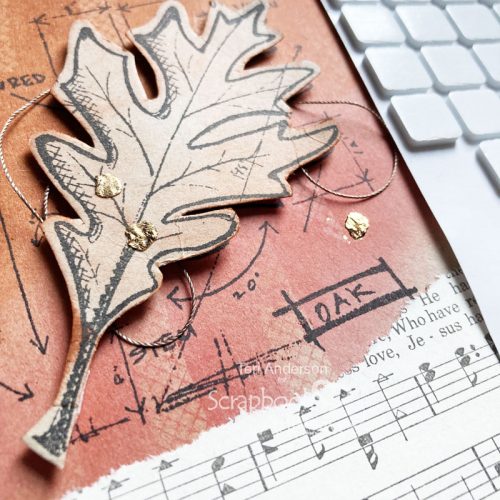
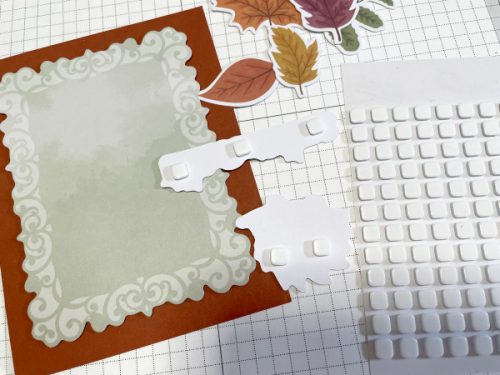
Mount the leaf onto your card with 3D Foam Squares, covering up where the thread is anchored onto your card.
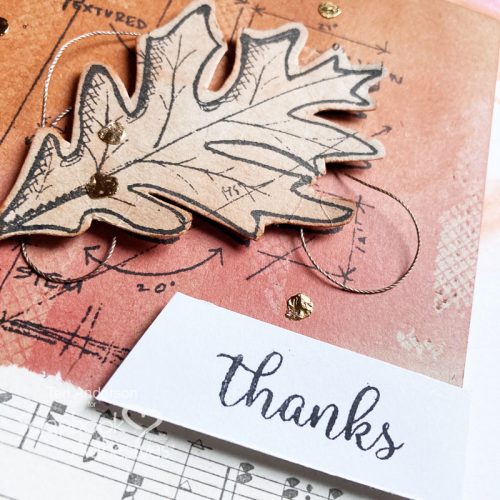
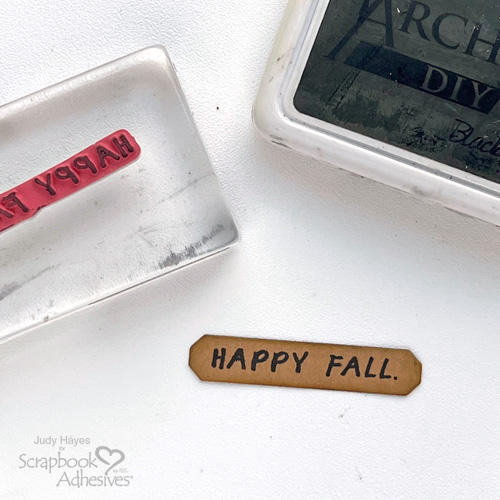
Stamp a sentiment on a strip of cardstock. Snip off one end with your scissors. Use 3D Foam Squares to adhere the sentiment on your card.
I hope this Thanks Fall Leaf Card inspires you to make a Fall-themed card!
Thanks for stopping by today!
Teri Anderson
Creative Time: 45 Minutes
Skill Level: Intermediate
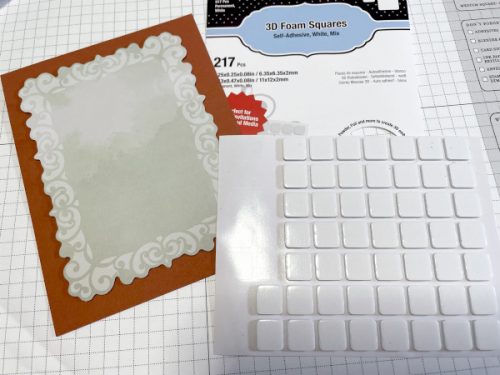
Materials Needed
Scrapbook Adhesives by 3L®
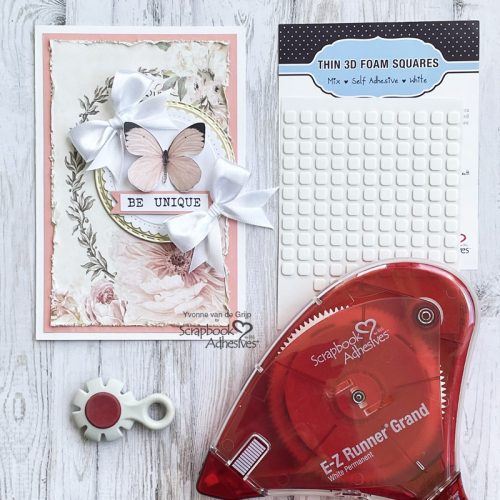
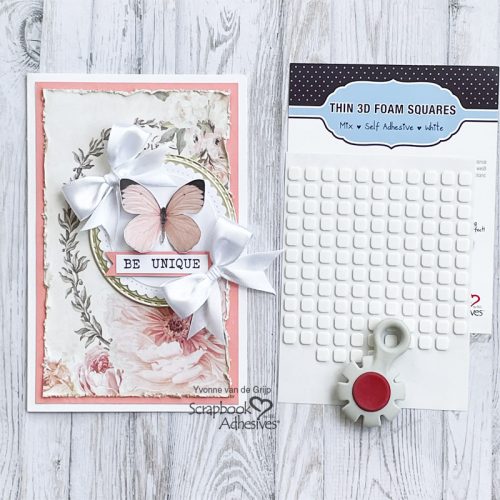
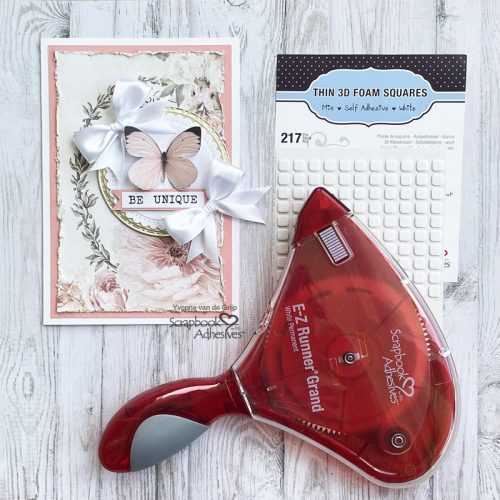
- 3D Foam Squares White Mix
- E-Z Runner® Petite Permanent Dots Refillable Dispenser and E-Z Runner® Grand Ultra Strong Refillable Dispenser
- Adhesive Dots Micro
- Metallic Transfer Foil Sheets Nature Colors
Other
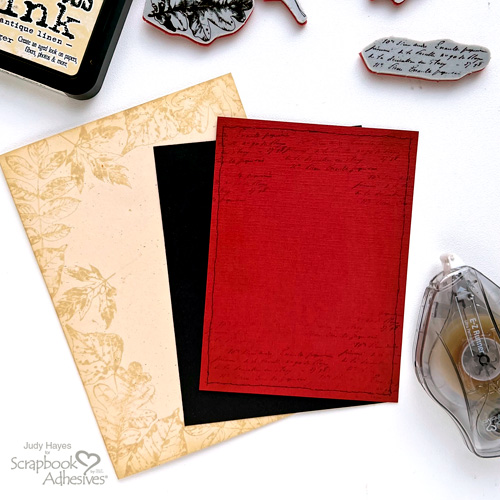
White and Kraft Cardstock: Neenah Paper; Stamps: Tim Holtz (Autumn Blueprint Set), Sunny Studio (Sunflower Fields Set); Thread: Coats & Clark; Inks: Ranger Ink; Old Book Page
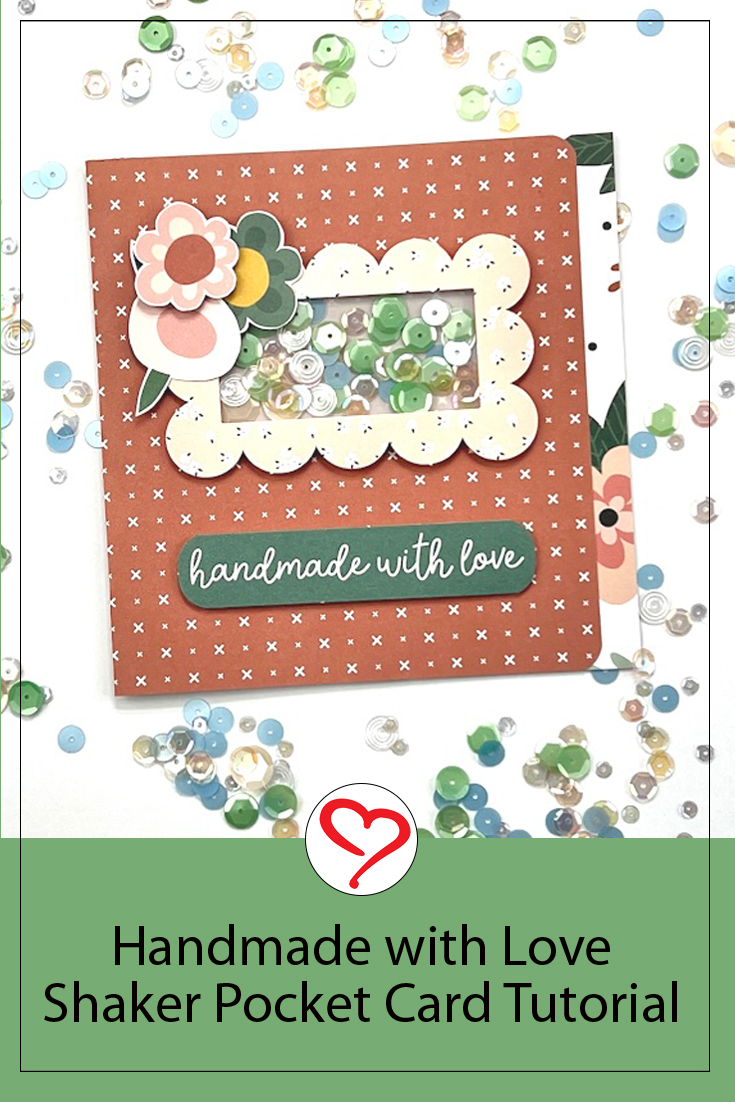
Save to Pinterest!

Visit our Website and Blog!
Sign up for our Newsletter so you never miss a contest or giveaway!