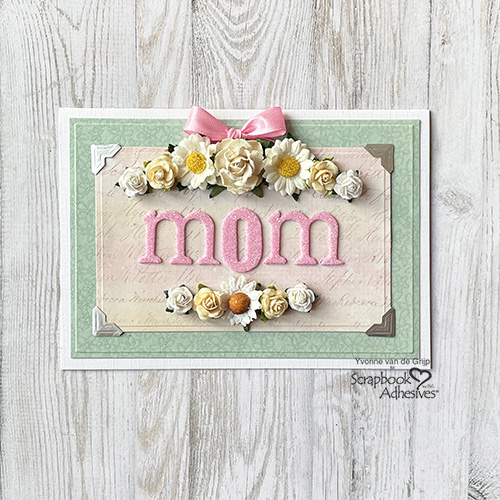
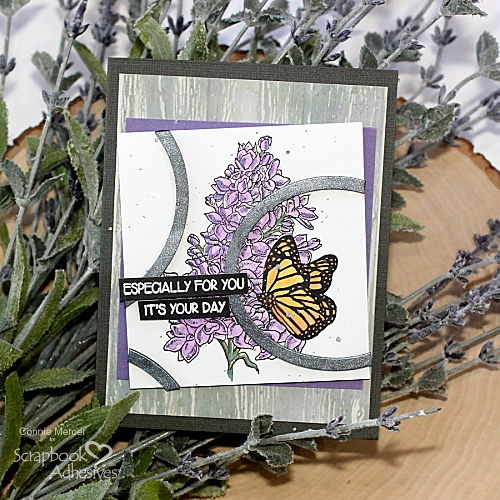
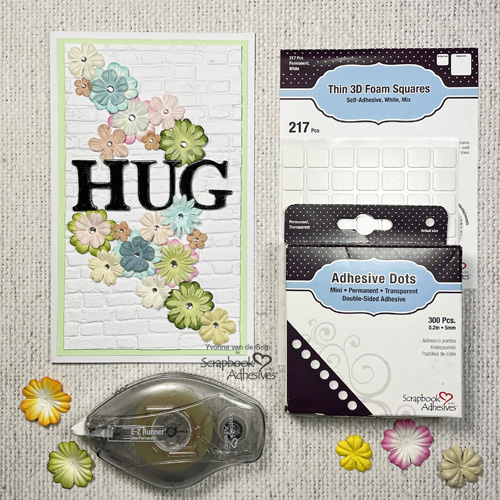
Hi everyone, Yvonne here with an easy Floral Hug Card. I love flowers and always have some flower cards for several occasions. Adhesive Dots Medium Ultra Thin are simply the best when it comes to the invisible adherence of mulberry flowers.
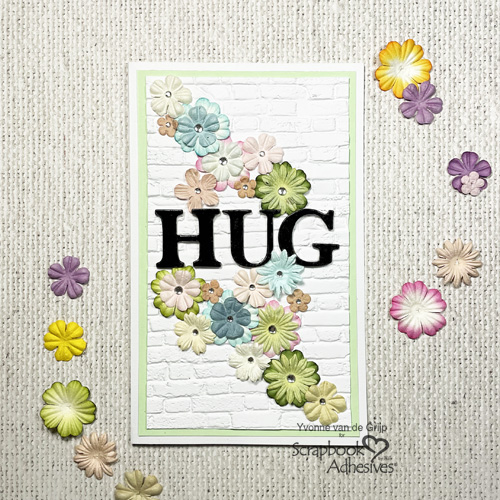
The card I made is very simple to make so it’s also suitable for beginner cardmakers. Who wouldn’t like to recieve a hug like this per post! Let me show you how I made my card.
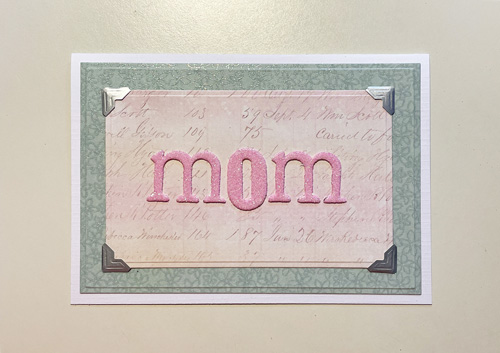
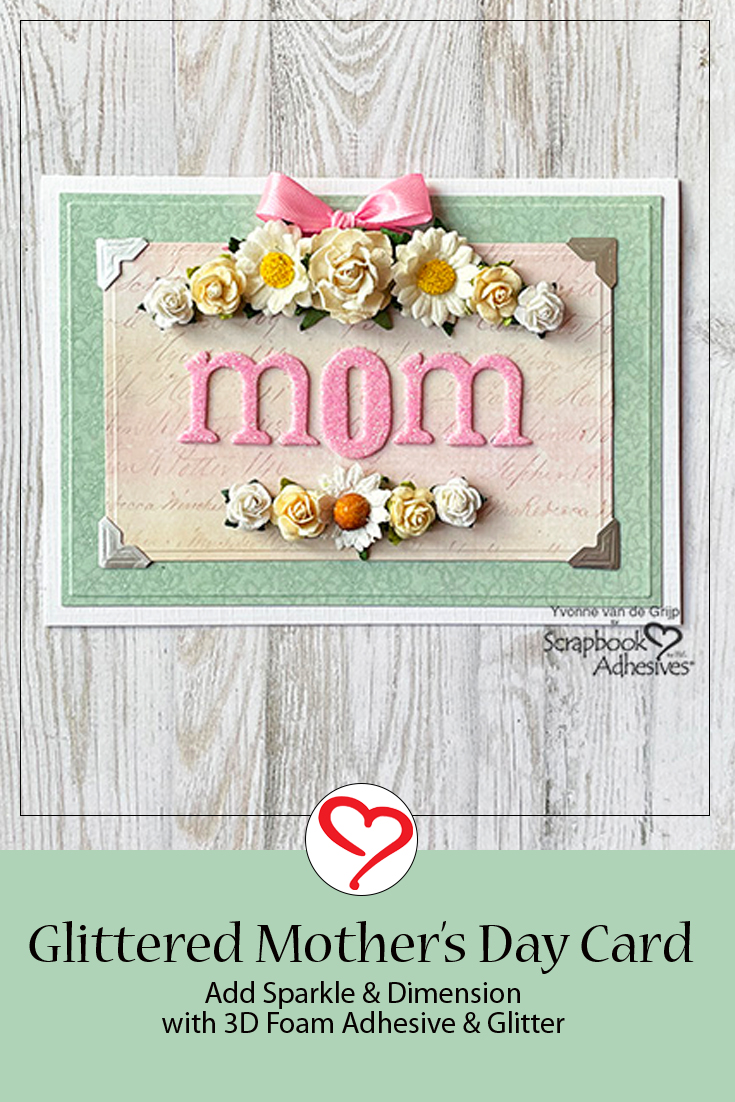
Floral Hug Card Base
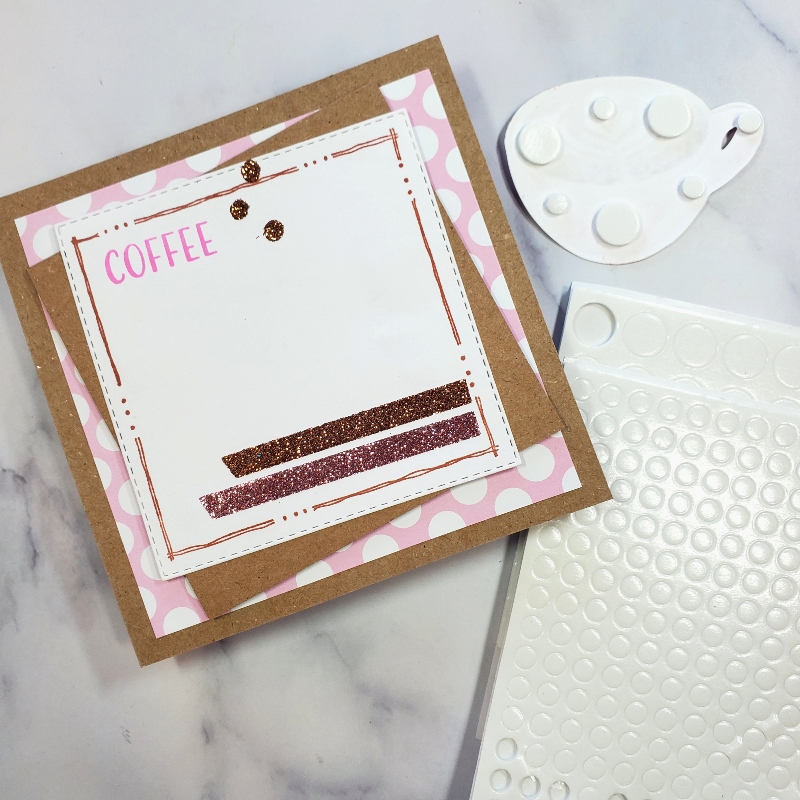
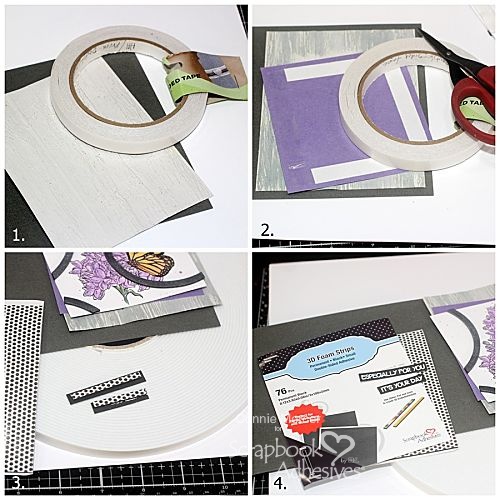
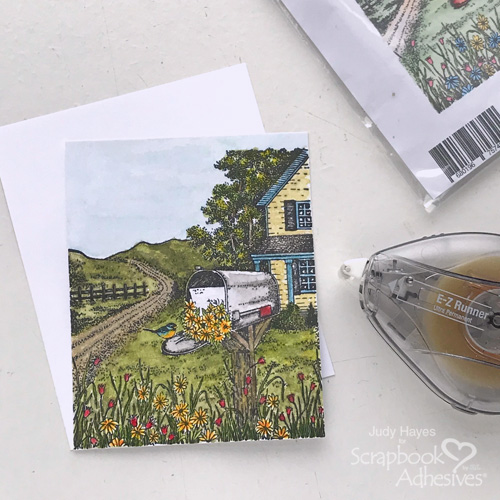
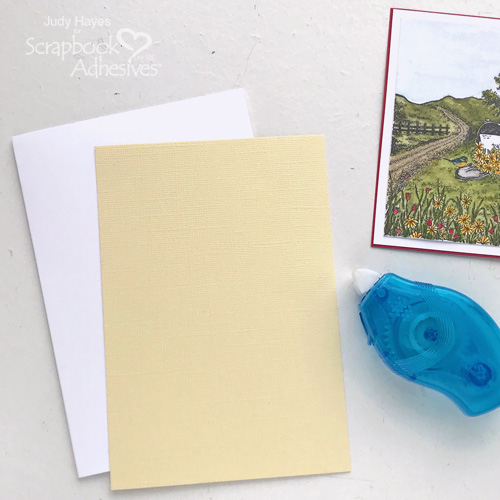
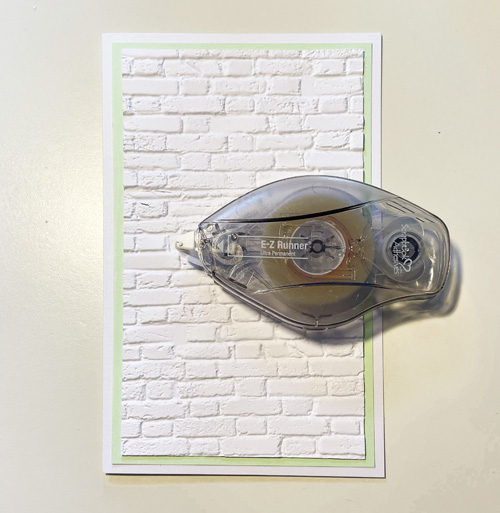
Start by trimming a piece of white cardstock to a rectangular size and then emboss the cardstock using an embossing folder. Then adhere the embossed cardstock onto a soft green card panel using the E-Z Runner® Ultra Strong Refillable Dispenser. Next, adhere onto a white card base using, again, the E-Z Runner® Ultra Strong Refillable Dispenser.
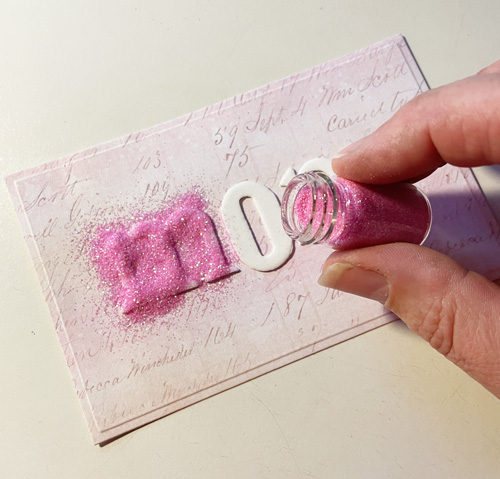
Add HUG Sentiment
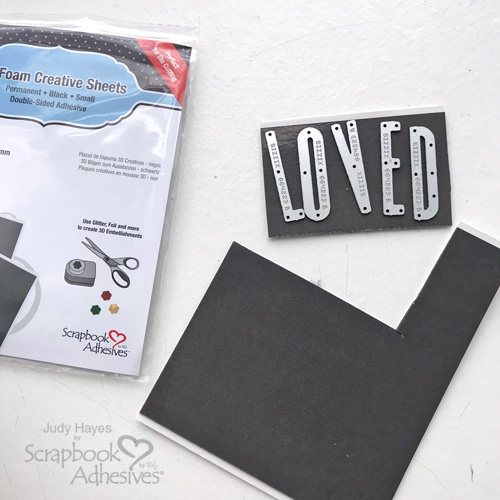
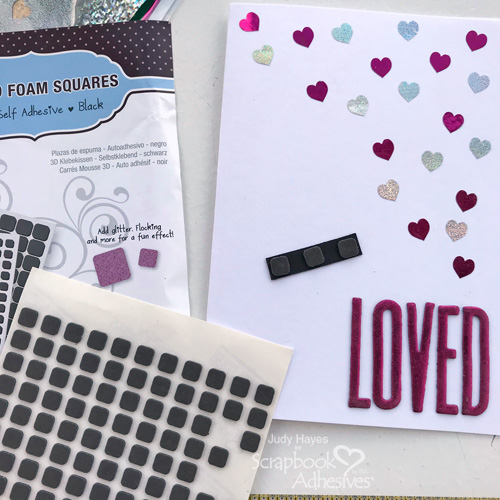
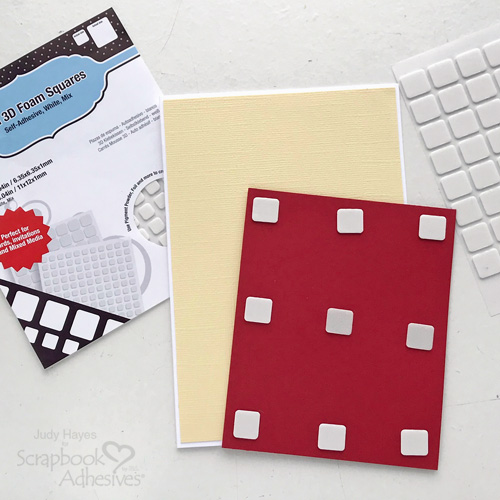
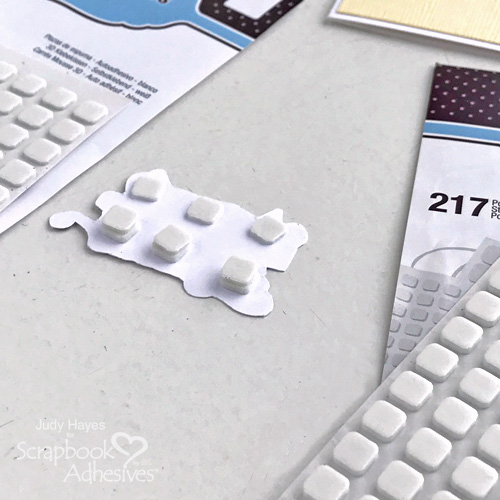
For the HUG sentiment on the flower card, I used black chipboard letters. Then I cut (using a craft knife) some Thin 3D Foam into small stripes and adhered them to the back of the letters. Remove the liner of the 3D Foam and then adhere onto the card base.
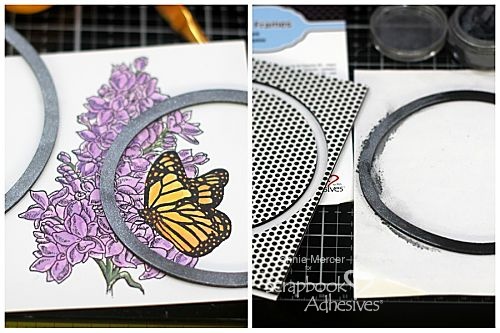
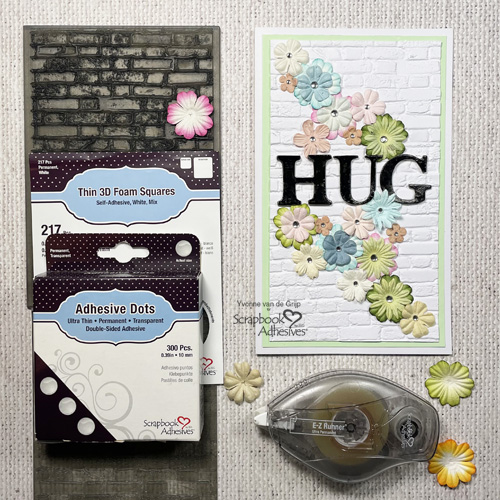
Flower Embellishing
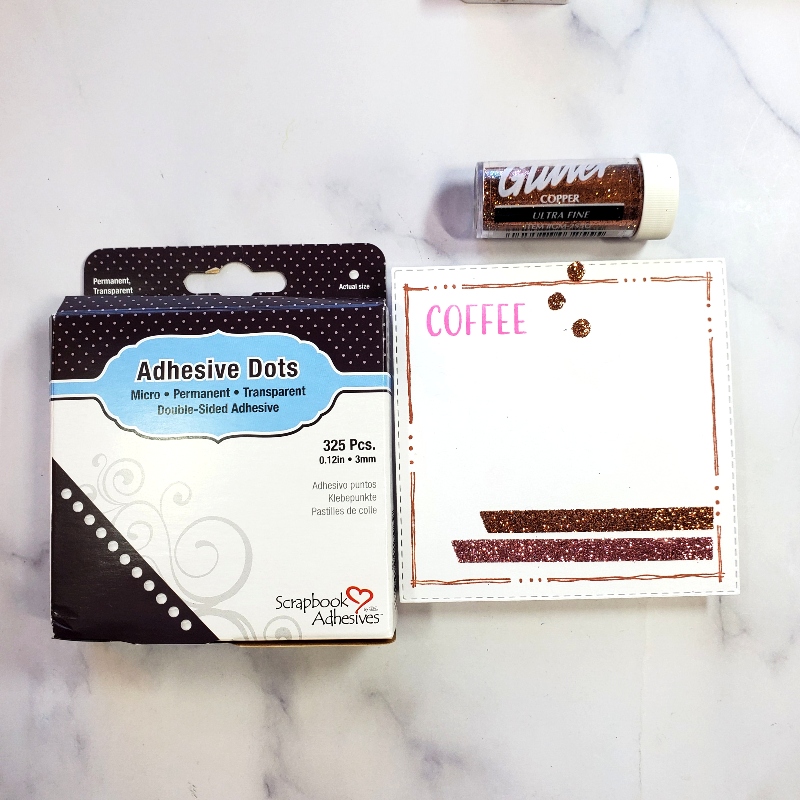
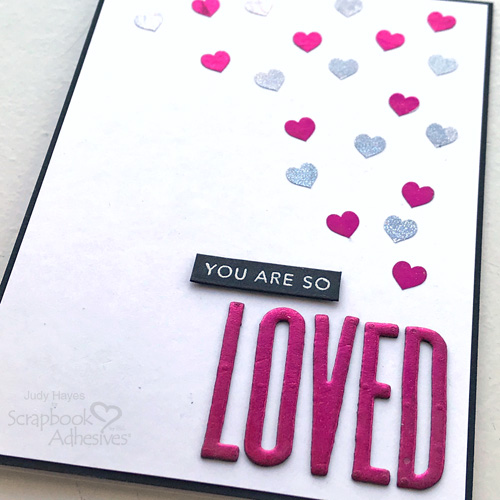
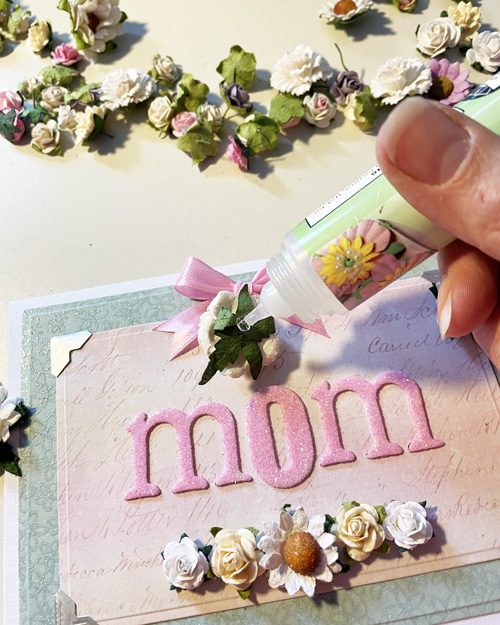
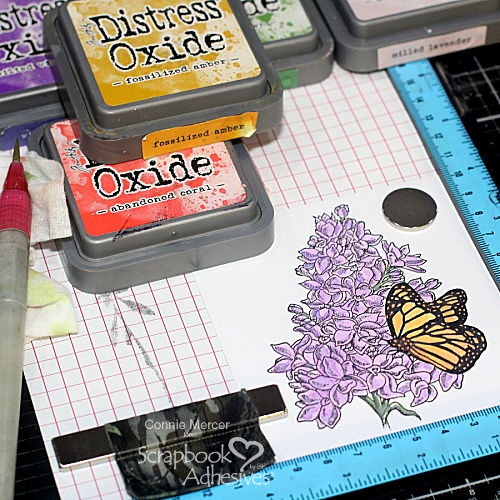
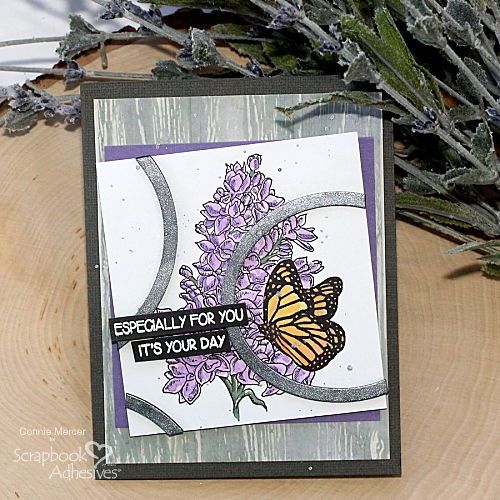
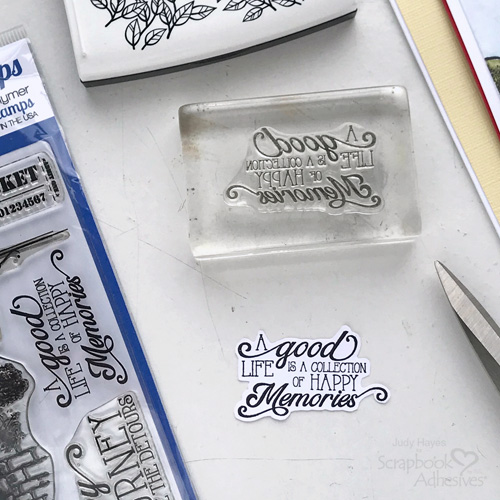
To embellish the card I used small mulberry flowers. Start by picking the flower colors you like for your card. Then put Adhesive Dots Medium Ultra Thin onto the back of the mulberry flowers. Now take of the liner and affix the flowers onto the card.
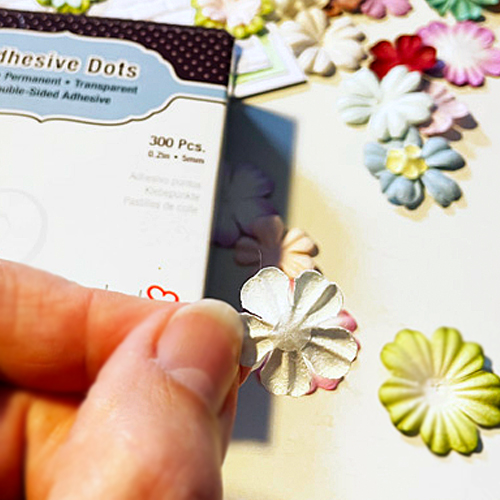
For the smallest mulberry flowers, I used Adhesive Dots Mini. Finally, for a finishing touch, I adhered some rhinestones to the flowers representing the stamens. Designer’s Tip: If your rhinestones are not self-adhesive: simply use Adhesive Dots!
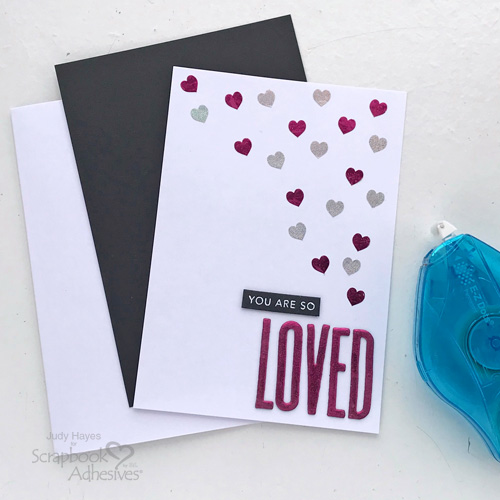
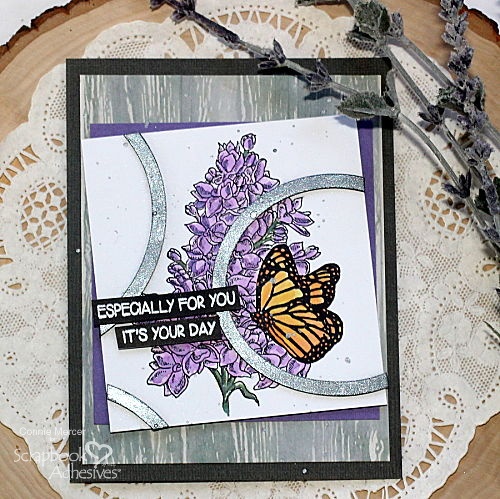
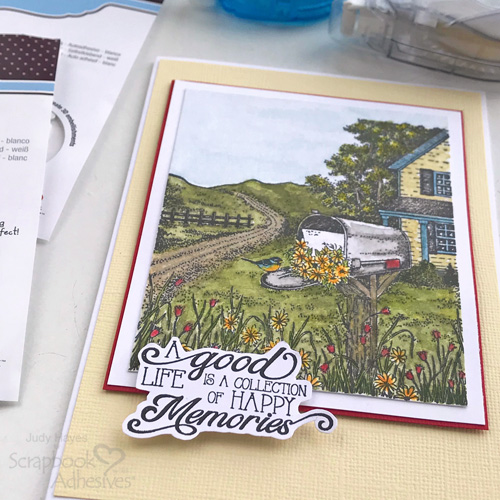
And voila…your Floral Hug Card is ready to send! Wishing you happy crafting,
Yvonne van de Grijp
Creative Time: 30 minutes
Skill Level: Beginner
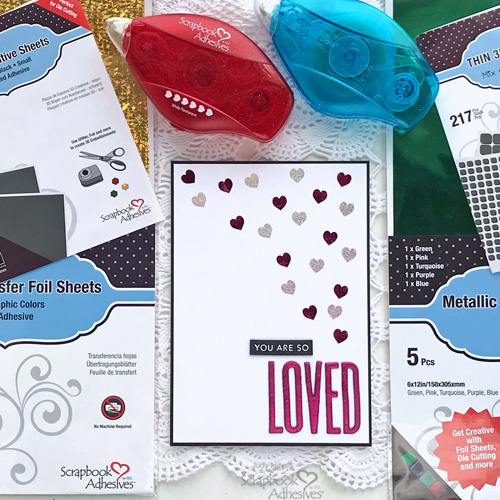
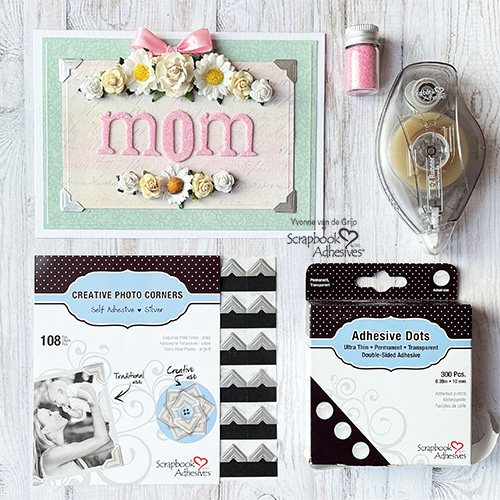
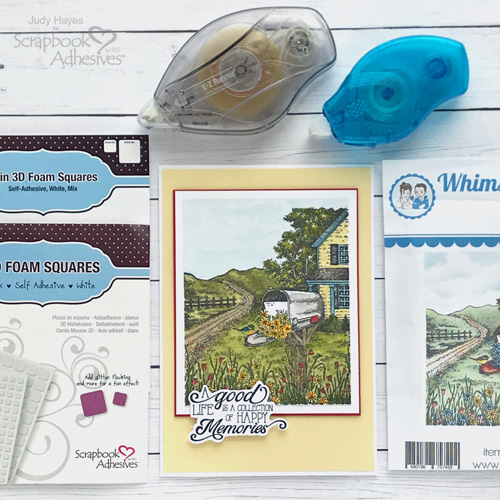
Materials needed:
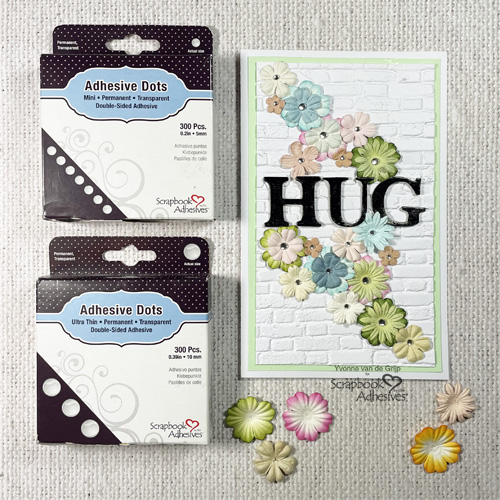
Scrapbook Adhesives by 3L®
E-Z Runner® Ultra Strong Refillable Dispenser
Adhesive Dots Medium Ultra Thin
Adhesive Dots Mini
Thin 3D Foam Squares White Mix
Other
Cardstock (White, soft green); Embossing Folder (Sizzix 3-D Texture Fades – Brickwork); Die-Cutting and Embossing Machine (Spellbinders® Paper Arts: Platinum 6 Machine); Mulberry Flowers; Rhinestones; Paper Trimmer; Scissors; tweezers
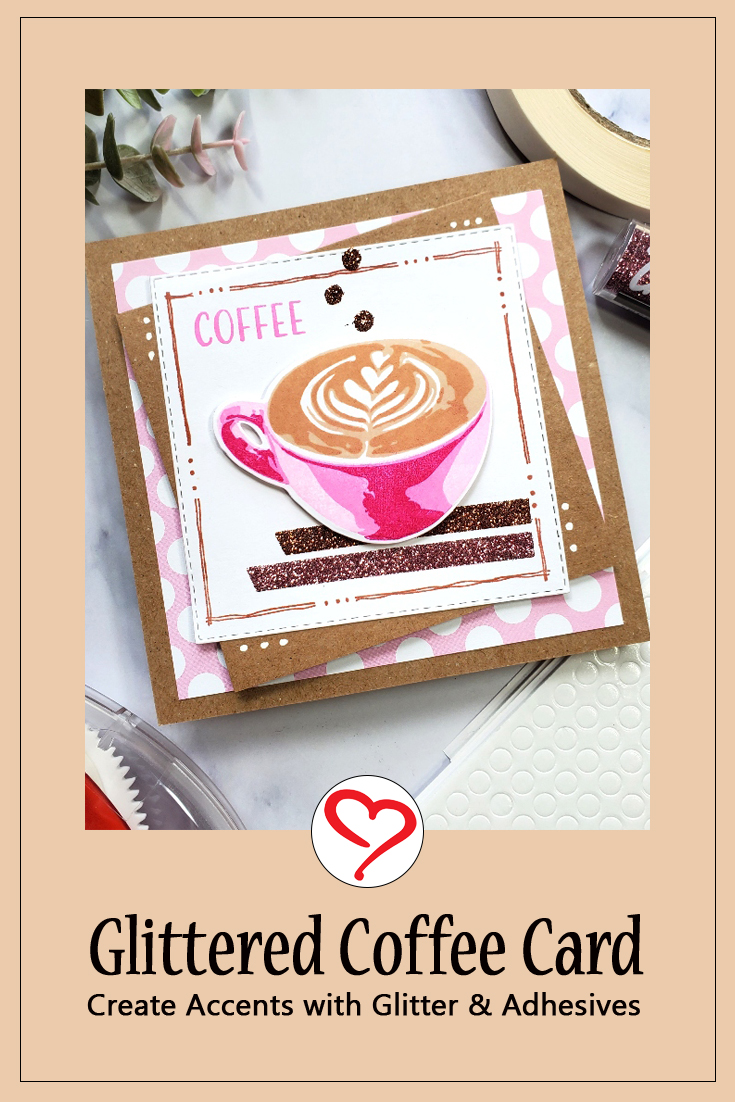
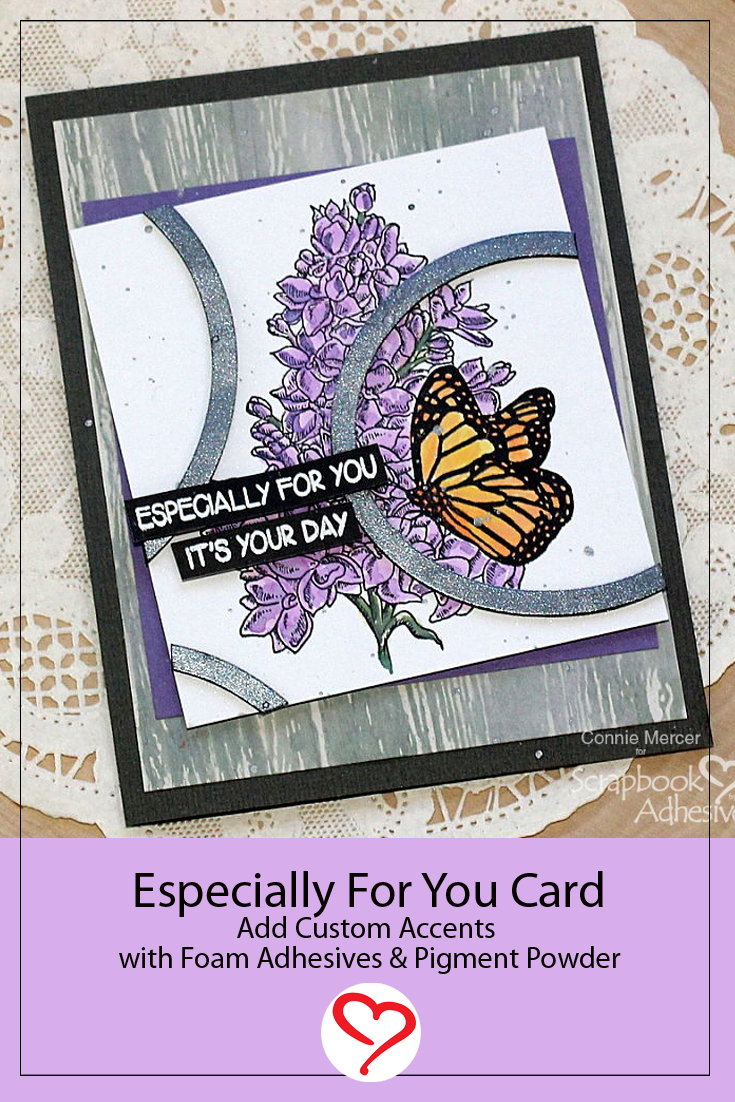
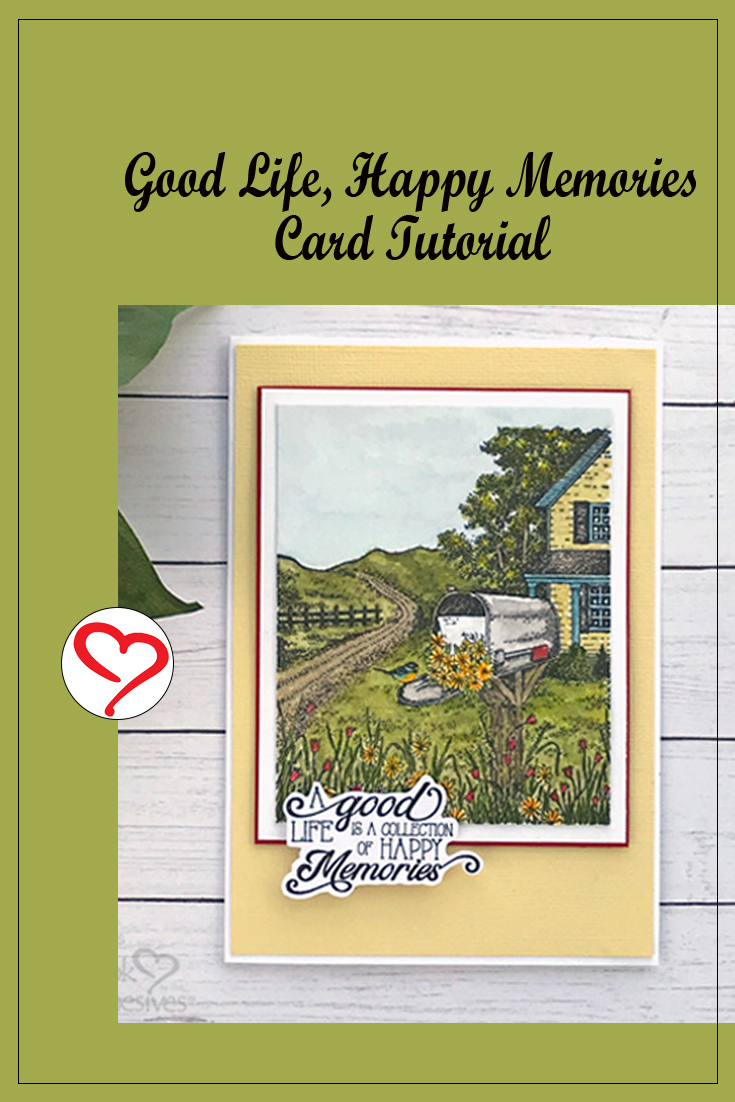
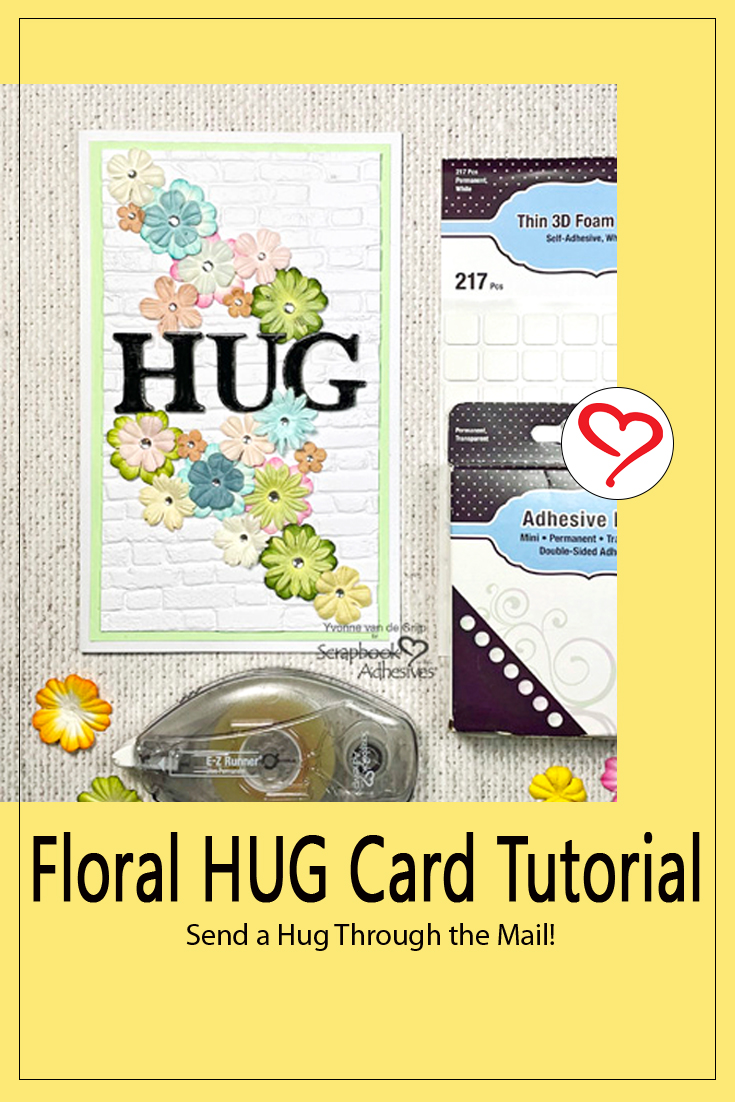
Save It to Pinterest!
Visit our Website and Blog!
Sign up for our Newsletter so you never miss a contest or giveaway!