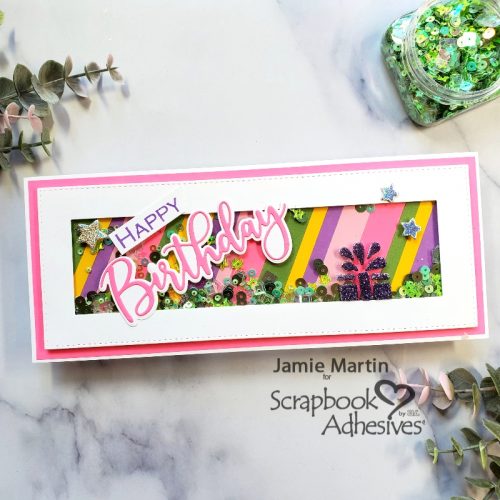
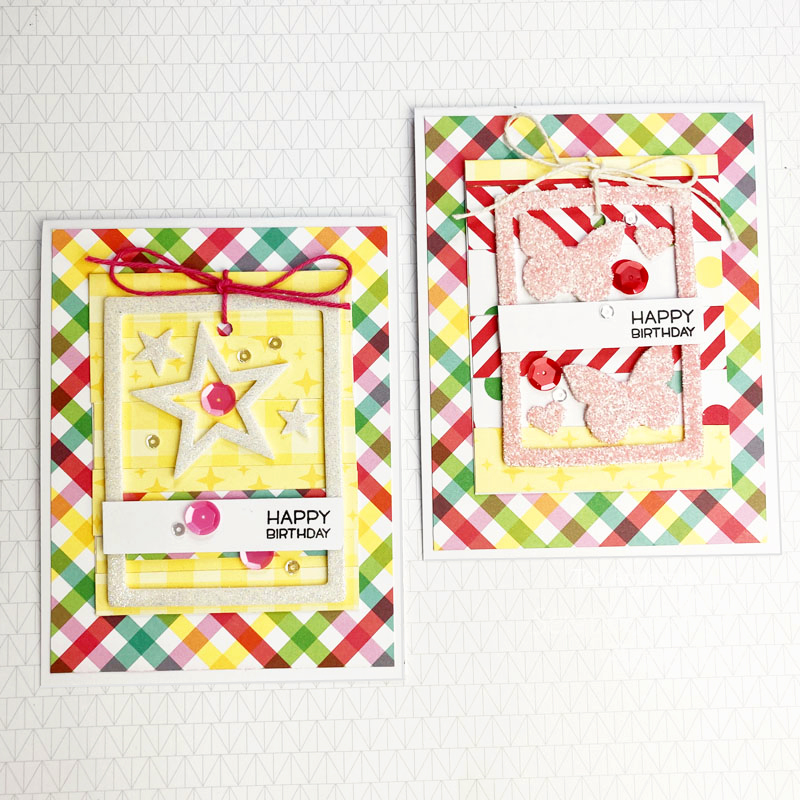
Hi, friends! Teri here with a fun idea for your next handmade birthday card. Instead of making a traditional card, make one with a tag on it that the recipient can reuse! A set of 2 for 1 Birthday Tag Cards!
Create the Tags for the Birthday Tag Cards
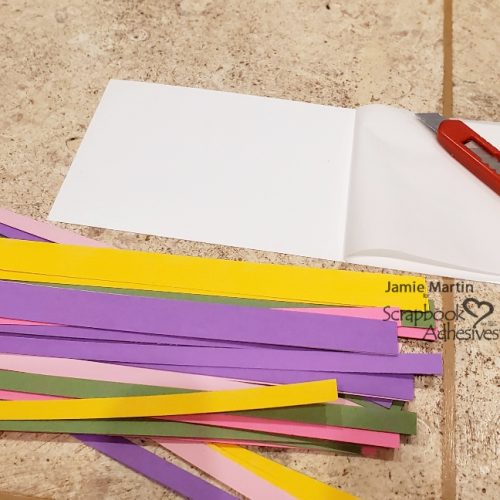
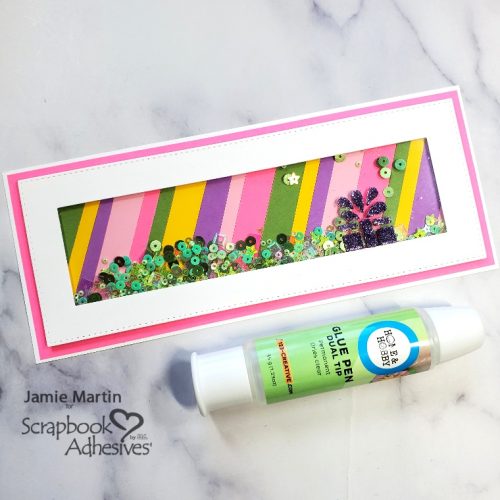
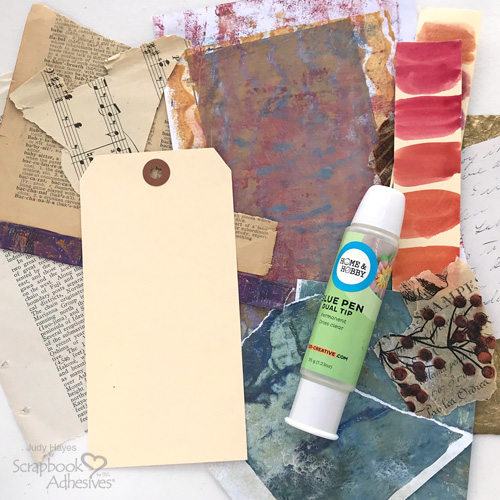
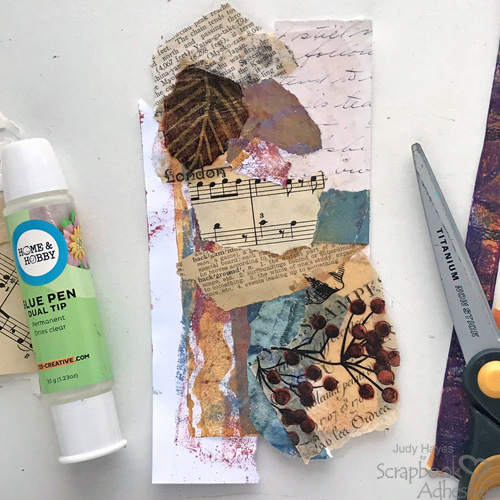
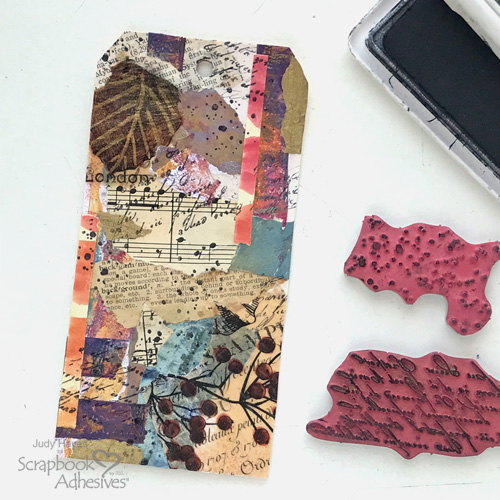
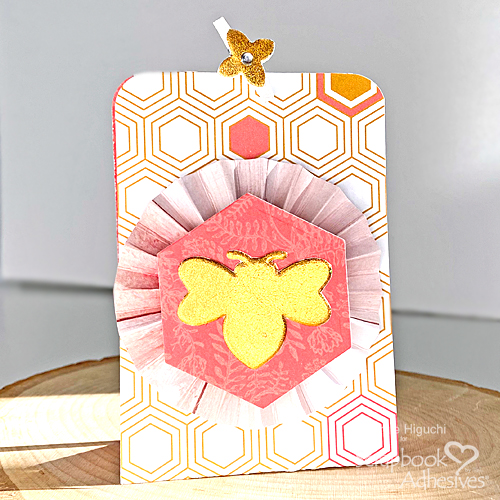
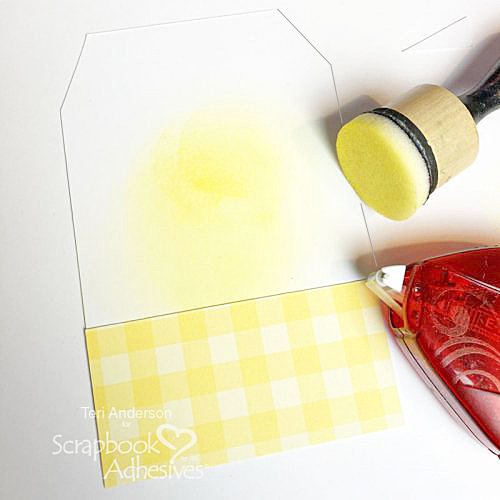
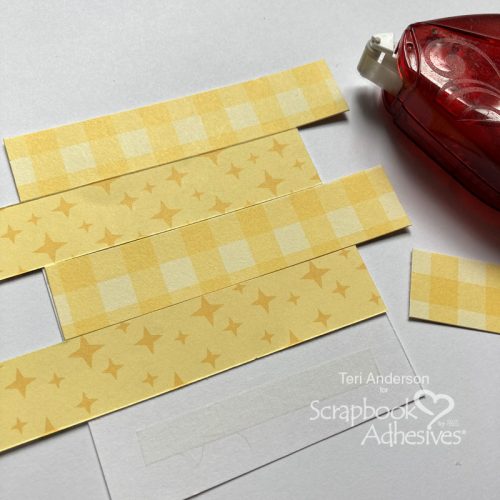
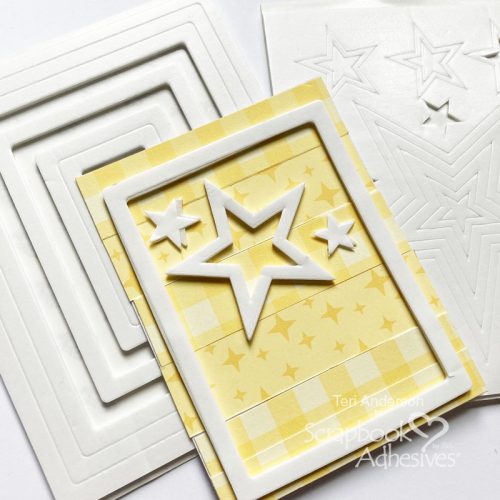
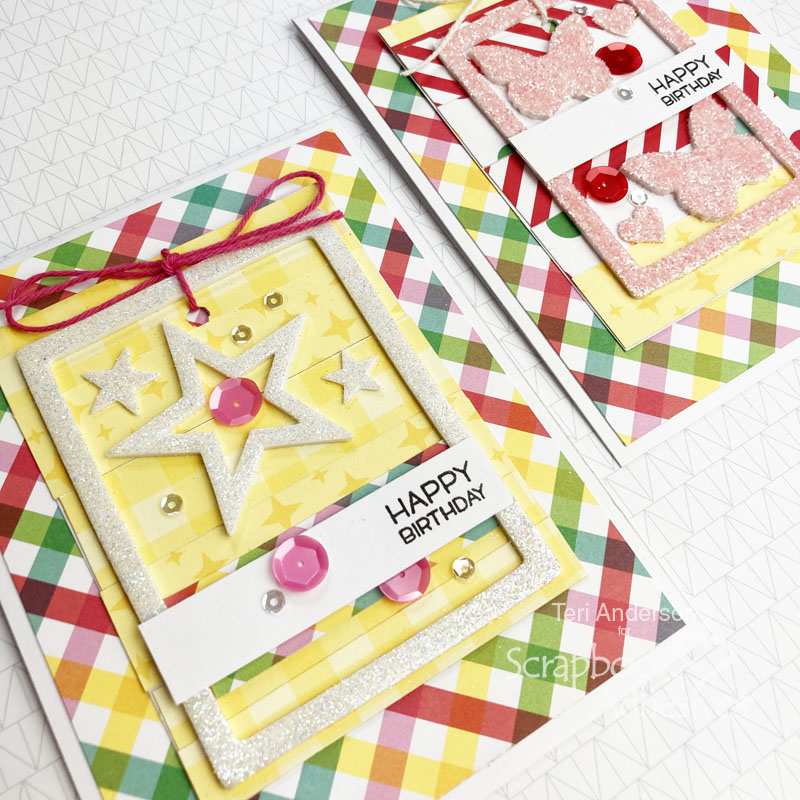
Start by making your tag. Cut a piece of cardstock that is big enough for a 3D Foam Frame. Cover the tag base with patterned paper.
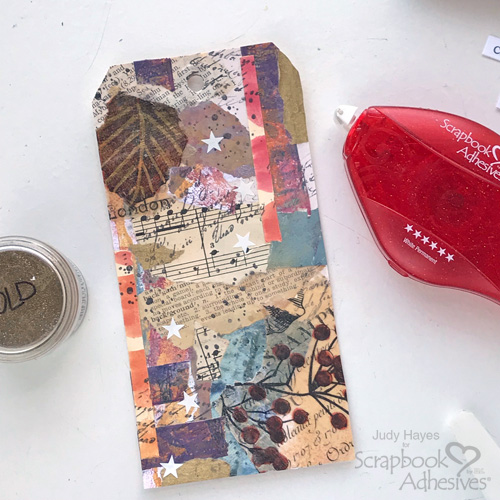
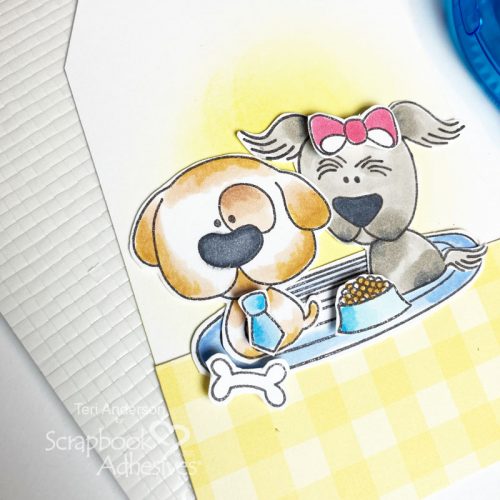
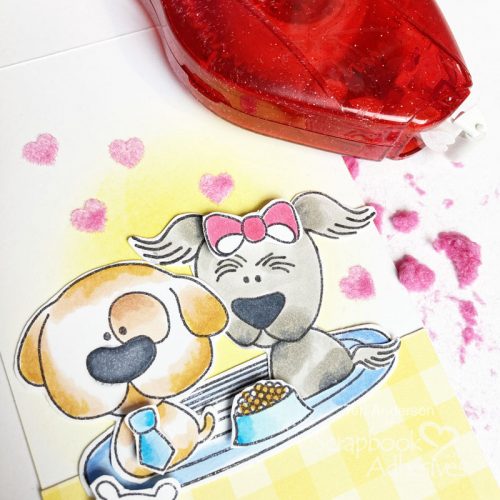
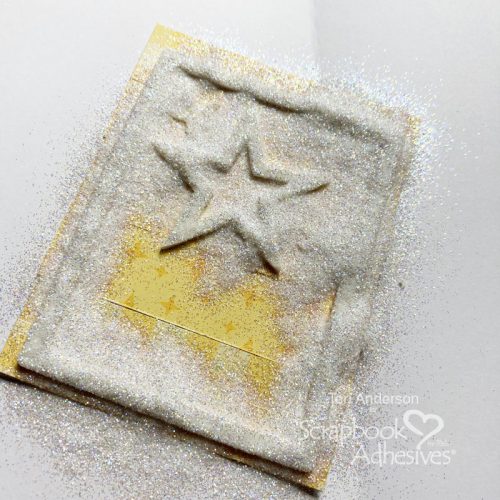
Mount your frame and a few foam stars to the tag. Then add glitter to the foam!
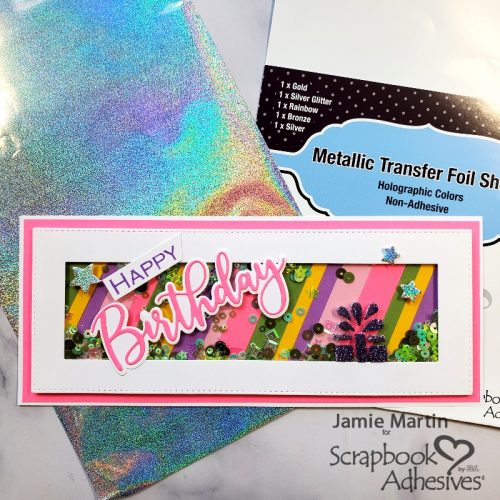
Add any additional patterned paper strips to the tag, as well as a sentiment. I wanted my sentiment to pop so I affixed with 3D Foam Circles. Apply a few sequins as well to really make the tag sparkle!
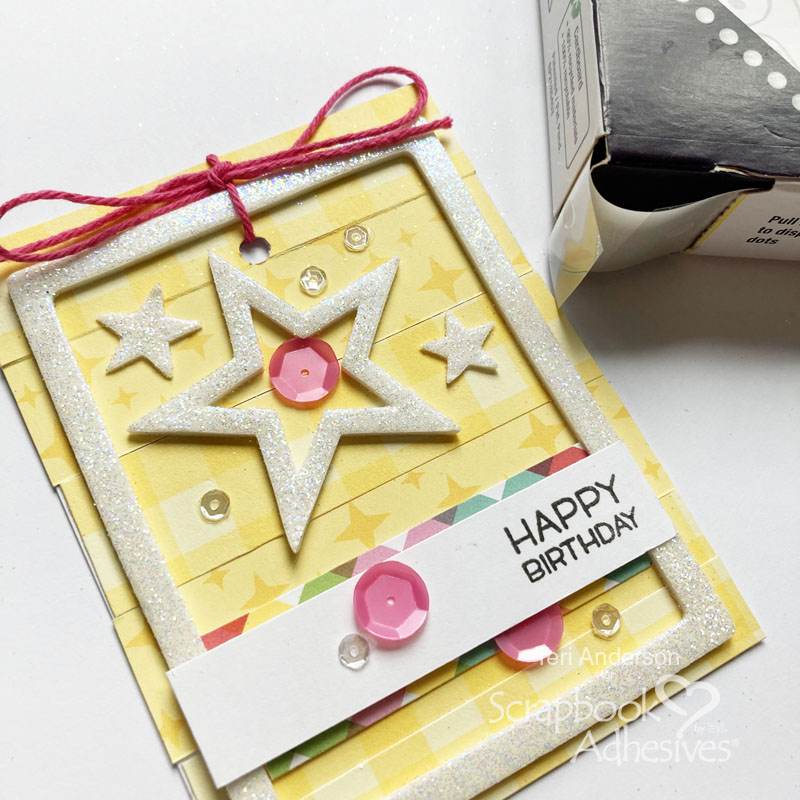
Poke a hole through the top of the tag and tie on some ribbon or twine. You’ll end up with one awesome birthday tag!
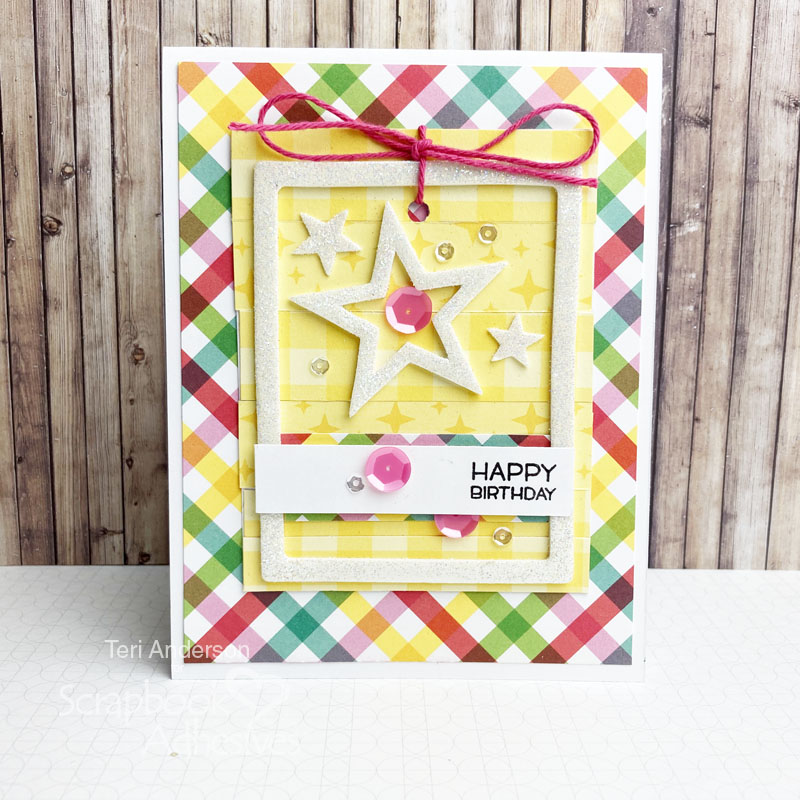
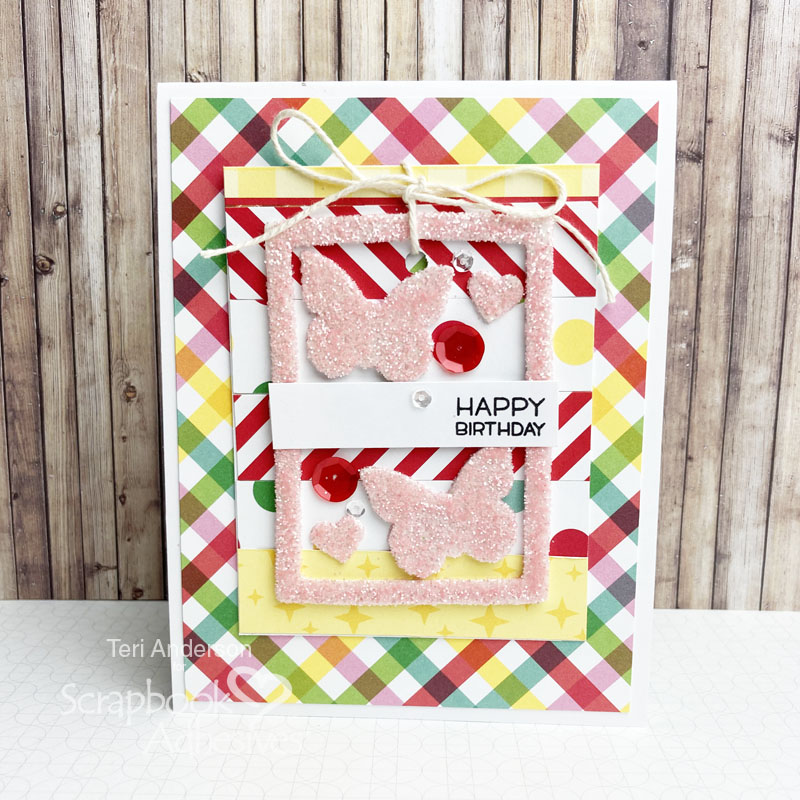
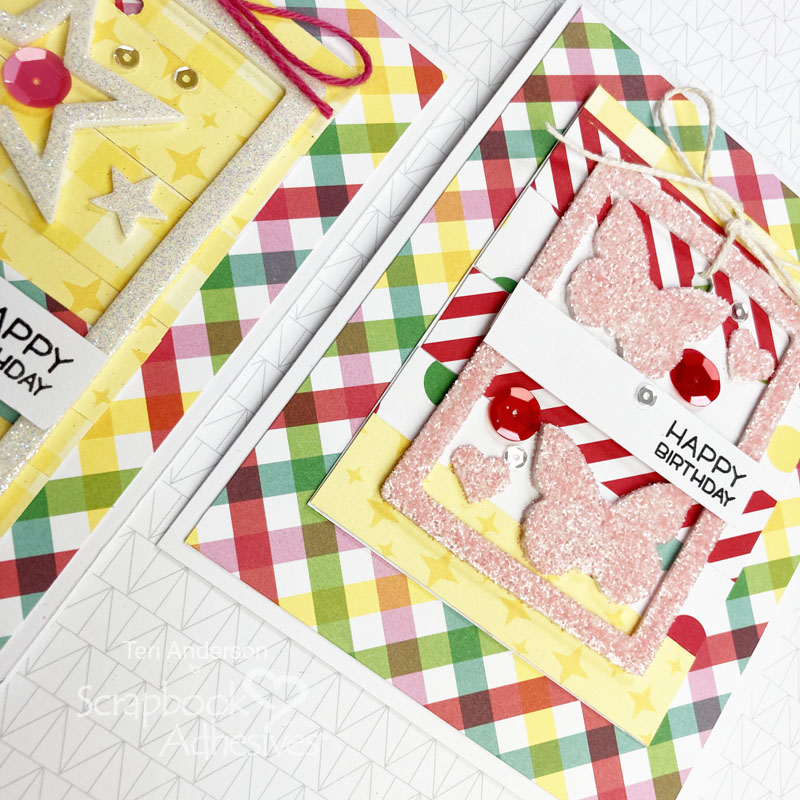
Turn in your tag into a two-for-one card by adhering some patterned paper onto a card. Mount the tag onto it with repositionable adhesive!
Change Your Design by Using Different Foam Shapes and More Patterned Papers
This design is easy to recreate and change up!
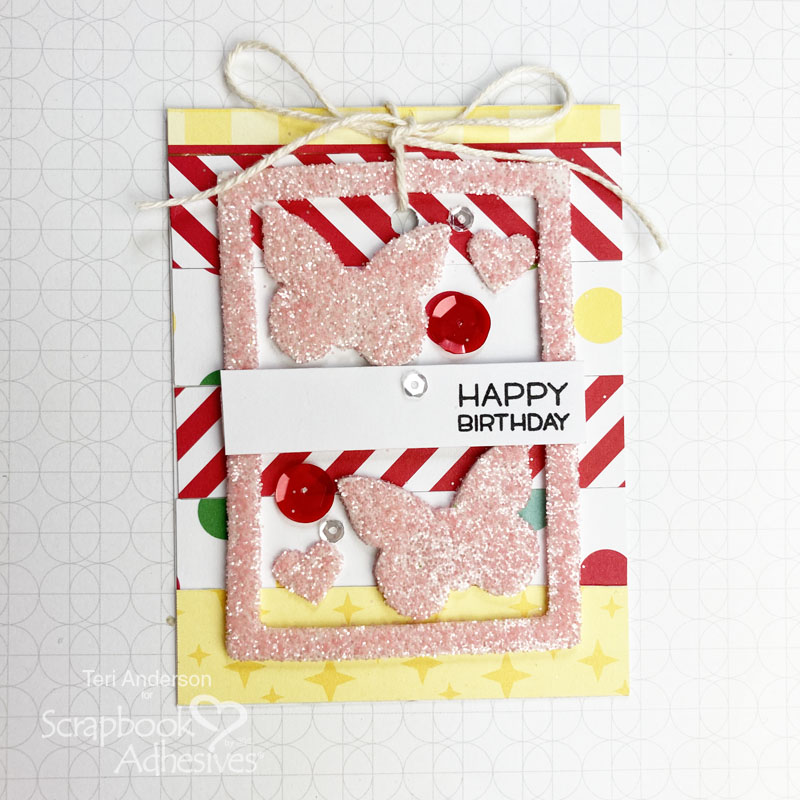
Rather than using just yellow patterned papers to decorate the tag for a second card, I used a variety of different colored paper strips
Also instead of stars, I decorated the tag with foam butterflies and hearts. I also used a pink glitter, which I think is really fun!
I hope you are inspired by this tutorial to make your two-for-one birthday cards! Thanks so much for stopping by today!
Happy creating,
Teri Anderson
Creative Time: 50 Minutes
Skill Level: Intermediate
Materials Needed
Scrapbook Adhesives by 3L®
- E-Z Runner® Permanent Strips Refillable Dispenser
- Adhesive Dots Micro
- 3D Foam: Circles White Mix, Frames, Hearts, Stars, Butterflies
- E-Z Dots® Repositionable Refillable Dispenser
Other
White Cardstock: Neenah Paper; Patterned Paper: Doodlebug Design (Christmas Magic Collection); Stamps: Lawn Fawn (Reveal Wheel Sentiments Stamp Set); Ink Pads: Ranger Ink; Sequins: Pretty Pink Posh; Glitter: Ranger Ink; Twine: The Twinery; Hole Punch
Save it to Pinterest!

Visit our Website and Blog!
Sign up for our Newsletter so you never miss a contest or giveaway!