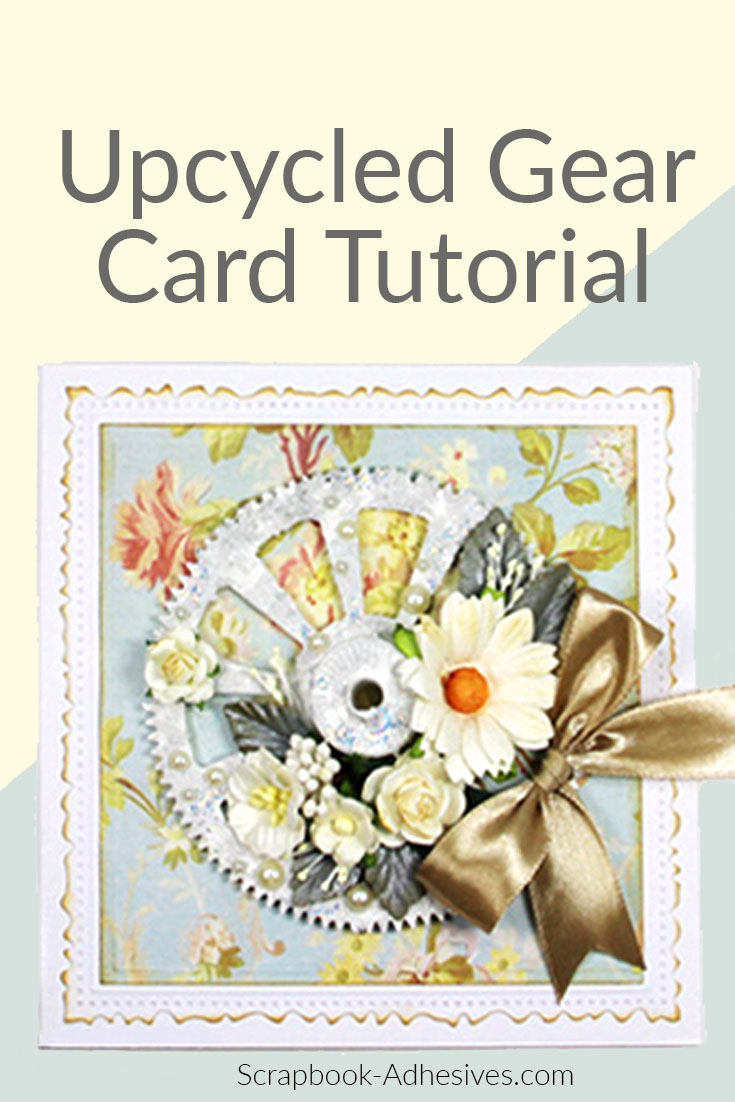
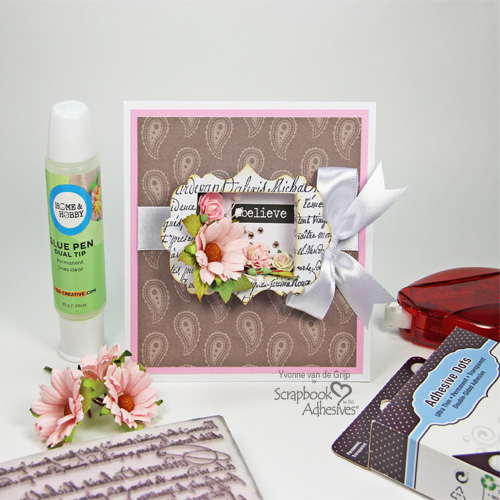
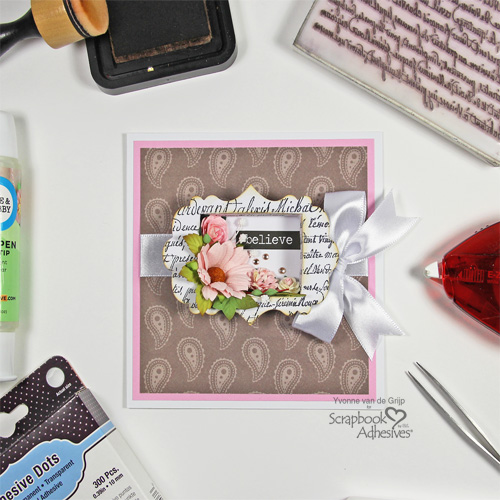
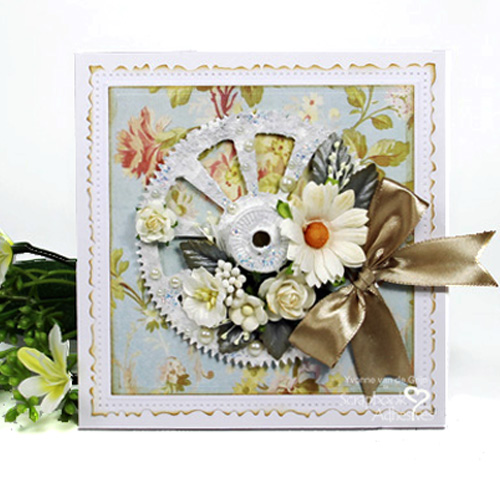
Hi everyone, Yvonne here. Do you like to recycle things when creating? Then this is a great project for you. Before throwing your used refill in the recycling bin, take a look at the parts. Did you know you can use them? For today’s card, I used the rolling gear of an old E-Z Runner® Grand Permanent Strips Refill cartridge as a centerpiece for my recycle card. Let me show you how.
Making the Card Base
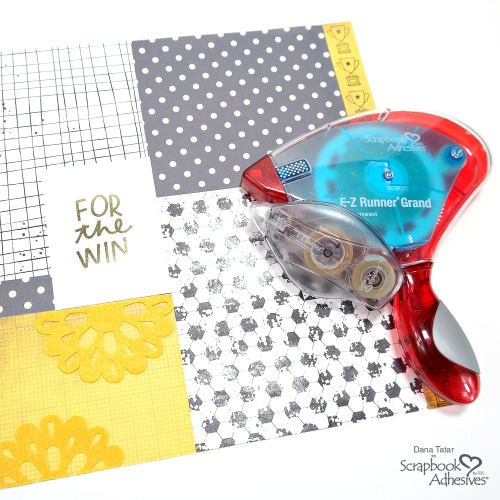
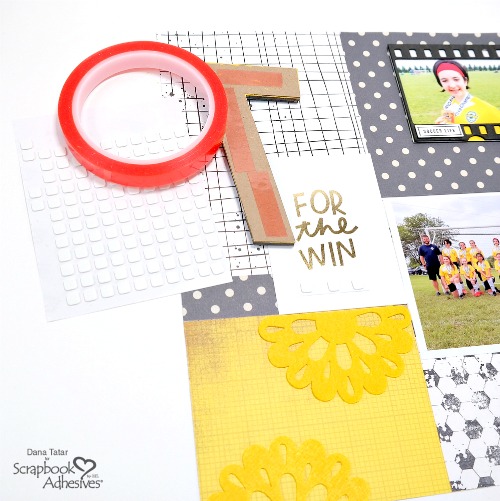
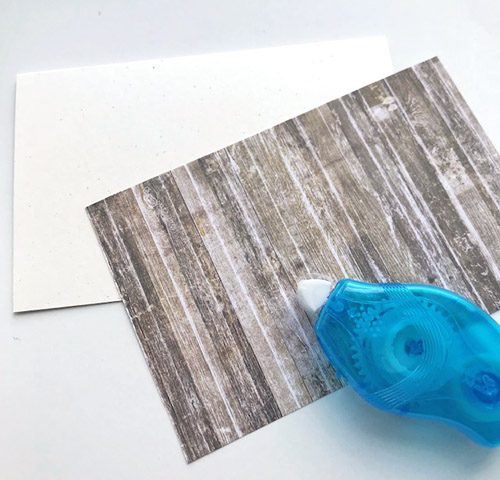
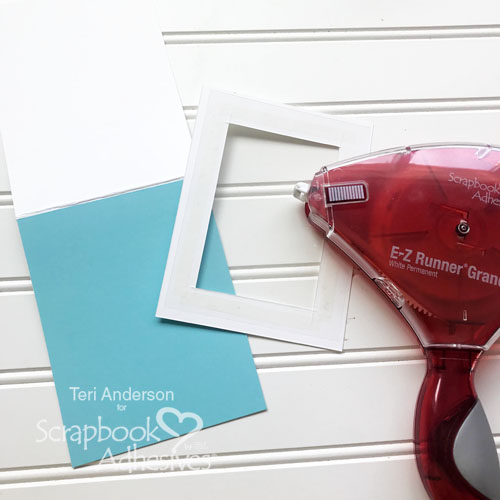
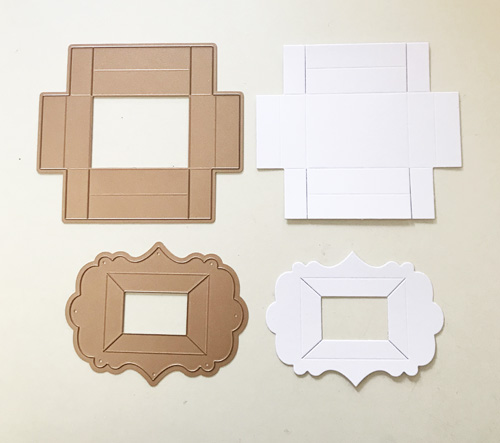
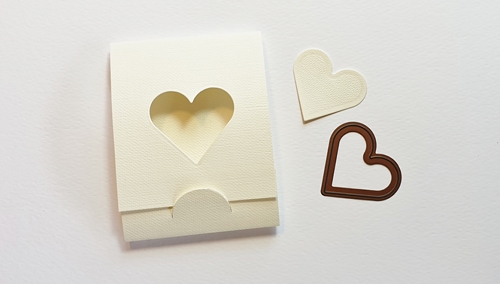
On a white card base, adhere a slightly smaller die-cut panel (which I altered with brown ink and an ink blending tool) using the E-Z Runner® Grand Refillable Dispenser.
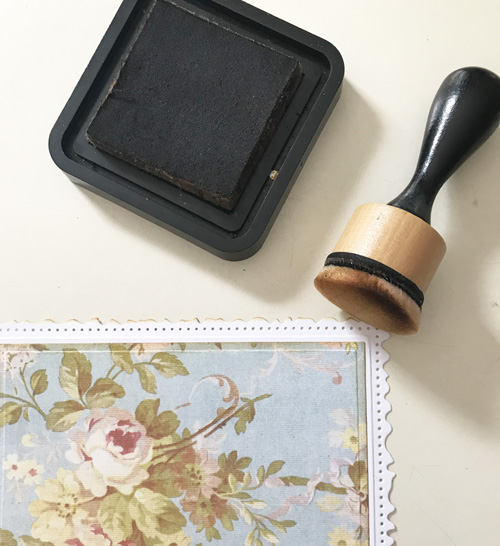
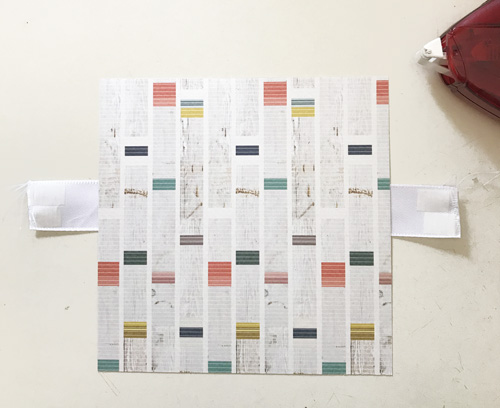
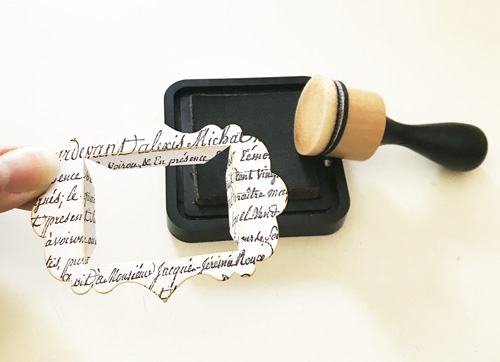
Then die-cut another card panel from patterned cardstock, ink the edges and adhere to the card base using the E-Z Runner® Grand Refillable Dispenser.
Alter and Prep the Gear
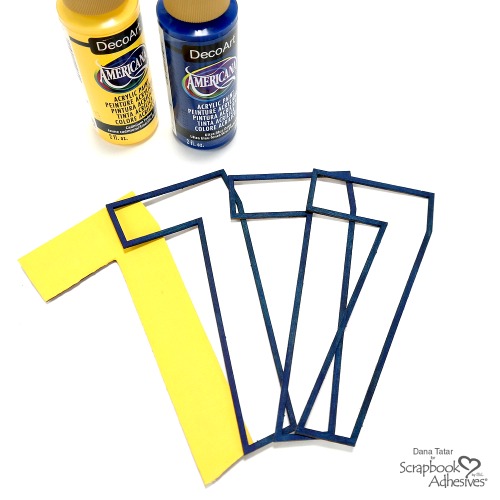
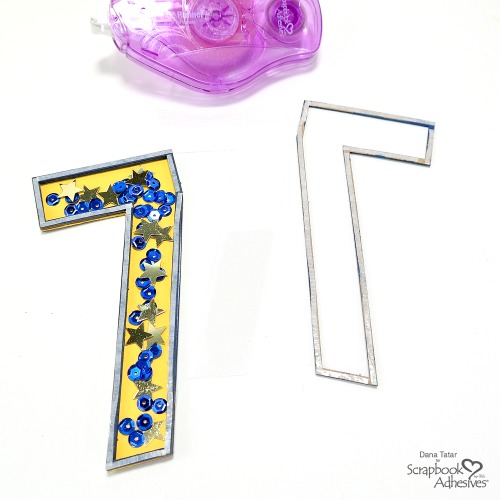
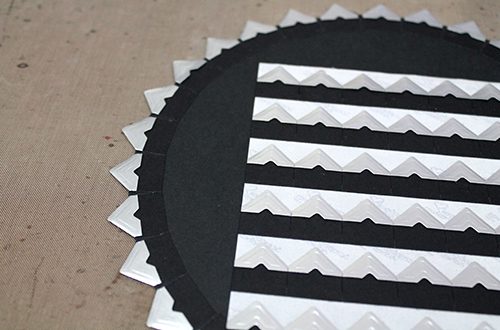
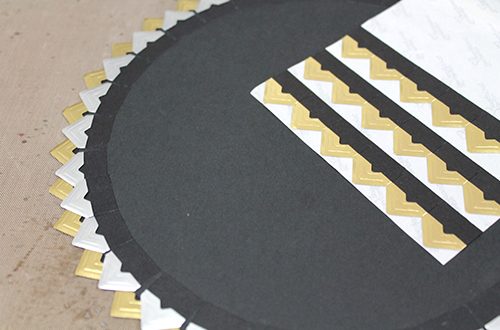
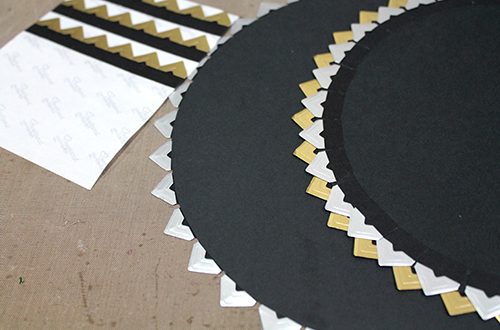
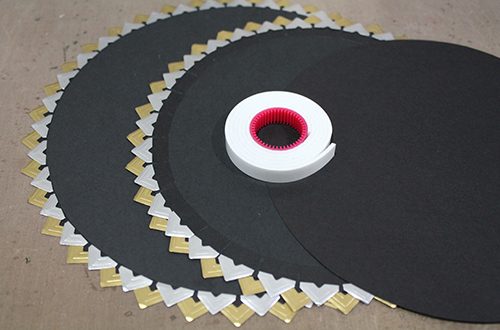
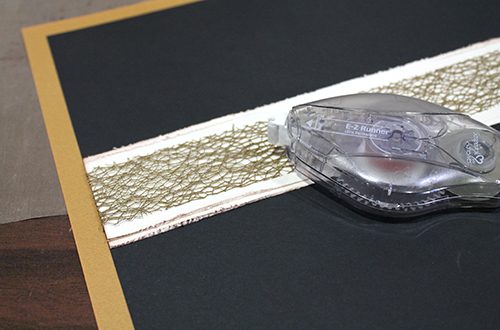
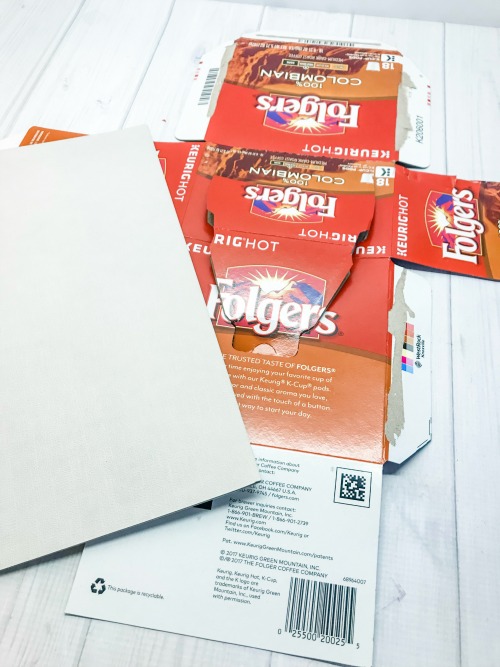
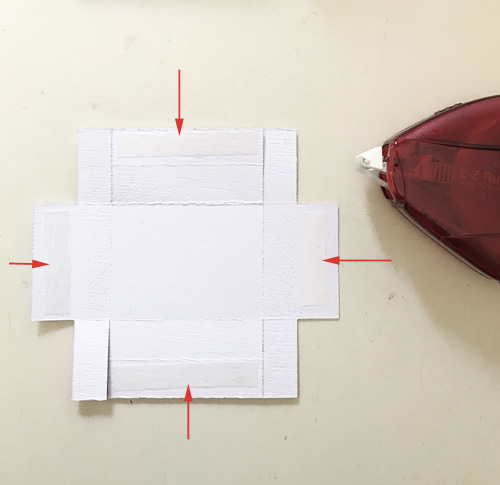
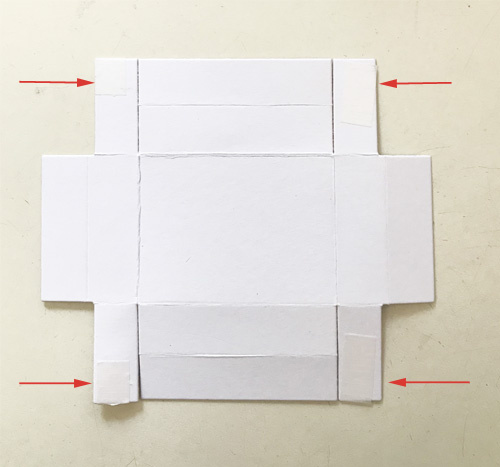
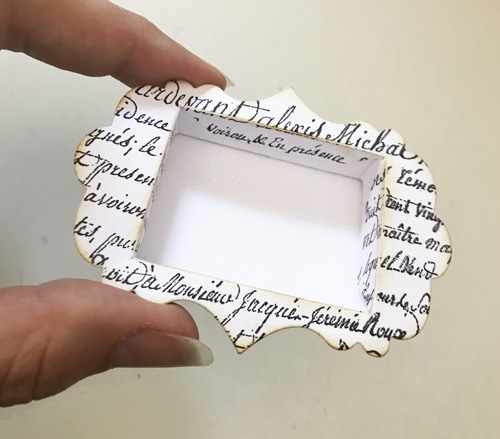
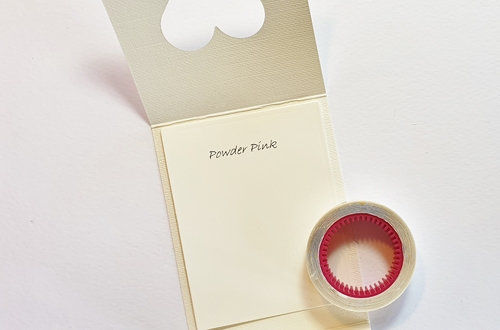
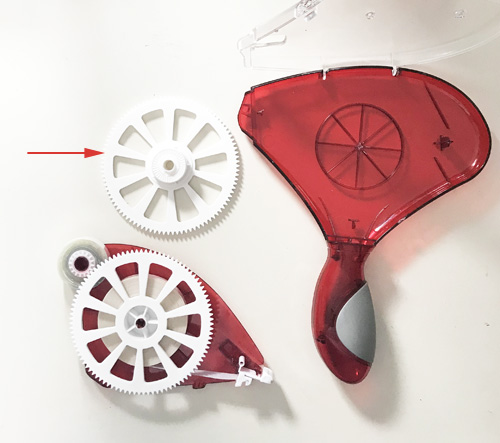
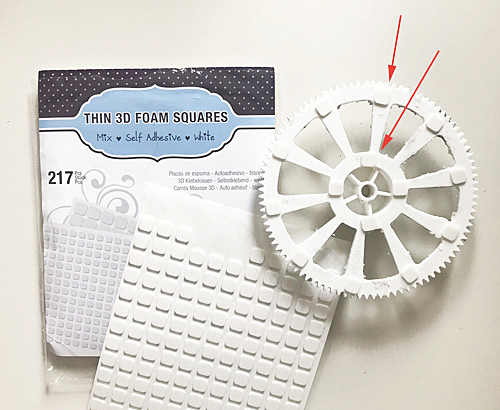
Time to recycle! As you can see on the photo below, I took apart the gear from a used E-Z Runner® Grand Permanent Strips Refill.
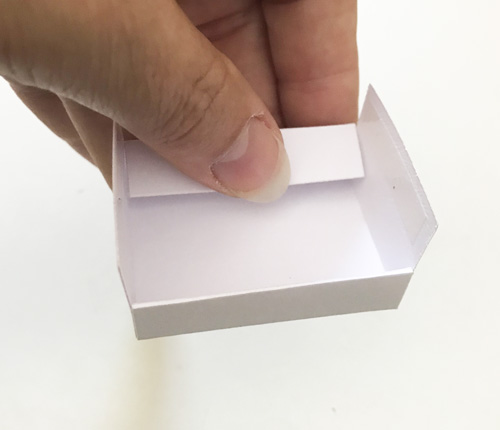
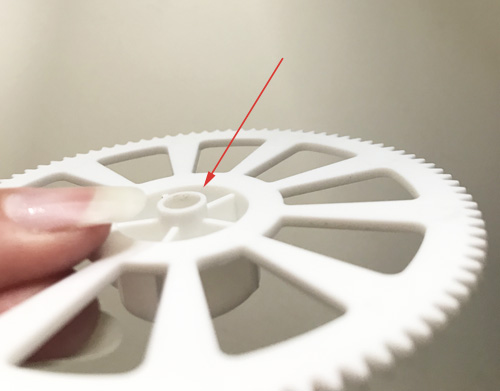
Use a sanding block to make the back of the gear flat.
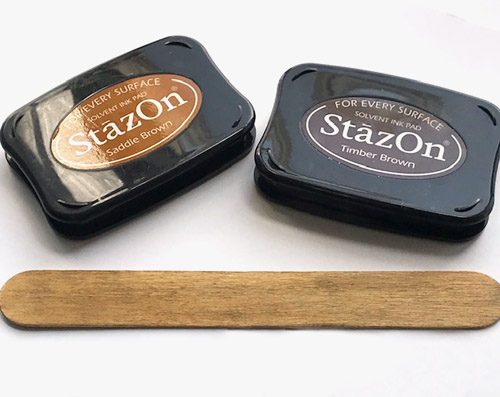
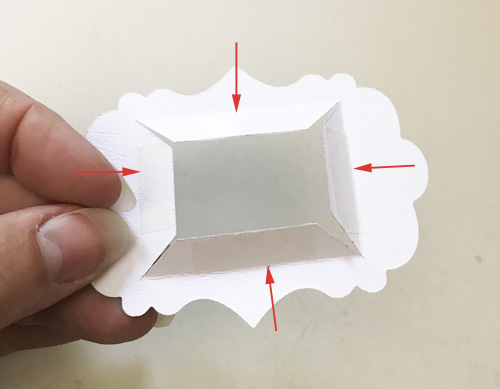
Continue to sand the entire gear slightly to give the paint to hold better. Dab a thick layer of gesso onto the gear using a brush.
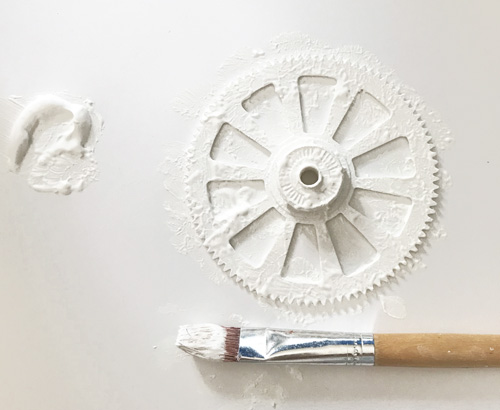
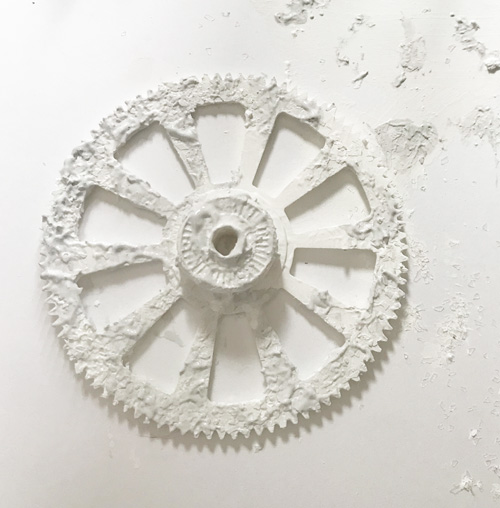
For extra texture, you can sprinkle glass glitter over the wet paint. Then dab a little more paint over the gear to get a nice structure.
Embellishing the Card
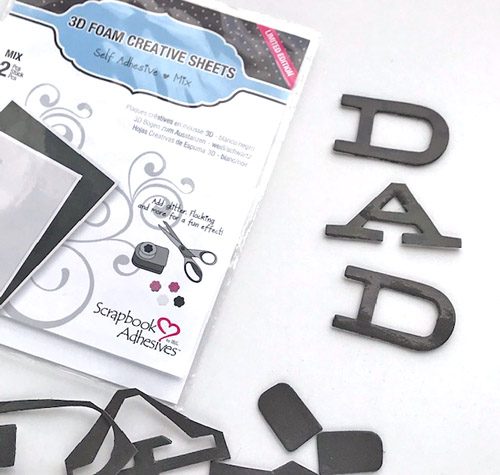
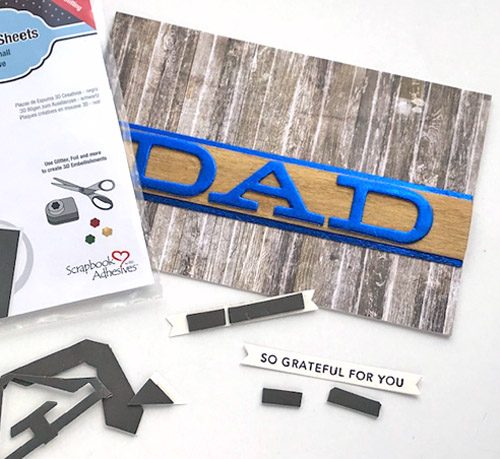
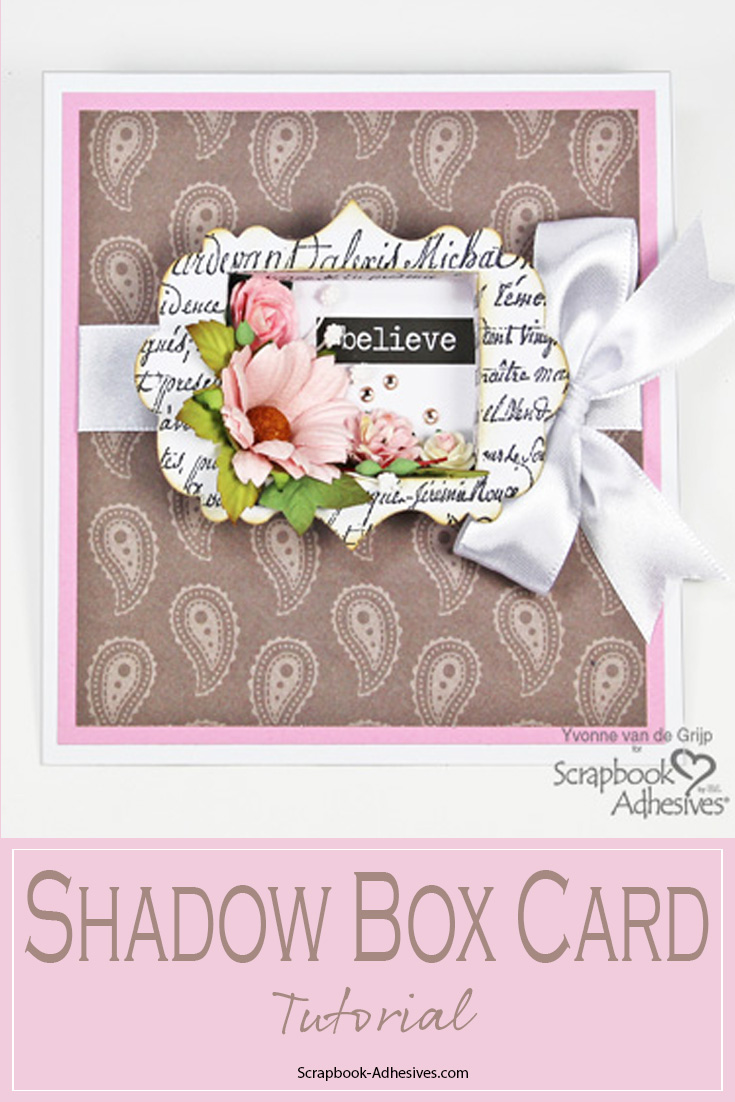
When the gear is completely dry, adhere it to the card front using Thin 3D Foam Squares White Mix.
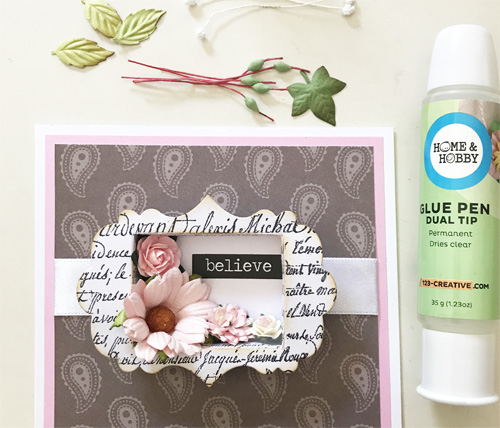
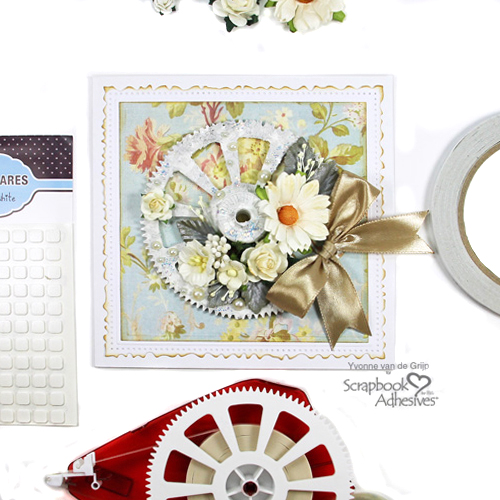
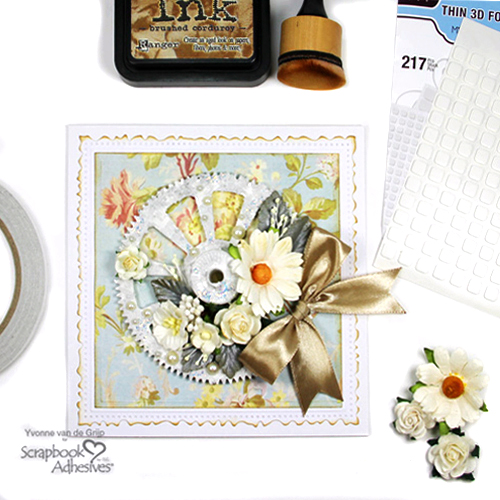
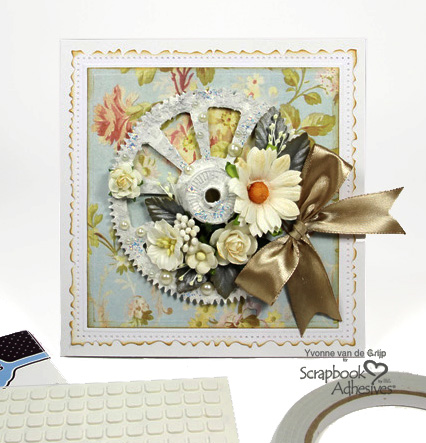
Embellish the gear with mulberry flowers, leaves, and stamens. To adhere, use the Dual Tip Glue Pen, and let it dry. Add some glue spots with the Dual Tip Glue Pen. Sprinkle some holographic glitter over the spots to add nice sparkling accents to the gear.
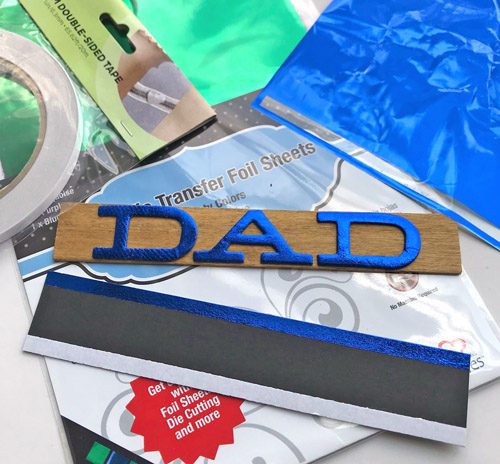
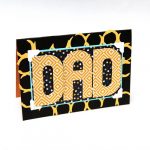
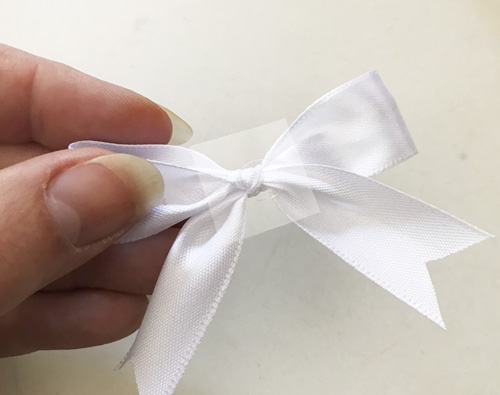
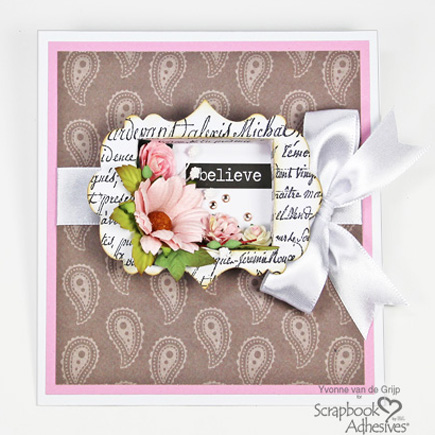
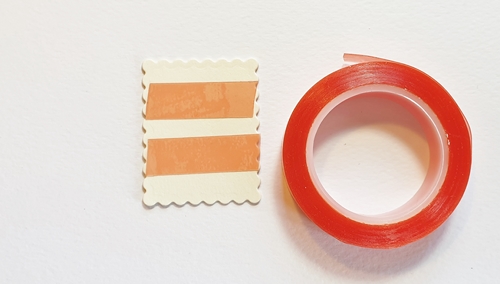
Finally, adhere a satin bow to the card using Premium Double-Sided Tape 1/4in, and done! I love how the Recycle Gear Card turned out.
Wishing you happy crafting!
Creative Time: 40 minutes (without drying time)
Skill Level: Intermediate
Materials needed
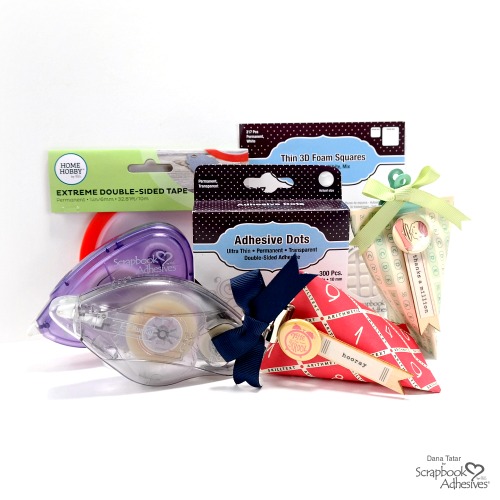
Scrapbook Adhesives by 3L®
E-Z Runner® Grand Refillable Dispenser
E-Z Runner® Grand Permanent Strips Refill
Thin 3D Foam Squares White Mix
HomeHobby™ by 3L:
Dual Tip Glue Pen
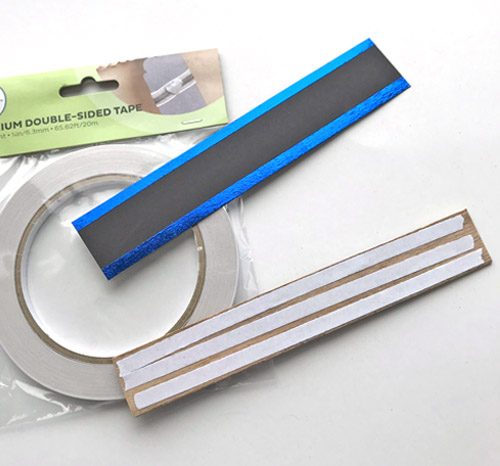
Premium Double-Sided Tape 1/4in
Other
Craft Dies and Die-Cutting Machine: Spellbinders® Paper Arts (6×6 Matting Basics B Card Creator, Vintage Stitched Squares, and Platinum 6 Die Cutting and Embossing Machine; White and Patterned Cardstock; Brown Inkpad and Ink Blending Tool; Holographic and Glass Glitter; Gesso or White Chalk Paint; Sanding Block; Mulberry Flowers; Leaves; Stamens; Satin Bow; Self-Adhesive Pearls; Paint Brush
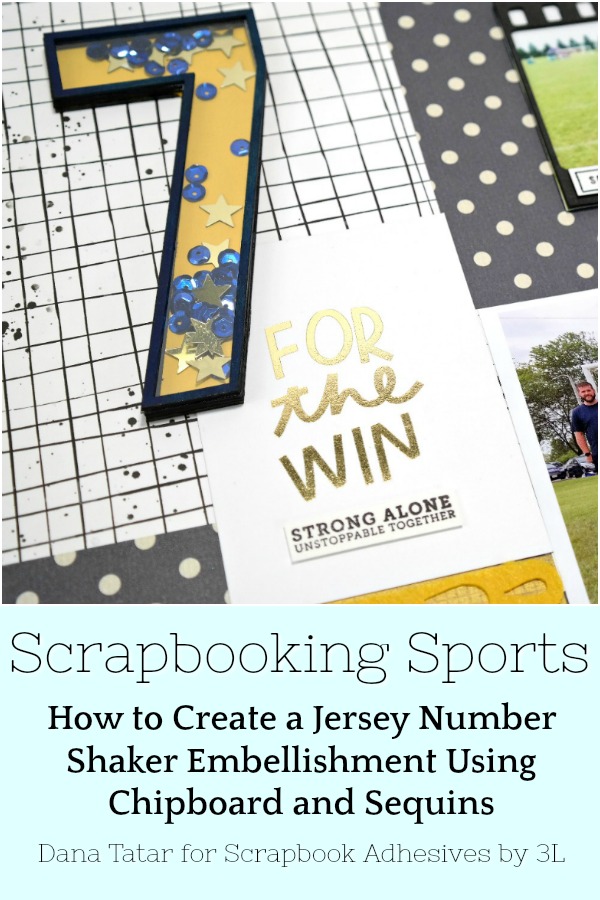
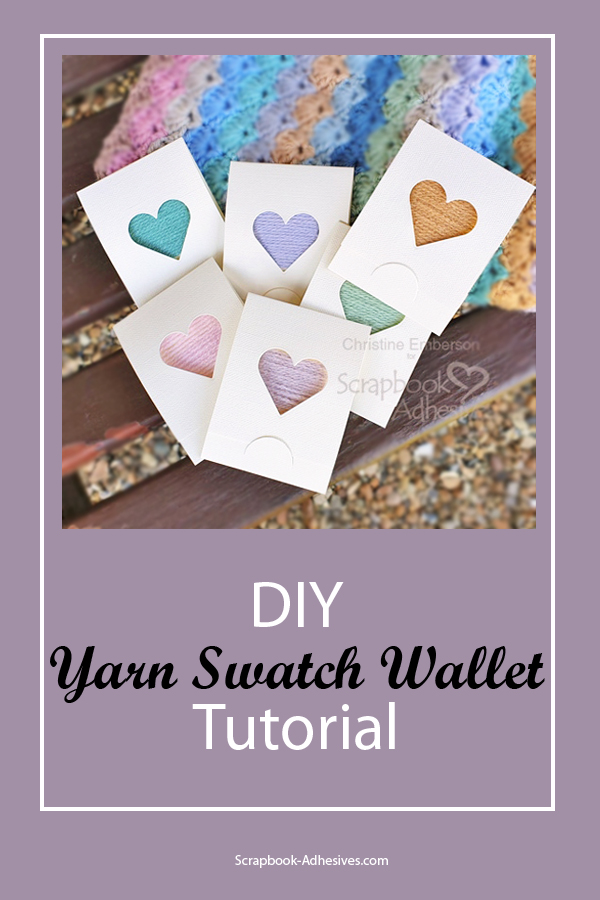
Pin It!