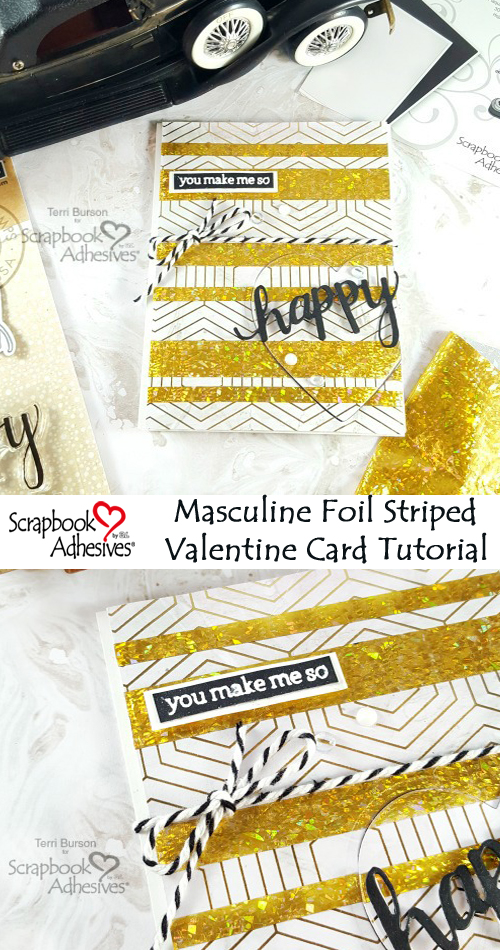
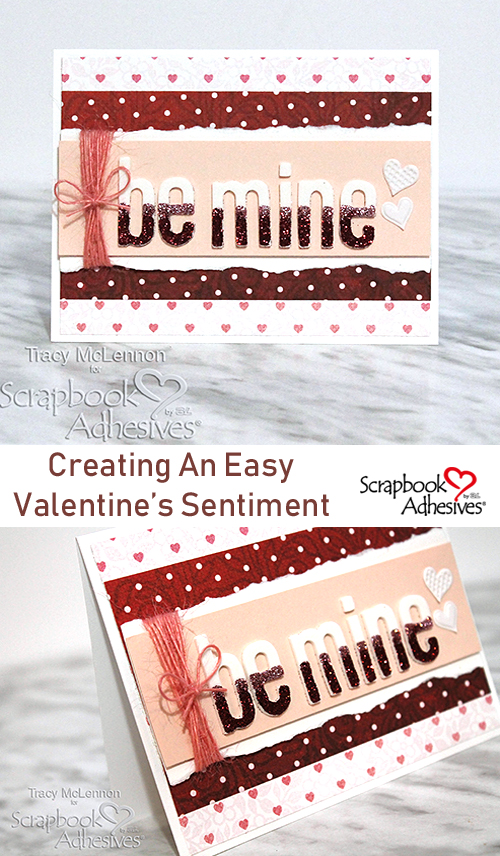
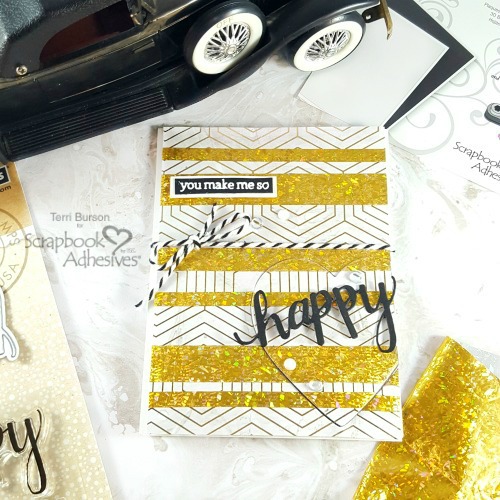
Hello crafty friends. Terri here, with a masculine foil striped Valentine featuring brand new products from Scrapbook Adhesives by 3L! The season for sweethearts is upon us and today’s project has the guys in your life in mind. I’ve got a process video as well so “stick” around for a few minutes.
Impress Your Valentine With Foil
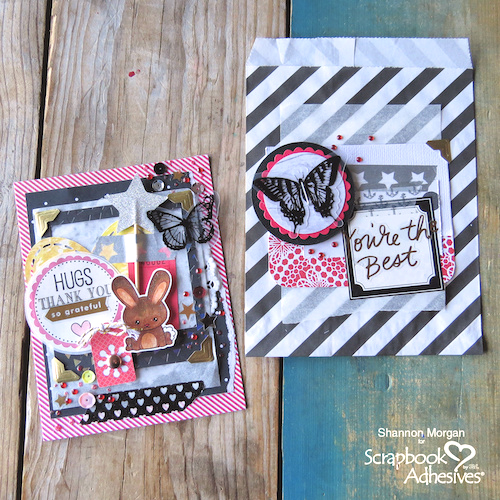
It can be difficult coming up with ideas for a masculine card. Let me tell you, the foil is impressive (but easy to use!) Even your sweetheart will take a second look when you present him with an elegant and stylish card that looks like you spent big bucks in the fancy card section at your local retailer.
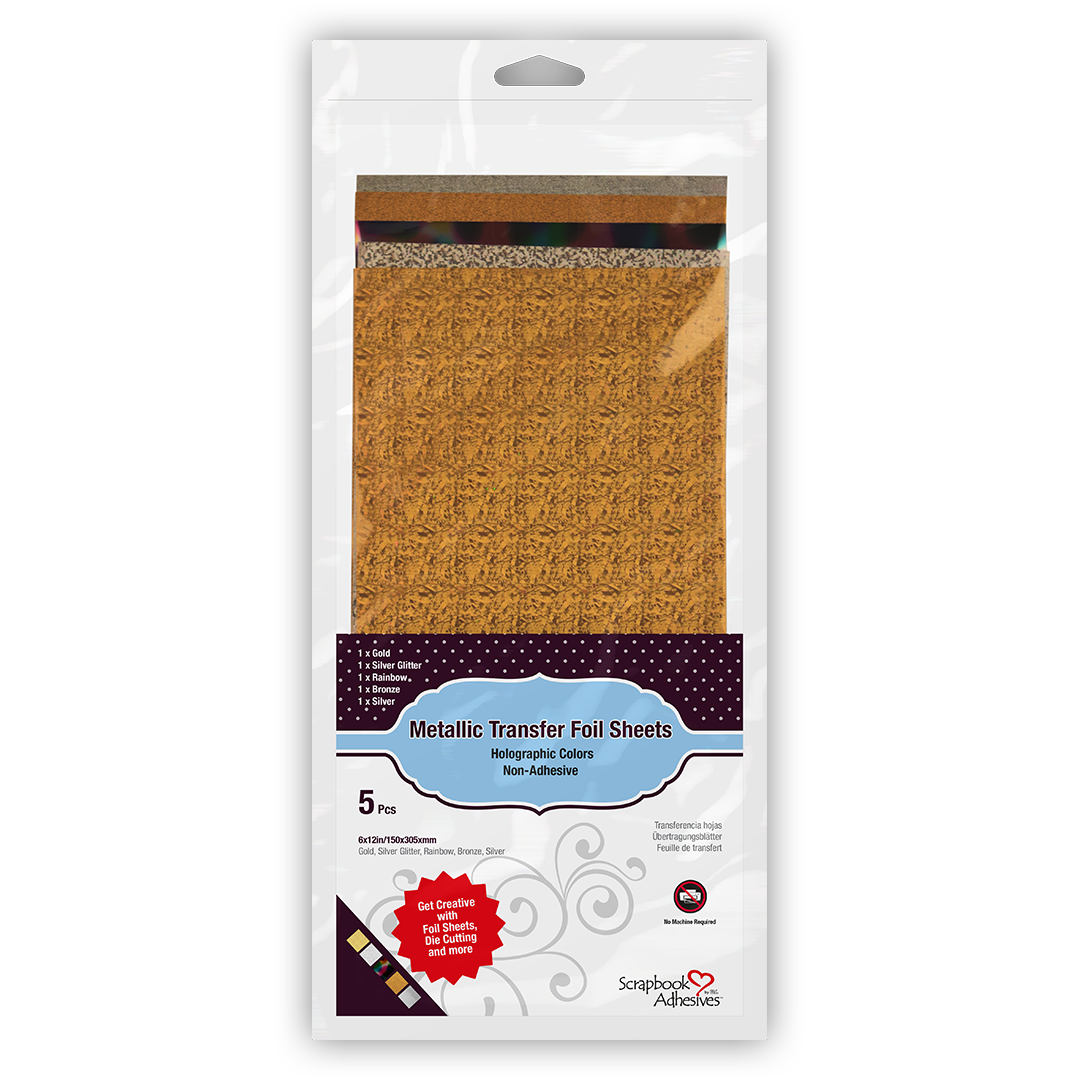
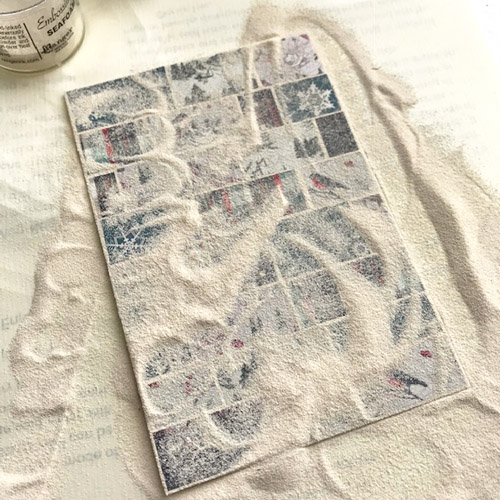
The new Metallic Transfer Foil Holographic, just introduced last week at the Creativation trade show, is available now, ask for it at your favorite store!
Convey A Heartfelt Valentine Message
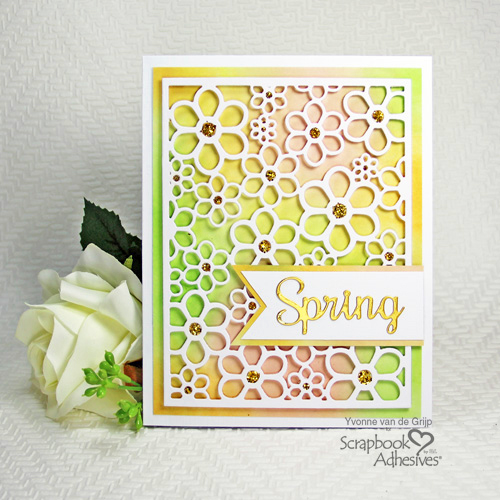
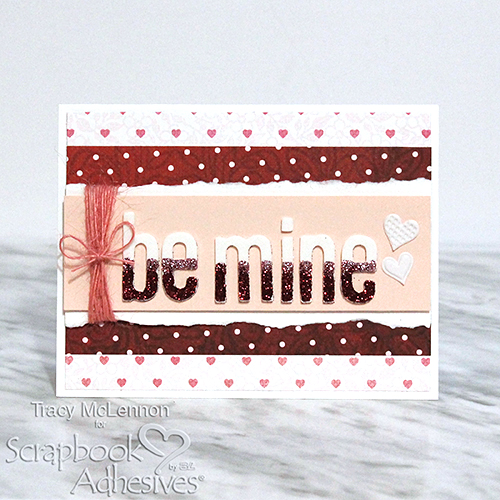
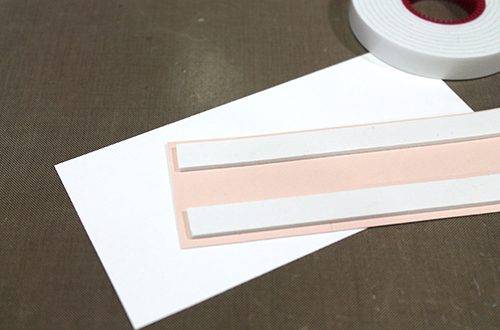
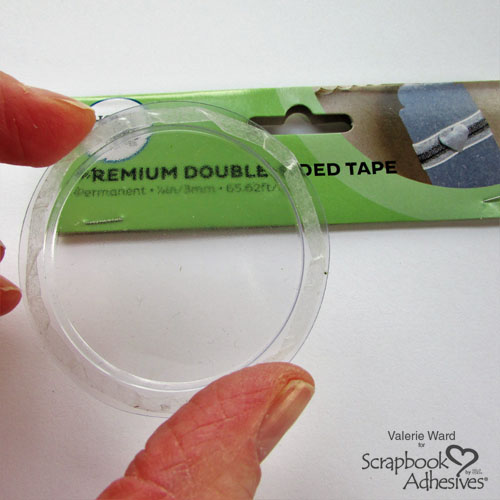
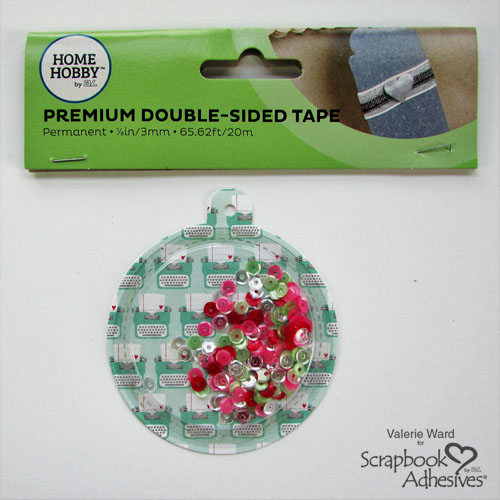
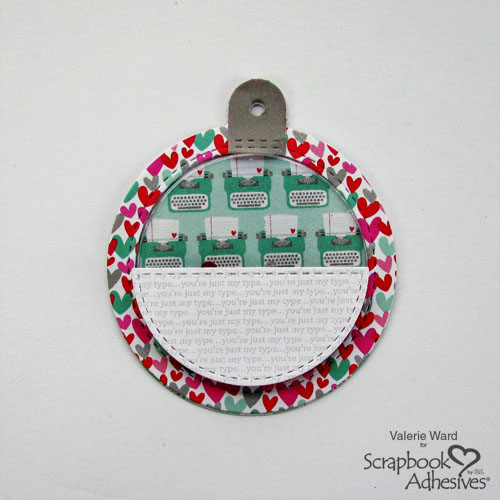
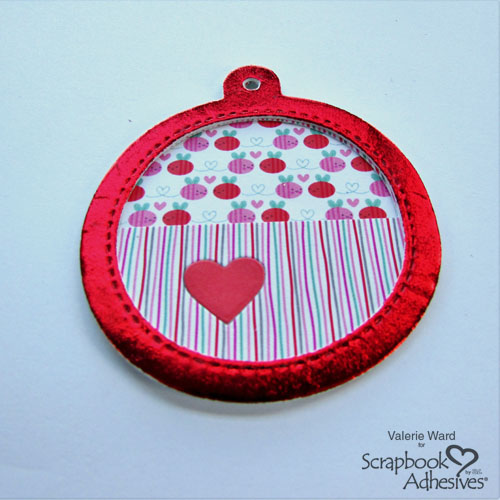
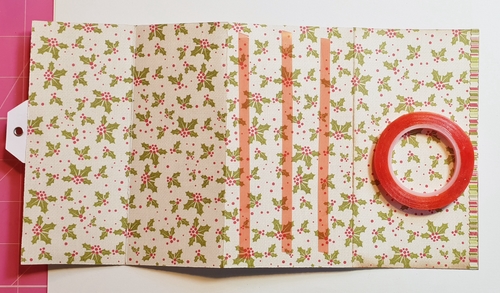
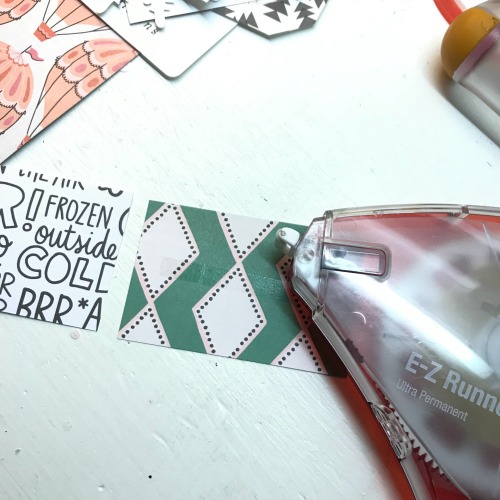
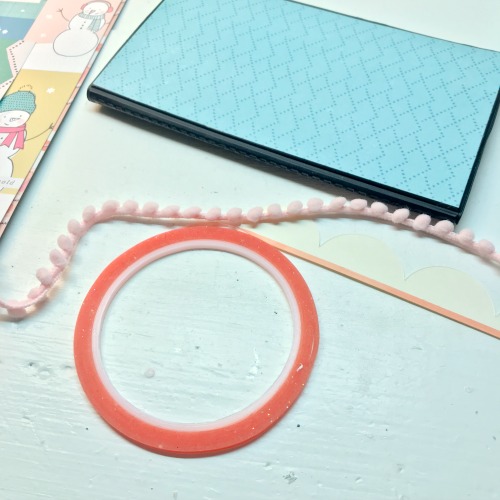
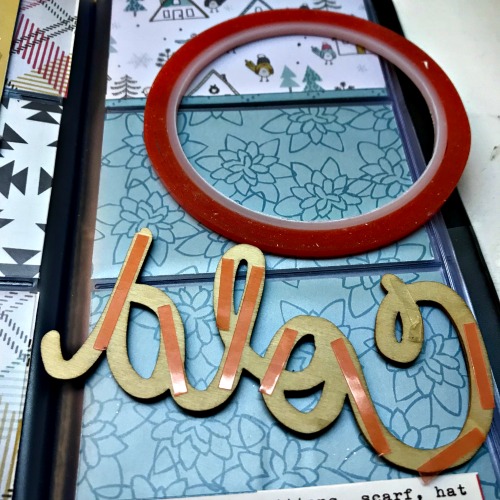
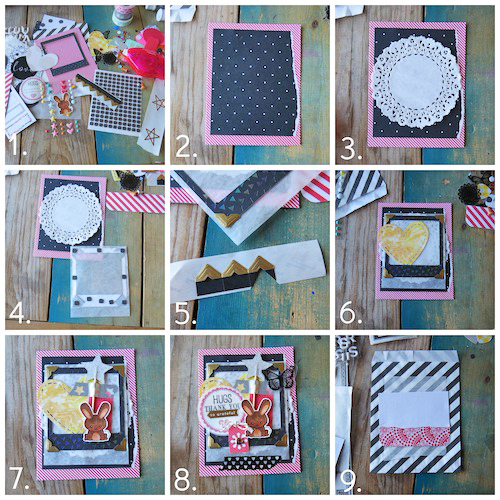
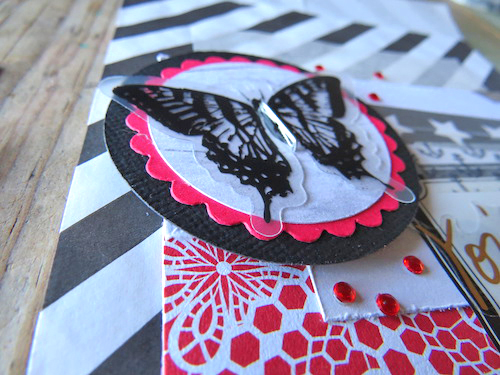
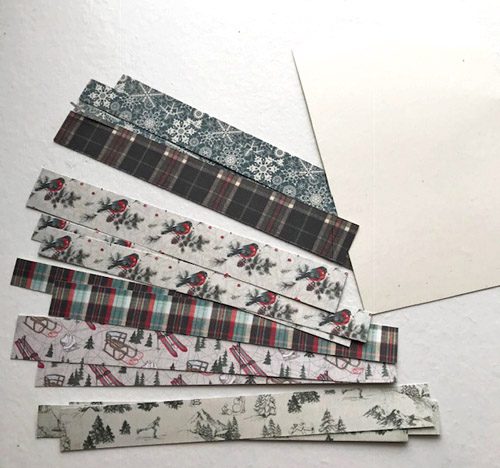
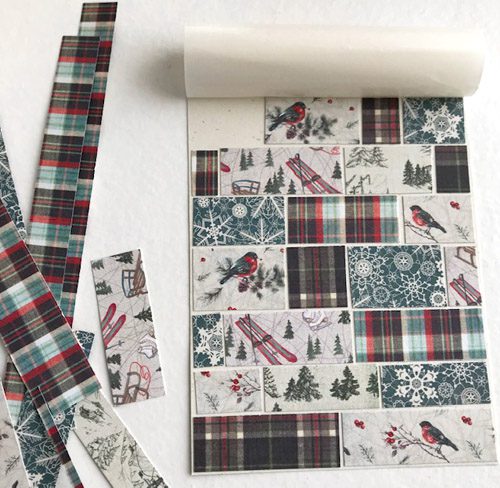
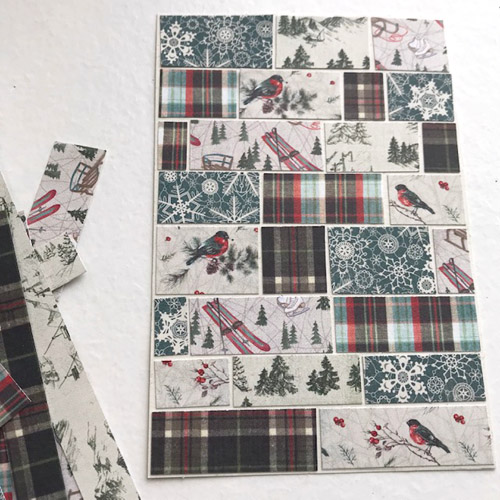
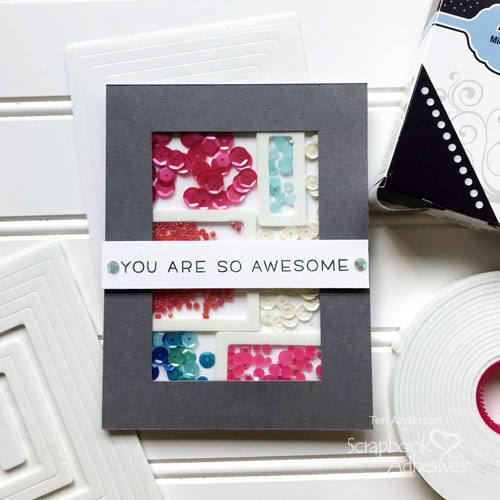
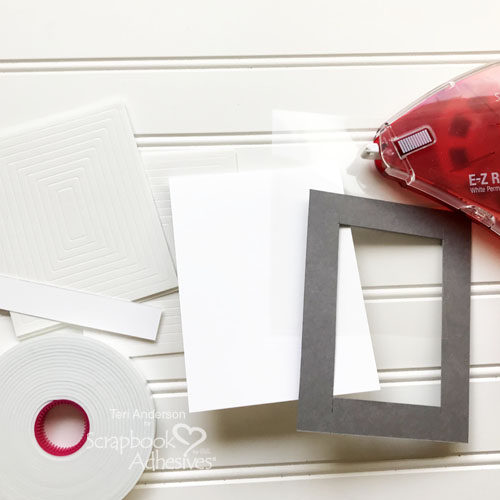
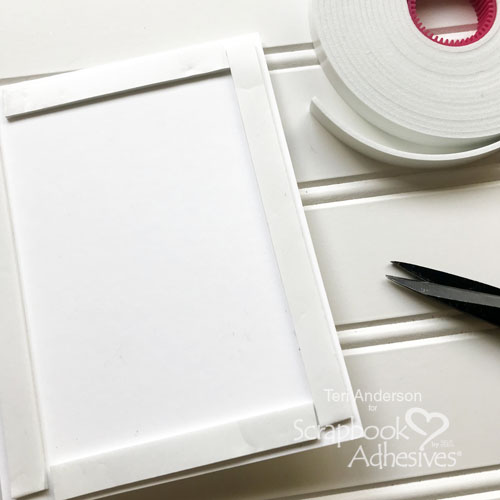
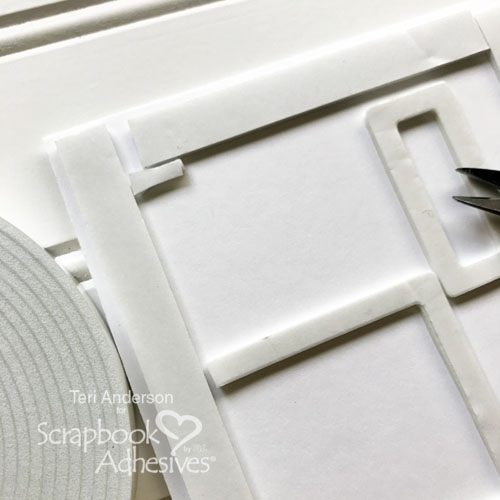
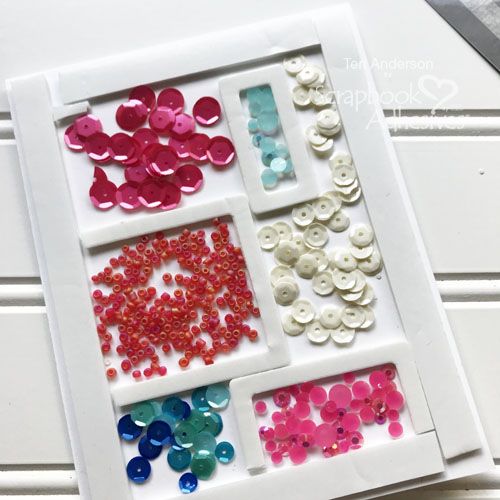
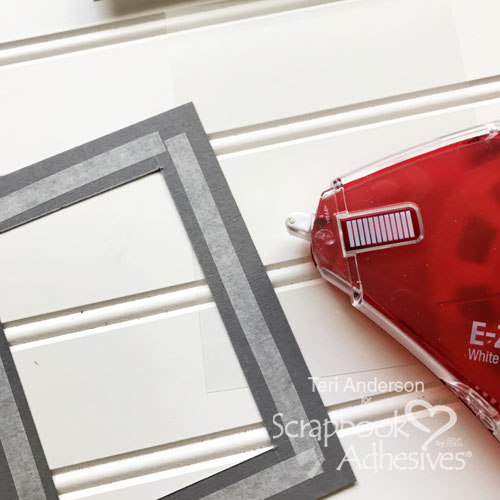
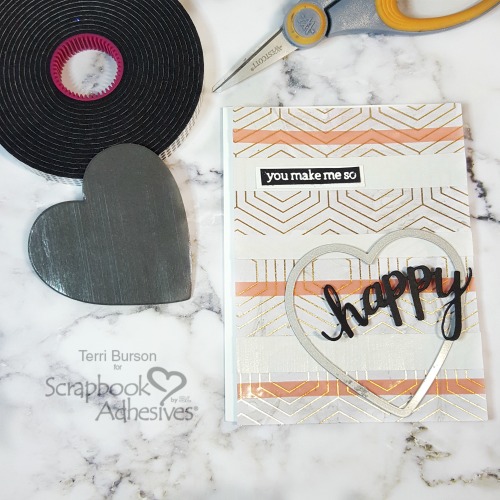
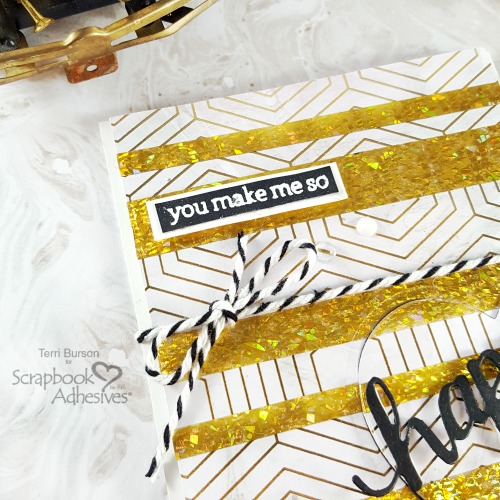
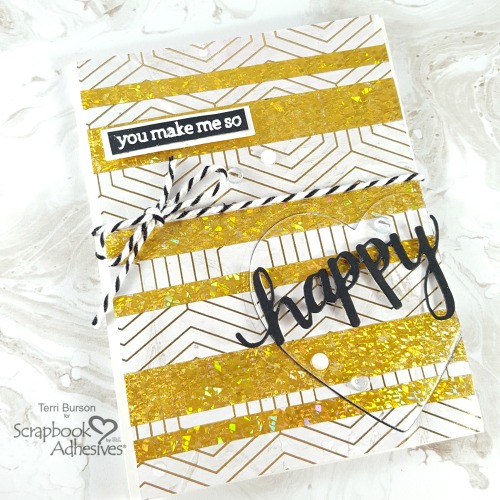
When planning your Valentine card design, hearts are a must. Stripes, plaids or a geometric design are classic elements for your masculine card. As you can see, I chose to use a geometric pattern, using papers from the Marbelous collection at Paper House Productions. To enhance that foil accented design, I’ve staggered trimmed strips of adhesive on my card panel. The Extreme Double-Sided Tape 1/2in and Premium Double-Sided Tape 1-inch play a key role as the foundation for my foil.
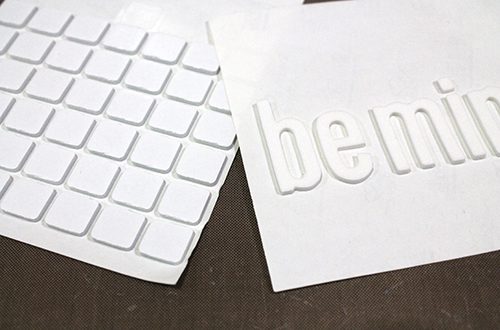
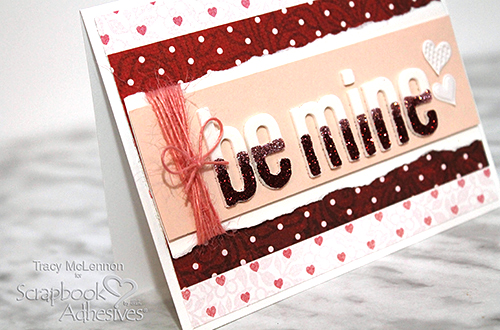
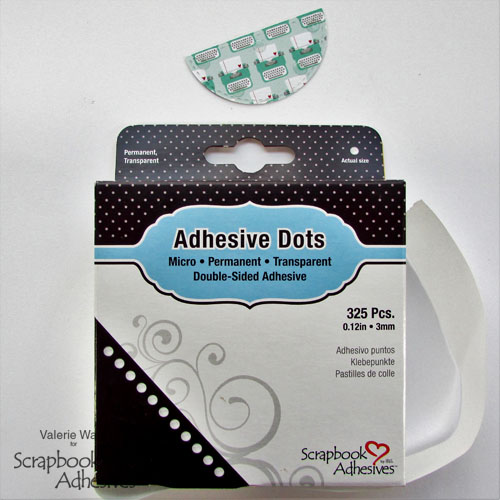
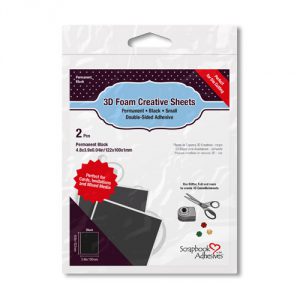
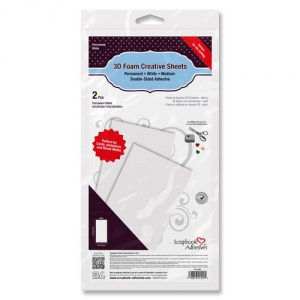
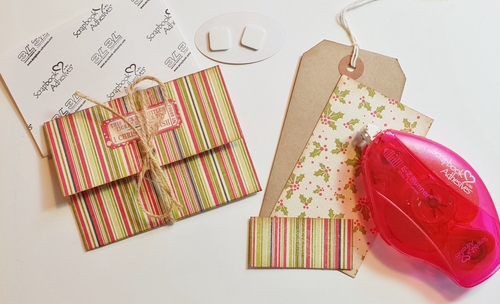
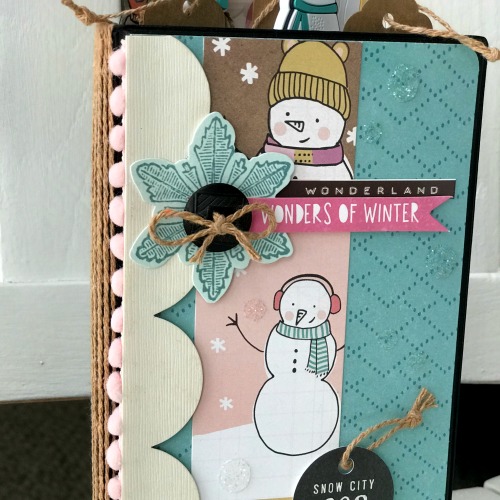
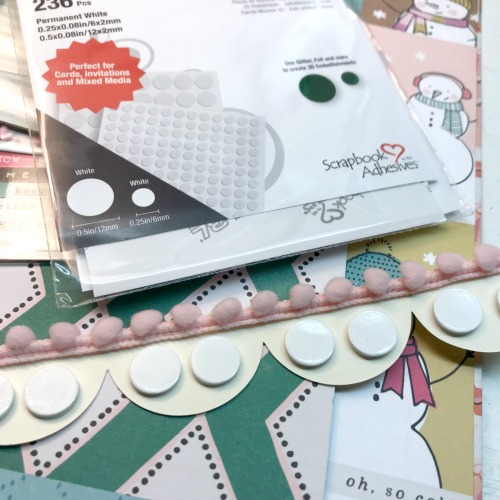
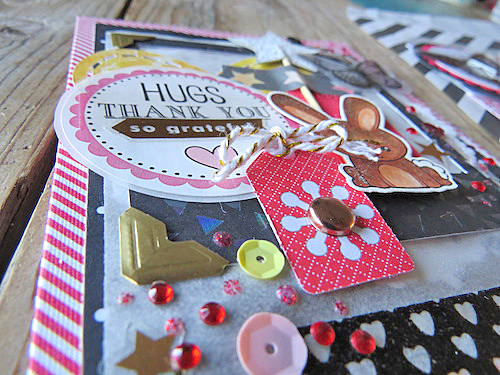
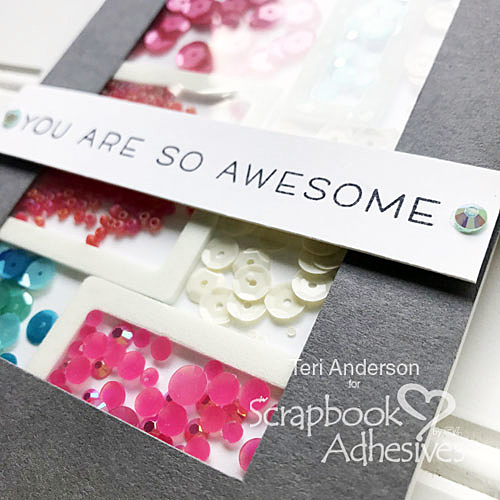
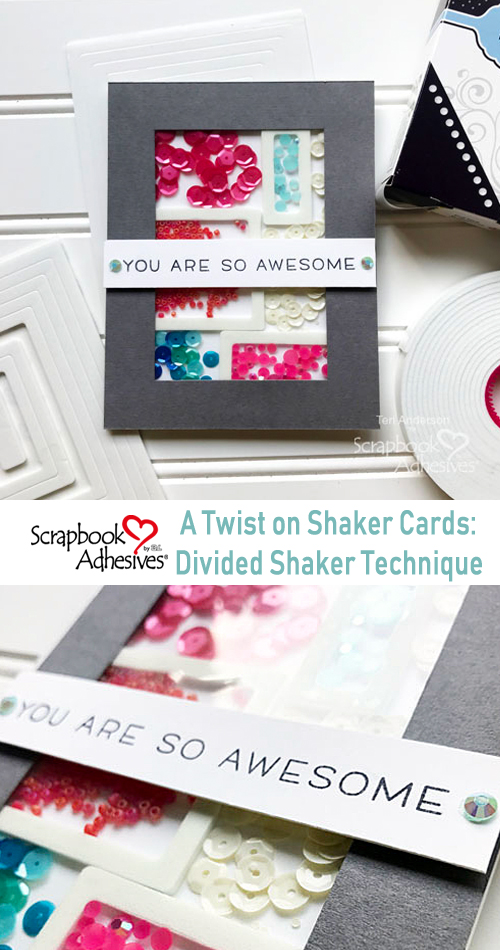
To allow my other adhesives to shine, I’ve used the Hero Arts Happy Stamp & Cut set. For my shadow heart that is elevated slightly with the black 3D Foam Creative Sheets, I’ve propped up the die cut word with thin adhesive foam, trimmed from scraps. Look closely and you’ll see small bubble embellishments held in place with the Adhesive Dots Micro.
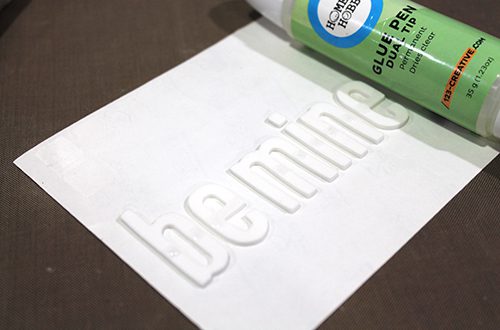
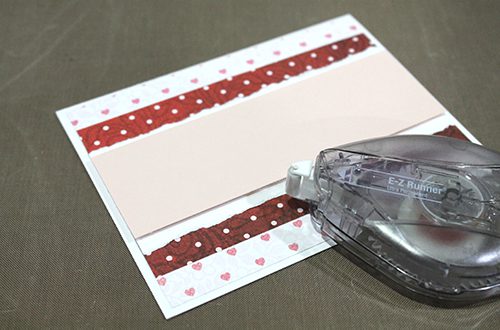
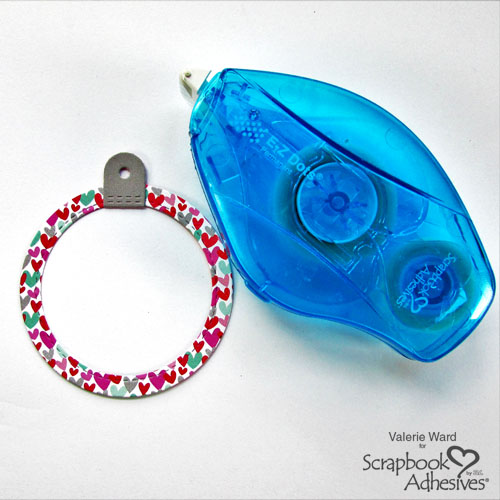
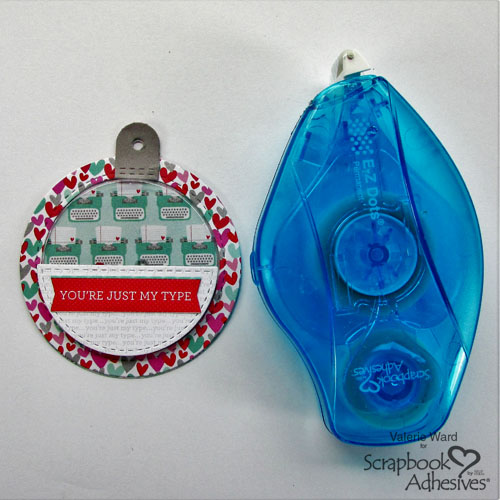
My embossed sentiment is secured with a black and white sealed cardstock border, courtesy of my E-Z Runner® Grand Refillable Dispenser and E-Z Runner® Grand Ultra Strong Refill. It’s popped up, along with my card panel, using the Crafty Foam Tape Black.
Watch my process video below. I have some excellent tips and tricks that I think you’ll find very helpful in creating your Valentine cards.
Thanks so much for stopping in today. You’ll find links to many of the products that I’ve used in the video description and also on my blog at Waving My Wand. Enjoy the Season of Love! Terri
Skill Level: Beginner
Creative Time: 30 minutes
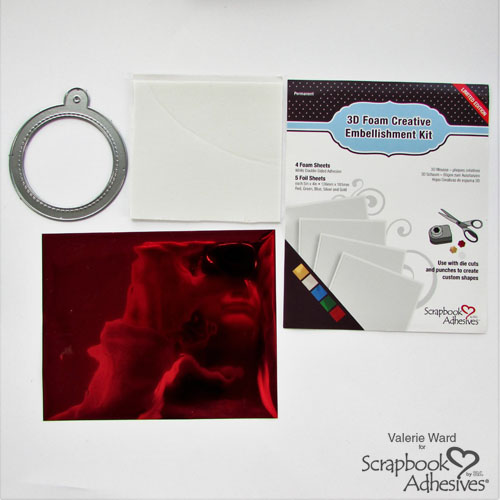
Materials Needed
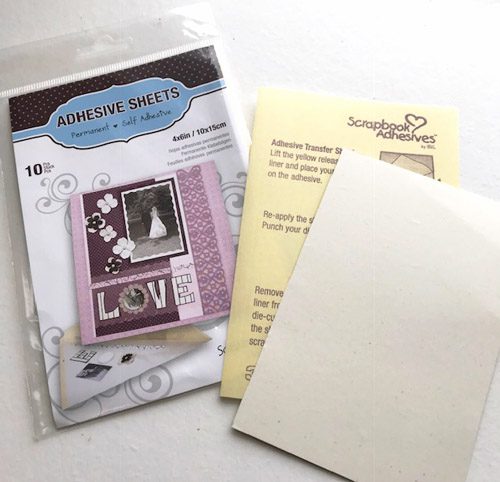
Scrapbook Adhesives by 3L®
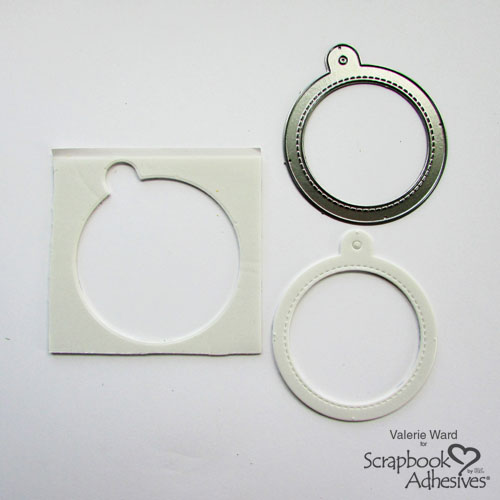
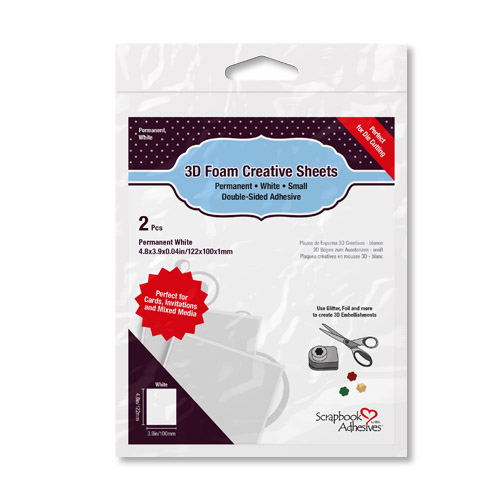
3D Foam Creative Sheets
Adhesive Dots Micro
E-Z Runner® Grand Refillable Dispenser
E-Z Runner® Grand Ultra Strong Refill
Crafty Foam Tape Black
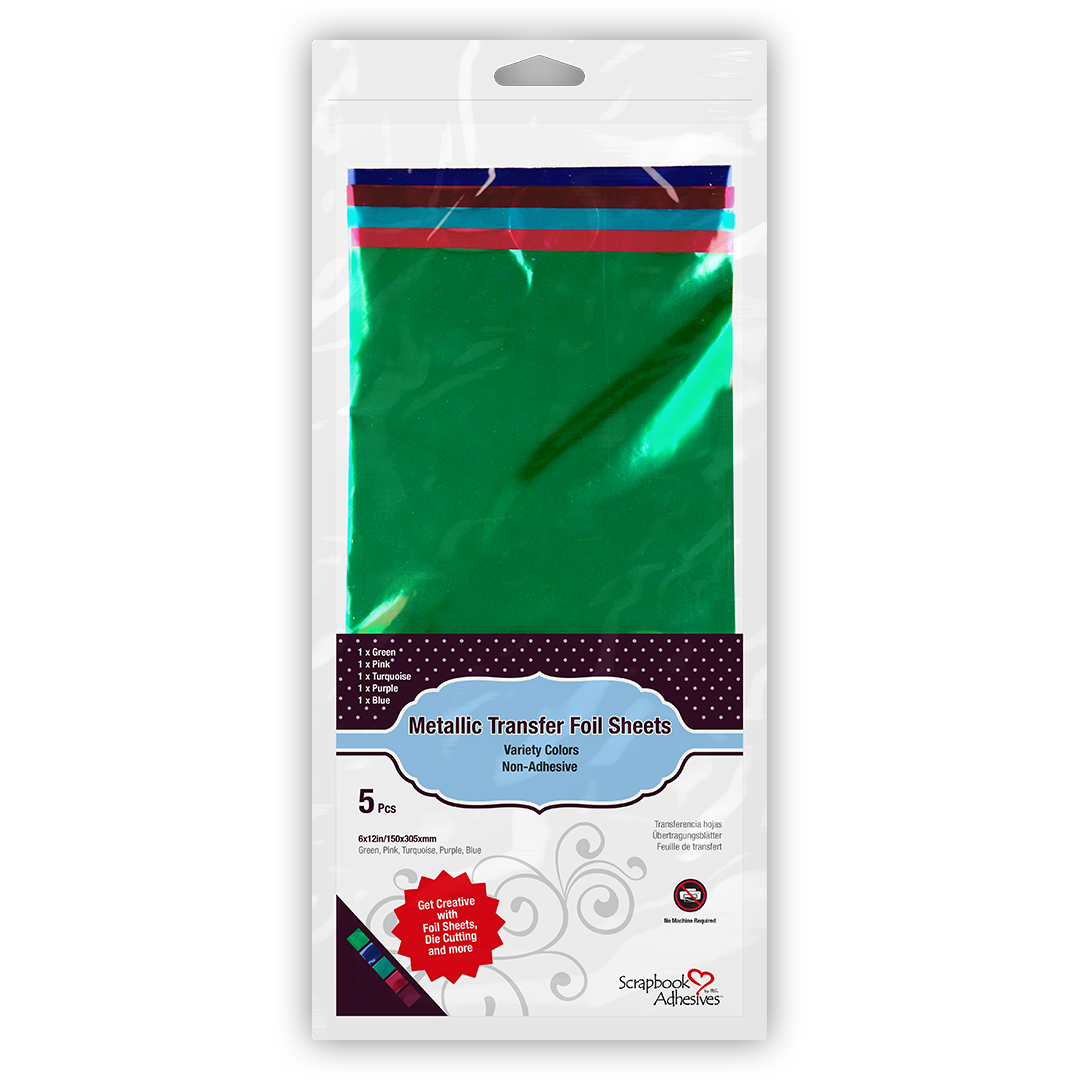
Metallic Transfer Foil Holographic
HomeHobby by 3L®
Extreme Double-Sided Tape 1/2in
Premium Double-Sided Tape 1-inch
Pin It!