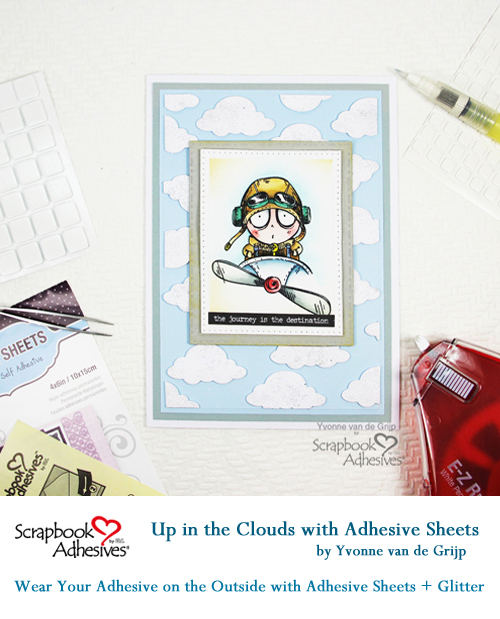
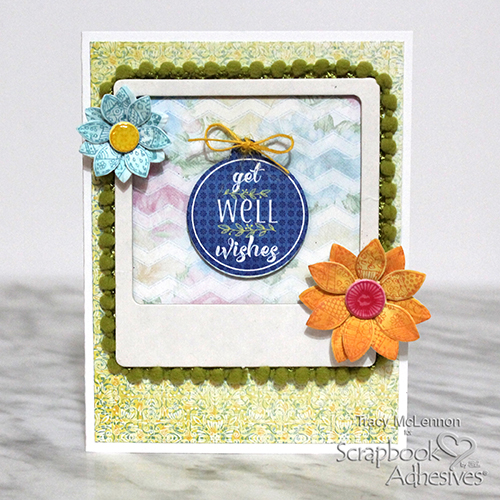
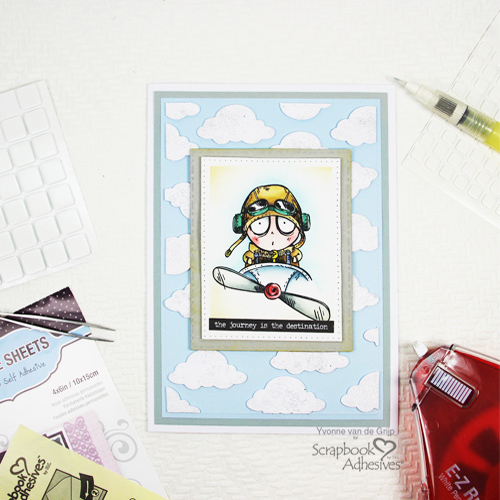
Hi everyone, Yvonne here with a cute card that will have you up in the clouds! I love adding dimensional accents to make my elements pop. Also, I am showing you to Wear Your Adhesive on the Outside with the clouds and glitter, using Adhesive Sheets 4×6 inch.
Creating the Card Base Basics
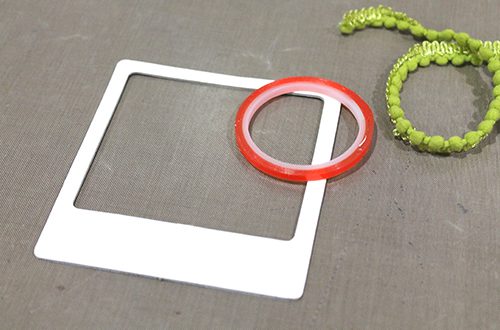
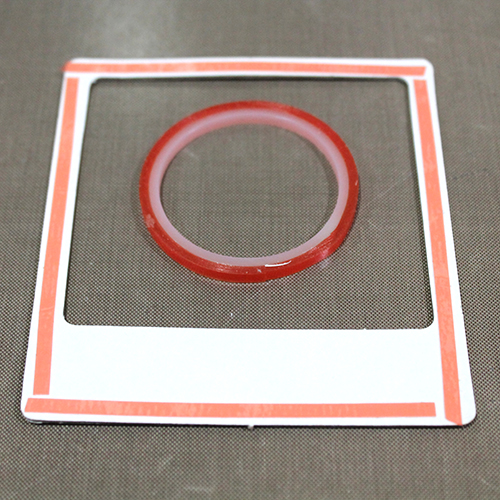
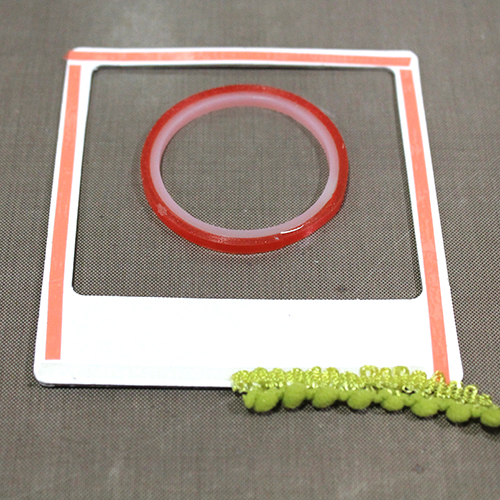
Let’s start with the card panels, die-cut a rectangle shape from soft blue cardstock and then affix to grey card panel using the E-Z Runner® Grand Refillable Dispenser. Next place the layered panel onto a white card base, again using E-Z Runner® Grand Refillable Dispenser.
Adding Watercolors
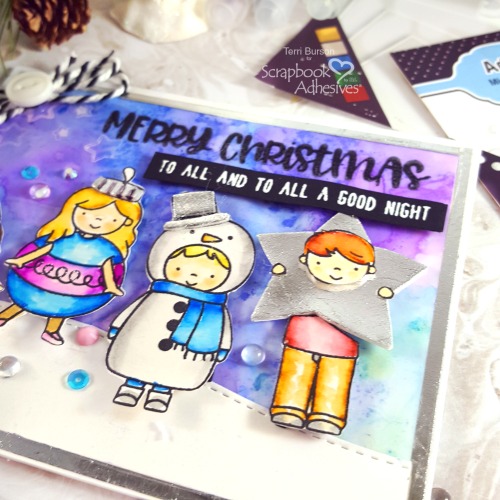
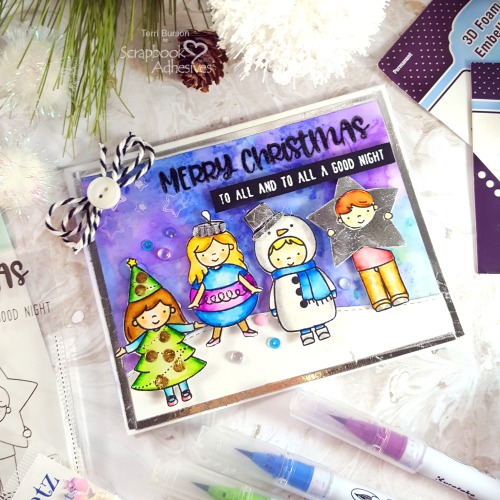
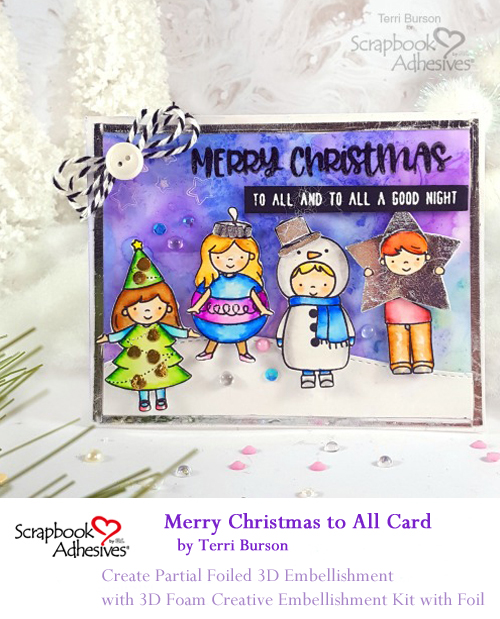
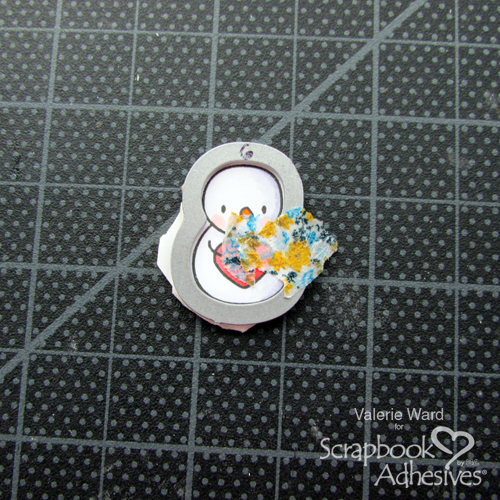
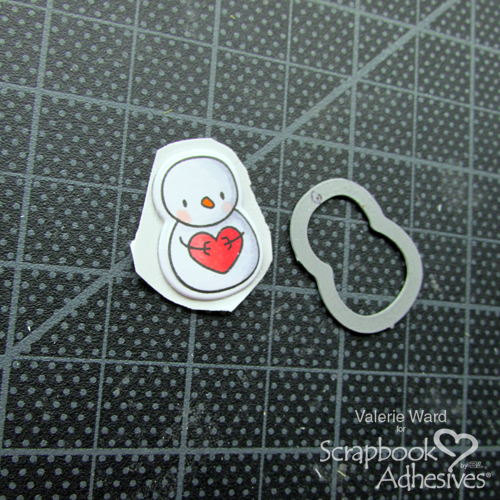
First, stamp the image onto watercolor paper. Then watercolor the image. Die-cut the image into a rectangle shape and mat on a slightly larger rectangle shaped grey die cut with 3D Foam Squares White Regular Size. Adhere the panel onto the card base using 3D Foam Squares White Regular Size.
Making Clouds
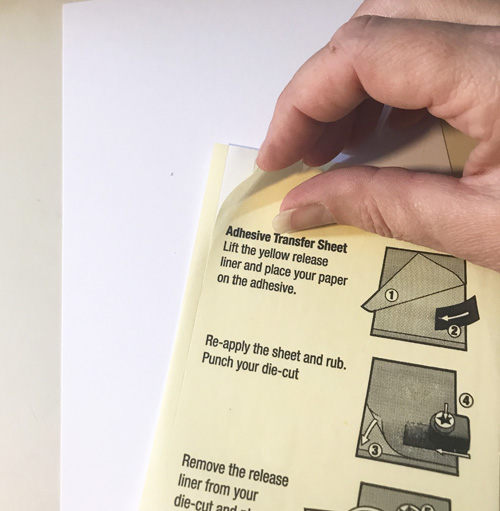
Let’s make a background! Take a sheet of Adhesive Sheets 4×6 inch and remove the yellow liner. Place it on a piece of white cardstock and apply the adhesive to the cardstock by rubbing the Adhesive Sheet evenly.
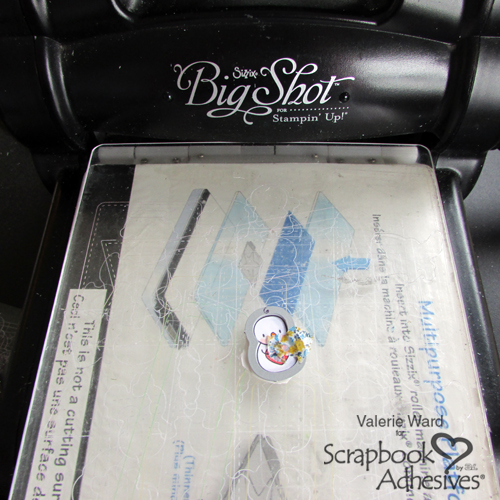
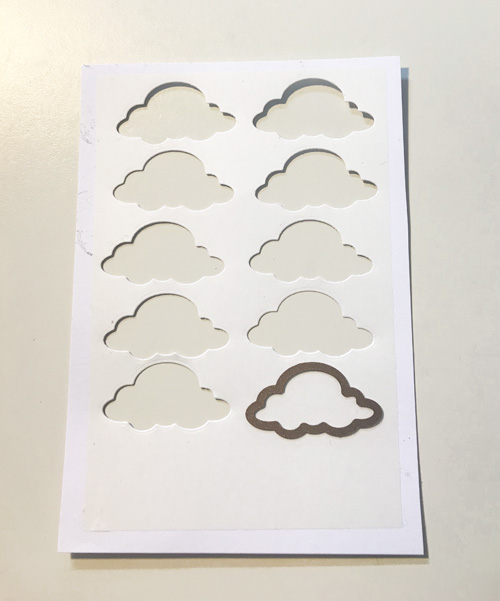
Now die-cut the clouds from the cardstock, making sure the white liner facing upwards.
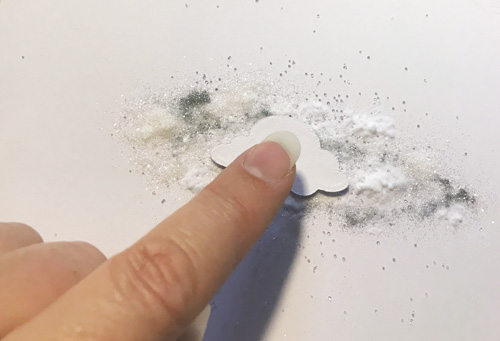
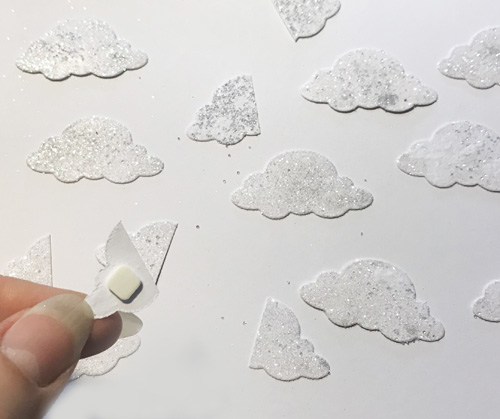
To add the glitter to the clouds, sprinkle some white and silver glitter, white flock and micro pearls onto a piece of cardstock or tray.
Wear Your Adhesive on the Outside
Now remove the white liner from the die-cut clouds. Then dab the sticky side onto the mixture of glitter, micro pearls, and flock. Make sure you cover the whole cloud.
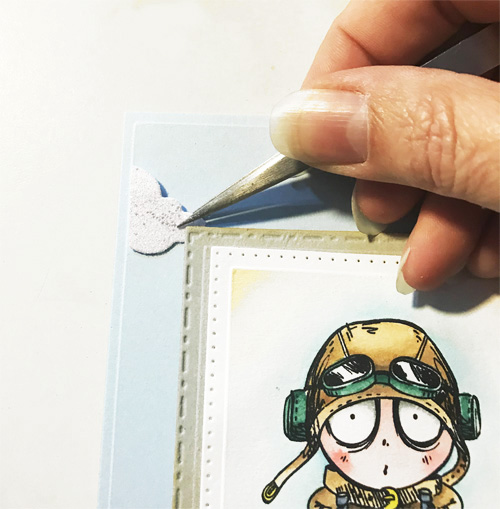
Cut some of the clouds into half (horizontal and vertical) and add Thin 3D Foam Squares White Mix to the back. Remove the liner from the Thin 3D Foam Squares White Mix and then adhere the clouds to the card.
Because the 3D Foam Squares White Regular Size are thicker than the clouds with the Thin 3D Foam Squares White Mix can easily be tucked under the stamped panel. Tip: I like to use tweezers for precise positioning of the clouds.
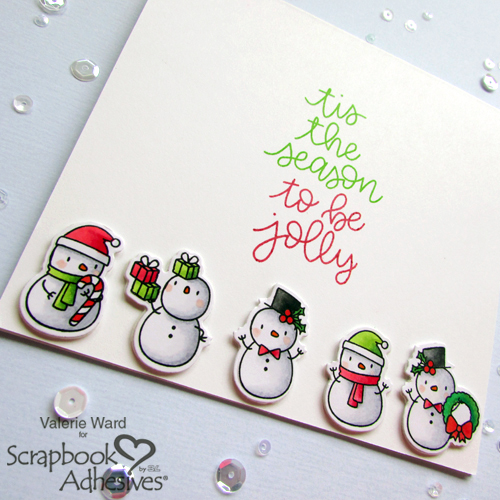
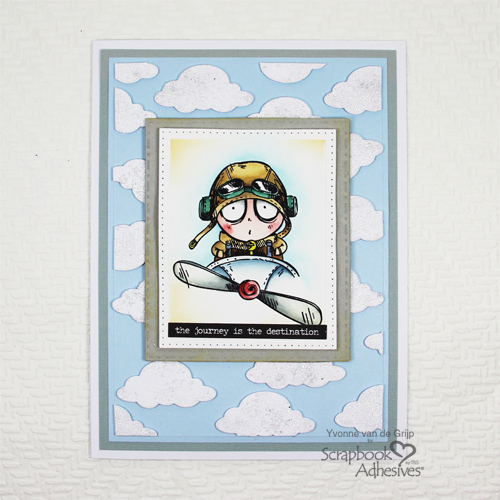
Finish the card by adding a sentiment under the stamped image and…voila, your card is ready. Wishing you happy crafting!
Creative Time: 30 minutes (coloring time not included)
Skill Level: Intermediate
Materials needed:
Scrapbook Adhesives by 3L:
E-Z Runner® Grand Refillable Dispenser
Adhesive Sheets 4×6 inch
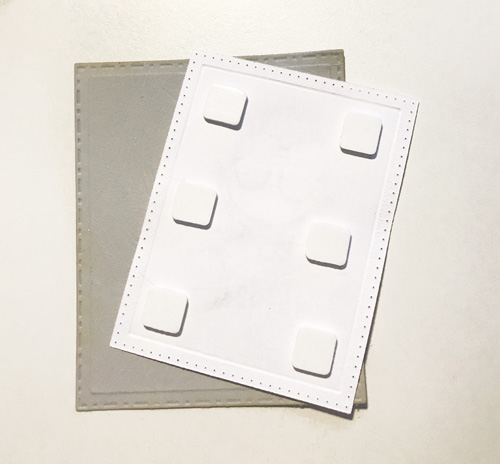
3D Foam Squares White Regular Size
Thin 3D Foam Squares White Mix
Other supplies:
Etched Dies: Spellbinders Paper Arts (Flight 2, Scored and Pierced Rectangles, 5×7 Matting Basics B, and Platinum 6 Die-cutting and Embossing Machine), Stamp: Katzelkraft (Les Pabos-Aviateur), Distress inks, Black Ink, Glitter, Flock, Micro Pearls, Sentiment (Tim Holtz, Small Talk, stickers), Cardstock (White, Grey, Blue, watercolor), Paper Trimmer, Scissors, Tweezer.
Pin It!