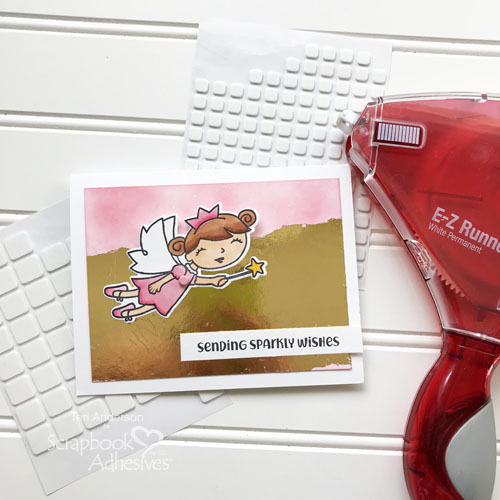
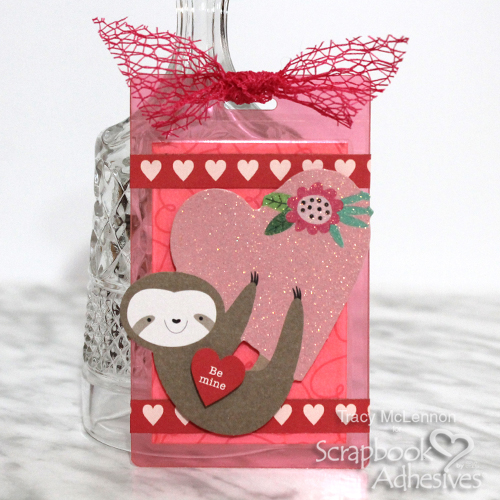
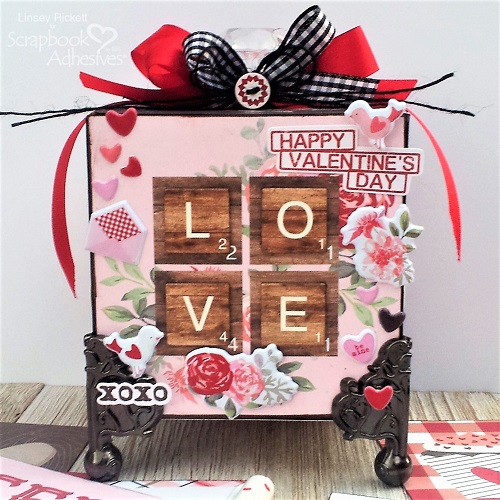
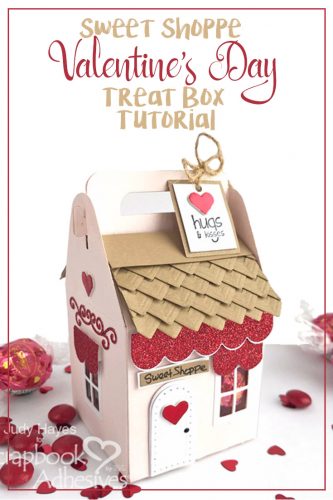
Happy Valentine’s Day! I’m excited to share Sweet Shoppe Valentines Treat Box with you today! I think it turned out so cute! I used a holiday die set but embellished it for Valentine’s Day.

Creating a Sweet Shoppe Base
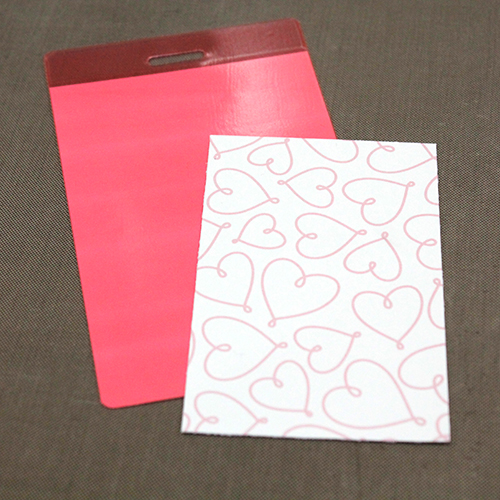
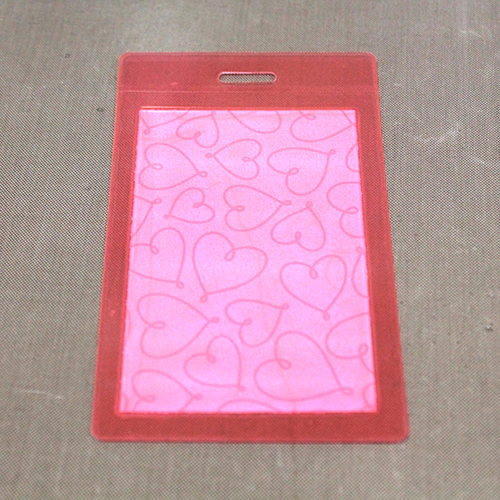
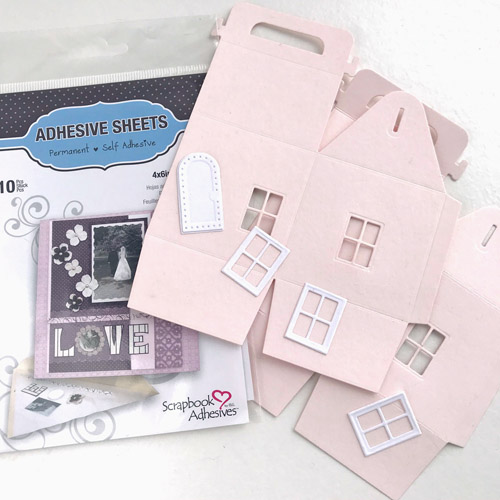
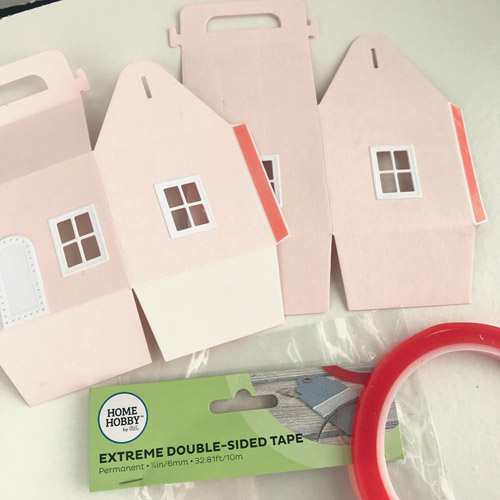
To make this treat box, cut 2 cottage treat box pieces from pink cardstock. Position inner window dies on treat box and die cut. I cut a window centered on each side and on the back and offset the one on the front to allow room for the door.
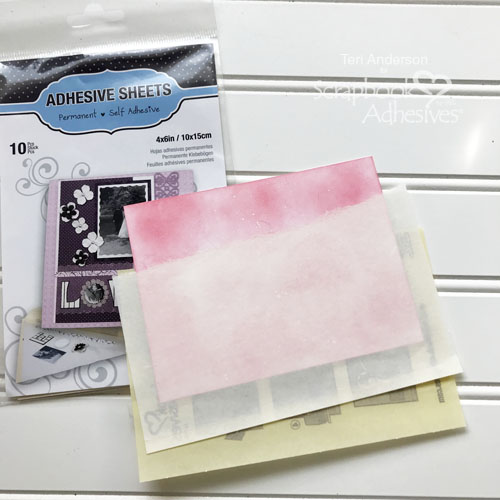
Apply Adhesive Sheets 4 x 6 inch to back of white cardstock. Cut one door and three window frames from it.
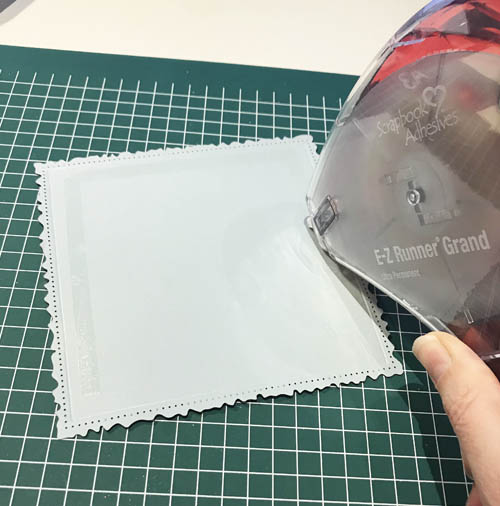
Remove adhesive liner and fasten window and door to treat box. Cut acetate slightly larger than windows. Attach it to the inside over windows using E-Z Runner® Micro Refillable Dispenser.
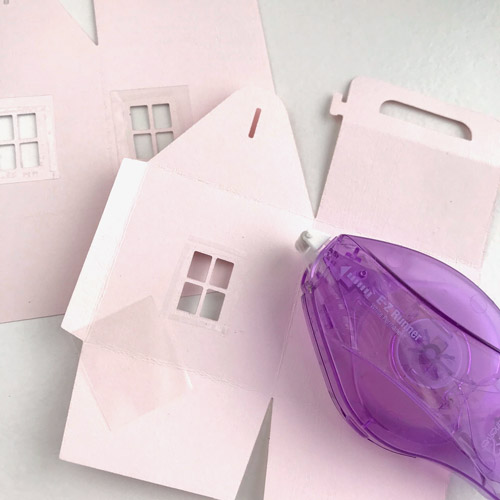
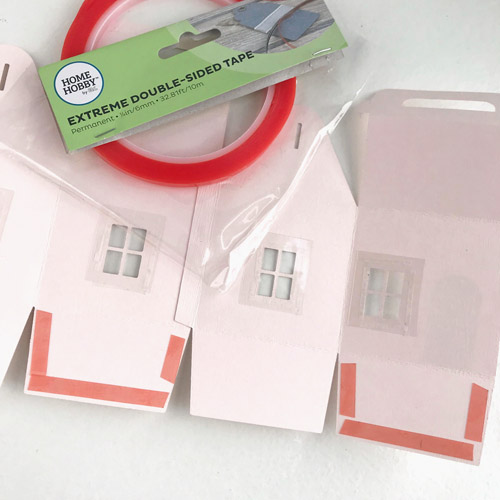
Apply Extreme Double-Sided Tape ¼ inch to tabs. Remove liners and adhere sides of treat box together.
Apply Extreme Double-Sided Tape ¼ inch to two opposite bottom flaps. Fold in flaps without adhesive first. Fold flaps with adhesive and secure by pressing from the bottom and inside the box. I set the treat box on my work surface after flaps were aligned and pressed from inside.
Adding All the Details
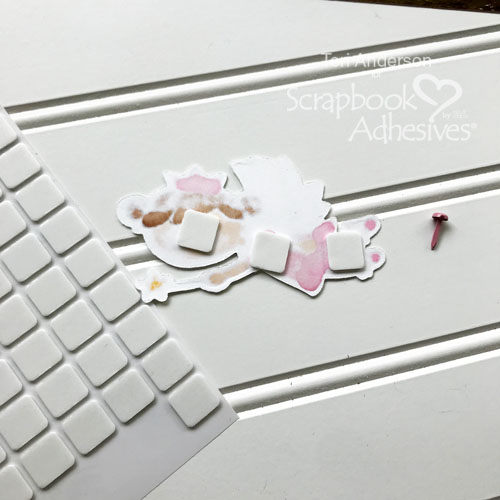
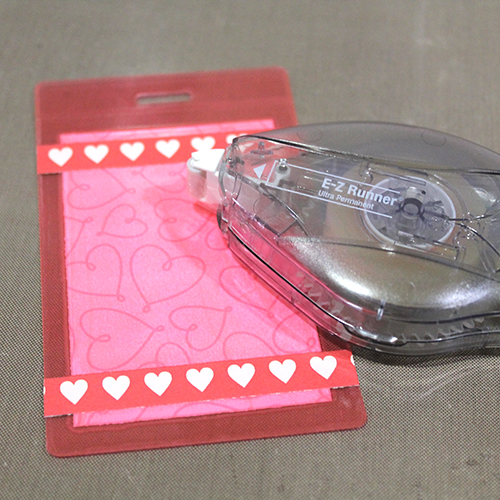
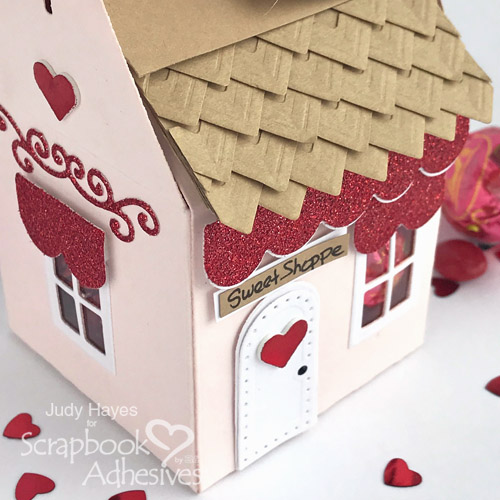
Cut three scallop pieces from red glitter cardstock and one from white cardstock. Cut two scallop strips into sections of two to make four sections of two scallops. Use small squares from 3D Foam Squares White Mix to fasten a scallop section over each side and back window.
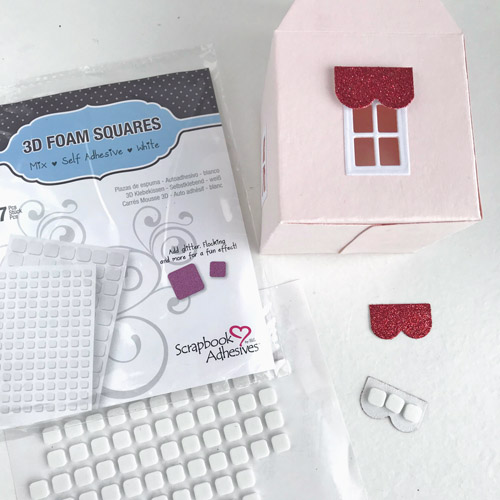
For front window, use Thin 3D Foam Squares White Mix small squares to fasten it. (This is so it will fit under the awning). Attach white scallop piece behind glitter scallop with narrow reveal using E-Z Runner® Ultra Refillable Dispenser. Attach it across the front with small squares from 3D Foam Squares White Mix.
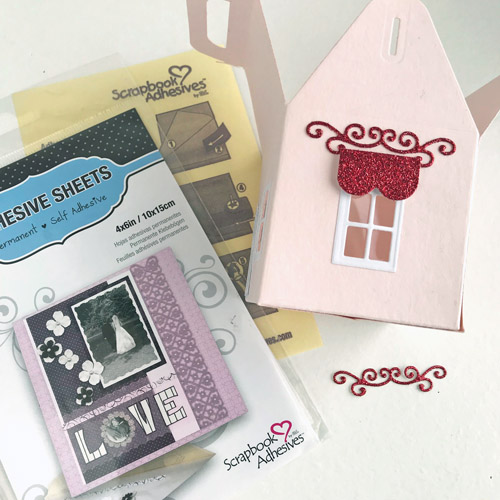
Apply Adhesive Sheets 4 x 6 inch to the back of small pieces of red glitter paper. Cut 3 swirly pieces from it. Remove adhesive backing and position one above each side and back window
Sweet Shoppe Roof of Photo Corners
Cut 2 pieces of 1¼ x 2½ʺ Kraft cardstock to fit the roof. Add Creative Photo Corners Kraft by starting with 3 centered across the bottom edge. Add four over them with points even with first three. Allow photo corners to extend beyond side edges and trim when finished. Attach the next row offset and above the first three. Cut photo corners in half to fill in at edges. Continue to add photo corners so there are 6 rows counting first two layers as row one. Repeat for second roof section. Use large squares from 3D Foam Squares White Mix to secure the photo corner roof to the treat box.
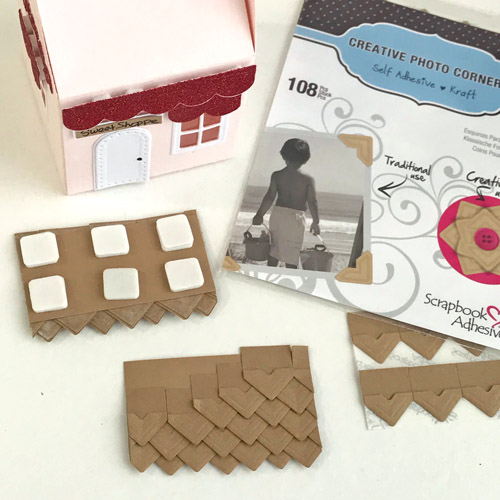
Cut two strips of kraft cardstock to fit over the photo corners at the rooftop (about ¾ x 2½ʺ). Use E-Z Runner® Ultra Refillable Dispenser to apply adhesive and attach it over photo corners at top of treat box roof.

Adding the Final Touches
Remove the liner from one small 3D Foam Heart. Place red foil from 3D Foam Creative Embellishment Kit over the heart and rub to transfer Metallic Transfer Foil to heart. Remove foil sheet. Repeat for four small hearts.
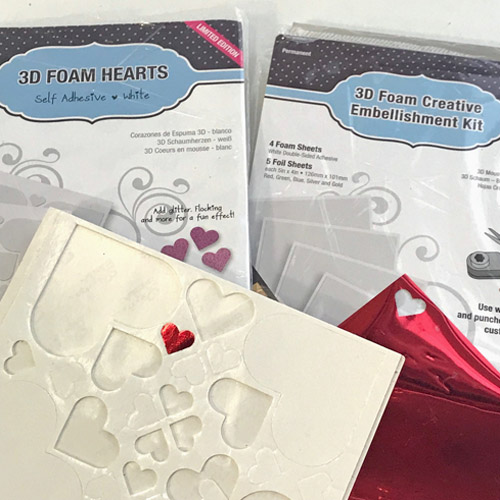
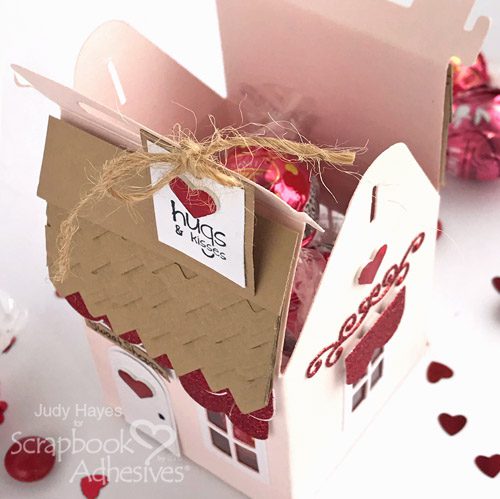
Add one 3D Foam Heart to the door and one above each side window. (4th heart for tag)
Handwrite “Sweet Shoppe” on a tiny piece of Kraft cardstock with black fine point marker. Use E-Z Runner® Micro Refillable Dispenser to apply adhesive to back. Add to a white mat. Cut small squares of Thin 3D Foam Squares White Mix in half. Use to attach sign above the door on treat box. Add a dot of black Enamel Accents for the doorknob.
Sweet Shoppe Finishing Touches
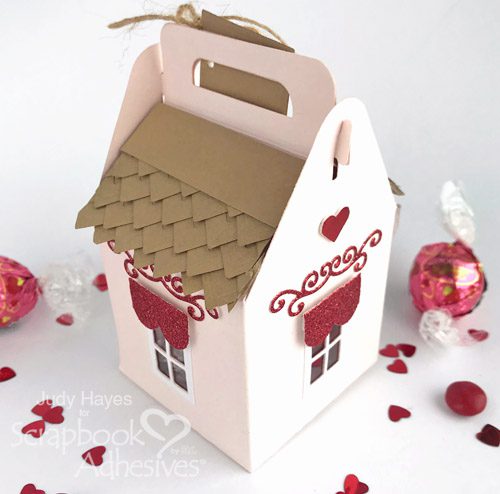
For the tag, cut white cardstock ⅞ x 1⅛ʺ and Kraft cardstock 1 x 1¼ʺ. Stamp a verse with black ink on white piece. Adhere to Kraft piece using E-Z Runner® Micro Refillable Dispenser. Add heart to tag. Punch a hole at the top. Tie to Sweet Shoppe Valentine’s Treat Box with twine. I tied it to front handle only so the box can be opened without removing the tag.

Even the back side is cute with the treats show through the windows!
Wishing you a sweet Valentine’s Day!
Judy Hayes
Creative Time: 60 Minutes
Skill Level: Intermediate
Materials Needed
Scrapbook Adhesives by 3L®
Adhesive Sheets 4 x 6 inch
Creative Photo Corners Kraft
E-Z Runner® Micro Refillable Dispenser
E-Z Runner® Ultra Refillable Dispenser
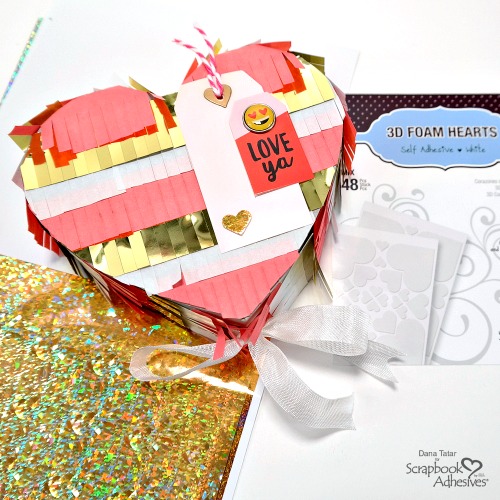
3D Foam Hearts
3D Foam Creative Embellishment Kit
Thin 3D Foam Squares White Mix
3D Foam Squares White Mix
HomeHobby by 3L®
Extreme Double-Sided Tape ¼ inch
Other
Bazzill Pale Rose Cardstock; Best Creations Ornament Gem Glitter Cardstock; Imagine Crafts Versafine Onyx Black; Ranger Enamel Accents Black Tie; Spellbinders Charming Cottage Die Set; Taylored Expressions Many Minis-Holiday Stamp Set; Black Fine Marker; Cardstock: Kraft, White; Clear Acetate; Twine
Save It to Pinterest!
Visit our Website and Blog!
Sign up for our Newsletter so you never miss a contest or giveaway!