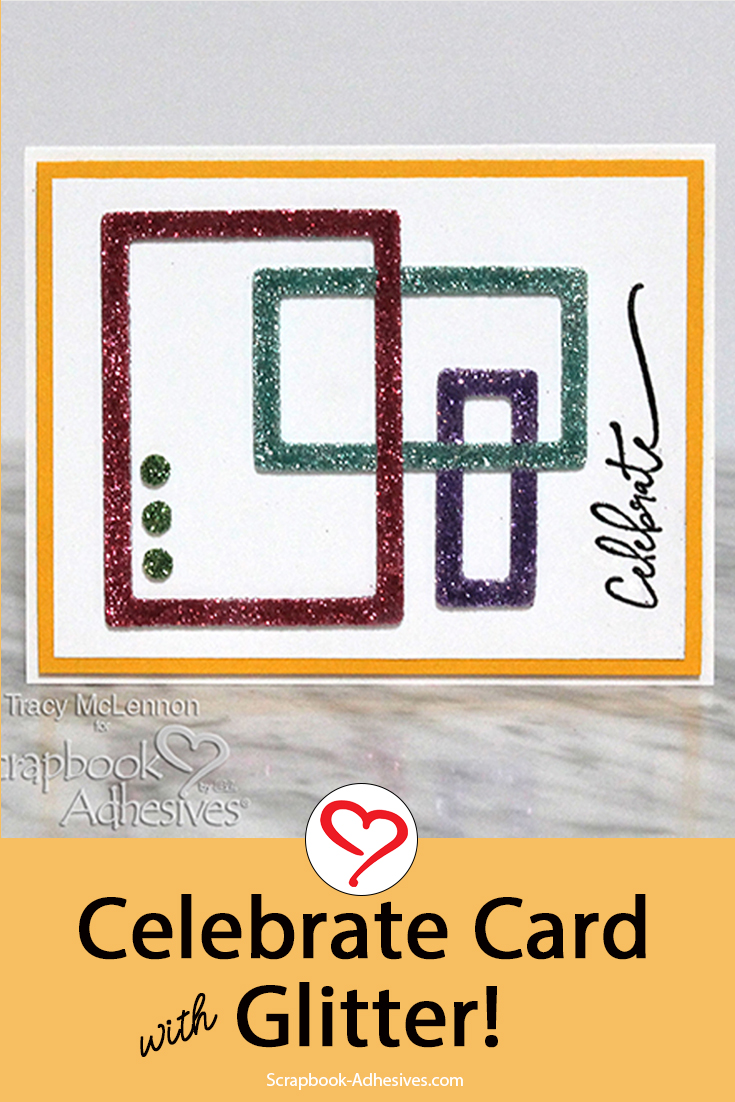
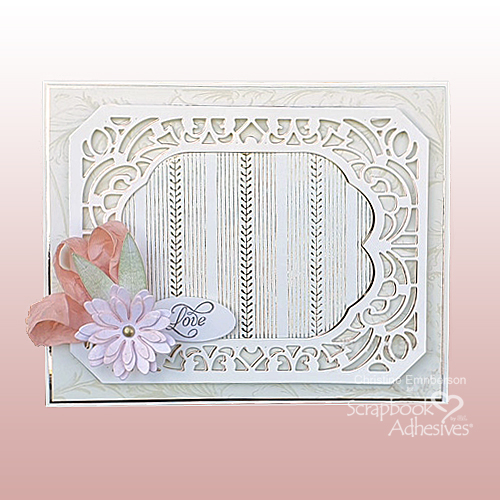
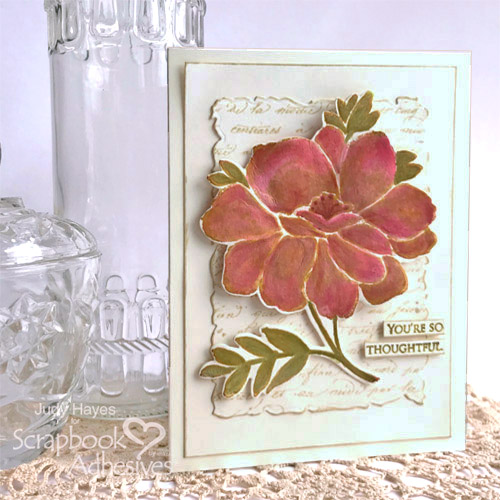
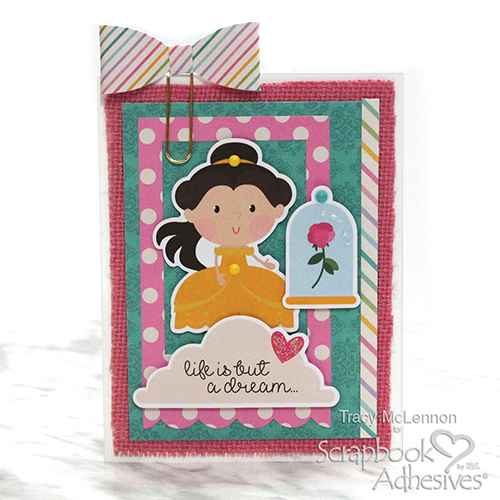
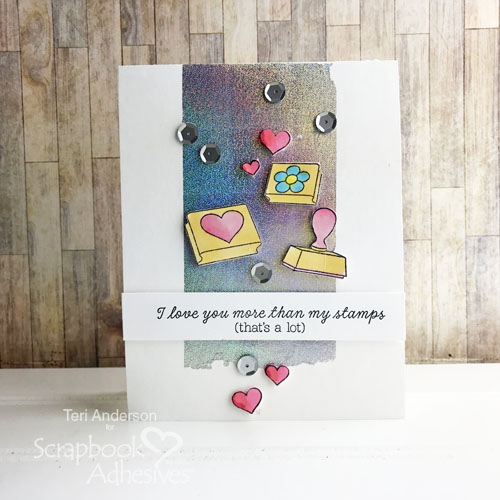
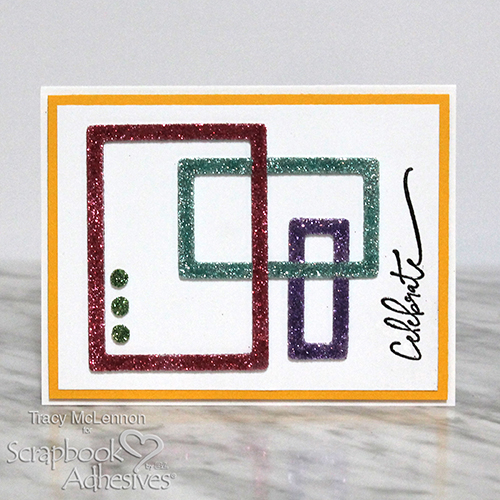
Hello, my crafty friends! Tracy McLennon here, and today I have sparkly, sweet and simple card idea to share, a glitter frame card tutorial.
Glitter Frame Card Instruction
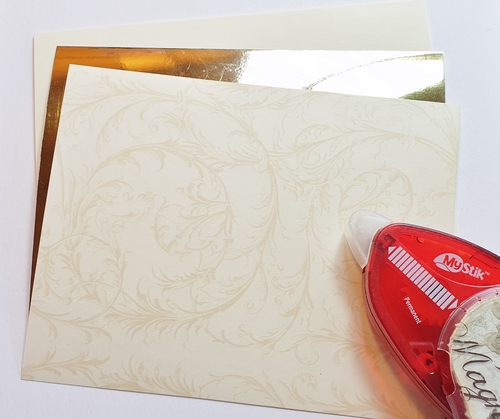
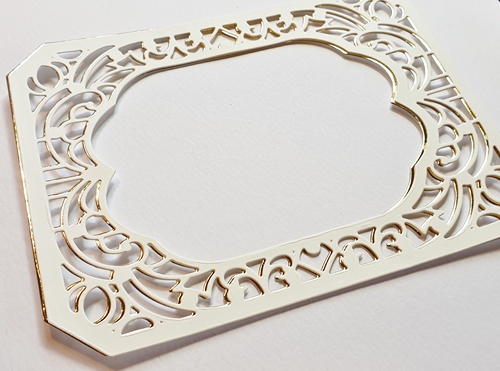
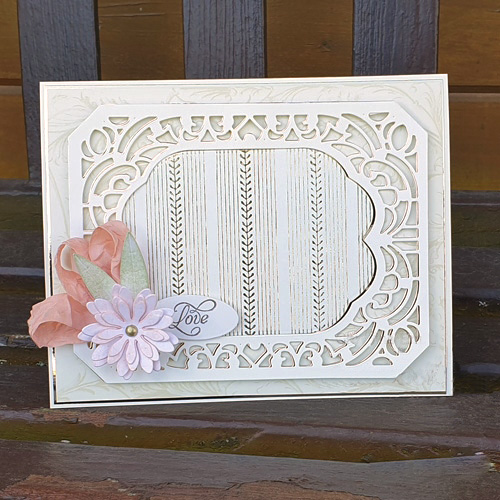
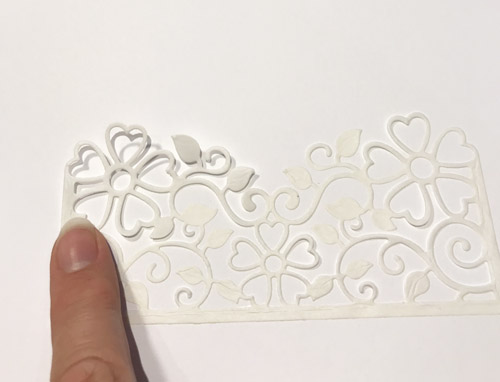
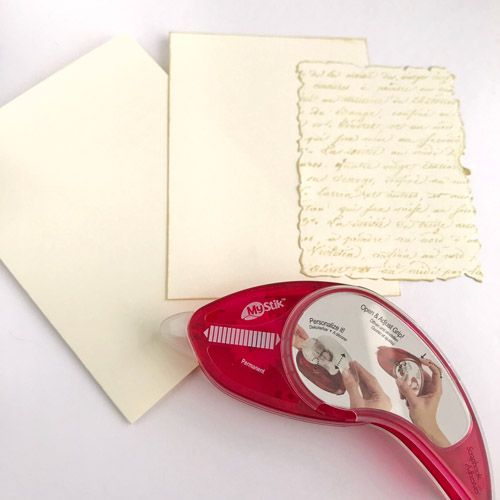
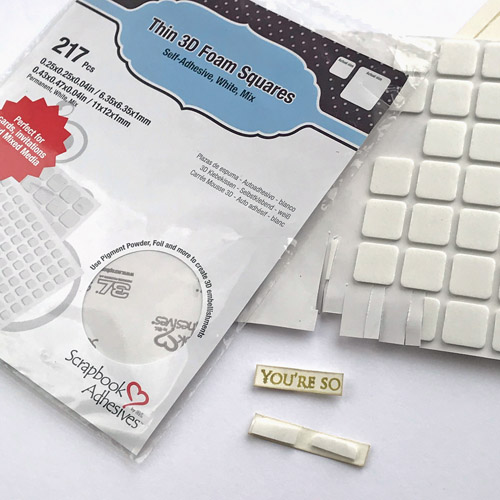
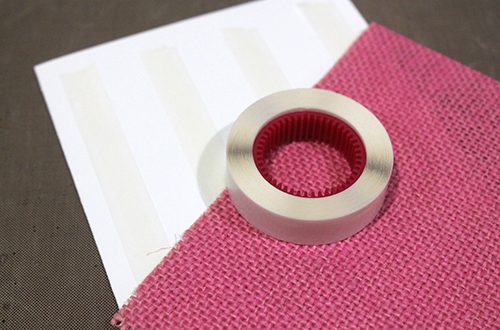
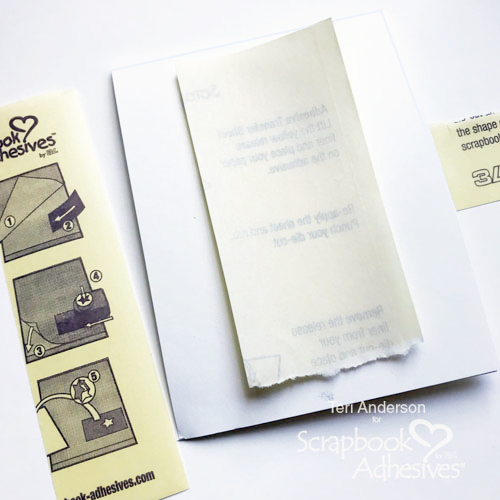
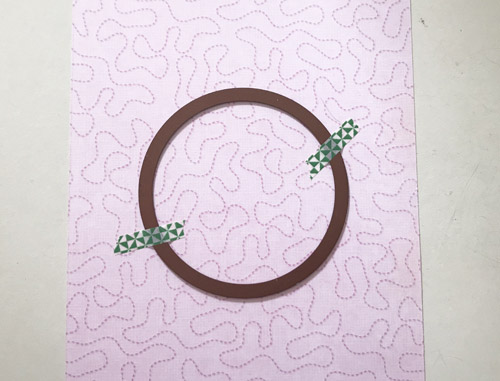
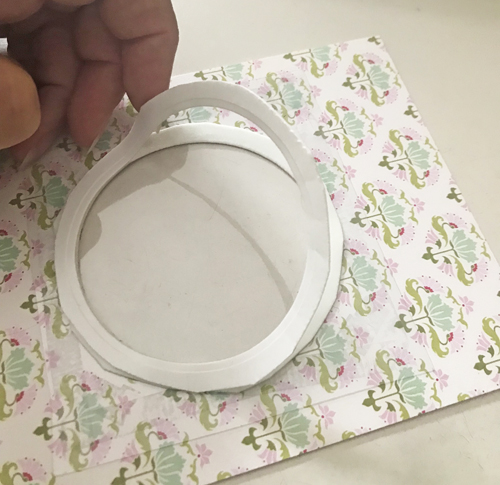
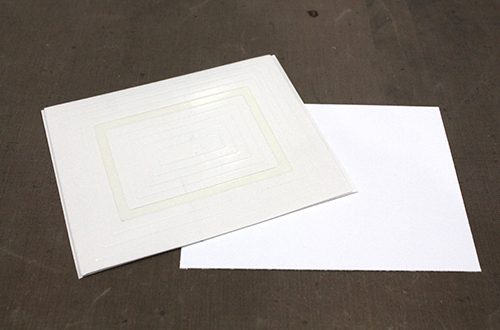
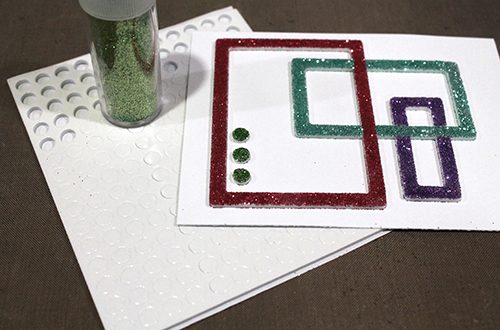
Start your card with the 3D Foam Frames, and a piece of white cardstock cut to size for the front of the card (3.75 x 5-inch). Remove the top liner from the largest of the frames. Attach to the white cardstock.
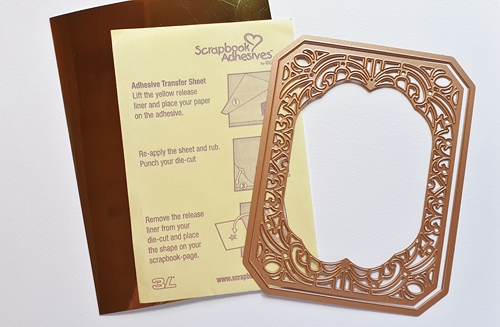
Wear Your Adhesive on the Outside
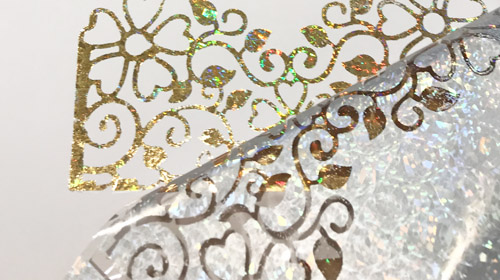
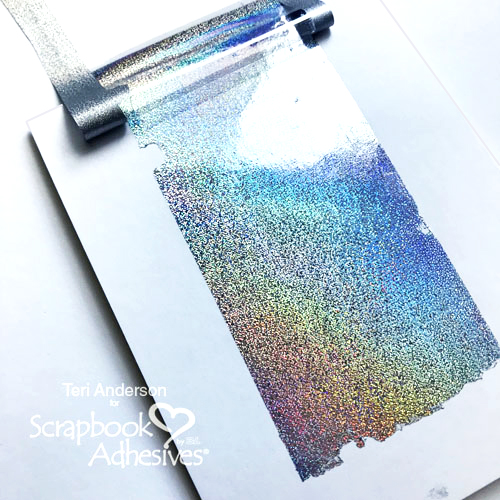
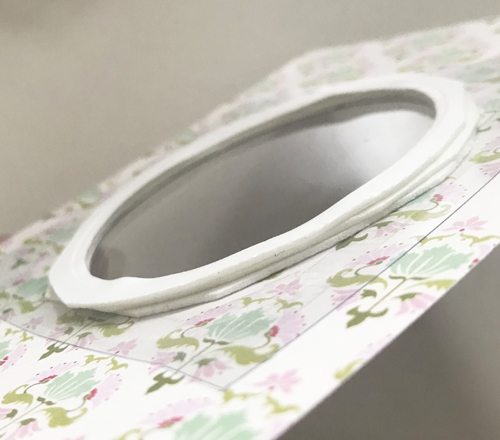
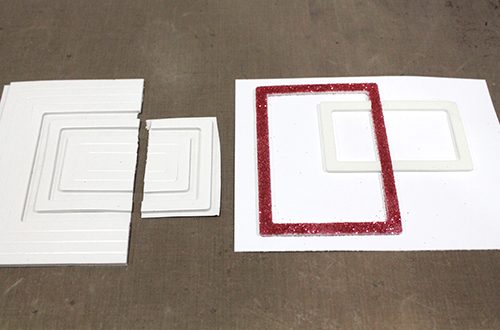
To achieve this concept, we are showcasing the 3D Foam Frames as an embellishment instead of hiding between layers. With the largest frame, sprinkle pink glitter on top of the largest frame. Press the glitter into the frame to secure. Tap off excess.
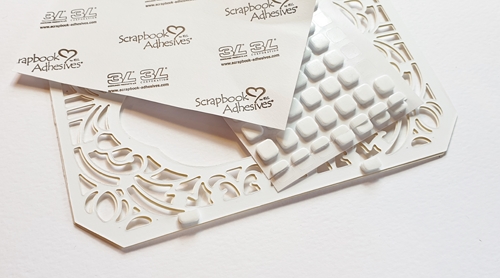
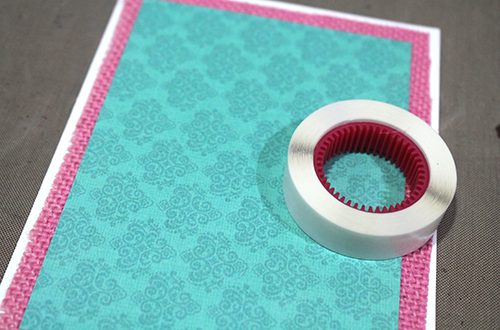
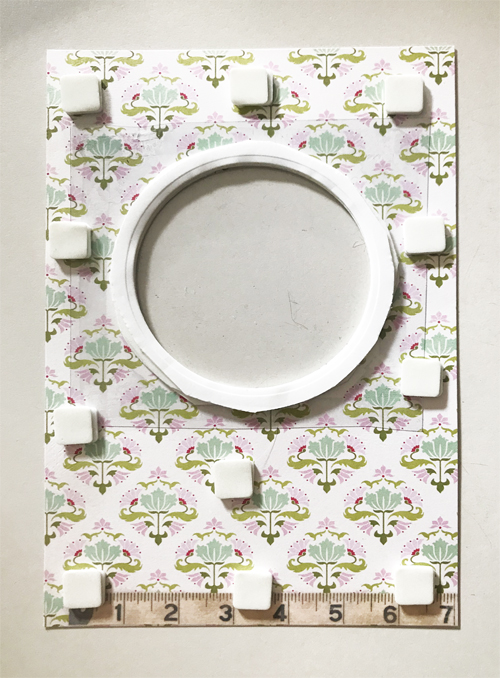
Cut the entire remaining sheet of 3D Foam Frames in two but not quite in the centre. Add the next largest frame to the card, one half at a time, around the pink glitter frame as shown in the image below.
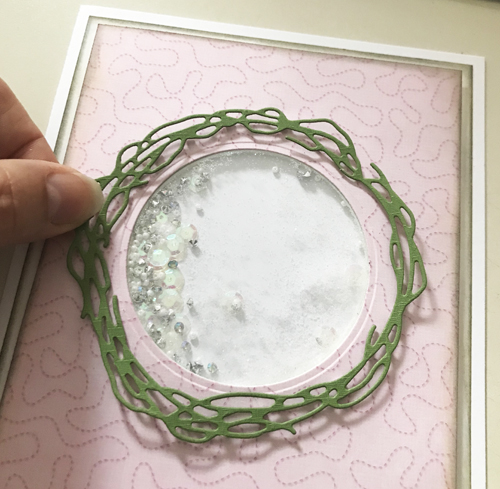
Remove the top liners of the second frame pieces and cover with teal glitter. Press the glitter to secure and tap off excess.
Finally, add the second smallest frame around the teal glitter frame. Add purple glitter using the same steps as the other frames.
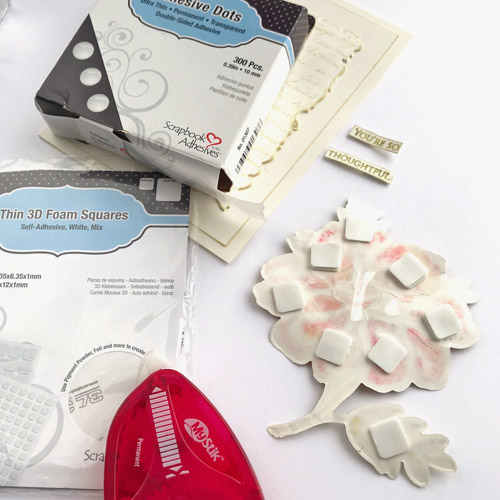
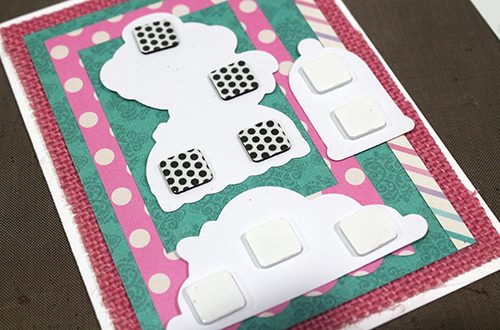
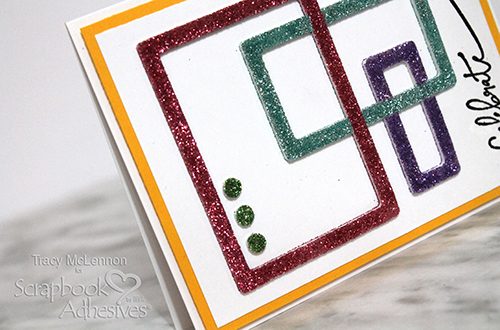
For interest, I placed three small 3D Foam Circles White Mix in the bottom left-hand corner of the largest frame and added green glitter.
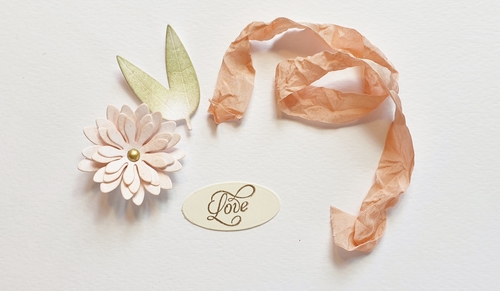
Final Touches
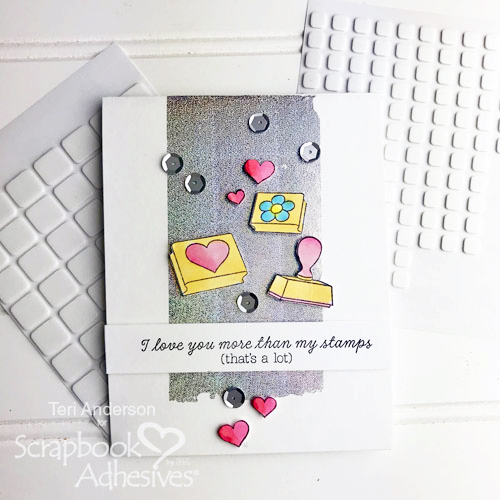
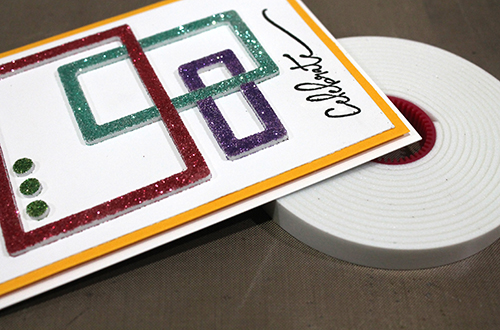
Stamp and heat emboss “Celebrate” sentiment with black embossing powder on the right side of the white card panel.
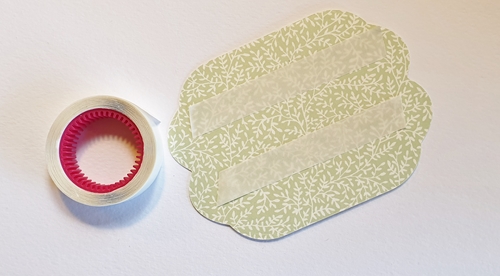
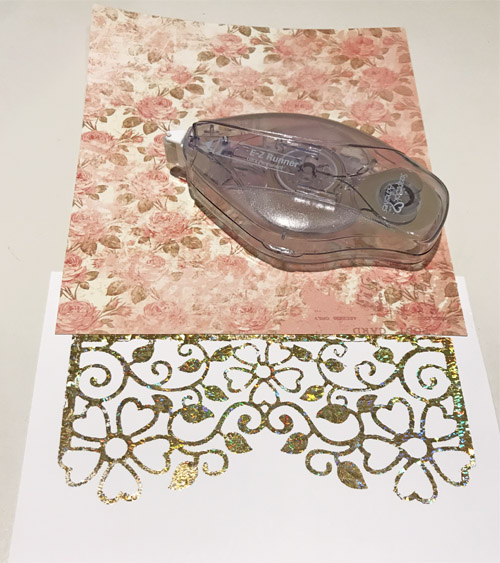
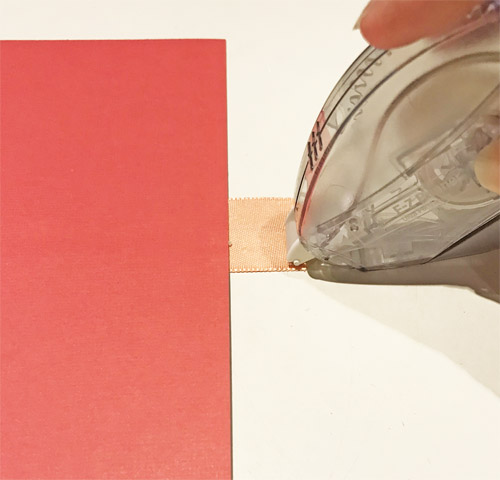
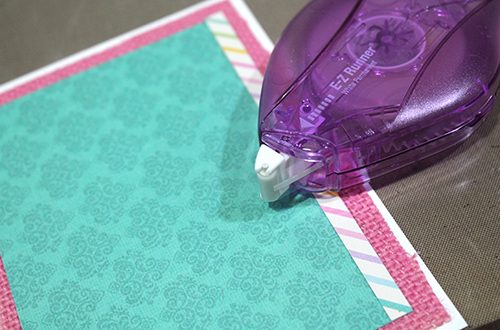
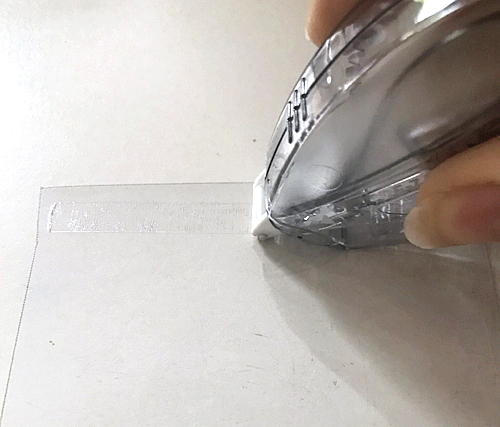
Mat the Glitter Frame Card front with yellow cardstock using the E-Z Runner® Petite Permanent Dots Refillable Dispenser and attached it to the white cardstock card base using Crafty Foam Tape White.

Thanks so much for stopping by to check out my Glitter Frame Card!
Tracy McLennon
Creative Time: 30 Minutes
Skill Level: Beginner
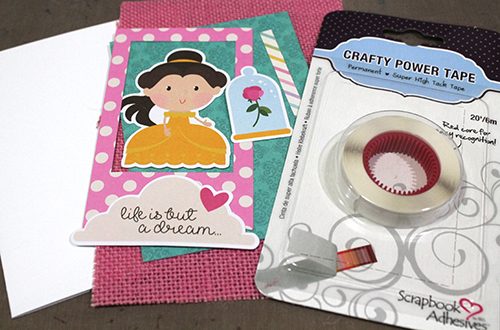
Materials Needed
Scrapbook Adhesives by 3L®
Crafty Foam Tape White
3D Foam Circles White Mix
E-Z Runner® Petite Permanent Dots Refillable Dispenser
3D Foam Frames
Other
Martha Stewart Crafts Fine Glitter, Crackerbox & Suzy Stamps “Celebrate” stamp, Ranger Embossing Pad, Ranger Black Embossing Powder, Cardstock (White, Yellow)
Pin It!